Salesforce Backup
If your question is not addressed below, please contact us through our support form and we'll get back to you shortly. |
|
General |
|
| What is IDrive® Salesforce Backup? | |
| Why do I need a third‑party backup for Salesforce? | |
| Which Salesforce editions and environments are supported by IDrive® Salesforce Backup and Restore? | |
| What Salesforce data and metadata are backed up? | |
| How does IDrive® Salesforce Backup ensure data security? | |
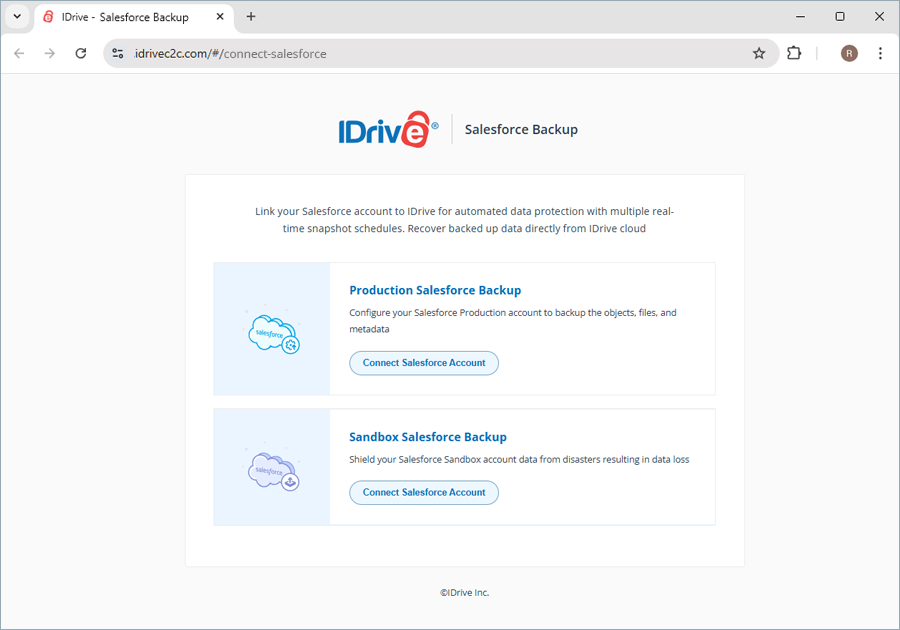
| What are the Salesforce account configurations available in the IDrive® Salesforce Backup application? | |
| Can I access my backed-up Salesforce data from anywhere? | |
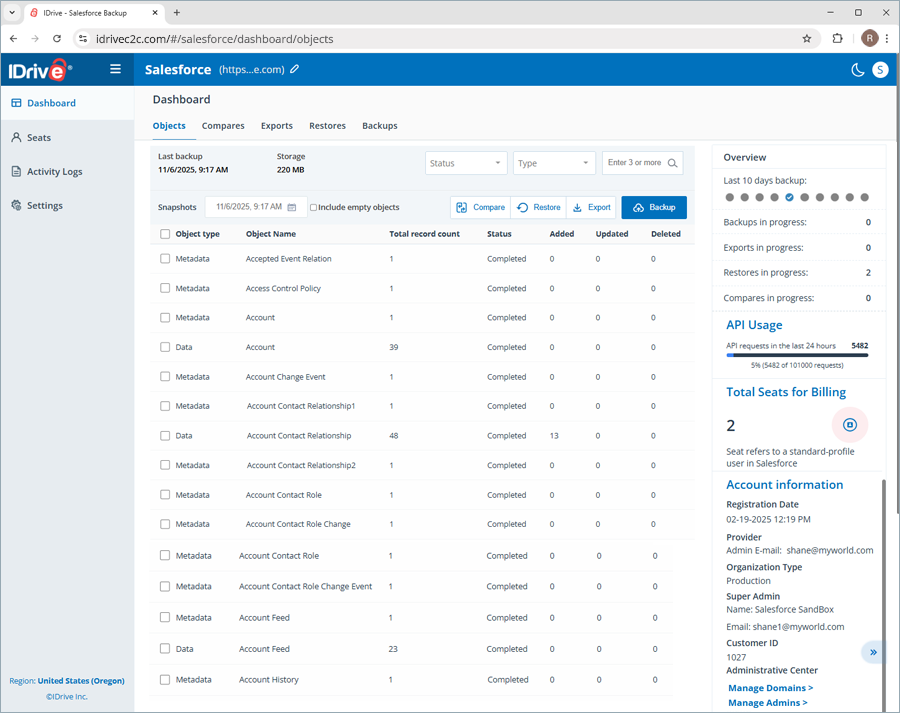
| What sections are available in the IDrive® Salesforce Backup web console? | |
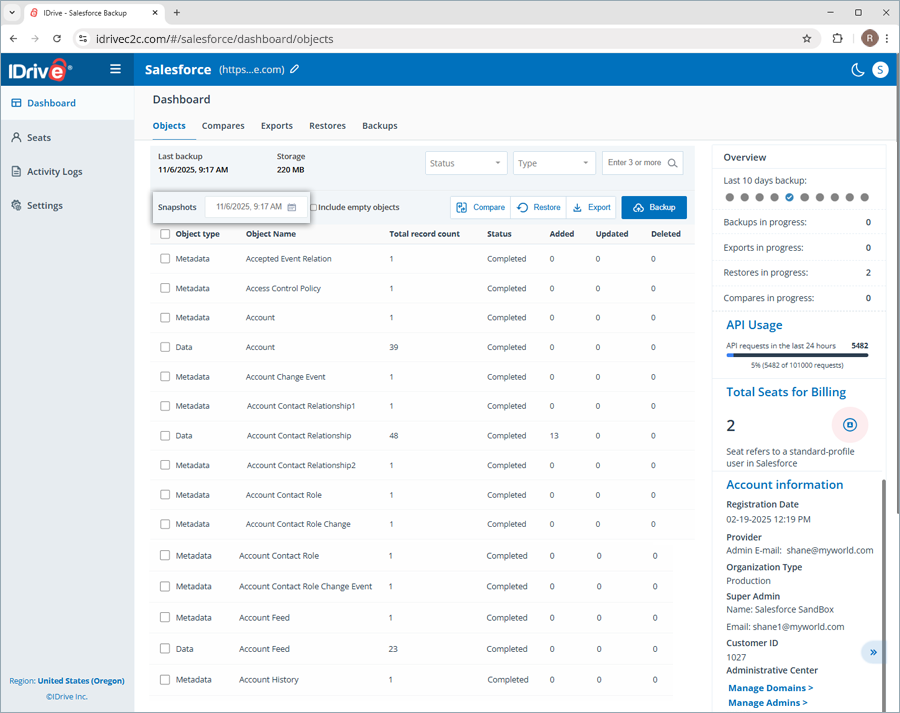
| What do the Objects in the Dashboard section refer to? | |
| What are the components available in the list of objects under Dashboard? | |
| How can I know the current status of the objects in my Salesforce account? | |
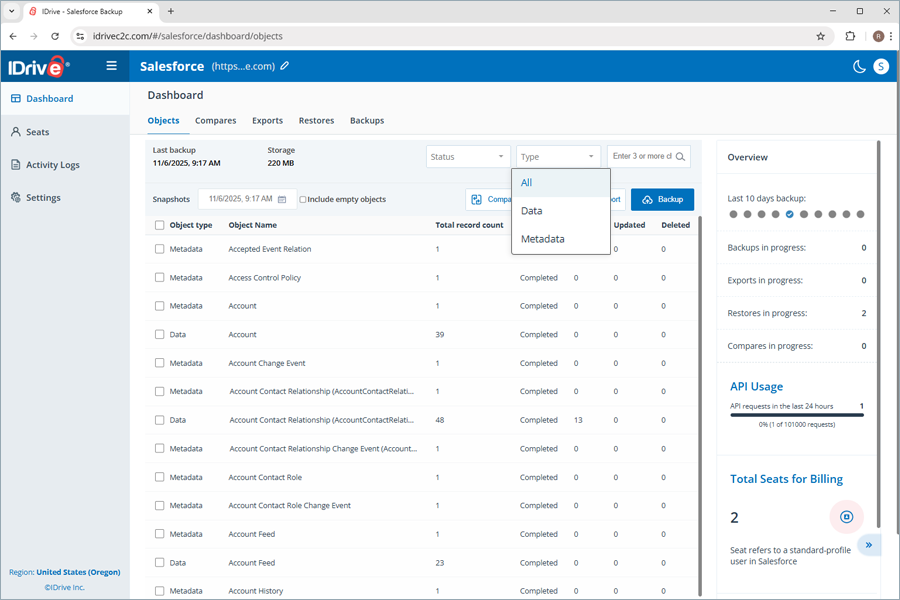
| Can I search for a specific object in my Salesforce account? | |
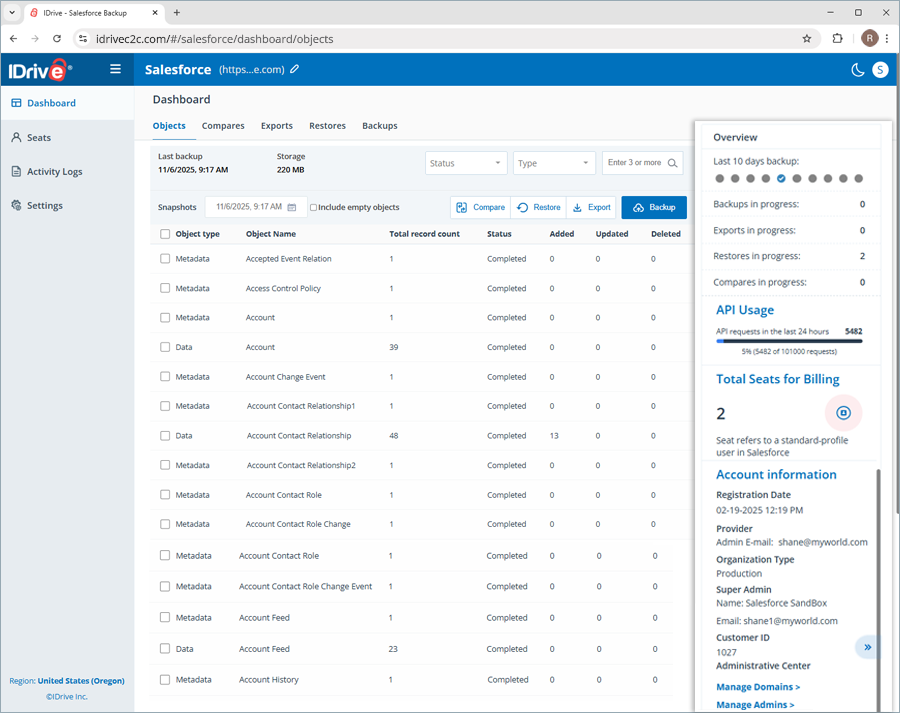
| Can I get an overview of all the activities performed with the IDrive® Salesforce Backup application? | |
| Where can I view the date and time of the last successful backup? | |
| I see a tooltip icon next to the object names. What does this indicate? | |
| How does IDrive® Salesforce Backup meet the HIPAA compliance requirements? | |
Backup |
|
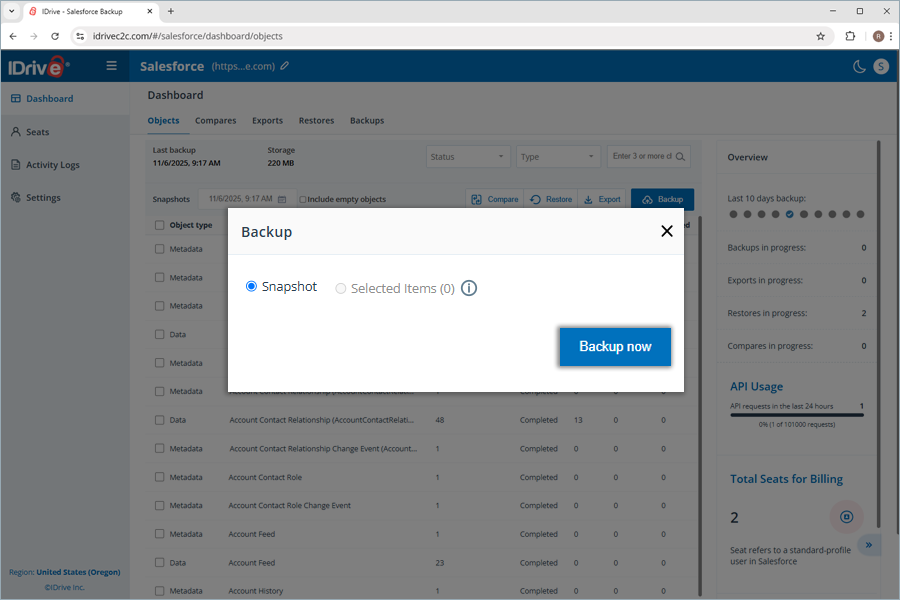
| How does IDrive® Salesforce Backup run backups? | |
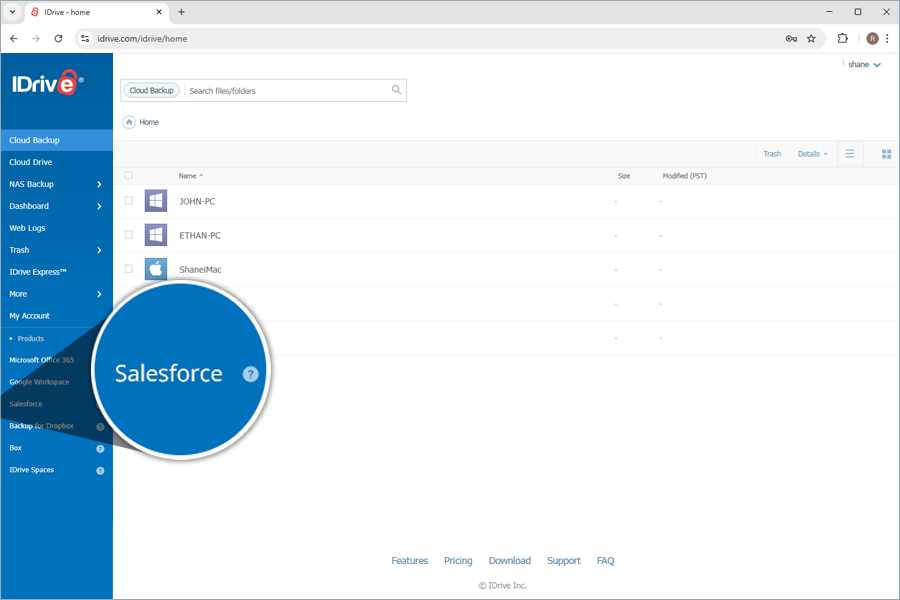
| How do I get started with IDrive® Salesforce Backup? | |
| How can I back up all the objects in my Salesforce account, including their data and metadata? | |
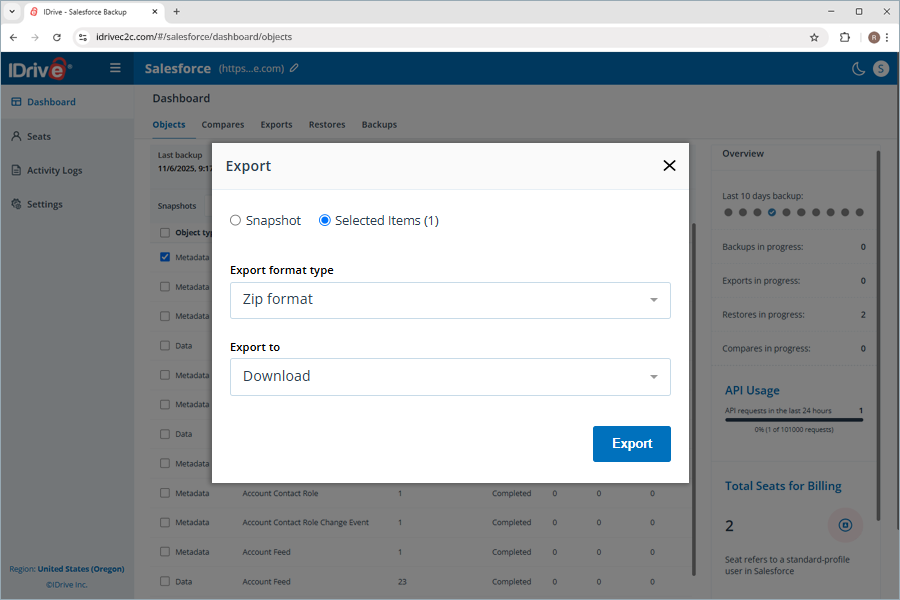
| Can I back up the records recently added to a specific object without performing a complete backup of all the objects? | |
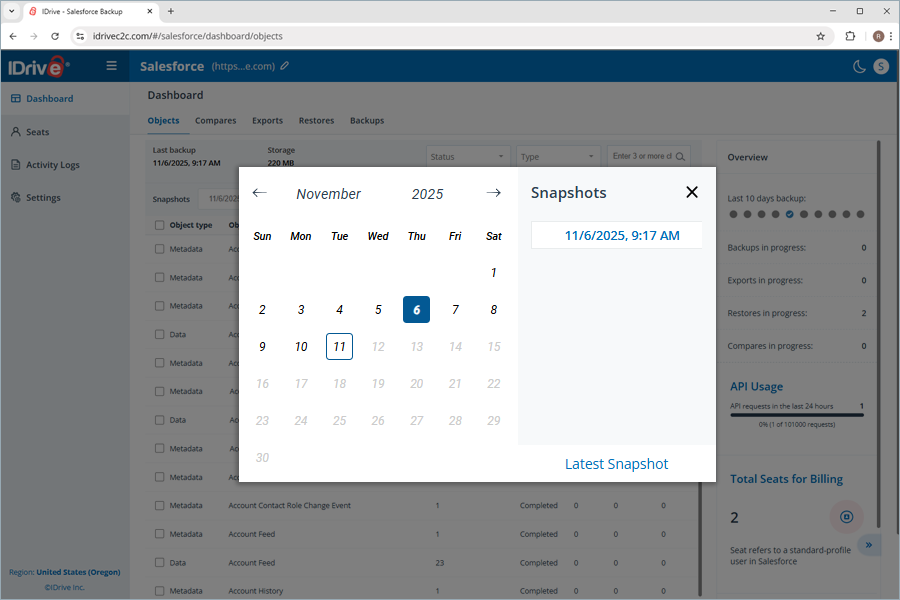
| Where can I find all the backup snapshots performed using the IDrive® Salesforce Backup application? | |
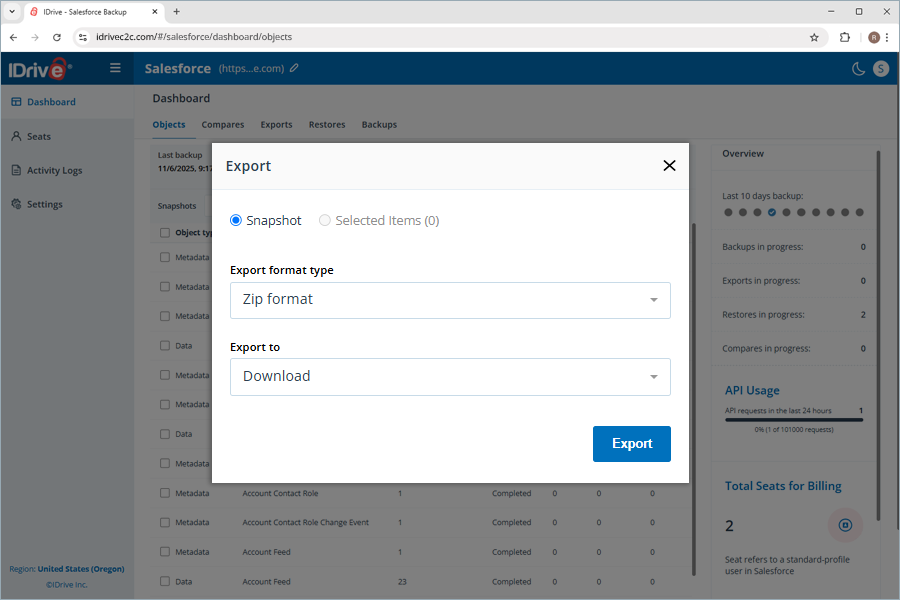
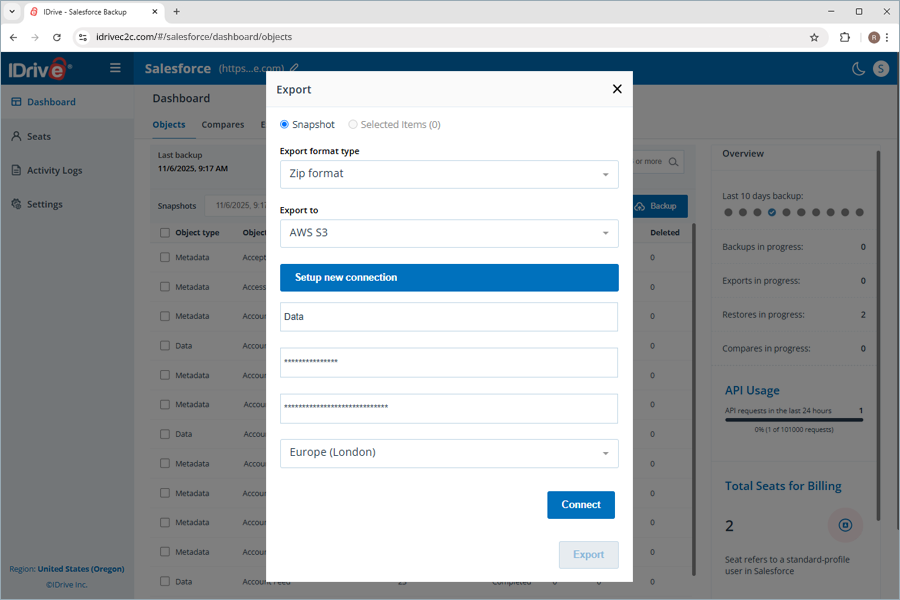
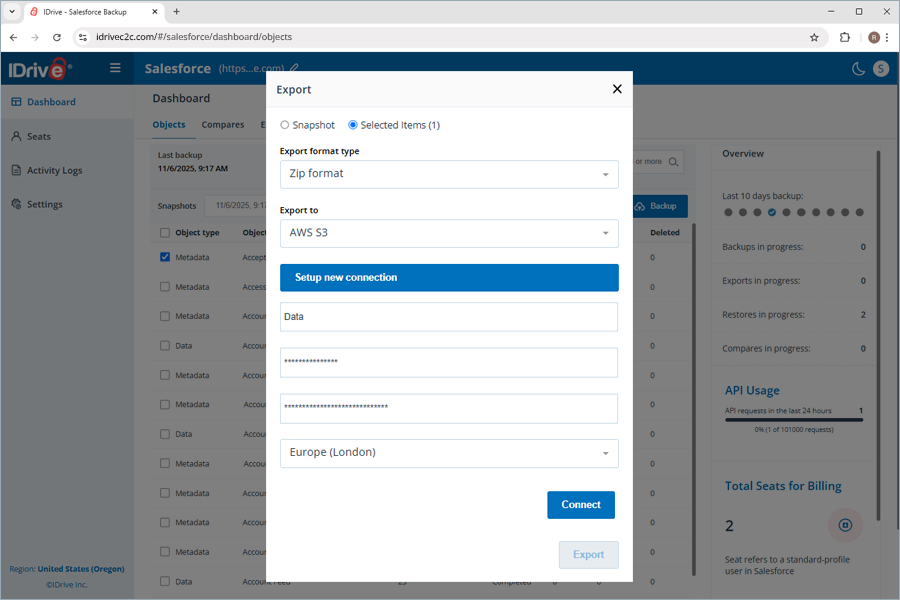
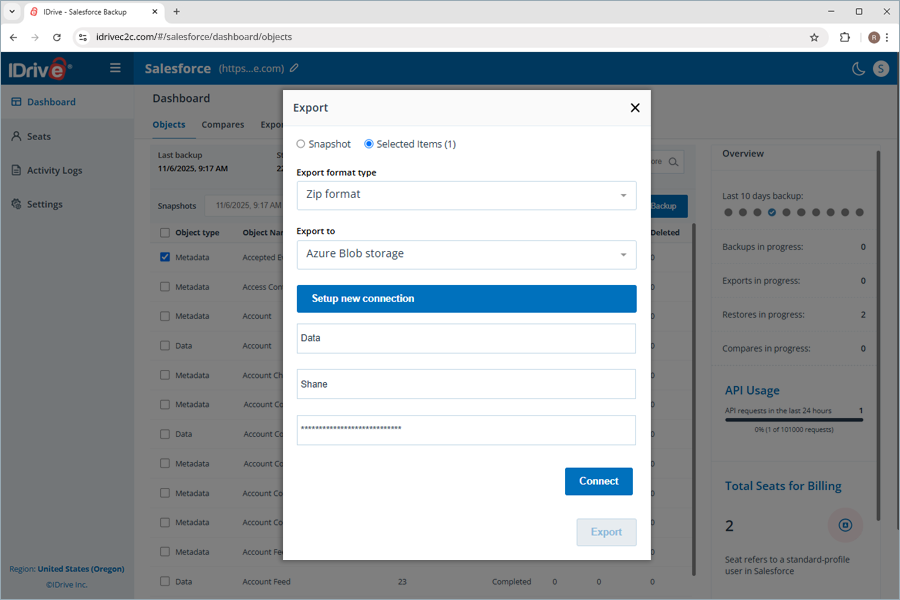
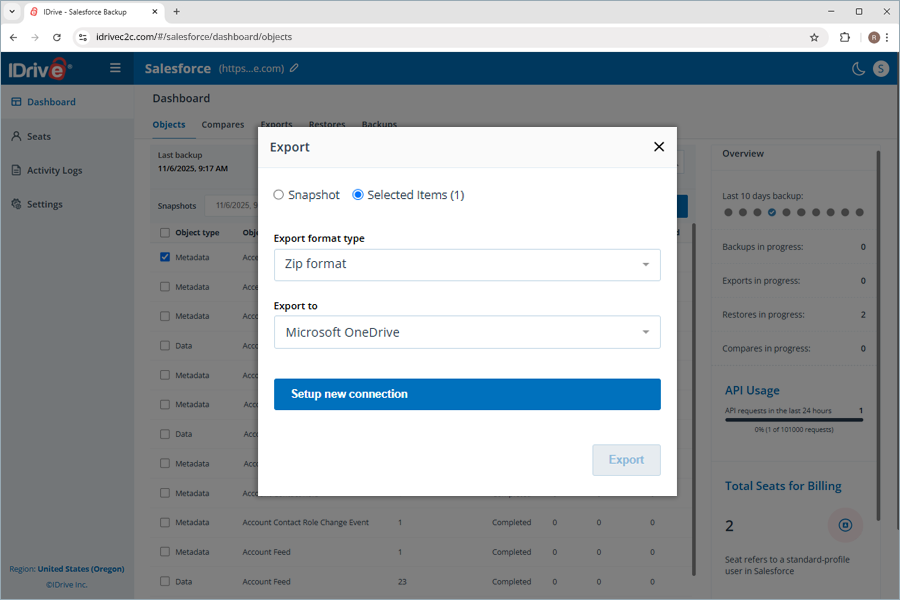
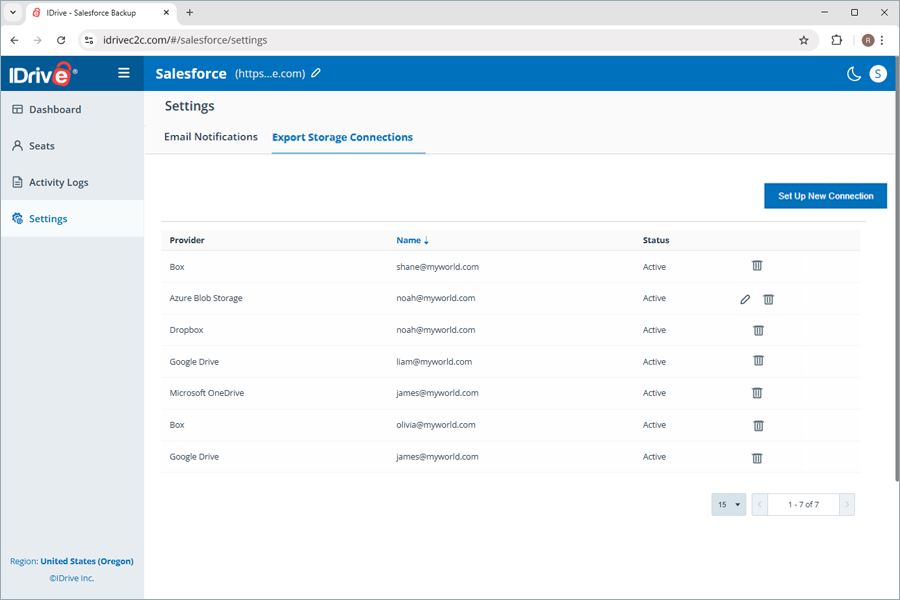
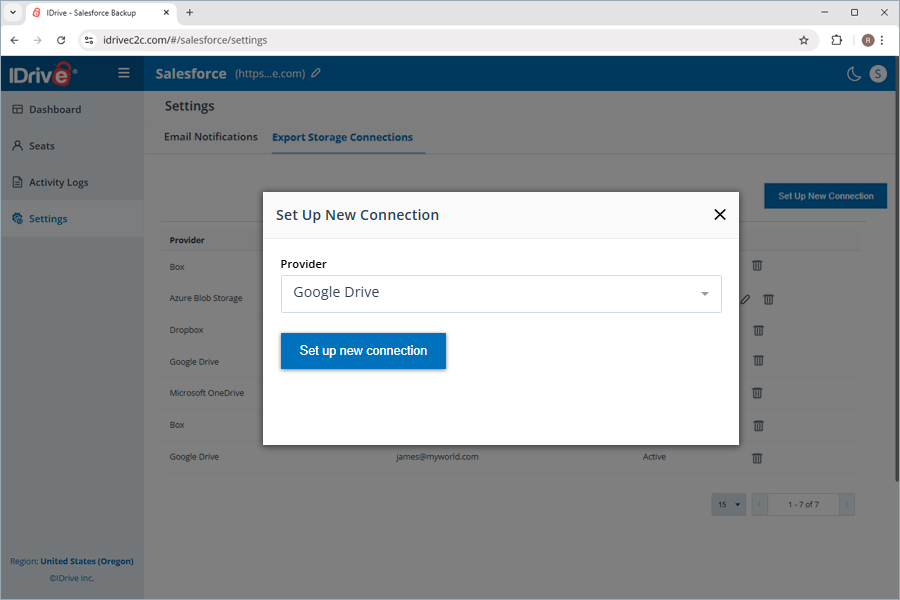
| Can I export my Salesforce backup to other storage locations? | |
| What are the available file formats in IDrive® Salesforce Backup for exporting backed-up data? | |
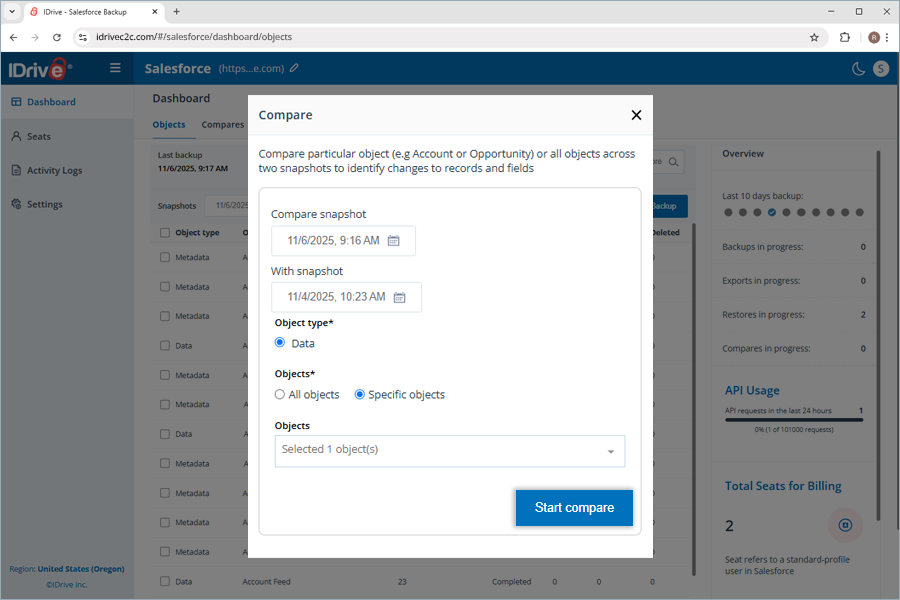
| How can I identify the changes made to the records and fields of all the objects in my Salesforce account? | |
| How can I view the latest backup snapshot in the IDrive® Salesforce Backup application? | |
Recovery |
|
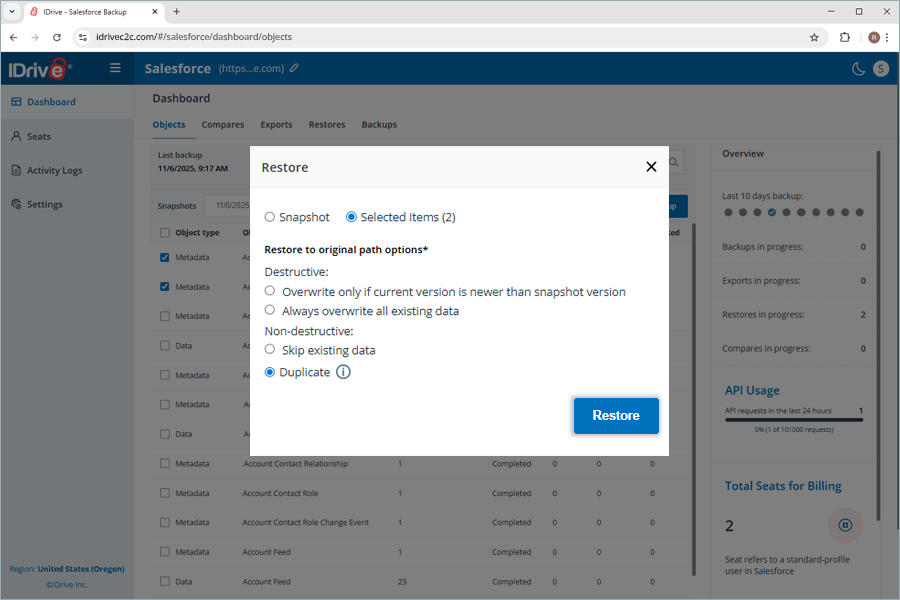
| What data restoration options are available in IDrive |
|
| How can I restore selected objects in my Salesforce account using IDrive® Salesforce Backup? | |
| How can I restore all objects in my Salesforce data backup using IDrive® Salesforce Backup? | |
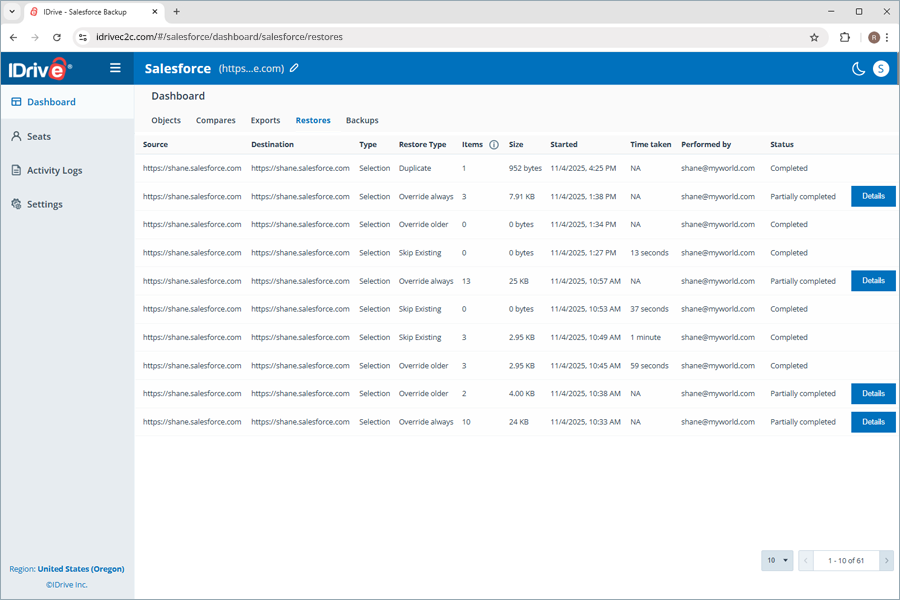
| Where can I find all the restores performed using the IDrive® Salesforce Backup application? | |
| What does the 'Details' button next to a Partially Completed object restore indicate? | |
Seat Management |
|
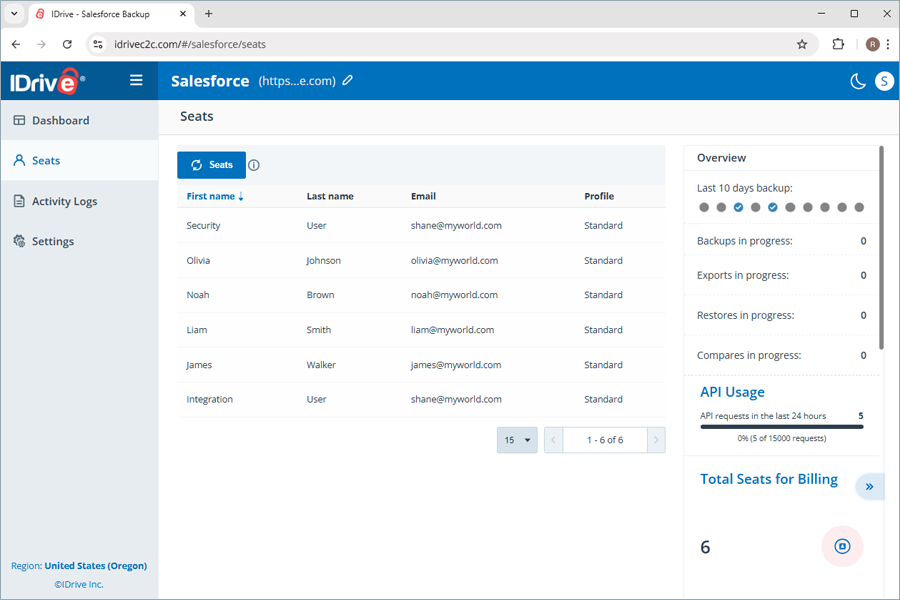
| What is a Seat in IDrive® Salesforce Backup? | |
| What management tools can I access under seats? | |
Activity Logs |
|
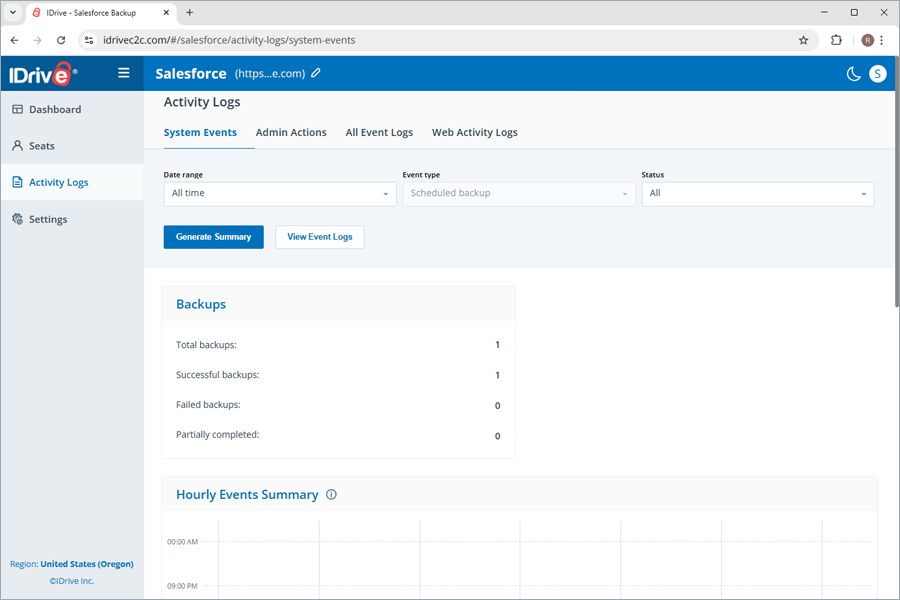
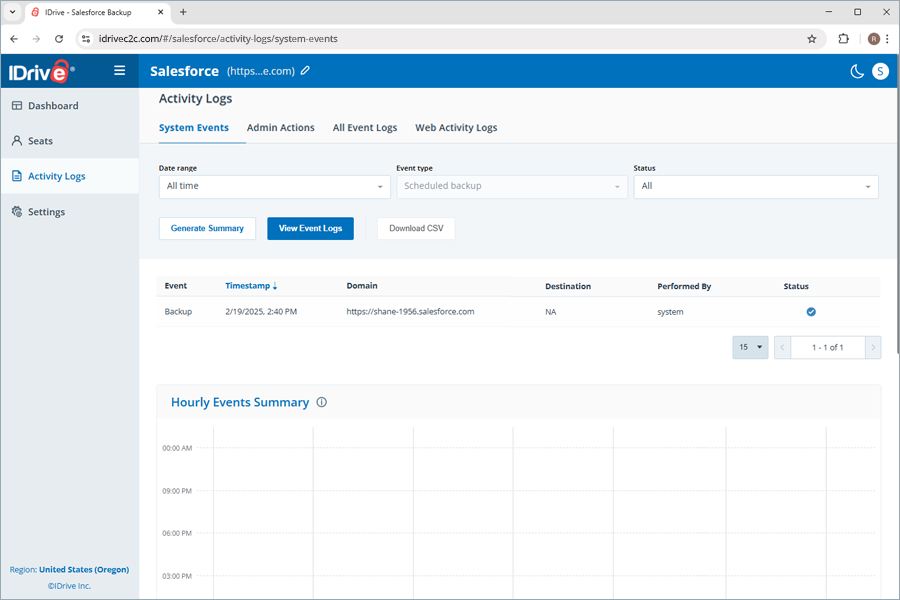
| Where can I view the activity logs for my IDrive® Salesforce Backup account? | |
| How can I view the system events log reports for my IDrive® Salesforce Backup? | |
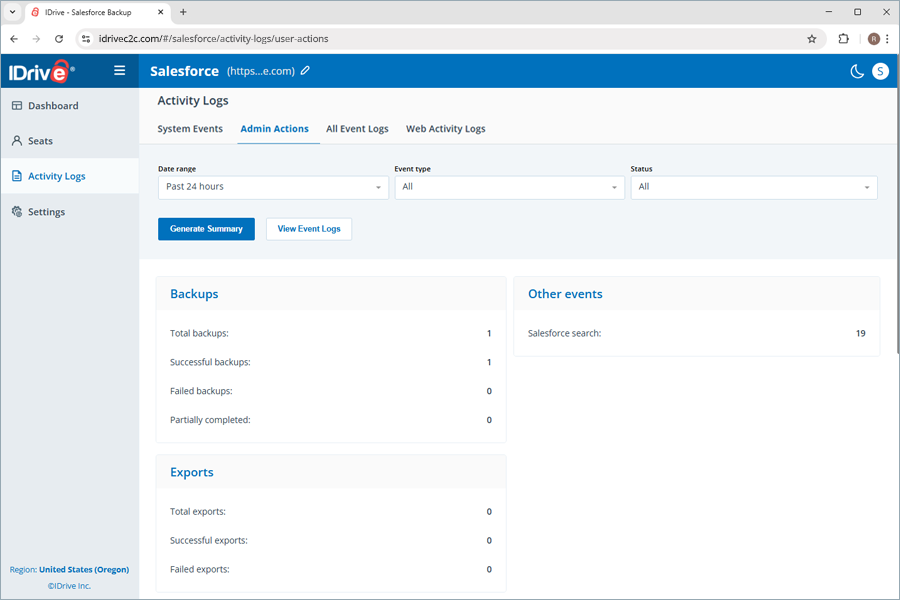
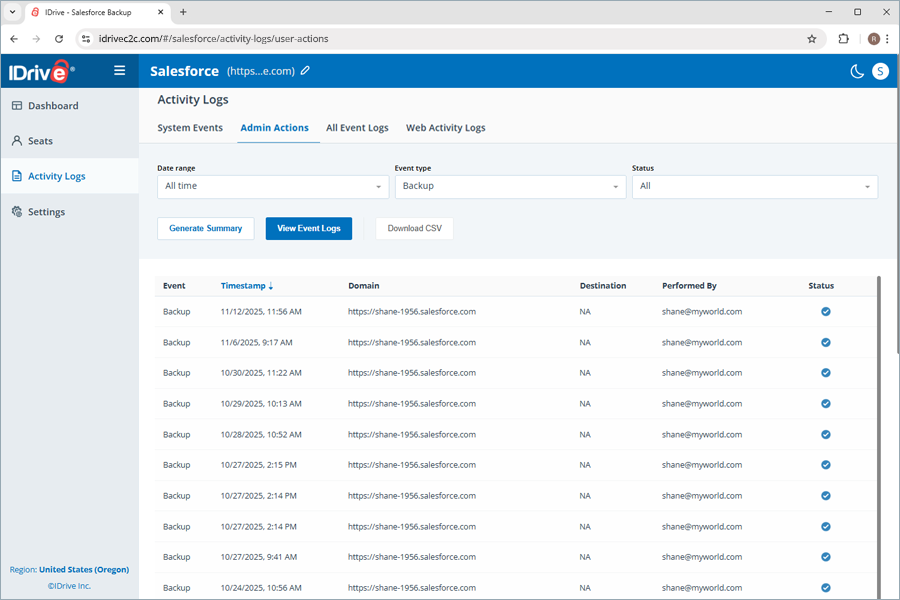
| How can I view the admin actions log reports for my IDrive® Salesforce Backup? | |
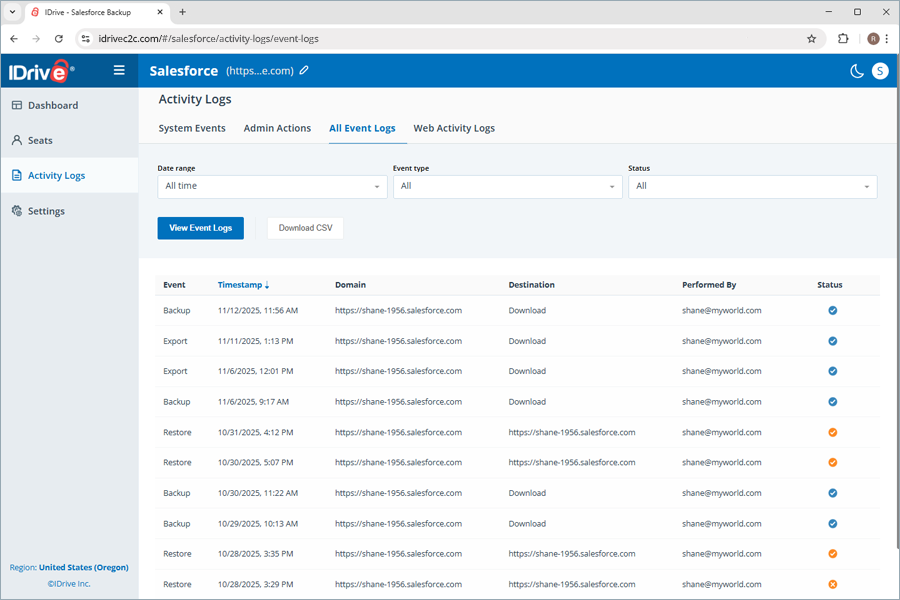
| How can I view all event activity log reports for my IDrive® Salesforce Backup? | |
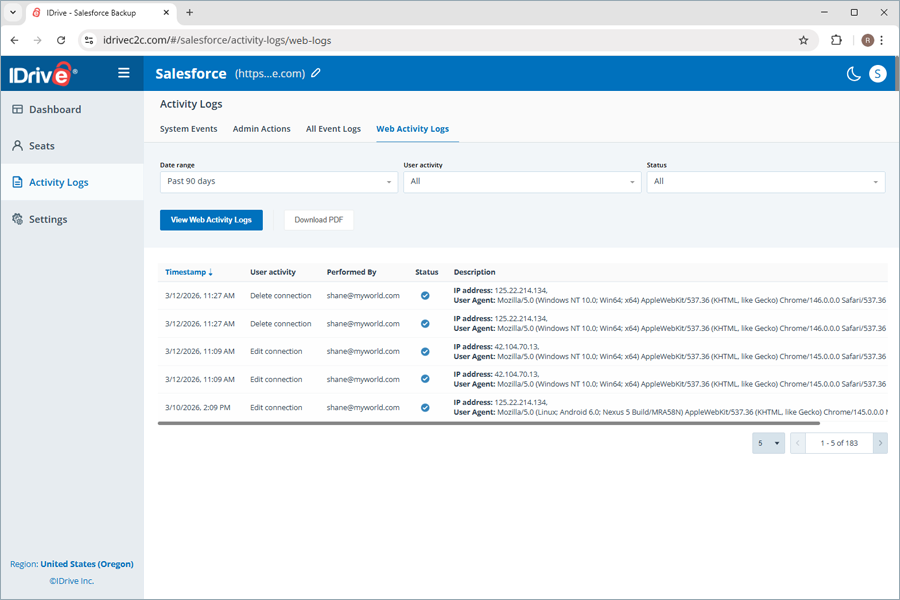
| How do I view all web activity logs for my IDrive® Salesforce Backup? | |
Settings |
|
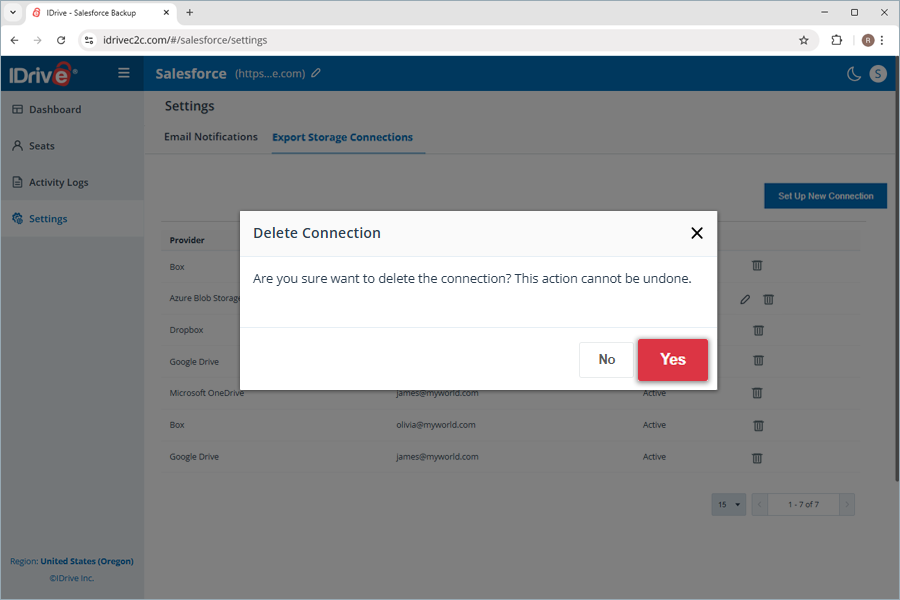
| How can I set up a connection to multiple storage destinations to export my Salesforce account backup? | |
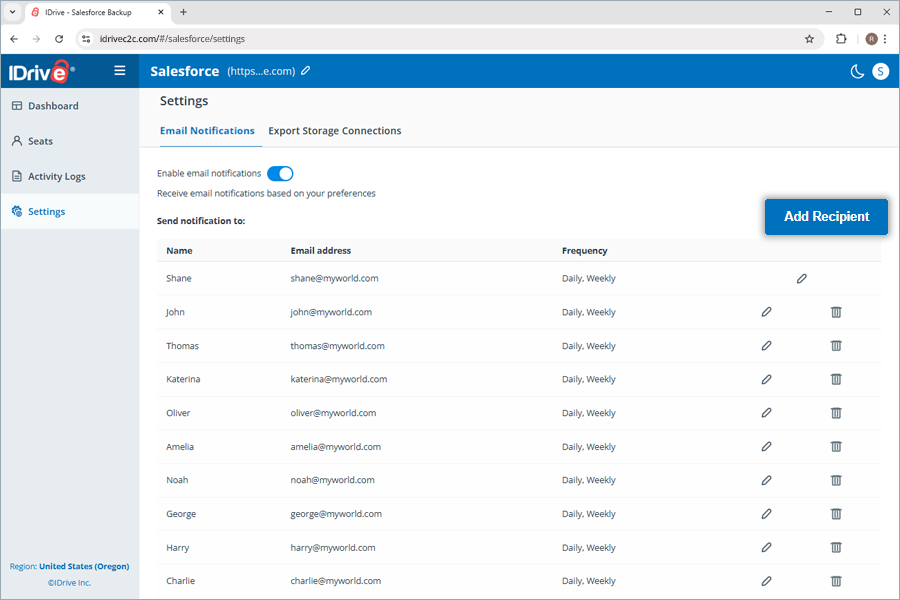
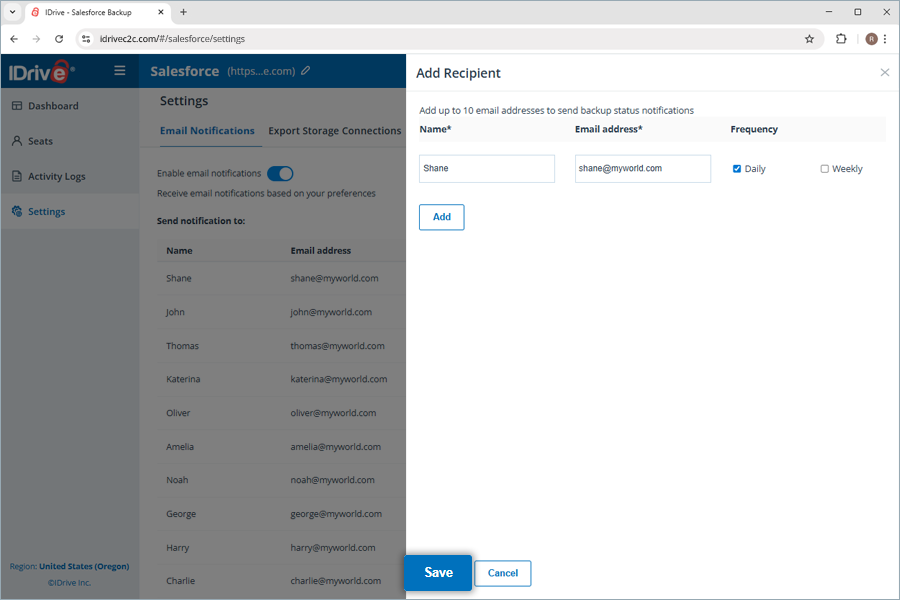
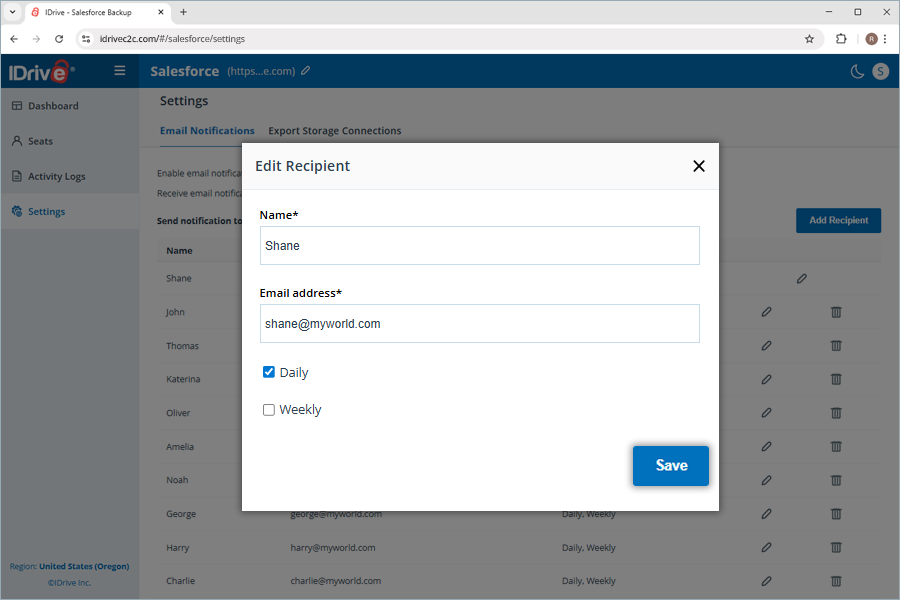
| How can I get status notifications for the backups performed in the IDrive® Salesforce Backup application? | |