- Developer's Guide
- Endpoints and Access Keys
- Third-Party Tools
- Veeam®
- Veeam® 12 Direct-to-Cloud
- MSP360
- MSP360 Cloudberry
- MSP360 CloudBerry Explorer
- MSP360 Managed Backup Service
- Ahsay
- Acronis Cyber Protect Cloud
- Anchorpoint
- AirLiveDrive
- Archiware P5
- Arcserve
- Arcserve ImageManager
- Arq Backup
- BackupAssist
- Bunny.net
- ChronoSync
- Cohesity
- Cloudmounter
- Cloudflare
- Comet
- Commvault
- Couchbase
- cPanel Backup
- CrossFTP
- CuttingRoom
- CubeBackup
- Cyberduck
- Dell
- Dropshare
- Duplicacy
- Duplicati
- EditShare
- ExpanDrive
- Fastly CDN
- Files.com
- Filezilla Pro
- Flexify.IO
- GoodSync
- Hammerspace
- Hedge OffShoot
- Hitachi Content Platform
- iconik
- Iperius Backup
- iRODS
- Jet Backup5
- LucidLink
- Milestone XProtect
- Mountain Duck
- MultCloud
- /n software S3 Drive
- NAKIVO Backup and Replication
- Nextcloud
- Next3 Offload
- NirvaShare
- NovaBACKUP
- odrive
- Photos+ Cloud Library
- PureStorage
- qBackup
- QNAP
- Quest Rapid Recovery
- Rclone
- Restic
- Retrospect
- S3 Browser
- S3cmd
- S3Drive
- s5cmd
- S3FS
- SFTPCloud
- SimpleBackups
- Snowflake
- SyncBackPro
- Syncovery
- Synology Hyper Backup
- Synology Cloud Sync
- Transmit
- TrueNAS® CORE
- UpdraftPlus WordPress
- Vantage Gateway
- Veeam® Backup for Microsoft 365
- Vembu BDR Suite
- Veritas Backup Exec
- WinSCP
- Windows Network Drive
- CNAME Record Guide
- API Documentation
This guide will help you backup your WordPress website with IDrive® e2 via WordPress backup plug-in UpdraftPlus. Follow these instructions to configure UpdraftPlus WordPress Backup Plugin with IDrive® e2 for using it as an object storage solution for your WordPress website data. In the below example IDrive® e2's Chicago storage region is used.
To install UpdraftPlus WordPress Backup Plugin,
- Navigate to your WordPress dashboard.
- In the sidebar, click Plugins -> Add New.
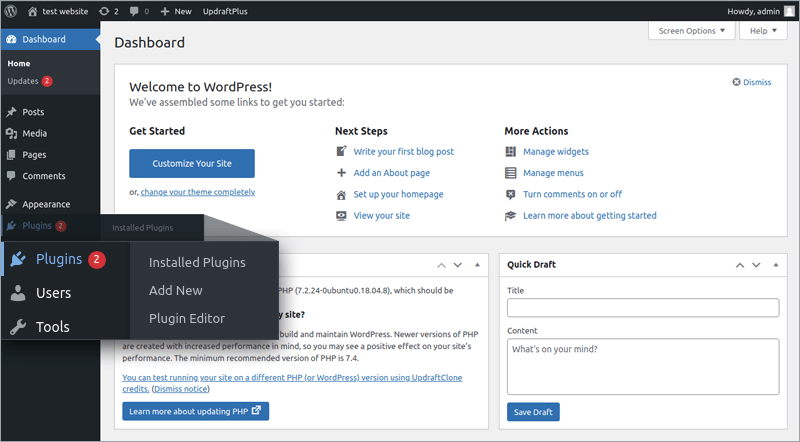
- Search UpdraftPlus WordPress Backup Plugin.
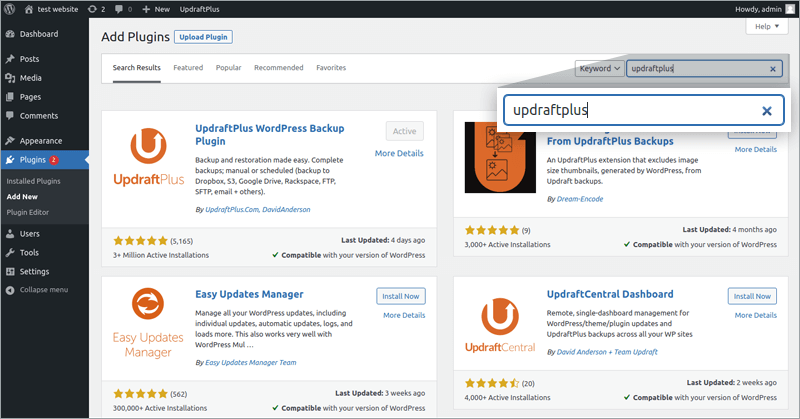
- Click 'Install Now' and Activate the plugin.
To configure UpdraftPlus WordPress Backup Plugin with IDrive® e2,
- Click Installed Plugins. A list of all your installed plugins will appear.
- Search UpdraftPlus WordPress Backup Plugin.
- Click Settings on the UpdraftPlus plugin dashboard.
- Configure the following backup settings as in the image:
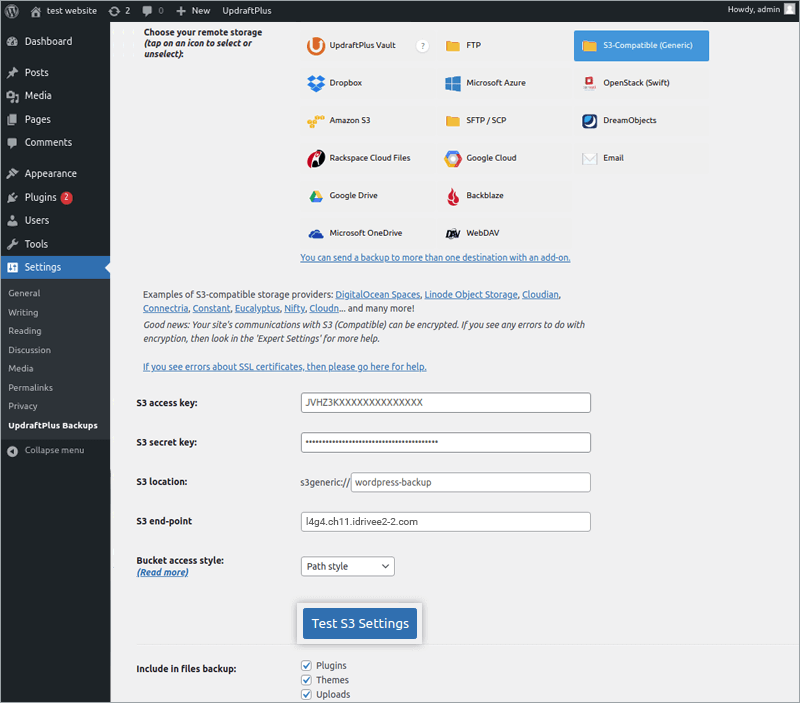
- Choose your remote storage as S3-Compatible (Generic).
- Enter S3 Access key and Secret key. Know how you can get these values from the IDrive® e2 account.
- Enter S3 location. It will be the already created S3 Bucket name where you want to store your backups. Bucket name should follow AWS S3 bucket naming conventions.
- Specify S3-endpoint as l4g4.ch11.idrivee2-2.com. Use the endpoint for the region where the bucket is located. Know more.
- Select Bucket access style as Path style.
Note: Data restoration is handled by your specific backup solution provider and is affected by multiple variables that are unique to your environment. For application-related enquiries/support, it is strongly recommended you seek guidance from the technical team of your backup solution provider.