Related Links
Use IDrive® e2 to store data from your LucidLink Projects
LucidLink offers a platform for easy and secure collaboration over creative projects in remote teams without local downloads or syncing. You can use IDrive® e2 to store data from LucidLink.
Prerequisites:
Before storing your LucidLink data, you require:
- An active IDrive® e2 account. Sign up here if you do not have one.
- A bucket in IDrive® e2. See how to create a bucket.
- Valid Access Key ID and Secret Access Key. Learn how to create an access key.
Connect IDrive® e2 storage with LucidLink
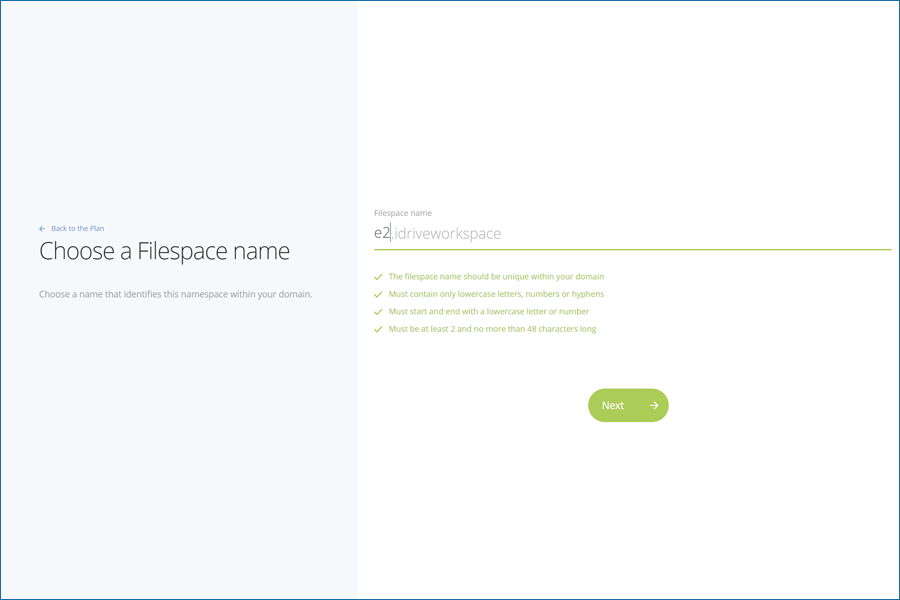
- Login to LucidLink dashboard and choose Custom Filespace plan and create Filespace.
- Enter a filespace name and click Next.
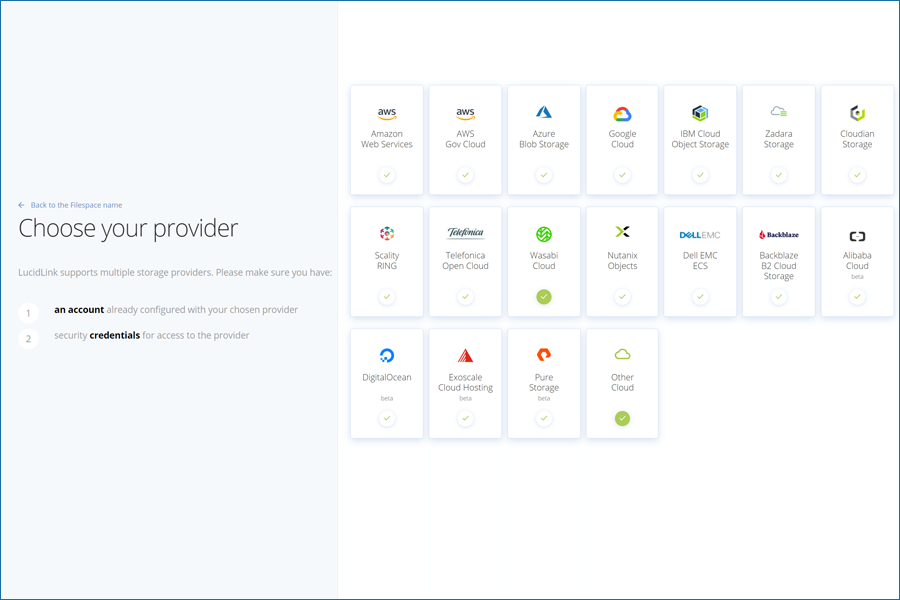
- Choose Other Cloud.
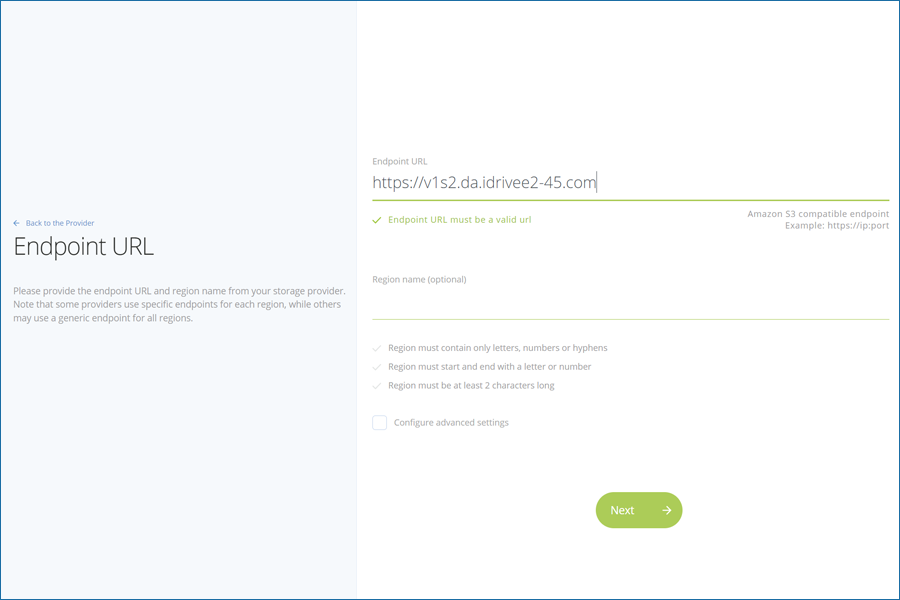
- Enter the storage endpoint that you enabled in IDrive® e2 dashboard and click Next. Click Create.
- Once the filespace is created, download and install the Lucidlink client.
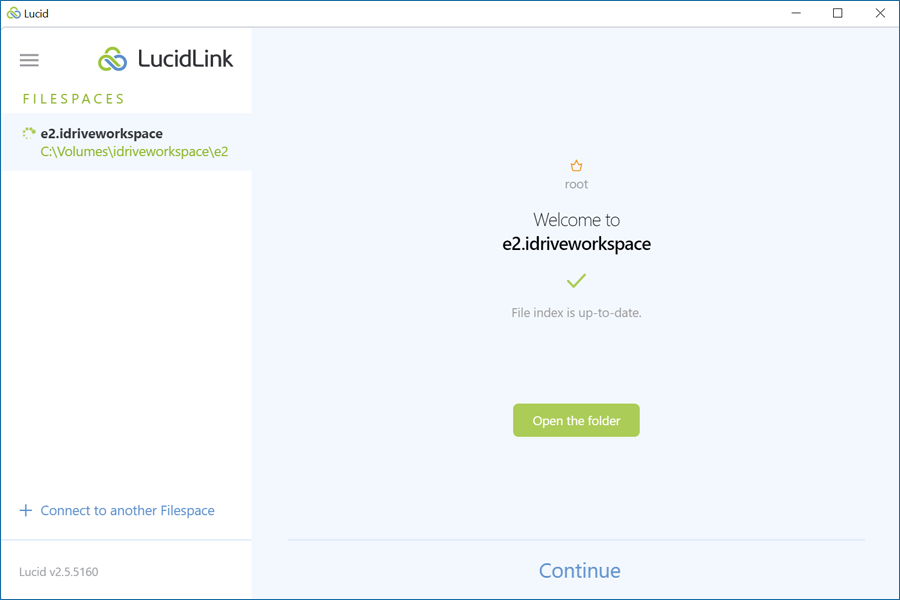
- Click Initialize and click Launch the desktop client.

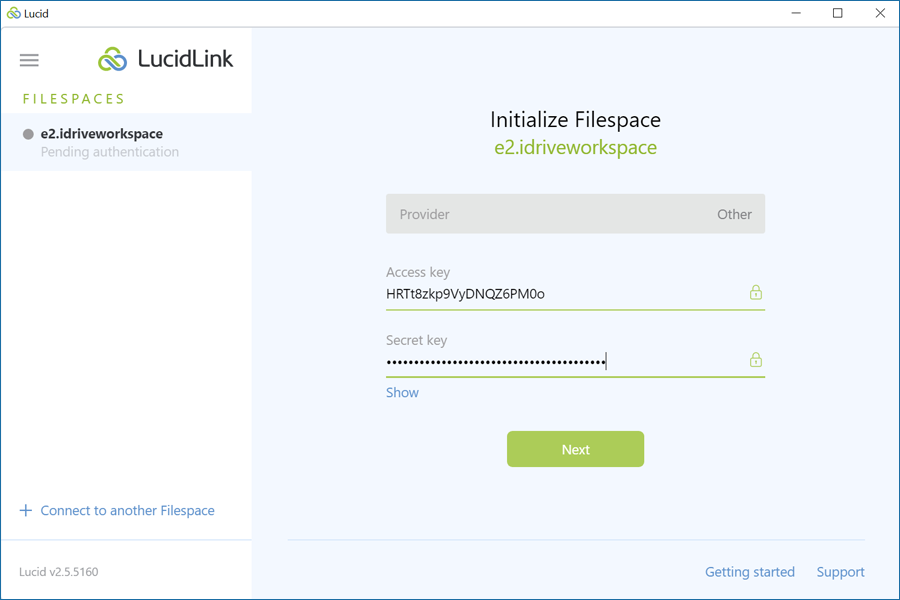
- Input the Access key and Secret key from IDrive® e2 and click Next. Learn how to create an access key.
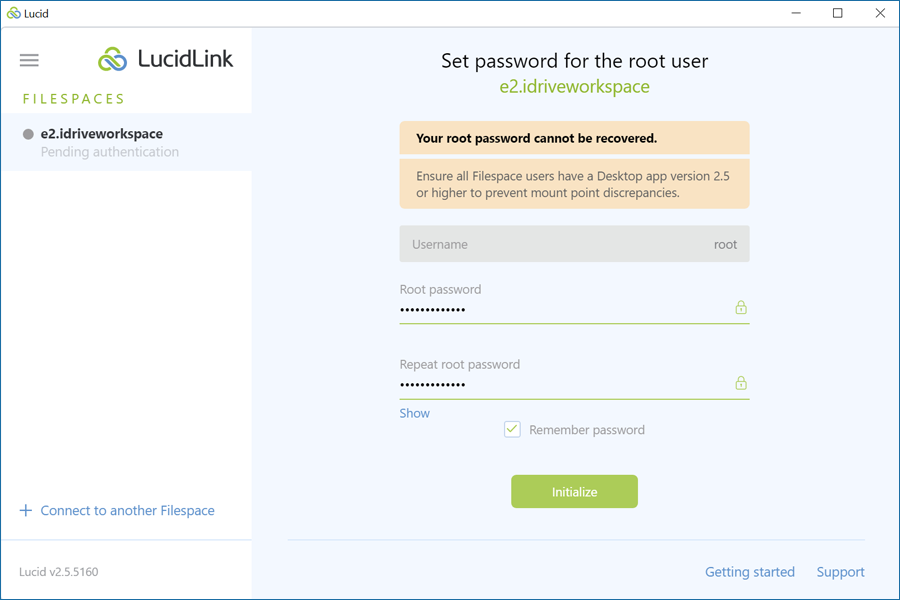
- Create a root password and click Initialize.
- Once the initialization is successful you can open the LucidLink Filespace folder and start working on your project.