Related Links
Nextcloud
Nextcloud enables productivity across platforms by providing transparent access to data on any storage. Share, collaborate, and communicate data across and ensure optimum productivity whether in the office or on the road.
Access and manage your IDrive® e2 Storage using Nextcloud. Create Access Keys from the IDrive® e2 account and use them to establish connection in Nextcloud.
To add IDrive® e2 bucket as external storage in Nextcloud,
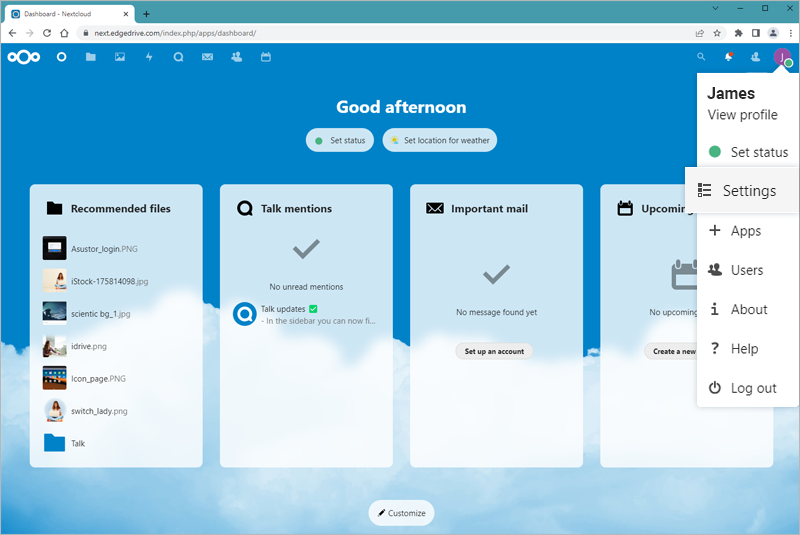
- Launch the Nextcloud app.
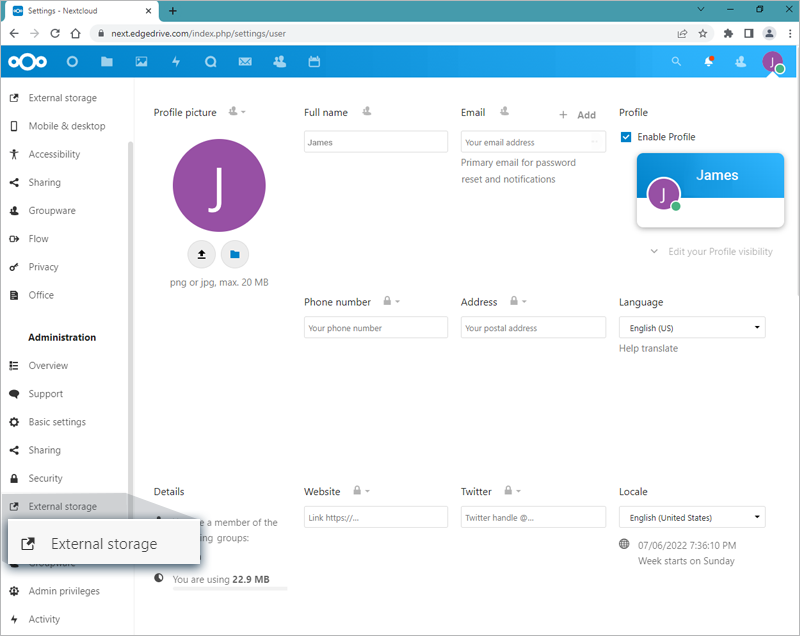
- Click the user profile on the top-right corner and navigate to Settings > Administration > External storage.
-
Install an external storage app.
- Click the user profile on the top-right corner and Apps.

- Navigate the external storage app and click Enable.
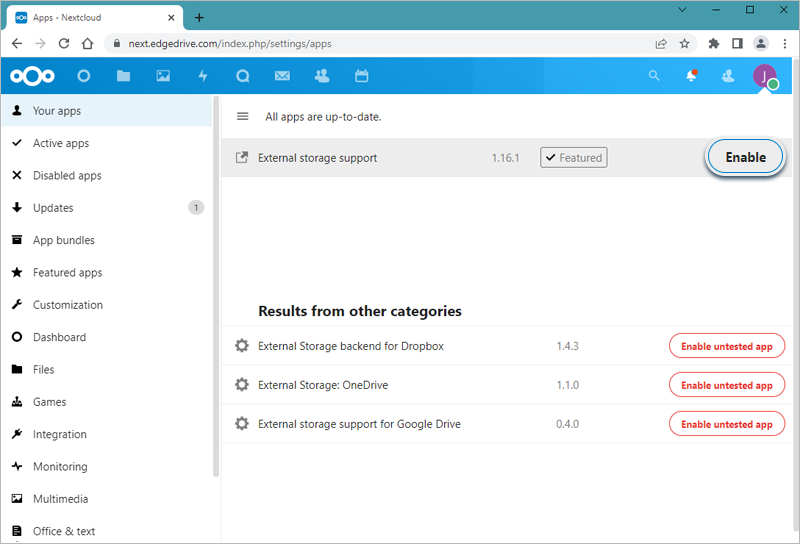
- Enter the authentication and click Confirm.
- Click the user profile on the top-right corner and Apps.
- Click Add Storage and select Amazon S3.
- Select Access Key as Authentication.
- Enter a bucket/folder name.
- Enter the region and the endpoint URL for the region.
- Select Enable SSL.
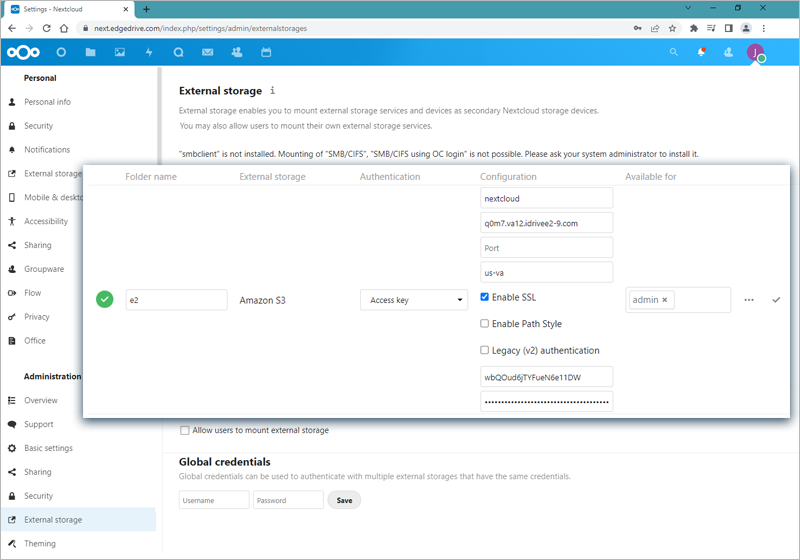
- Enter the Access Key ID and Secret Access Key. You can get these from the Access Keys tab of the IDrive® e2 account.
Note: Create an access key with read/write access on the new bucket or all the buckets in the region.
- Add the group to which you want to allow access in Nextcloud.
- Click the check mark for the new entry. A green check will confirm a successful connection to IDrive® e2. You can now read/write files to the IDrive® e2 from Nextcloud.