Related Links
Vembu BDR Suite
Backup all your cloud, physical, and virtual data along with SaaS applications under one roof with flexible storage facilities. Integrate IDrive® e2 with Vembu BDR Suite by creating Access Keys.
Here are the steps to configure the Vembu BDR suite to backup data to the IDrive® e2 repository.
- Log in to the BDRSuite Server console.
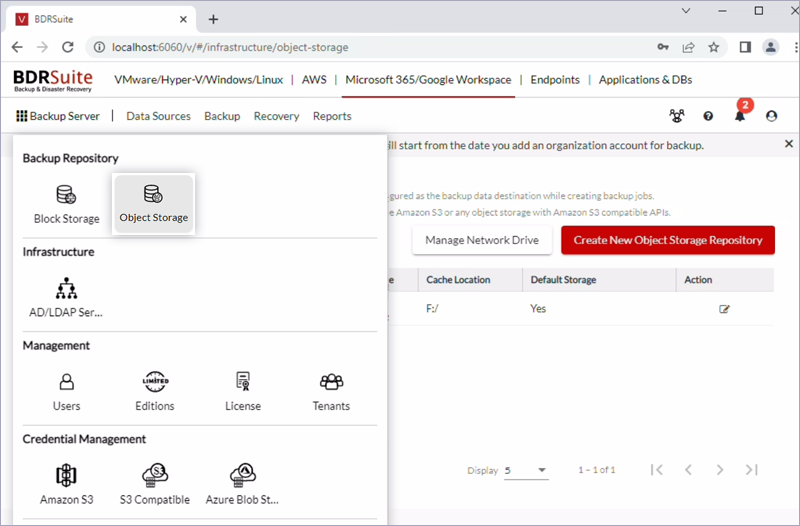
- Go to Backup Server and select Object Storage.
- Click Create New Object Storage Repository.
- Select the following options:
- Repository Type: S3 Compatible.

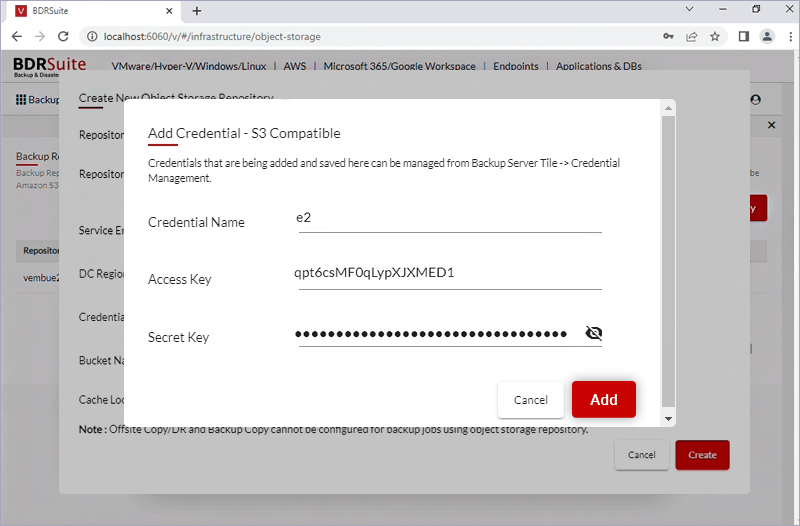
- Credential: Click Add New Credentials and provide your e2 access key details.
- Bucket Name: Select the bucket that you had previously created to store the backup data.
- Cache Location: Select a temporary location to store the data before uploading to the IDrive® e2 cloud storage. You can choose the location from local drives and network drives.
- Repository Type: S3 Compatible.
- Click Create to add IDrive® e2 as a backup repository.
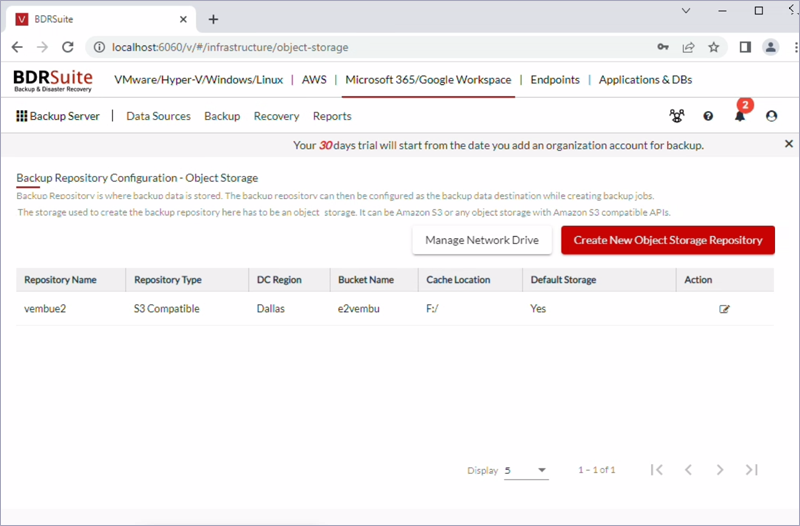
NOTE: You can check the created repository by clicking Backup Server Tile > Select Object Storage.
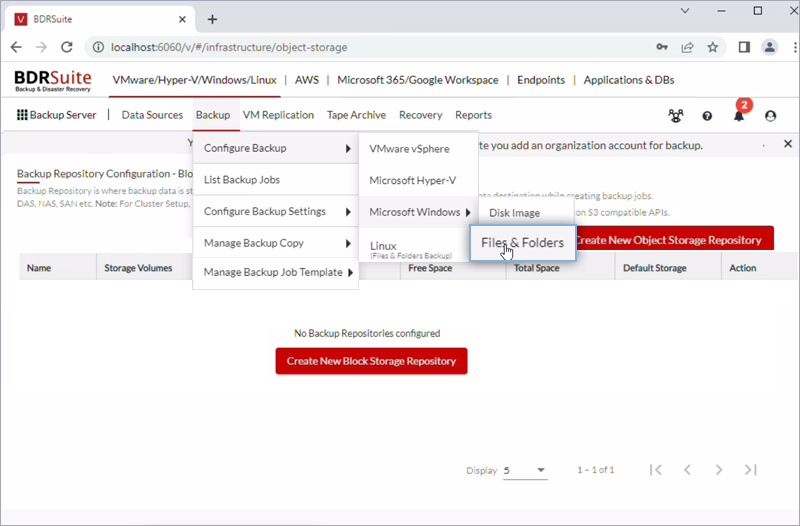
- Click Backup tab, select Configure Backup > Microsoft Windows > Files & Folders.
- Add host machine by providing the credentials as per the screenshot below.
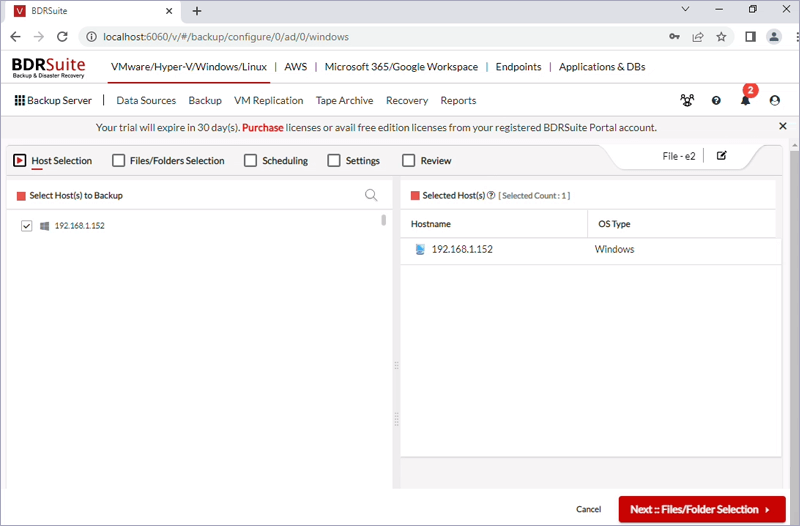
- Select this host to backup and click Next.
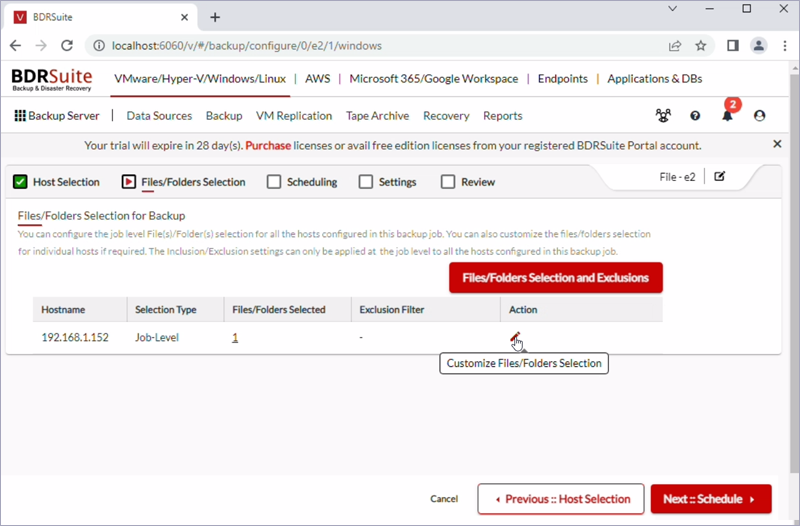
- Click Edit and select the data for backup.
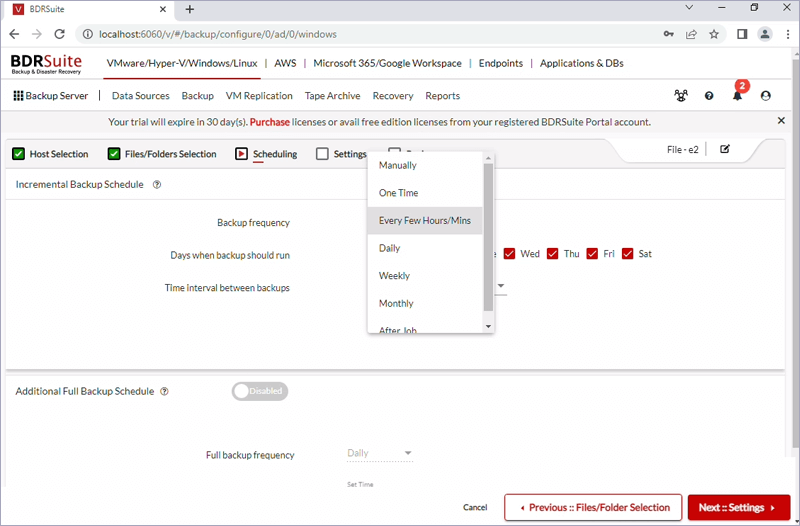
- Set the frequency of the backup schedule and click Next.
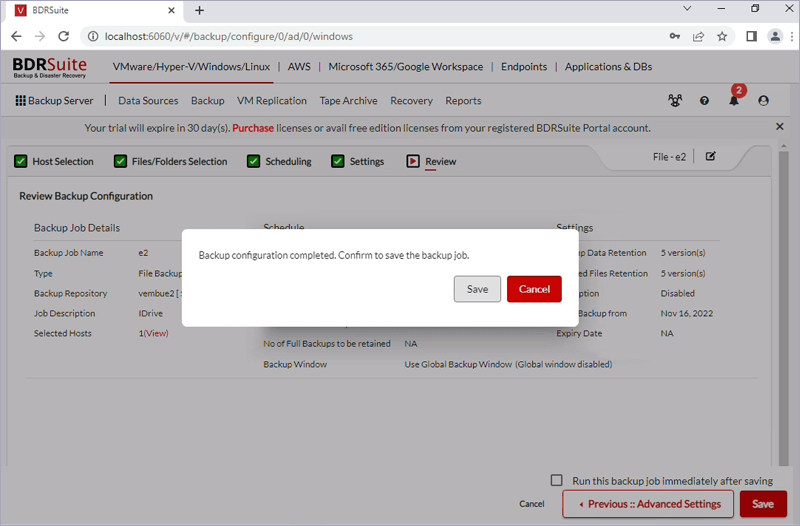
- Review the backup details and click Save to confirm.
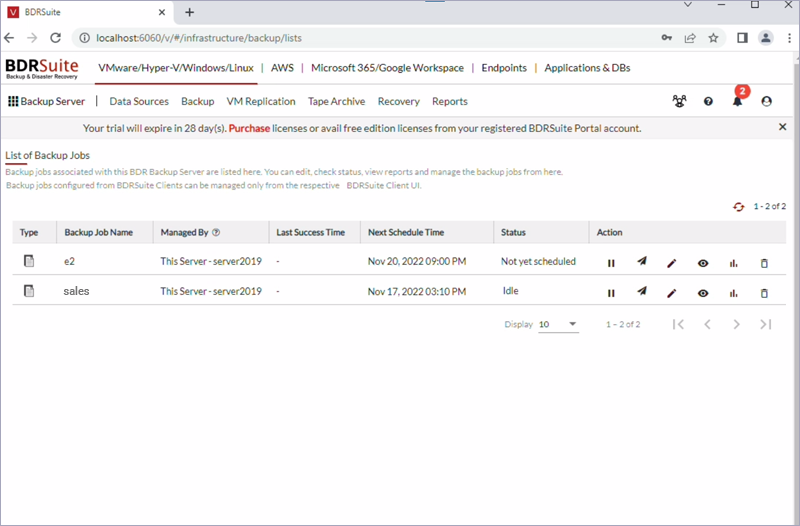
- Click Backup > List of Backup Jobs to view the status of the backup and other details.
Note: Data restoration is handled by your specific backup solution provider and is affected by multiple variables that are unique to your environment. For application-related enquiries/support, it is strongly recommended you seek guidance from the technical team of your backup solution provider.