VMware Restore
Recover your VMware virtual machines from your IDrive 360 account quickly, securely, and reliably.
- Launch the IDrive 360 desktop application and click 'Restore'.
- Choose the restore method: 'Online Restore', 'Local Restore', or 'IDrive® 360 Express™'.
- Navigate to and select the 'IDVMwareBackup' folder from your IDrive 360 cloud account or local storage.
Note: If performing a Local Restore, you can select the desired version from the 'Version' list.
- Click 'Restore Now' to transfer the 'IDVMwareBackup' folder to your local system.
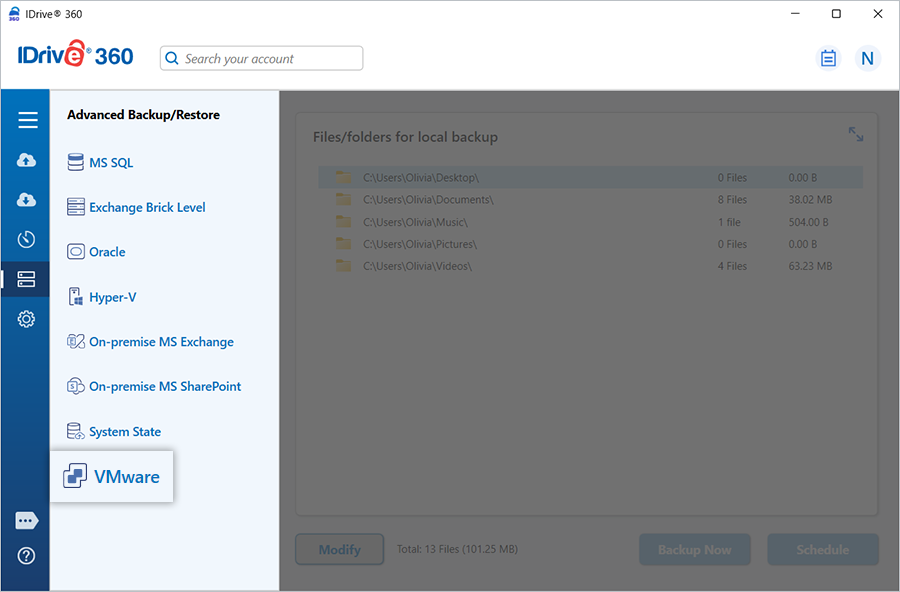
- Once the folder is restored locally, go to 'Server Backup'. A slider panel will appear.
- Click 'VMware' to open the VMware connection interface.
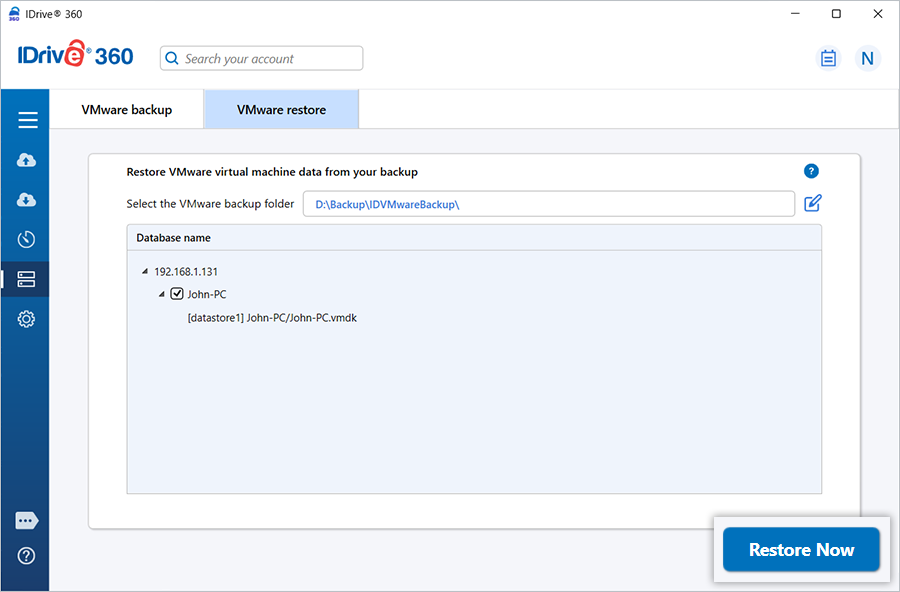
- Select 'VMware Restore'.
- Enter the ESXi server details: IP address, Port, Username, and Password, then click 'Connect to ESXi'.

- Browse and select the 'IDVMwareBackup' folder restored from your IDrive 360 account or local storage.
- Choose the virtual machines you want to restore to your VMware environment.
- Click 'Restore Now'.
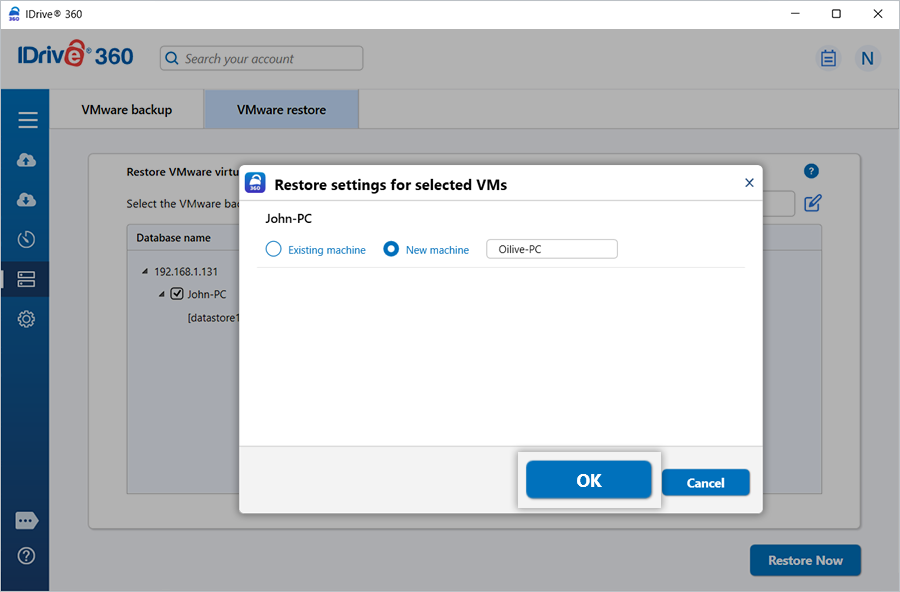
- In the restore settings popup:
- By default, 'Existing machine' is chosen as the restore target.
- To create a new virtual machine in the same location using the selected data, select 'New machine' and provide a name.
- Click 'OK' to continue.
A confirmation popup will appear, indicating that the VMDK file will be overwritten and the virtual machine will remain powered off during the restore.
- Click 'Yes' to proceed.
After the restore completes, a summary of the restored virtual machines will be displayed.
Refer to the guide to back up your VMware virtual machines