Hyper-V Backup
Protect your Hyper-V virtual machines quickly and securely, without causing downtime or interrupting ongoing operations.
To back up your Hyper-V virtual machines,
- Launch the IDrive 360 desktop application and select 'Server Backup'. A slider panel will appear.
- In the 'Hyper-V Backup' section, click 'Backup'.
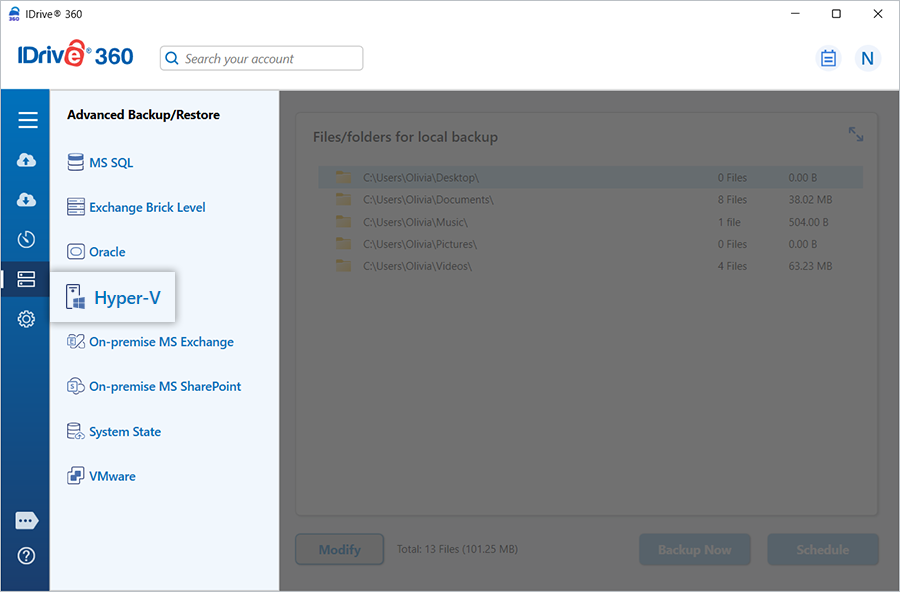
- Click 'Hyper-V' to open the Hyper-V backup/restore console. By default, 'Hyper-V Backup' is preselected.
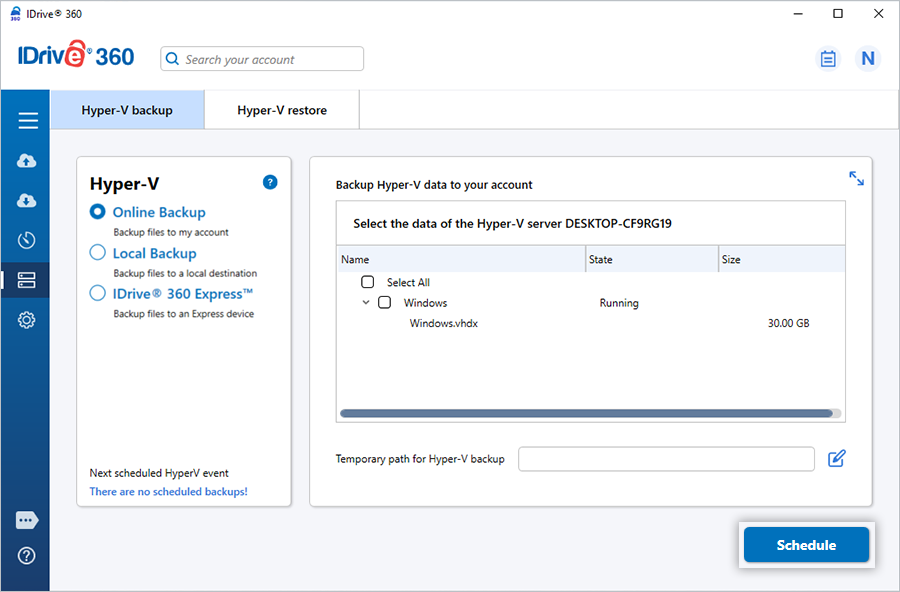
- Choose your preferred backup method: 'Online Backup', 'Local Backup', or 'IDrive® 360 Express™'.
- 'Online Backup' stores data in your IDrive 360 cloud account.
- 'Local Backup' or 'IDrive® 360 Express™' saves data to your local storage.
- Select the virtual machines you want to back up and define a temporary local path for the backup.
Note: Starting a local backup automatically creates a '.ServerBackup' folder.
- Click 'Schedule Now'. The Scheduler dialog appears, allowing you to set the backup for a specific date and time or start an immediate backup for the selected virtual machines.
View the steps to restore Hyper-V