Hyper-V Restore
Recover your Hyper-V virtual machines quickly in the event of a system failure or disaster.
To restore your Hyper-V VMs,
- Sign in to the IDrive 360 desktop application and click 'Restore'.
- Choose your restore method: 'Online Restore', 'Local Restore', or 'IDrive® 360 Express™'.
- Navigate to and select the 'IDHyperVData' folder from your IDrive 360 account or local storage.
Note: For Local Restore, you can select a specific version from the 'Version' list.
- Click 'Restore Now' to transfer the 'IDHyperVData' folder to your local system.

- Once restored, go to 'Server Backup'. A slider menu will appear.
- Select 'Hyper-V'. The Hyper-V backup/restore console opens.
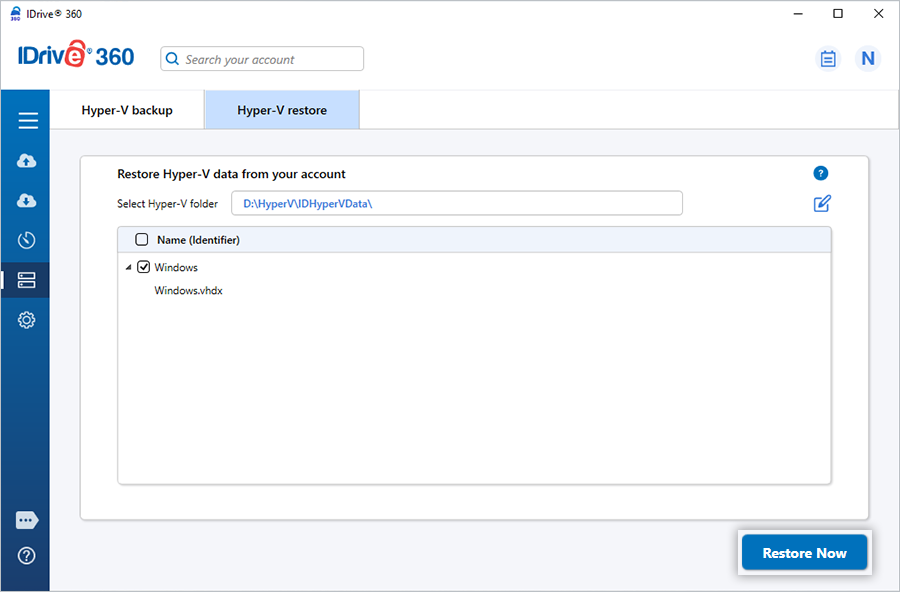
- Click 'Hyper-V Restore'.
- Browse to and select the previously restored 'IDHyperVData' folder.
- Choose the virtual machines you wish to restore to your Hyper-V server.
- Click 'Restore Now' to initiate the recovery.
Refer to the Hyper-V Backup section for guidance on backing up your virtual machines