Back Up On-premise MS SharePoint Server
Back up your entire on-premise SharePoint Server environment or select site components - such as document libraries, lists, or individual folders - with full activity logs for each operation.
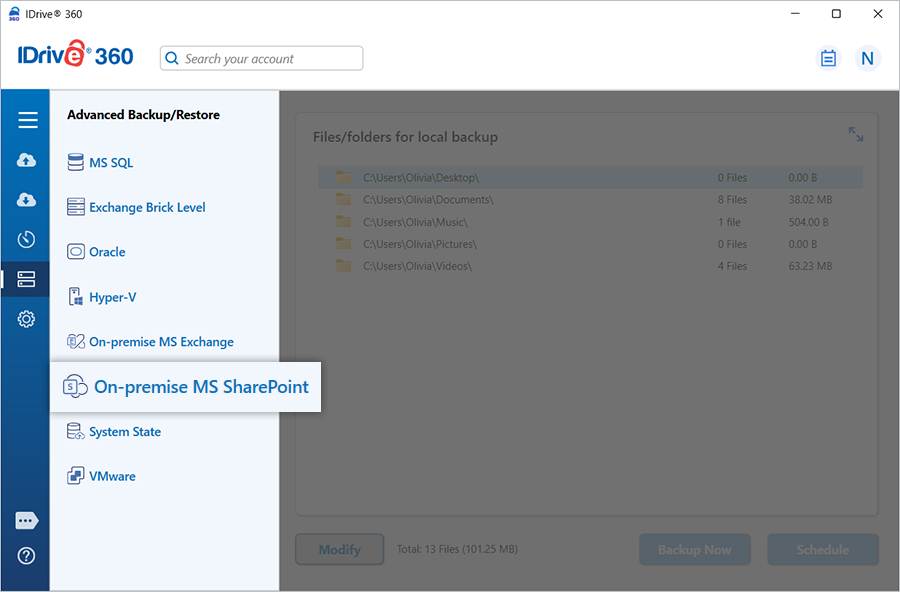
To back up your on-premise MS SharePoint Server,
- Sign in to the IDrive 360 desktop application and click 'Server Backup'. A slider panel appears.
- Select 'On-premise MS SharePoint' to launch the SharePoint backup/restore console. The 'MS SharePoint Backup' tab is selected by default.
- Choose a backup destination: 'Online Backup', 'Local Backup', or 'IDrive® 360 Express™'.
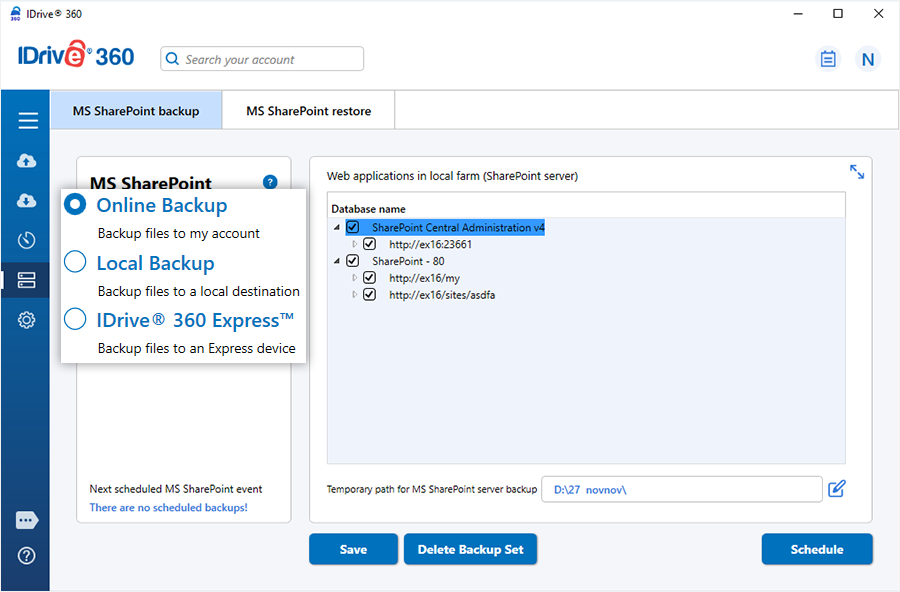
Note:
- Online Backup uploads data to the IDrive 360 cloud.
- Local Backup and IDrive® 360 Express™ save the data to a local storage path.
- From the list of available websites and applications, select the components you want to protect, and provide the local backup path.
- Select either 'Online Backup' or 'Local Backup', then click 'Schedule Now'.
When prompted, specify the temporary local backup directory, and confirm the schedule.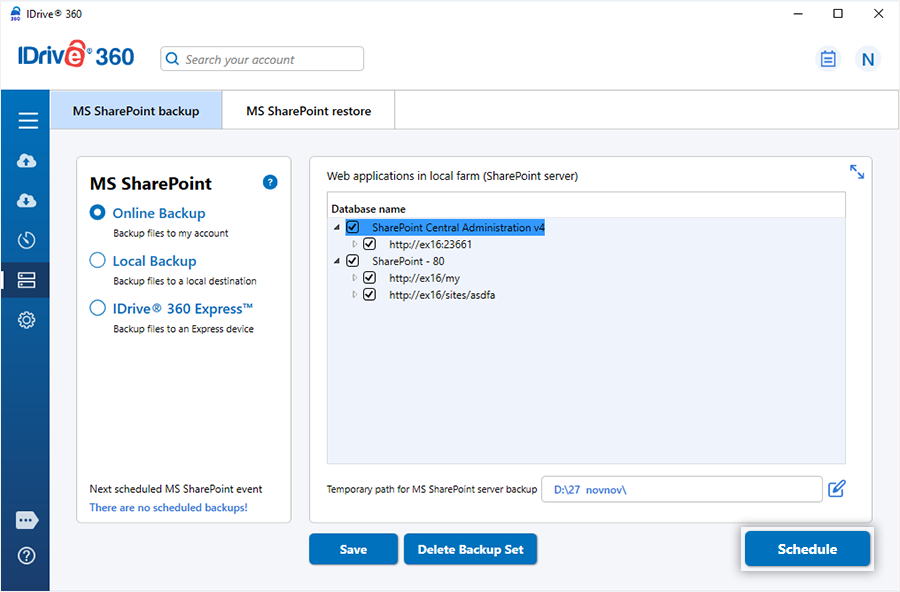
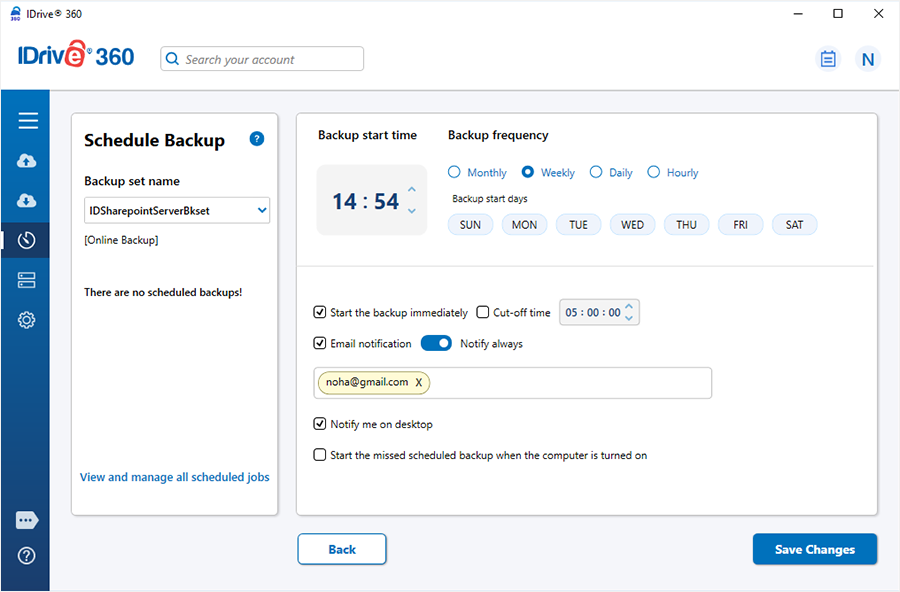
Note: A '.ServerBackup' folder is automatically created when a local backup begins.
- The 'Scheduler' window appears, allowing you to configure a future schedule or initiate an immediate backup for the selected SharePoint sites.
Refer to the detailed instructions for restoring your on-premise MS SharePoint Server.