System State Backup
Protect key System State elements such as boot files, the COM+ class registration database, the Windows registry, Active Directory data, and SYSVOL by performing a System State backup.
To run a System State backup,
- Sign in to the IDrive 360 desktop application and click ‘Server Backup’. A panel slides out with available backup options.
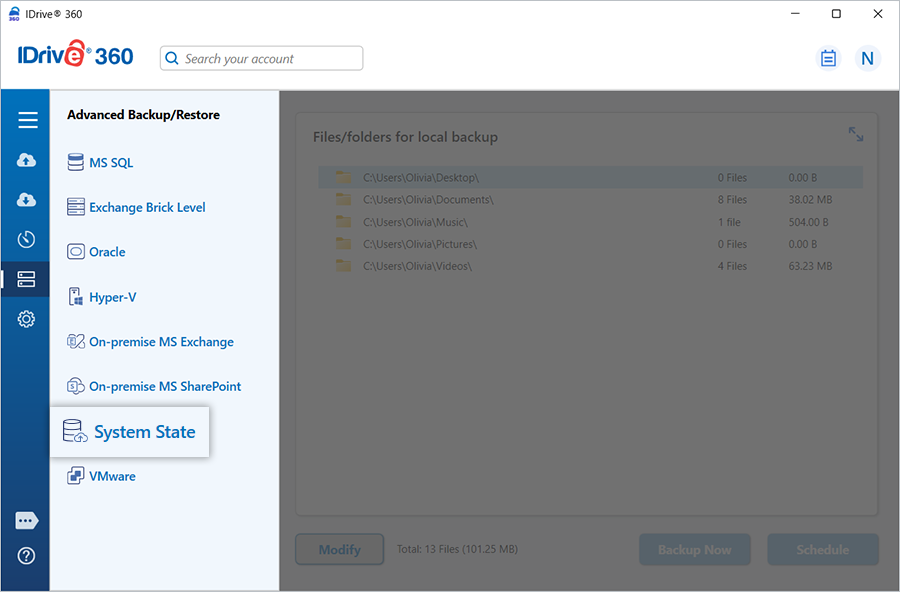
- Select ‘System State’. The System State backup/restore window appears, with ‘System State Backup’ chosen by default.
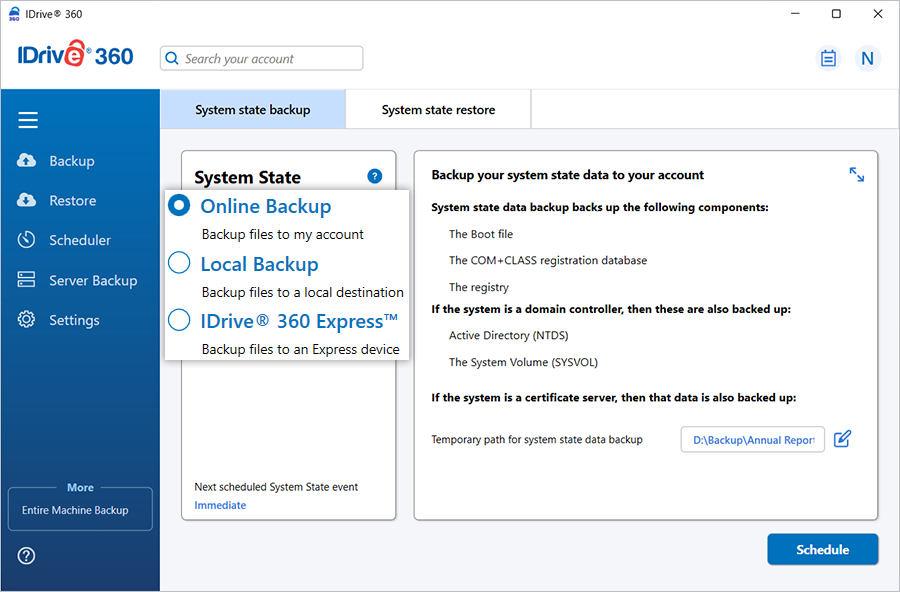
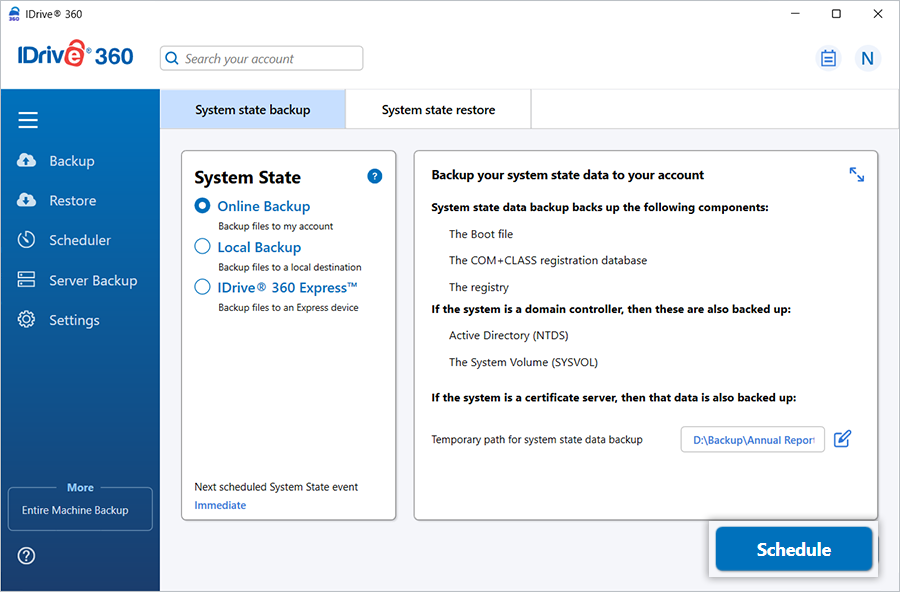
- Choose one of the backup modes: ‘Online Backup’, ‘Local Backup’, or ‘Express™ Backup’.
- If you select ‘Local Backup’ or ‘Express™ Backup’, specify the directory where the backup should be stored.
- ‘Online Backup’ transfers the data to the IDrive 360 cloud, while ‘Local Backup’ and ‘Express Backup’ save the data to a local storage location.
- Define a temporary directory where the application can generate the local copy of the system components before uploading.
Note: A ‘.ServerBackup’ folder is automatically created when the local backup begins.
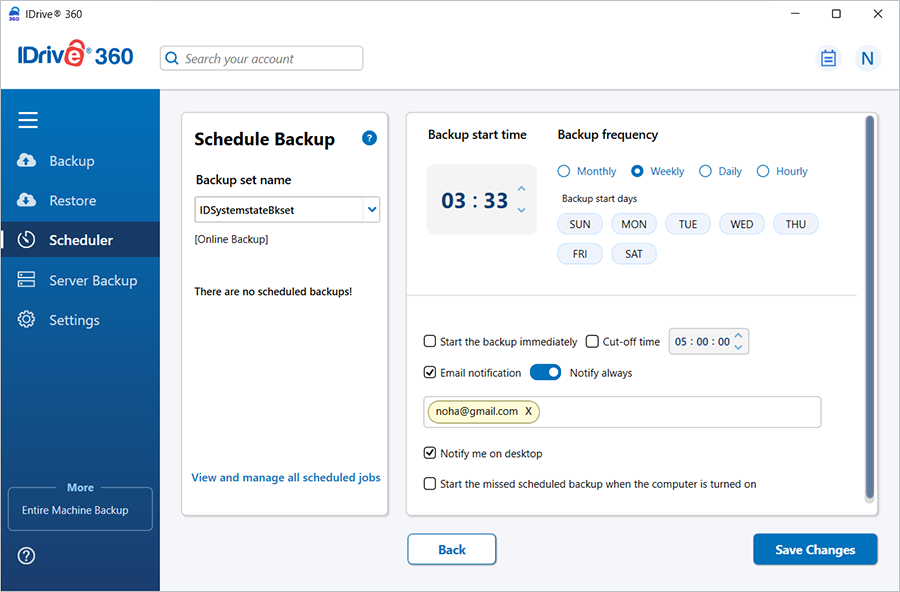
- Click ‘Schedule Now’. The Scheduler dialog opens, allowing you to configure a backup schedule for a future date/time or run the System State backup immediately.
Refer to the System State restore instructions for detailed restoration steps