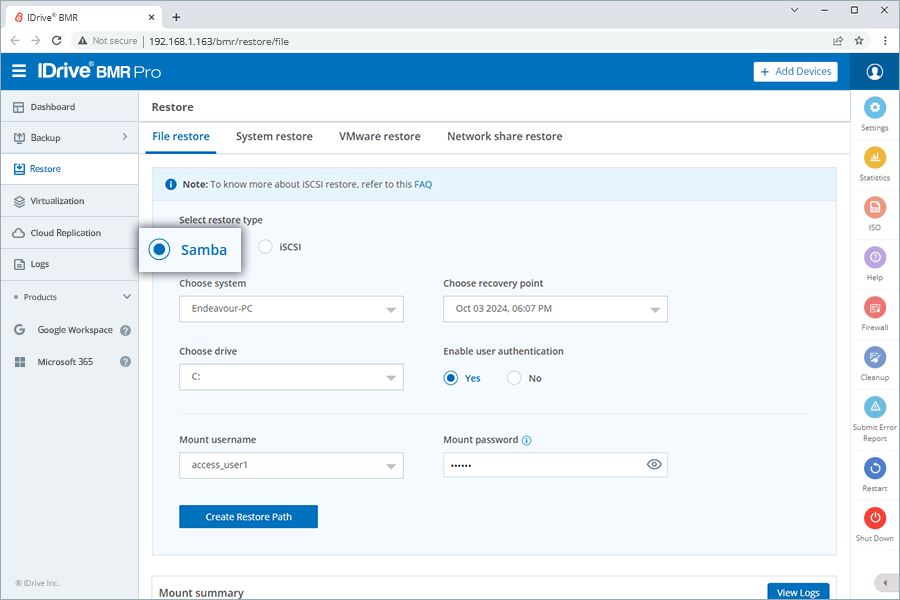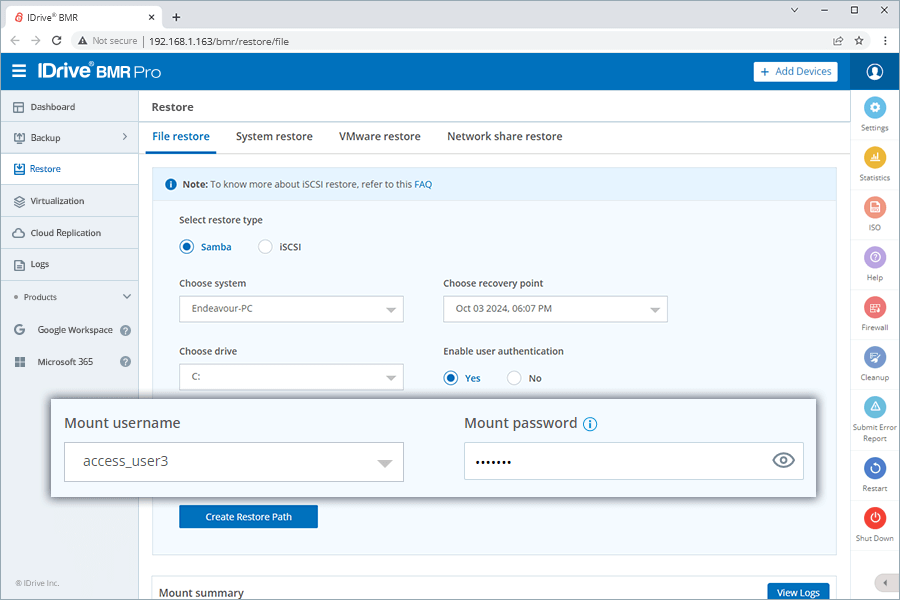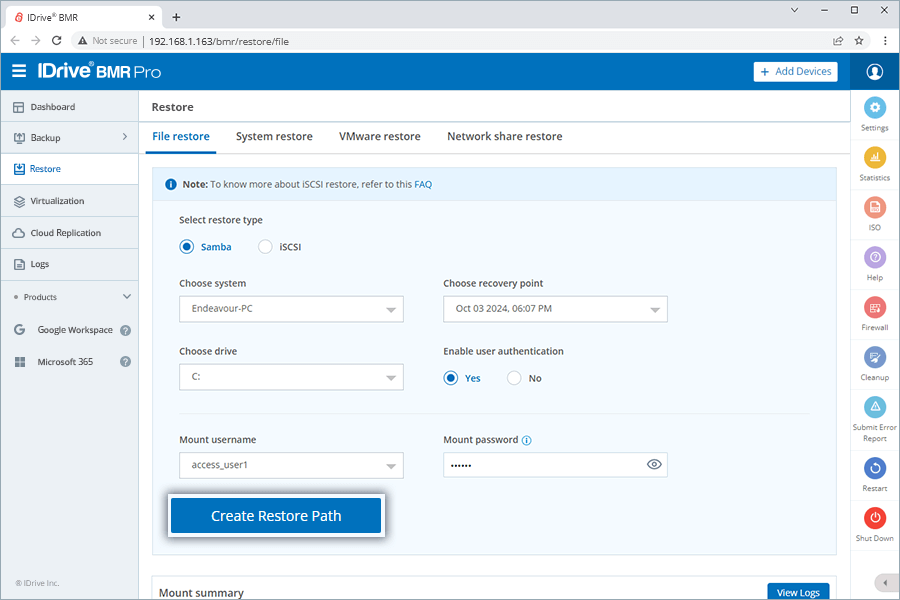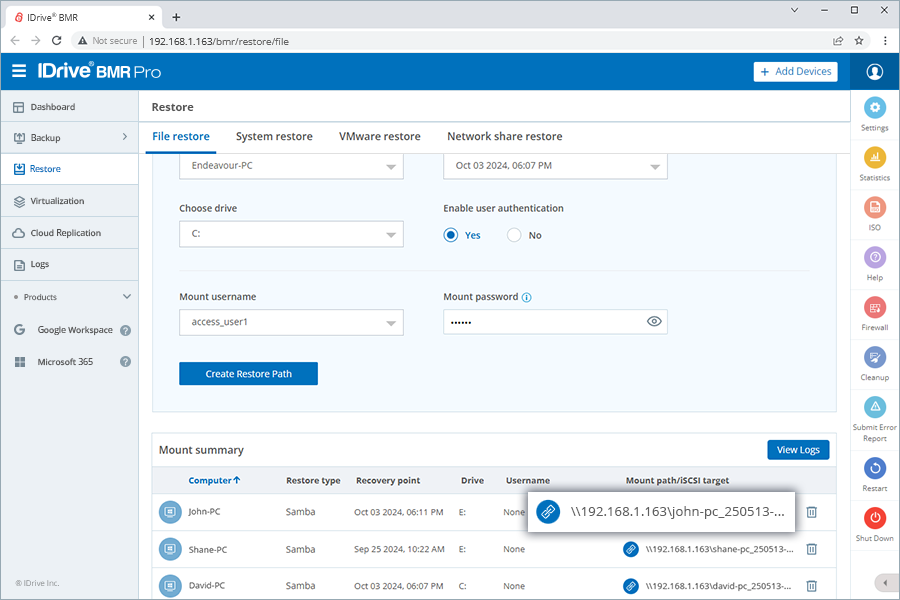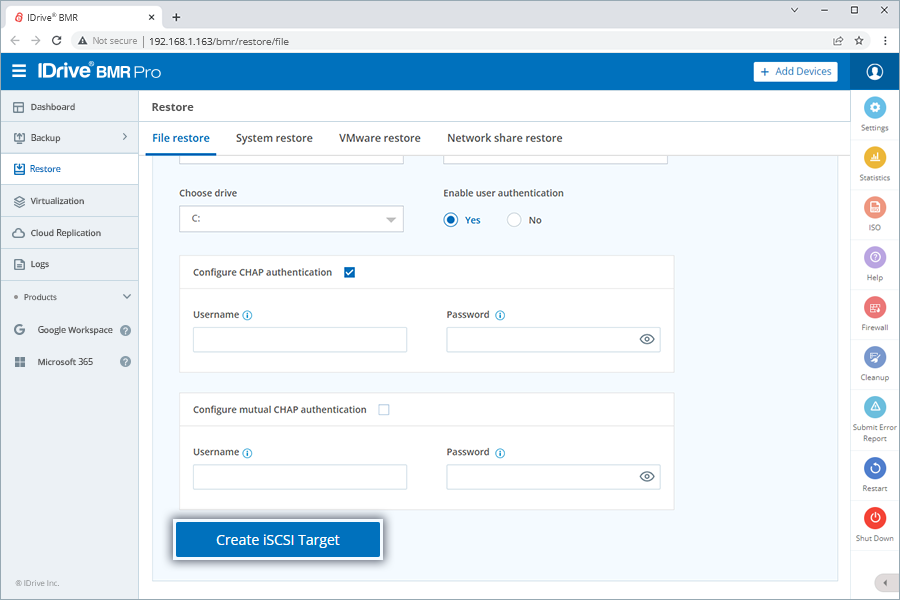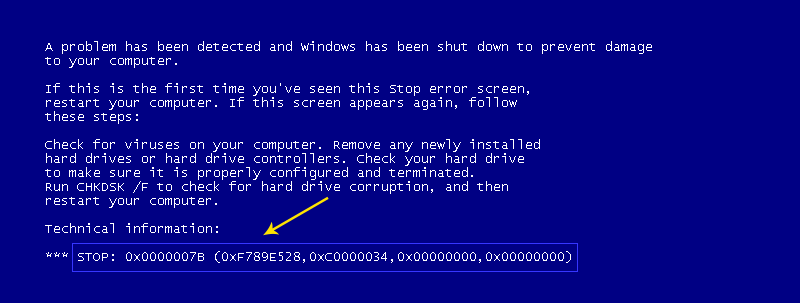


System Restore Instructions
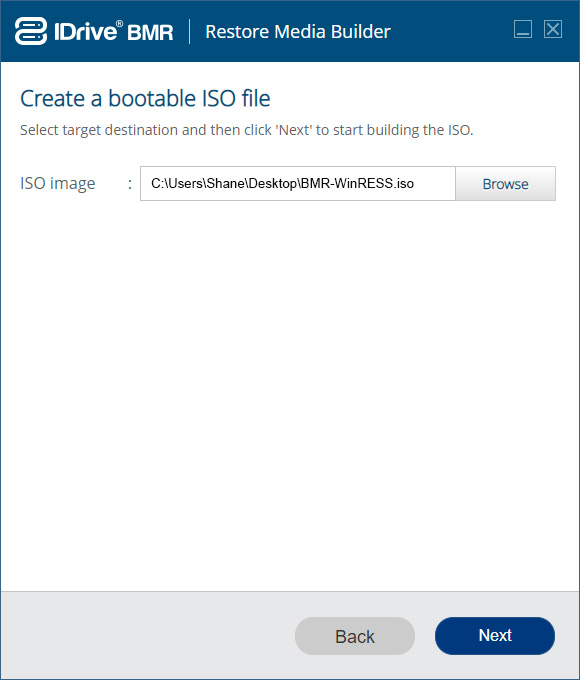
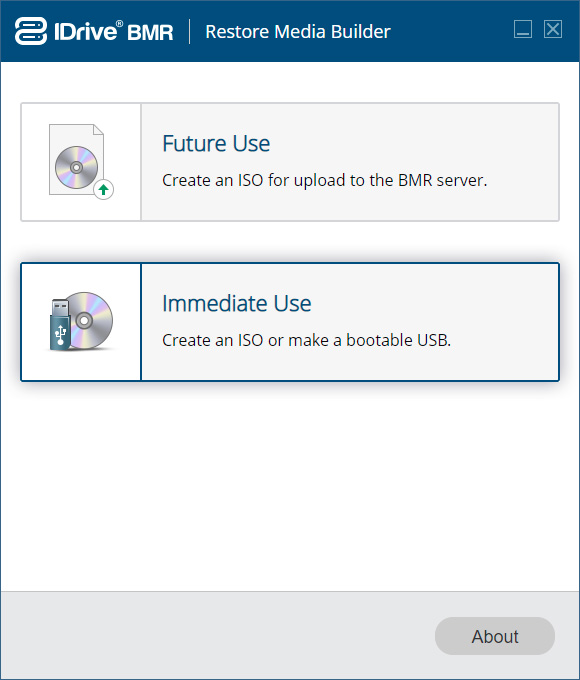
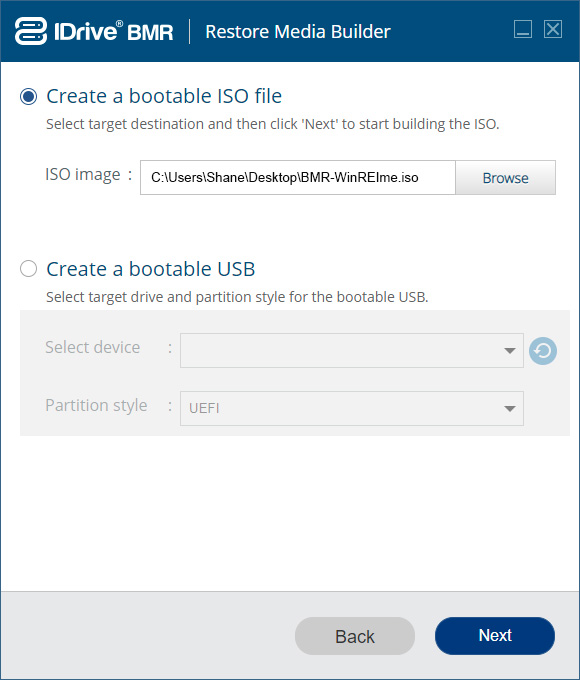
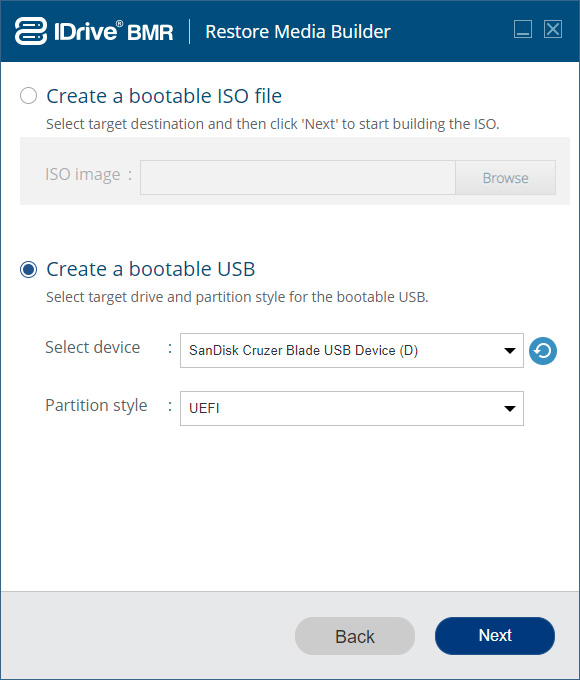
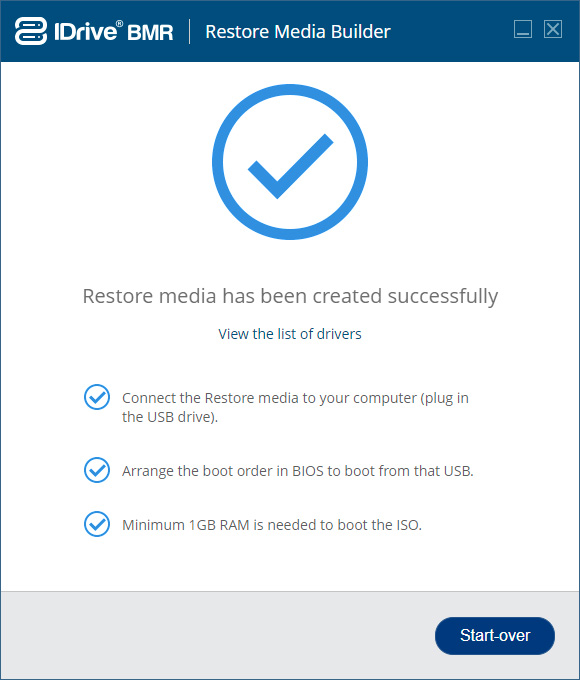
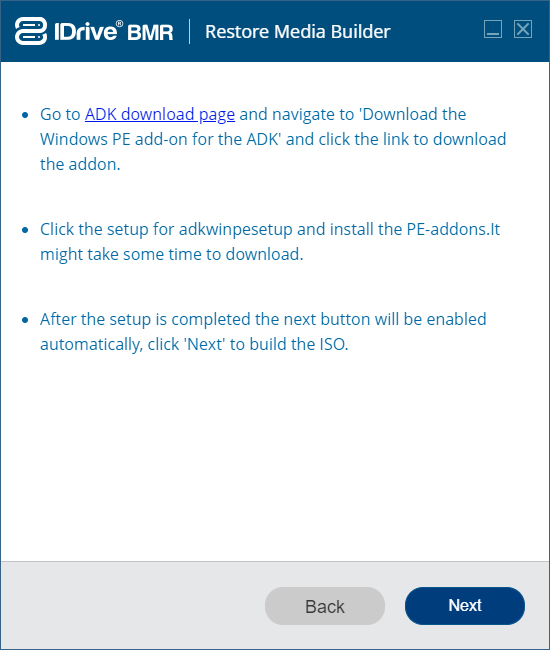
Before proceeding with system restore, you need to create a bootable CD or a bootable USB thumb drive using an ISO file and boot your computer.
The required ISO file and related information for creating bootable CD or a bootable USB thumb drive is available on the shipped device.
Booting Instructions
Perform the following steps to boot your computer:
Note:
Screenshots used in the following scenario is just an example. Depending on the BIOS manufacturer you would get different menu options.
- Switch on the computer and press ESC, F1, F2, F8 or F10 during the initial startup screen. Depending on the BIOS manufacturer, a menu would appear.
- Go to BIOS setup and select 'BOOT' tab.
- To set a boot sequence priority, perform the following steps:
- If you are using a restore CD/DVD, then move the 'CD/DVD..' to the first position in the list.
- If you are using a USB drive instead, then move the 'USB' to the first position in the list.
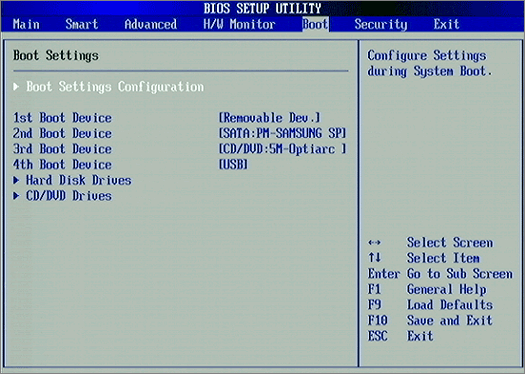
- Save and exit the BIOS setup.
You can now proceed with the restore process.
System Restore Instructions
- Boot your computer using IDrive BMR Restore CD or a USB thumb drive which has restore environment.
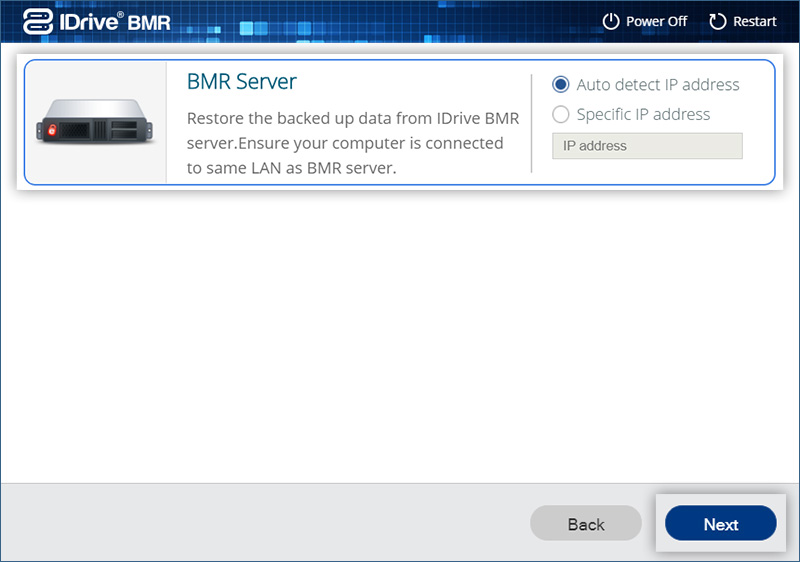
- After booting your system, click 'Next' in the welcome page.
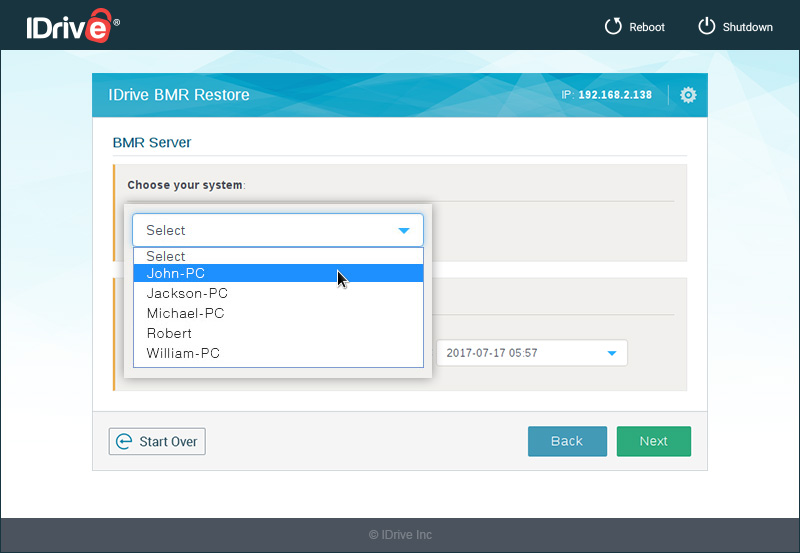
- Select 'BMR Server' and click 'Next'.
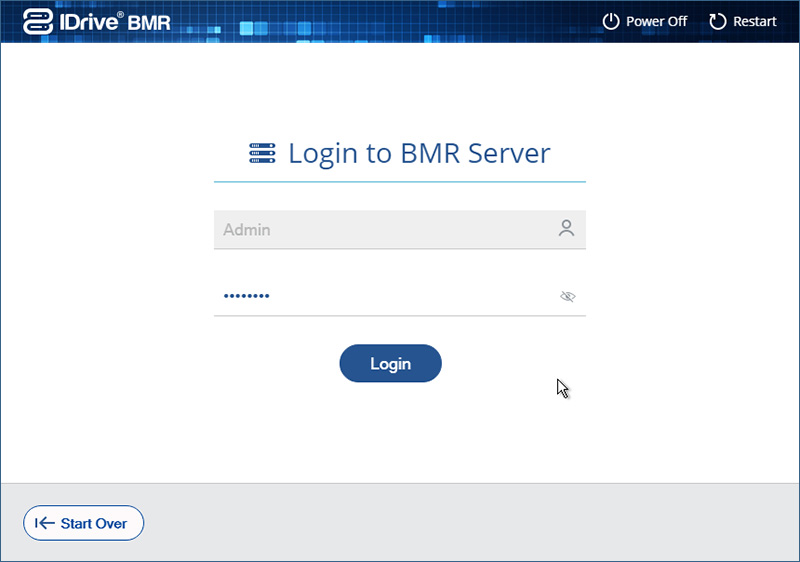
- Enter the BMR device password and click 'Sign in'.
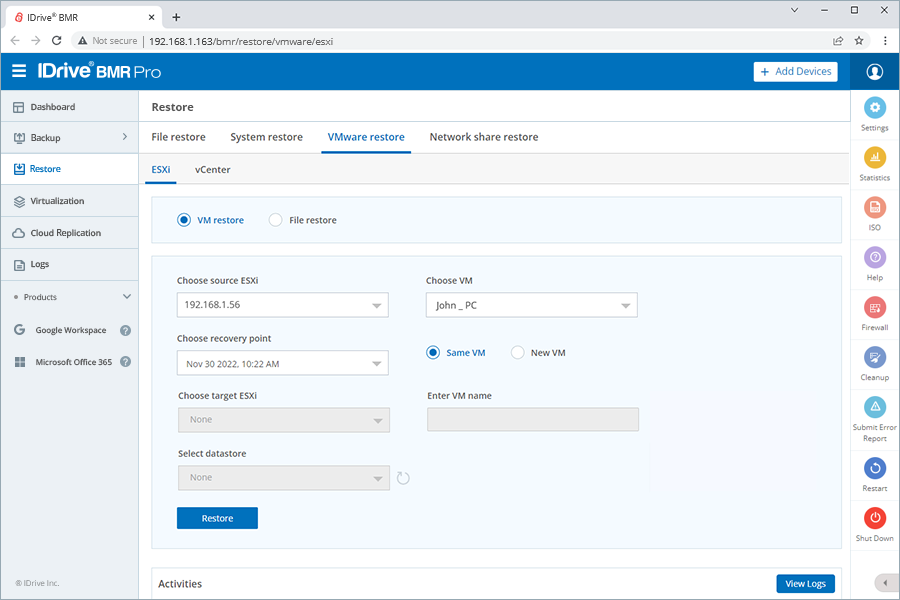
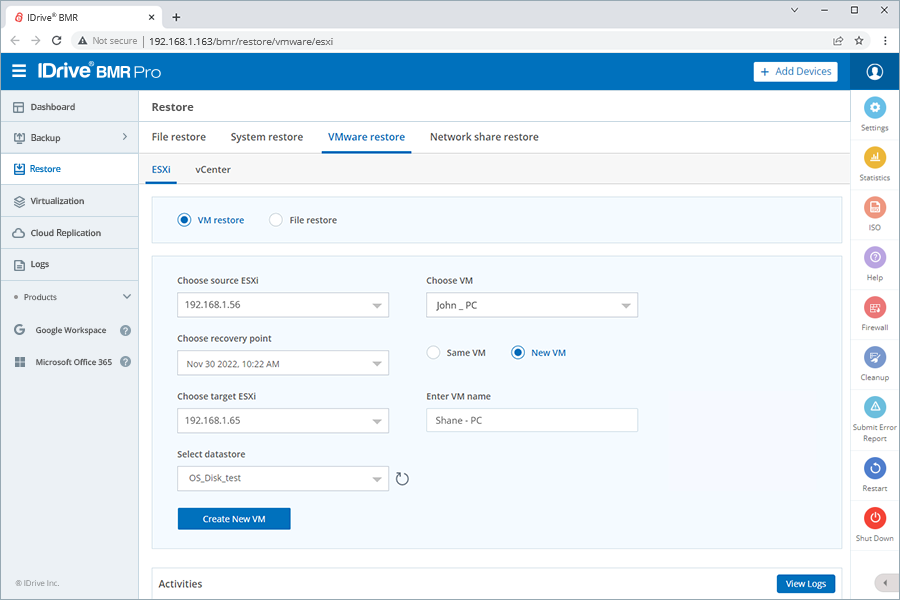
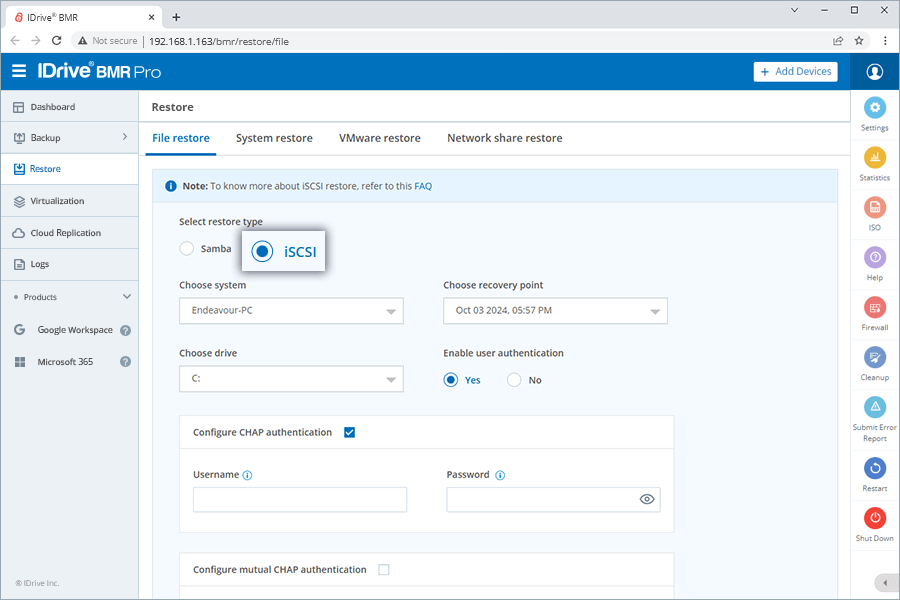
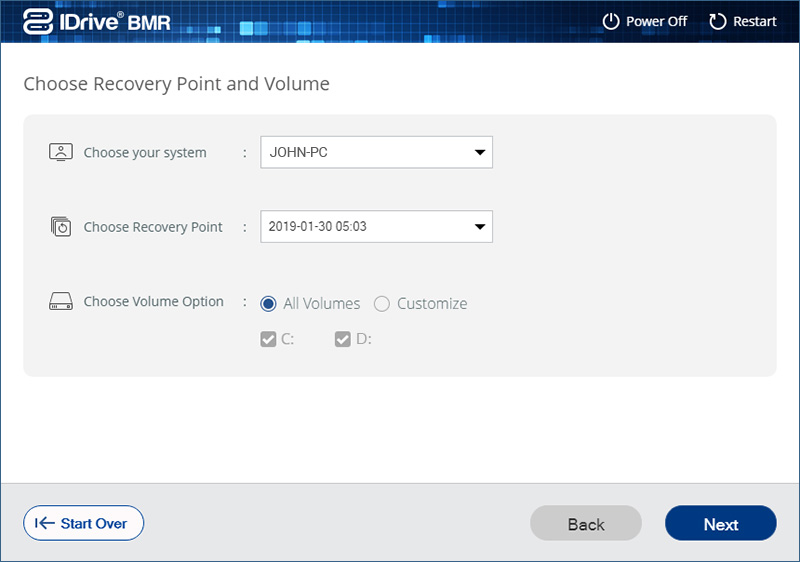
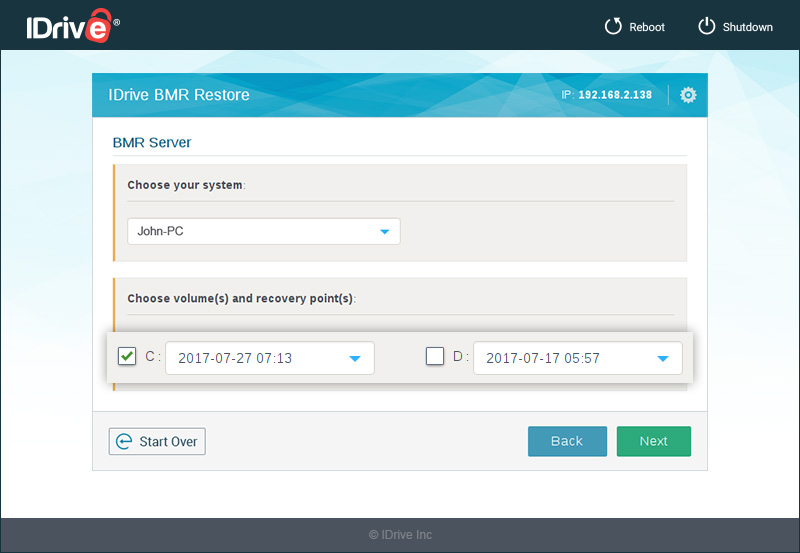
- Select the system from which you want to restore the data, from 'Choose your system' dropdown.
- Select the required volumes and their recovery points to restore, from 'Choose Volume(s) and recovery point(s)' section and click 'Next'.
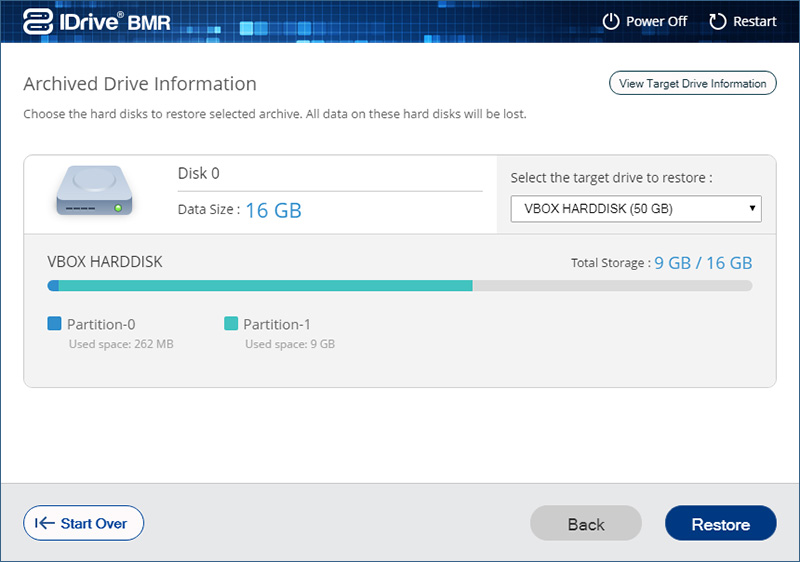
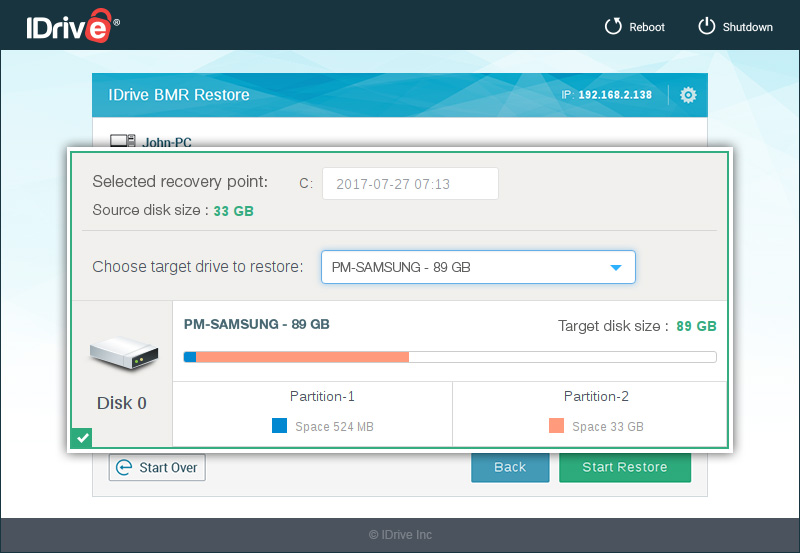
- Select the drive to which you want to restore data, from 'Choose target drive to restore' dropdown.
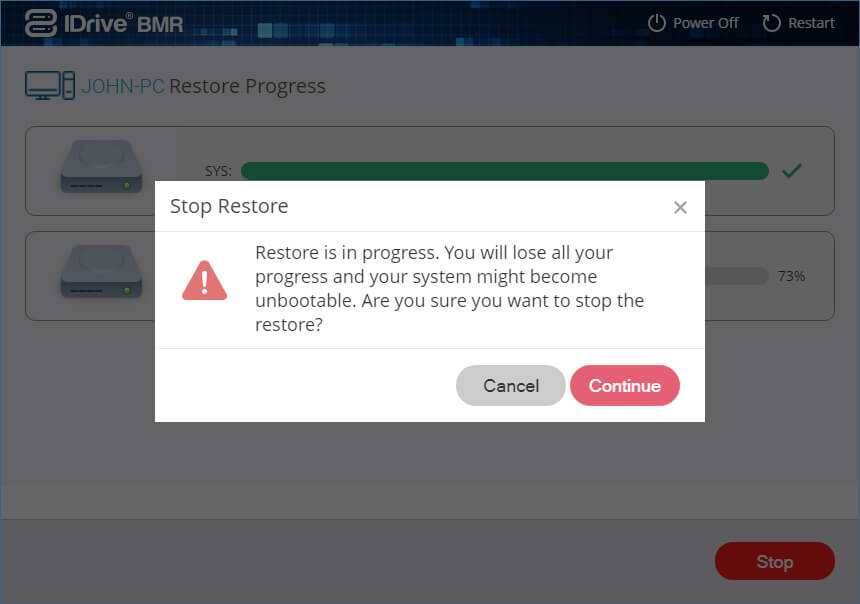
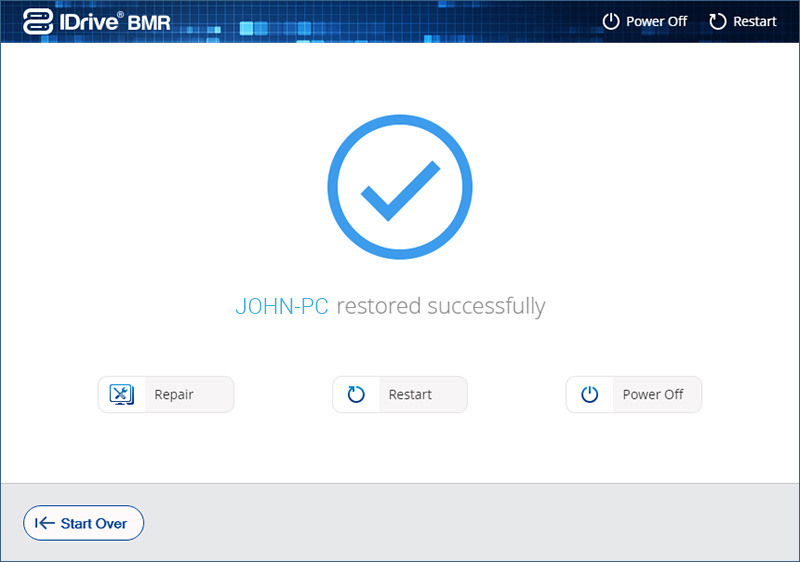
- Click Restore and select Continue in the confirmation window to start the restore process.
System Restore Instructions for older versions of restore application
- After exiting from BIOS setup, click 'OK' in the confirmation window.
- Provide your username and password.
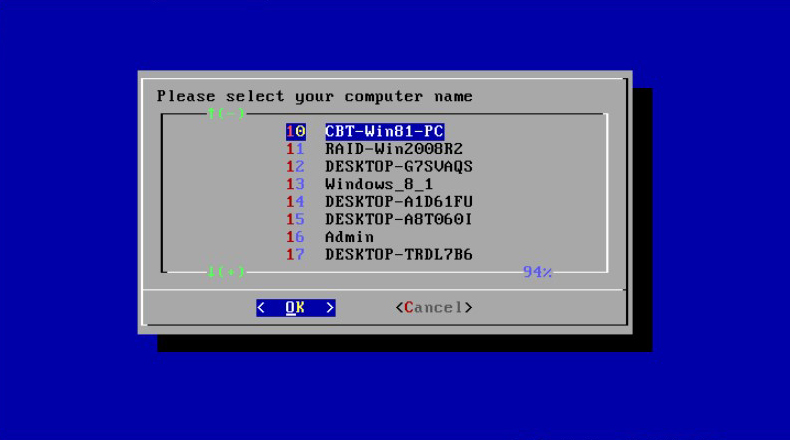
- Select the particular computer from the list of computers and click 'OK'.
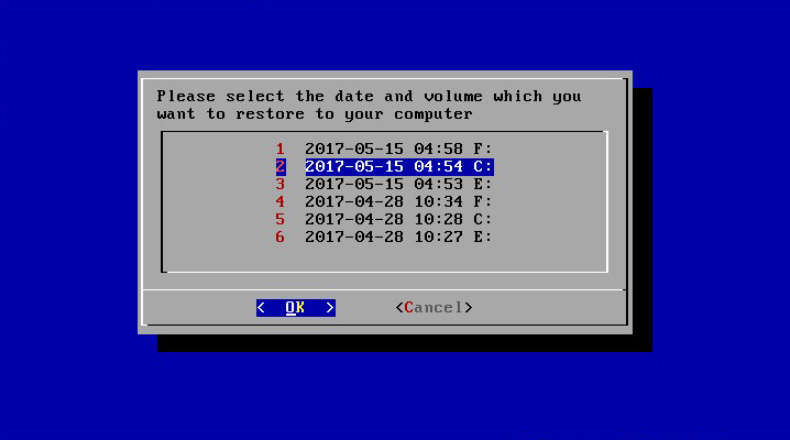
The list of drives with date and time of the last backup is displayed. - Select the particular drive you want to restore.
- Select the target drive to which you want to restore data.
- Click 'OK' in the confirmation window.
Note:
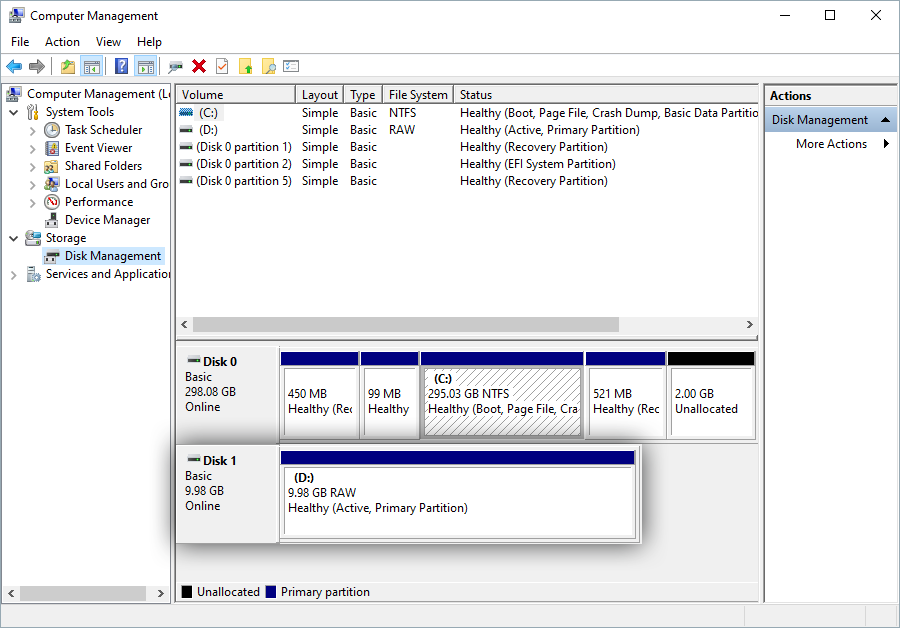
- The 'restore computer' should at least have the same hard drive space as 'backup computer'. Also, if the 'backup computer' has multiple drives, ensure that the 'restore computer' also has the same number of drives.
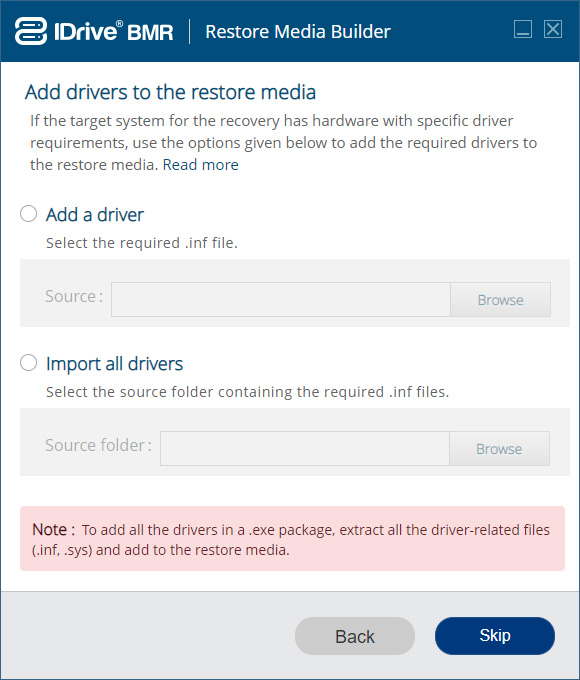
- It is recommended that 'restore computer' have the same hardware configuration as 'backup computer'. However, you may have to install the required additional drivers if there is any change in the hardware configuration of the 'restore computer'.