MSI Deployment with MST via Intune
Use Microsoft Intune to deploy an MSI package with an MST file and deliver customized application installations across managed devices. Create the MST file to define required configuration settings without modifying the original MSI. Package the MSI and MST together, upload the application to Intune, and configure installation parameters to ensure consistent, silent, and centralized deployments across all assigned endpoints.
Preparing the .intunewin file using the Intune Win App Util tool
- Download the Intune Win32 Content Prep Tool (IntuneWinAppUtil.exe) from the official Microsoft documentation page:
https://learn.microsoft.com/en-us/intune/intune-service/apps/apps-win32-prepar - Once downloaded, save IntuneWinAppUtil.exe to the same folder where the MSI and MST files are stored.
- Place the MSI, MST, and any additional required files in a single folder (for example: DeploymentFolder).
- Open an elevated Command Prompt and run IntuneWinAppUtil.exe.
- When prompted, provide the following details:
- Source folder- Specify the full path of the folder where the MSI and MST files are located.
- Setup file – Enter the full path of the MSI file enclosed in double quotes.
- Output folder – Specify the folder where the generated .intunewin file will be saved.
- Catalog folder – If .cat files are available, provide the folder path. Otherwise, choose N to continue.
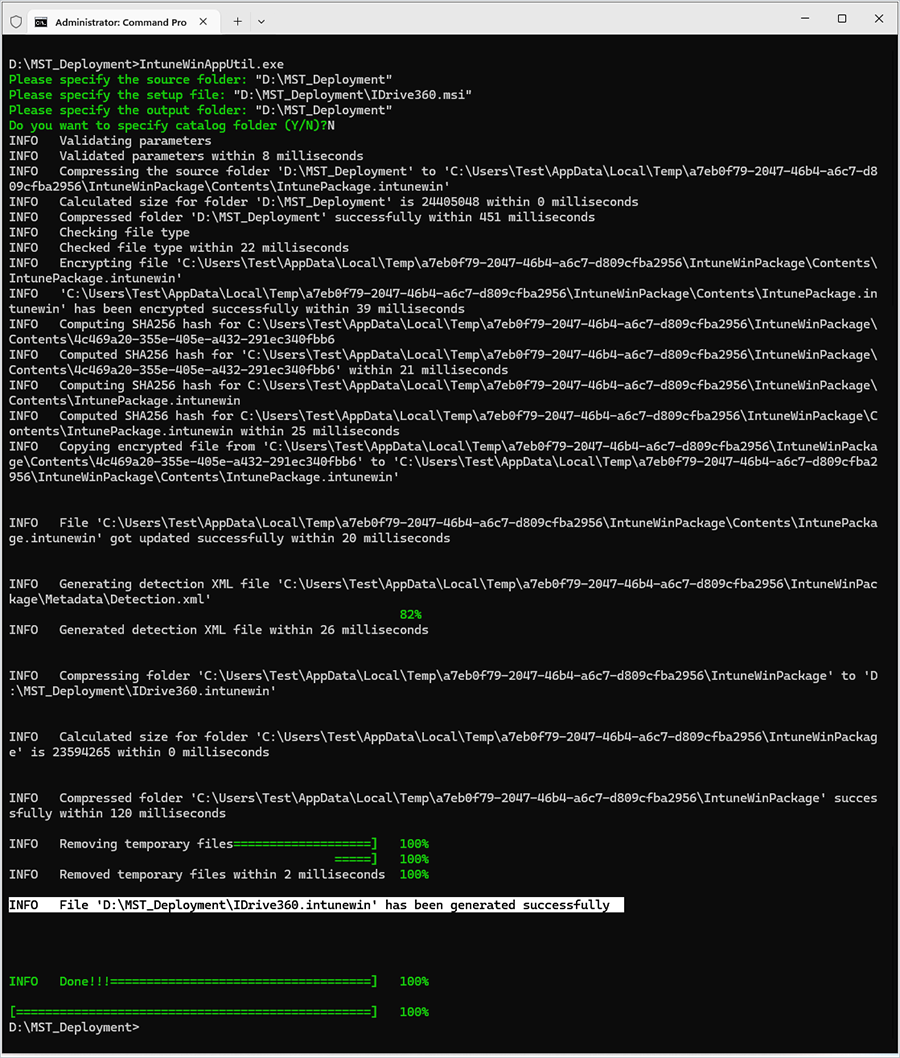
- After validating the inputs, the tool will generate the .intunewin file in the specified output folder.
Steps to deploy MSI with MST via Intune
- Sign in to the Microsoft Intune admin centre :https://intune.microsoft.com/#home
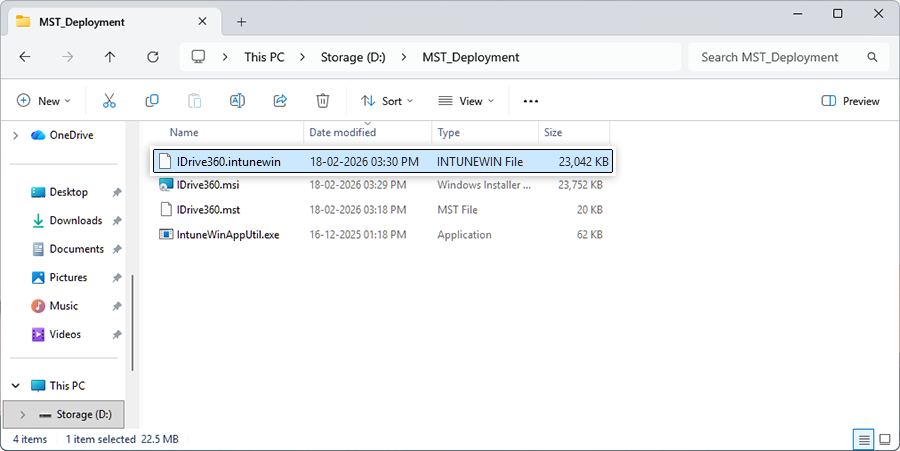
- Before proceeding, ensure the following files are available in the same folder:
- MSI file in the same folder (IDrive360.msi)
- MST file in the same folder (IDrive360.mst)
- Intunewin file in the same folder (IDrive360.intunewin)
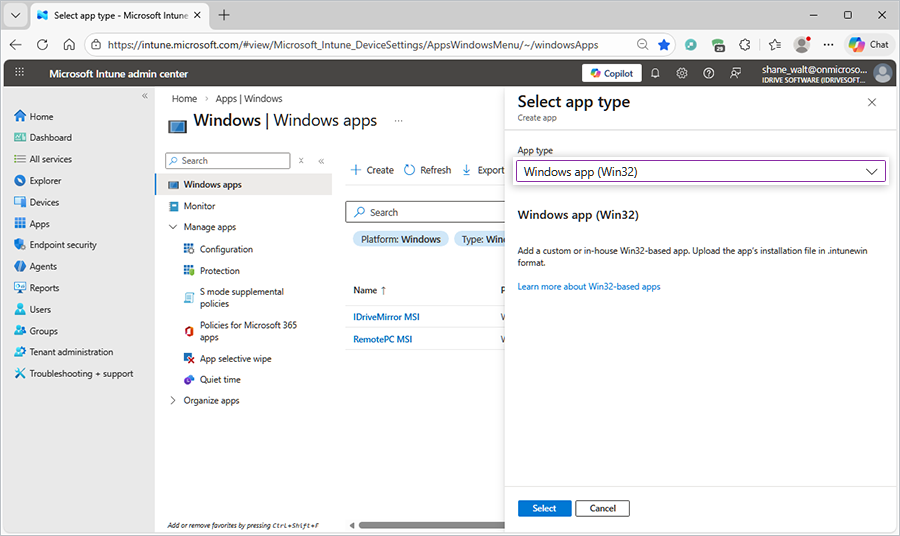
- In the Intune admin center, navigate to:
Apps > Windows > Create. - Under Select app type, choose Windows app (Win32) from the drop-down menu.
- Click Select to proceed with adding the application.
- Under the Add app pane, click Select app package file.
- Browse to and select the .intunewin file.
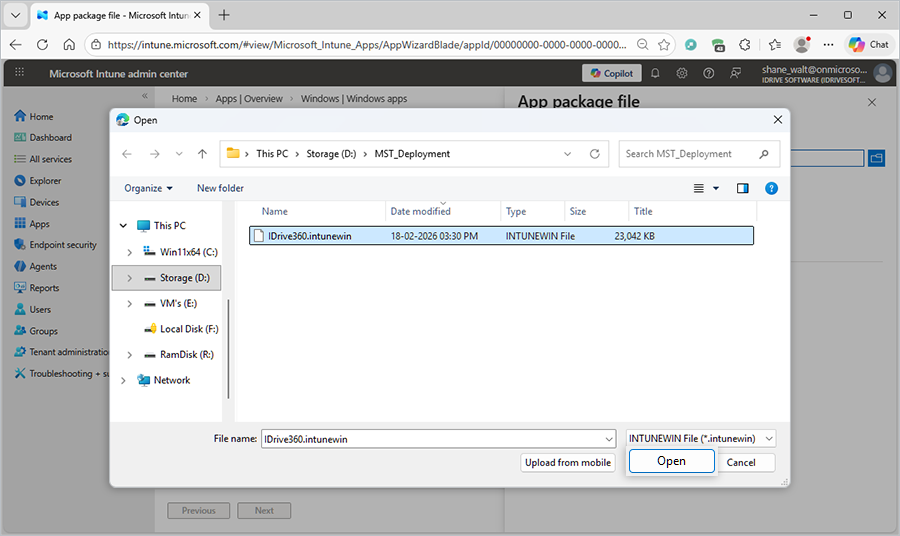
- Click OK to upload the package.
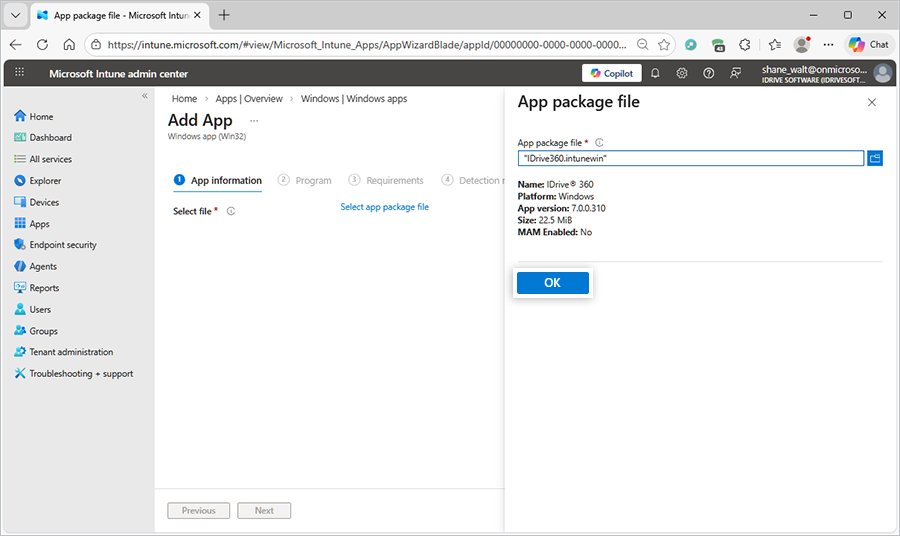
- In the App information section, enter IDrive® 360 in the Publisher field (mandatory).
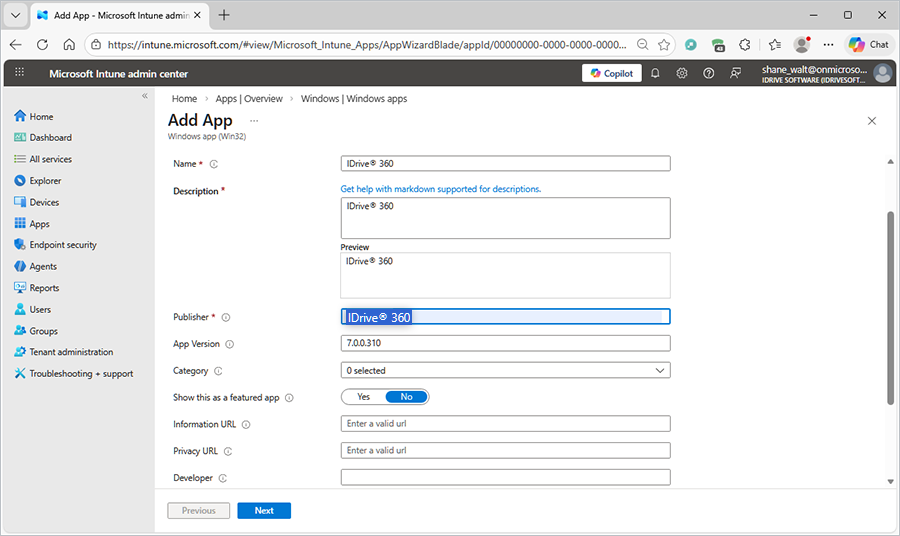
- Click Next to continue.
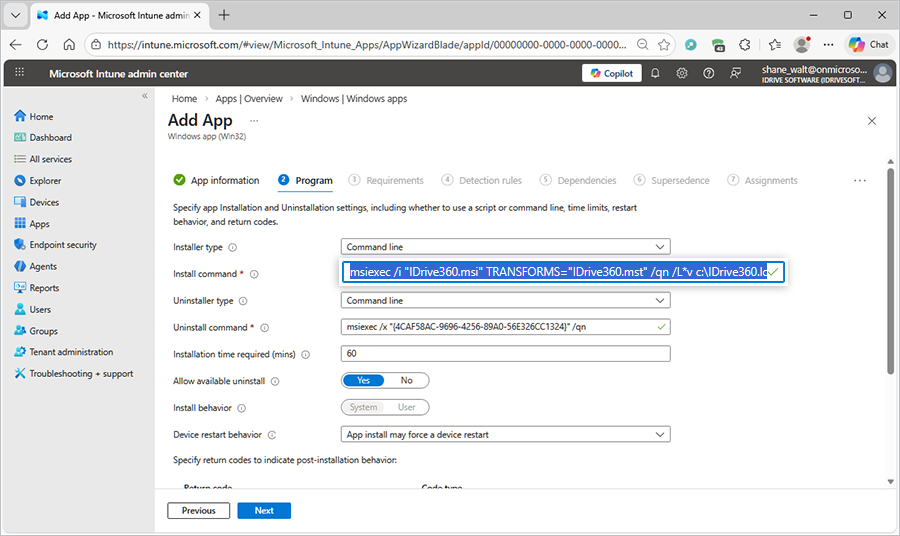
- In the Program section, enter the following command in the Install command field:
msiexec /i "IDrive360.msi" TRANSFORMS="IDrive360.mst" /qn /L*v c:\IDrive360.log - Click Next to proceed.
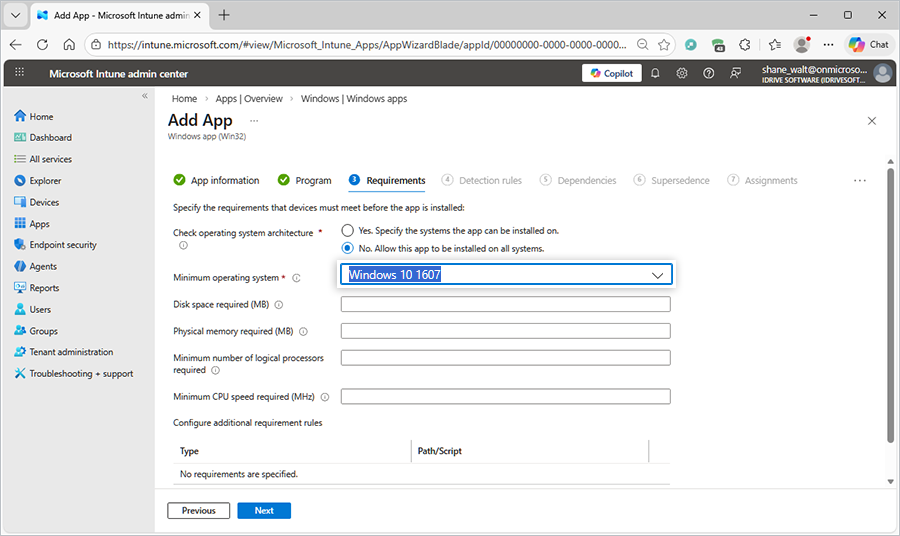
- In the Requirements section, select the appropriate Minimum operating system from the drop-down list.
- Click Next to continue.
- In the Detection rules section, select Manually configure detection rules from the drop-down menu.
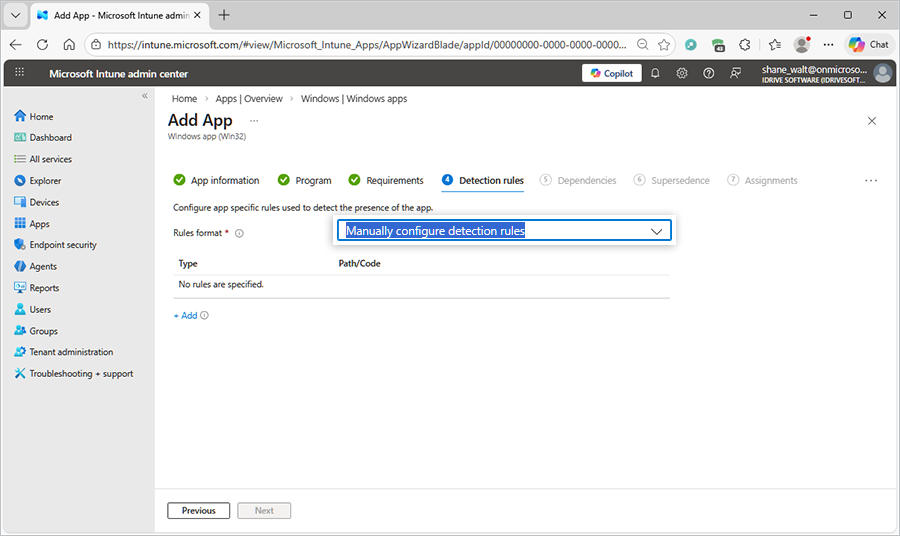
- Click + Add to configure a new detection rule.
- In the Detection rule pane, select MSI as the rule type.
- Click OK to save the rule.
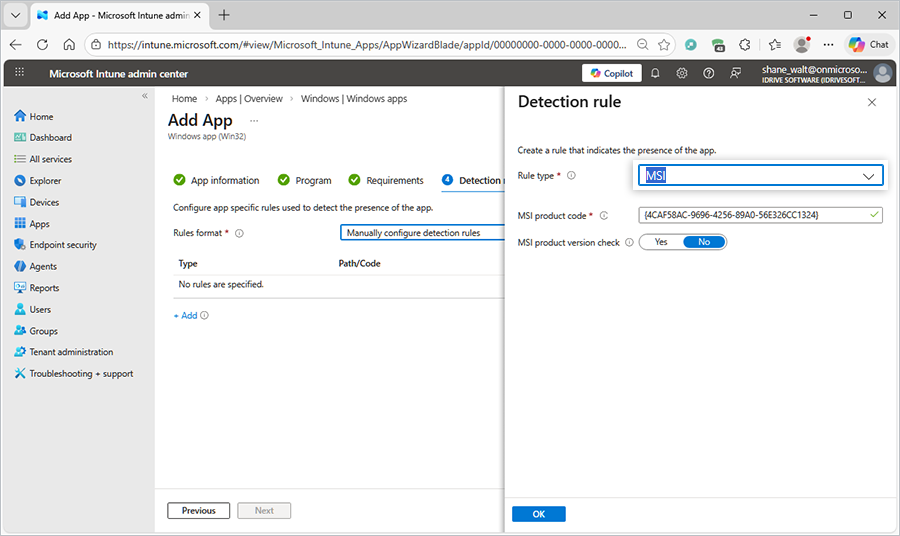
- Click Next to proceed.
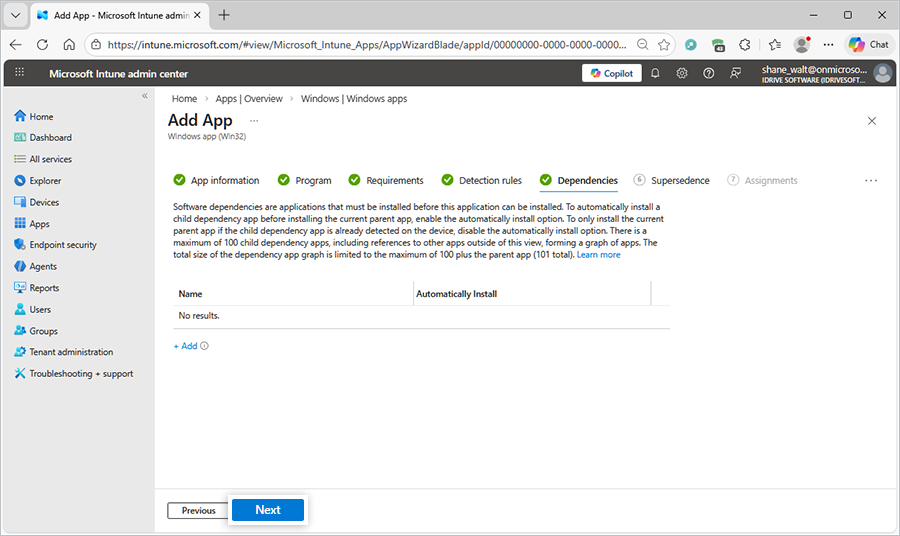
- In the Dependencies section, configure any required dependency applications, if applicable.
- If no dependencies are required, click Next to continue.
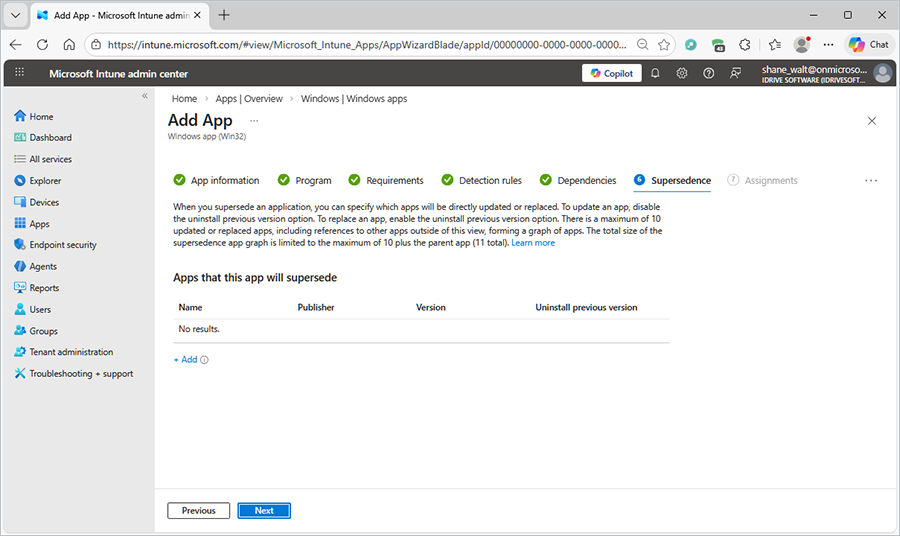
- In the Supersedence section, configure supersedence settings if applicable, else click Next to continue.
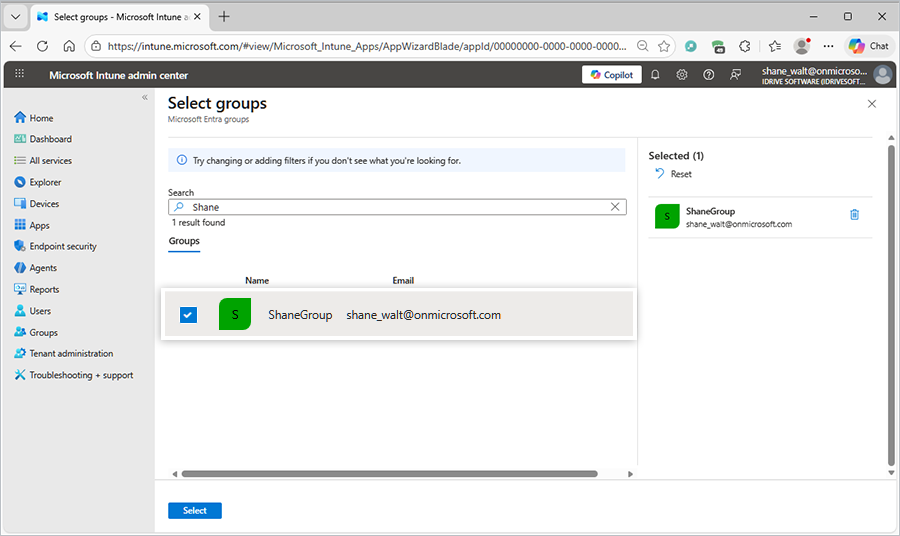
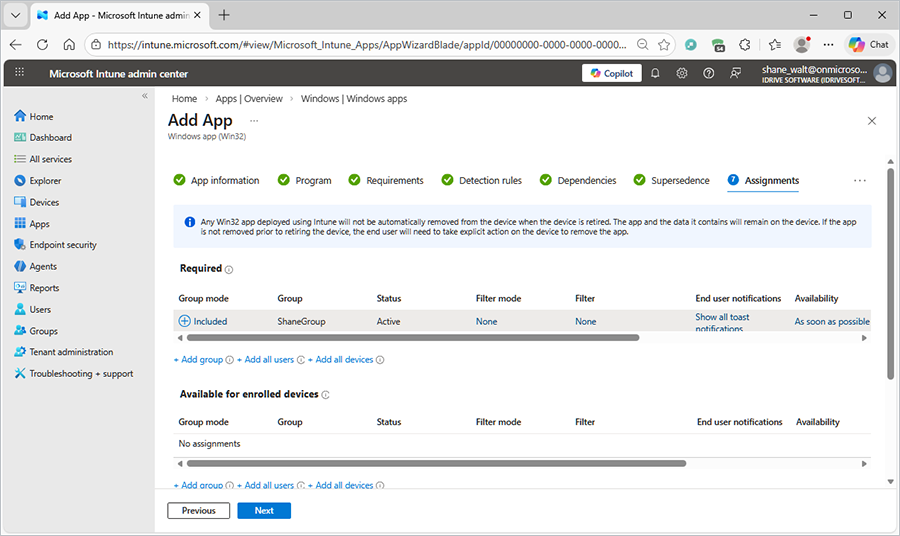
- In the Assignments section, select the required groups, users, or devices based on your deployment requirements.
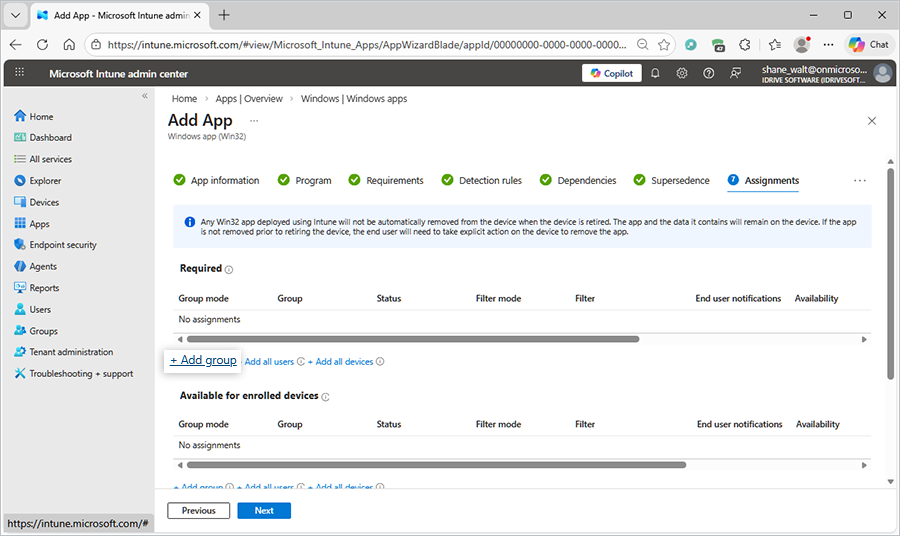
- For this example, select a Group.
- Click Next to continue.
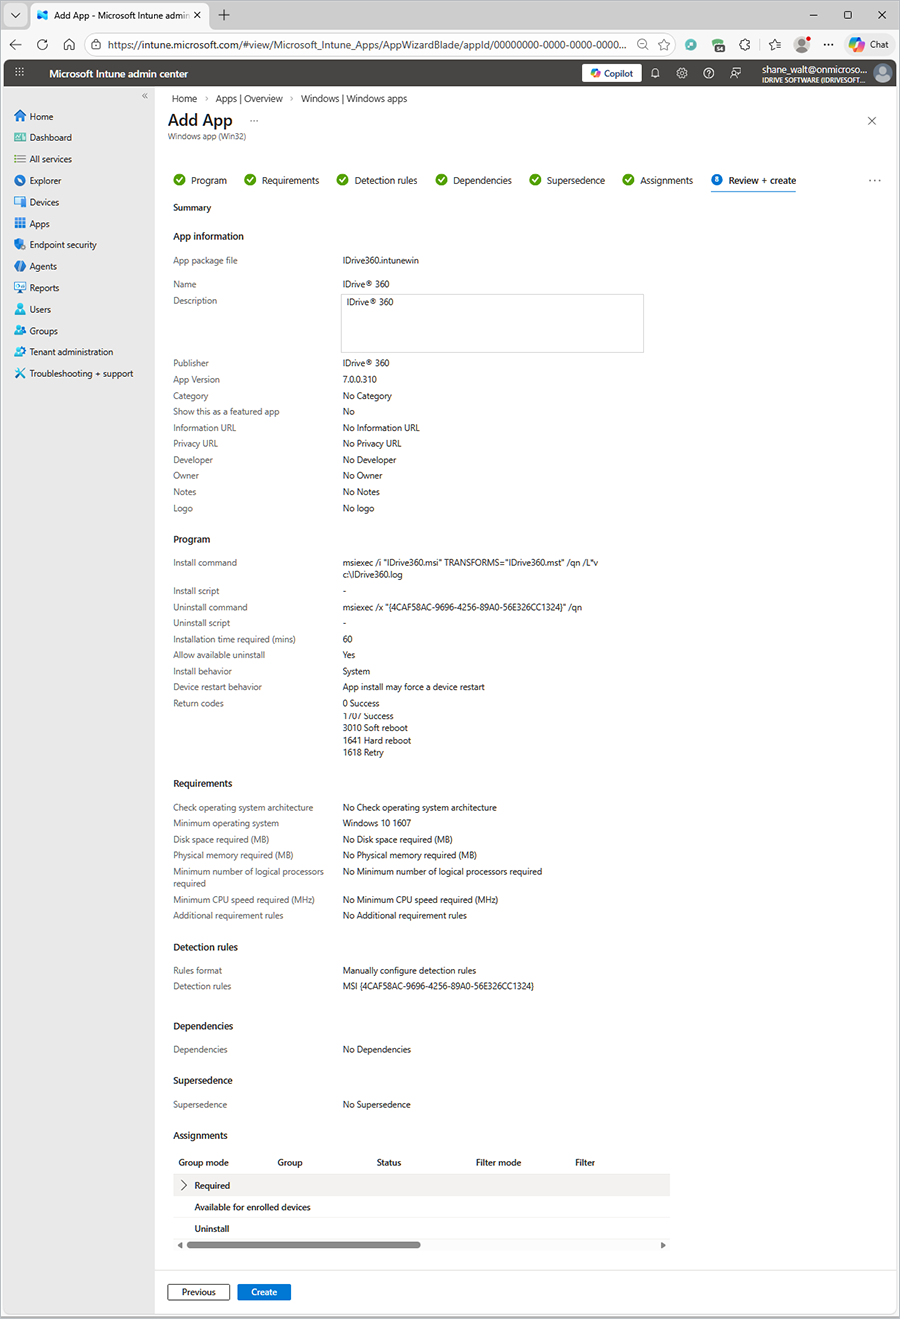
- In the Review + create section, verify all configured settings.
- After confirming the details, click Create to complete the deployment setup.
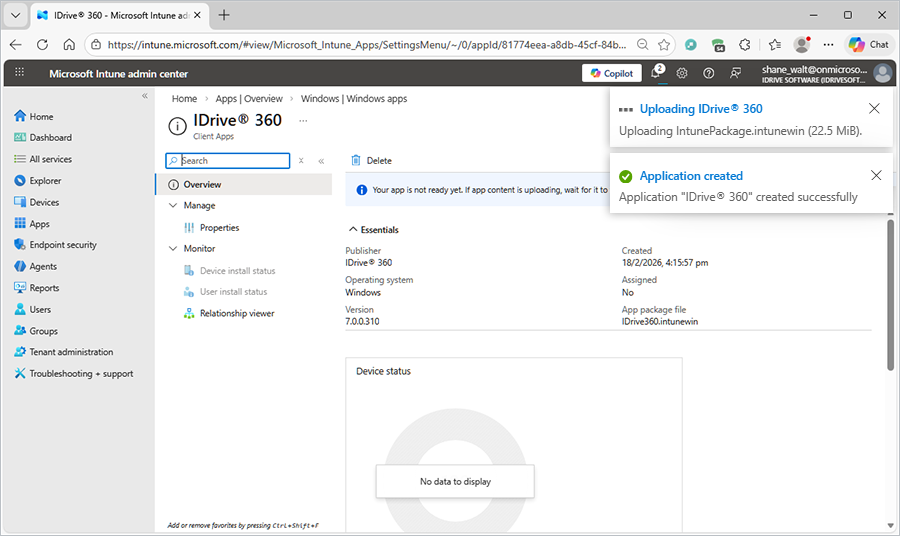
- Wait for the application package to upload and complete processing.
- Once the app is successfully assigned to the selected group, deployment will begin automatically on the targeted devices.
- After deployment, monitor the installation status under Device install status.
- Note that it may take some time for the status page to load and reflect the latest updates.
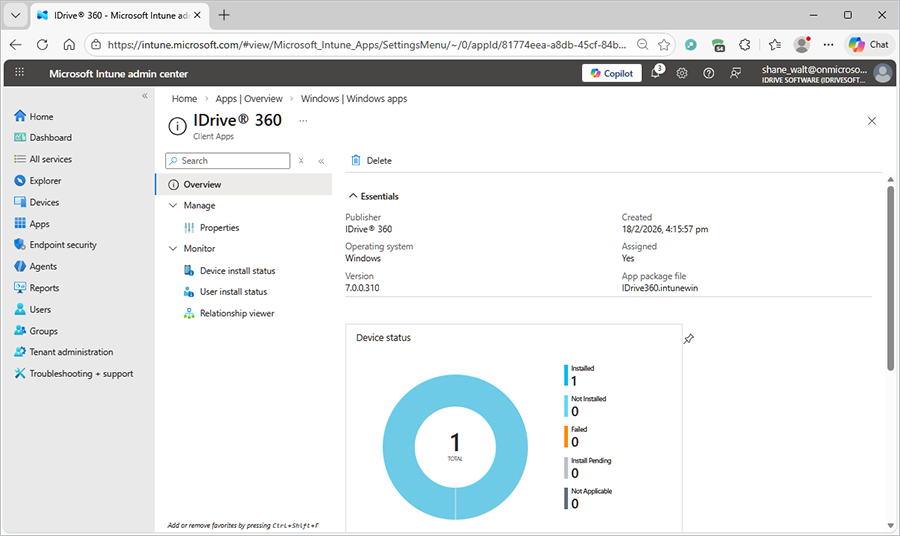
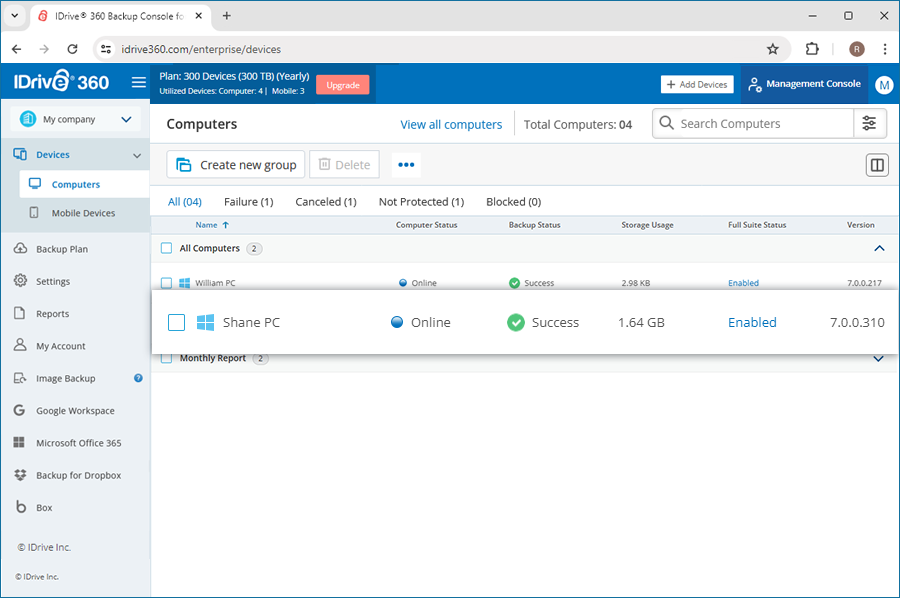
- After the deployment is successfully completed, verify that the device appears as installed and registered in the IDrive 360 dashboard.