Reseller
As an IDrive® e2 reseller partner, you can buy S3-compatible cloud object storage and resell it to users at your price. See plans
Yes, you can integrate entire user management in any of your internal systems by using Reseller APIs. Perform user operations such as creating users, removing users, listing users, viewing storage usage etc. You can also perform storage operations such as list regions, enable or remove regions for users, and add or remove access keys.
You can view or change API access keys from the web console.
- Login to your IDrive® e2 reseller account.
- Go to 'Settings' > 'API Access' tab.
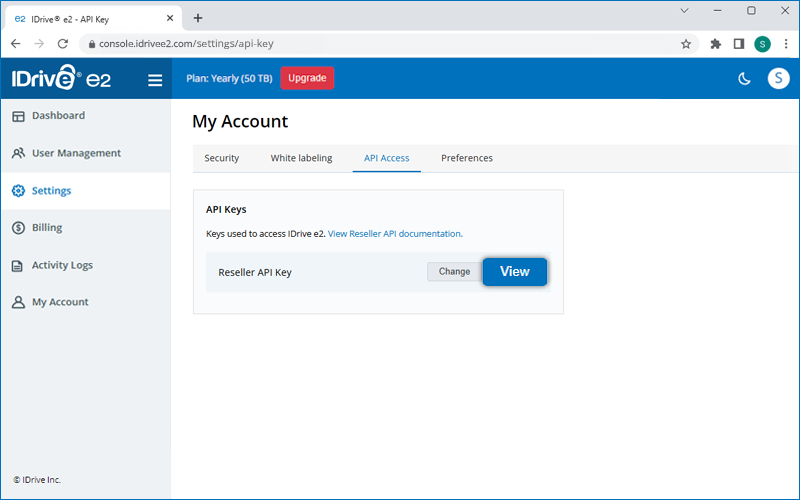
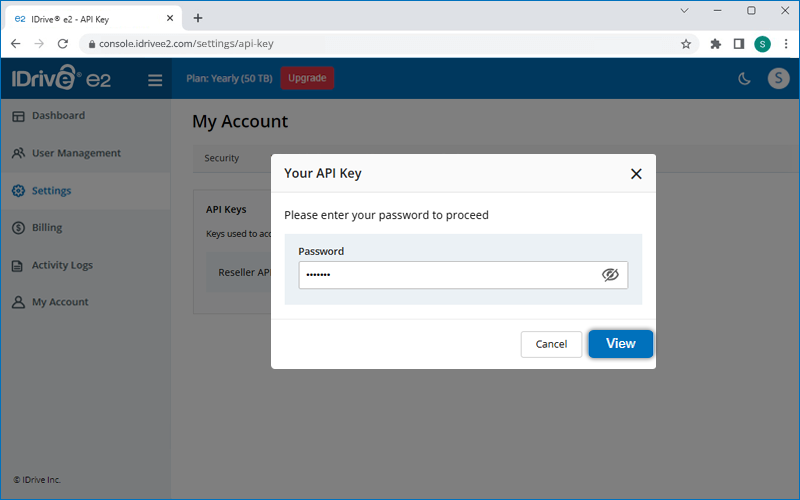
- Click 'View' and enter your password to view the Access Keys.
- Click 'Change', enter your password and modify the Access Keys.
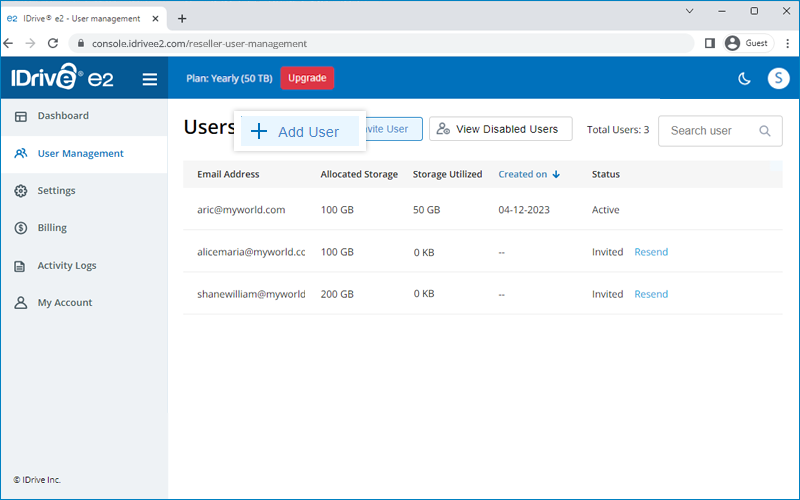
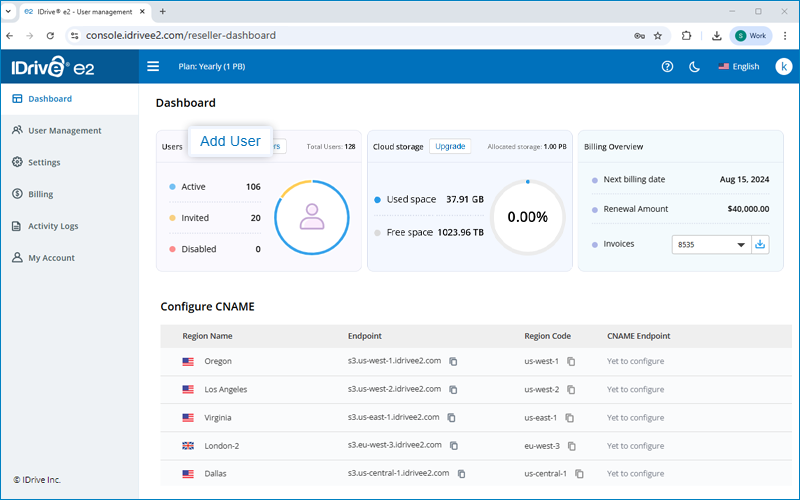
To add a new user,
- Login to your IDrive® e2 reseller account.
-
Click 'Add User'.
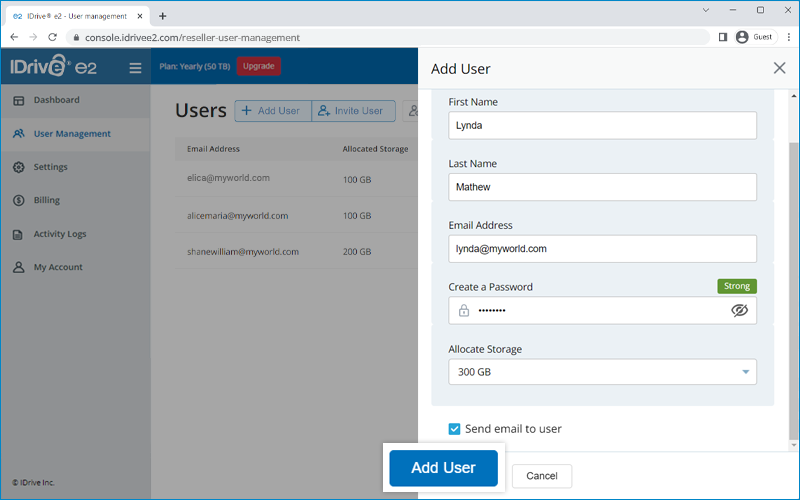
- Enter the first name, last name, and email address of the user. Create a password and allocate storage. Enable the checkbox if you want to notify the user by email.
- Enable the 'Manage User' checkbox to have full access and management control for this user.
-
Click 'Add User'.
An account for the user will be created. The user can login to the account using the assigned password.
Note:
- You can add up to 100 users for free. To add more users, there will be a charge of $5/user/year.
- You can enable 'Manage User' option while adding a user to create a managed user. Learn more.
Contact IDrive® e2 support for further details.
Can resellers create managed customer accounts and retain control without granting direct IDrive® e2 access?
Yes. As a reseller, you can create managed customer accounts by selecting the 'Manage User' option while adding users to your IDrive® e2 reseller account. This setup lets you allocate storage, manage permissions, and retain full control over the accounts. You can also generate access keys and secret keys to provide secure customer access, ensuring complete administrative oversight and safeguarding sensitive account information.
To add a managed user,
- Login to your IDrive® e2 reseller account.
- Click 'Add User'.
- Enter the first name, last name, and email address of the user.
- Allocate storage and click 'Add User'.

To access managed users, in the User Management tab click on the required 'Managed User'. The IDrive e2 console associated with the user will open, and you can manage and monitor the user as required.
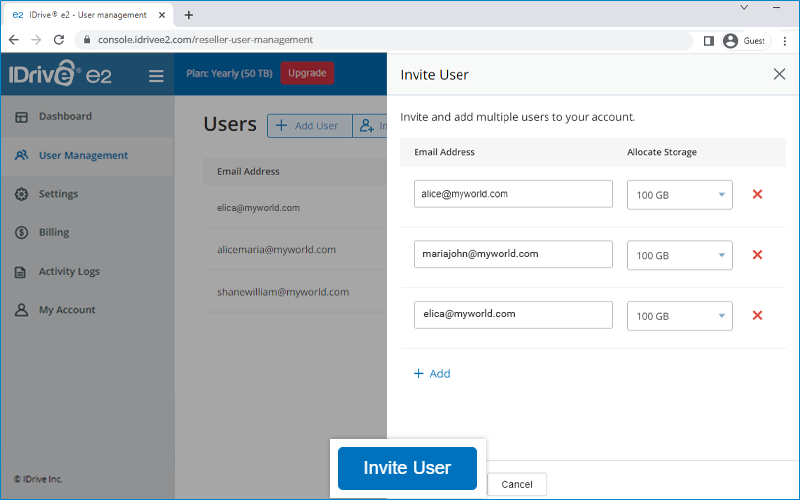
To invite multiple users via email,
- Login to your IDrive® e2 reseller account.
-
Click 'Invite User'.
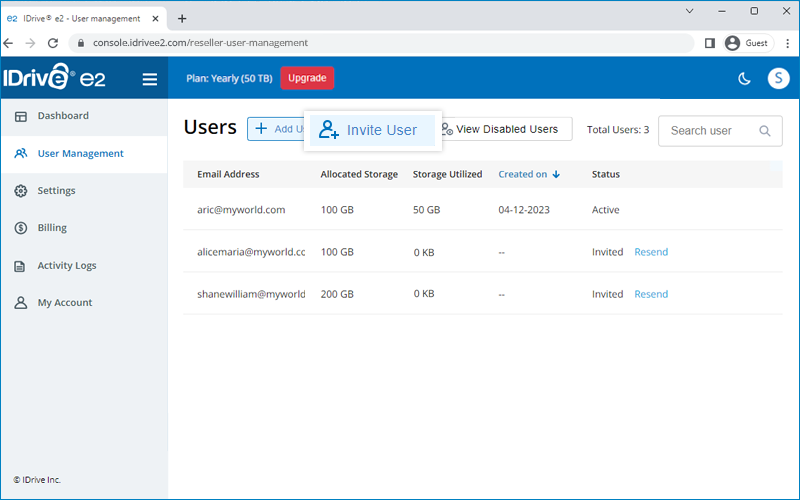
- Enter the email addresses of the users and allocate storage for them.
-
Click 'Invite User'.
The user will receive a link in email to create IDrive® e2 account. All users will be listed under the 'User Management' tab.
Note: You can invite up to 100 users for free. To invite more users, there will be a charge of $5/user/year.
Contact IDrive® e2 support for further details.
Yes, you can update the password for a user or send a link to users to reset their password.
To update the password,
- Login to your IDrive® e2 reseller account.
- Hover on the required user and click
 .
.
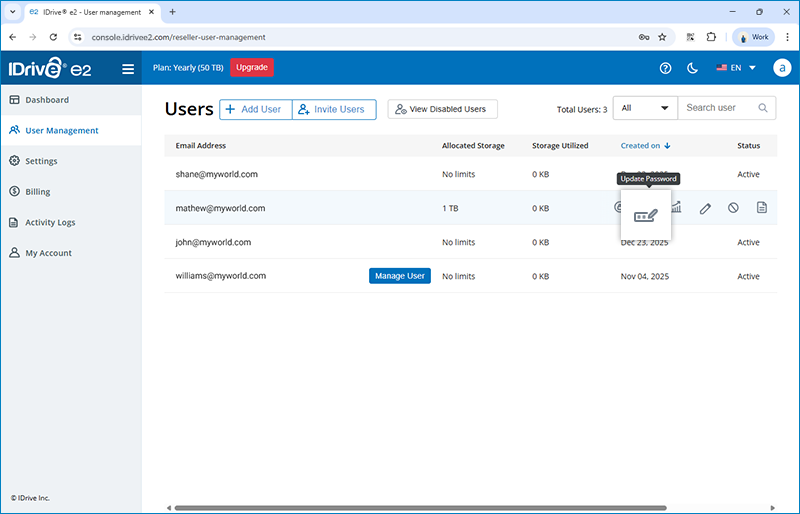
- Enter the old password of user account.
- Enter the new password and confirm password for user account.
- Click Update.
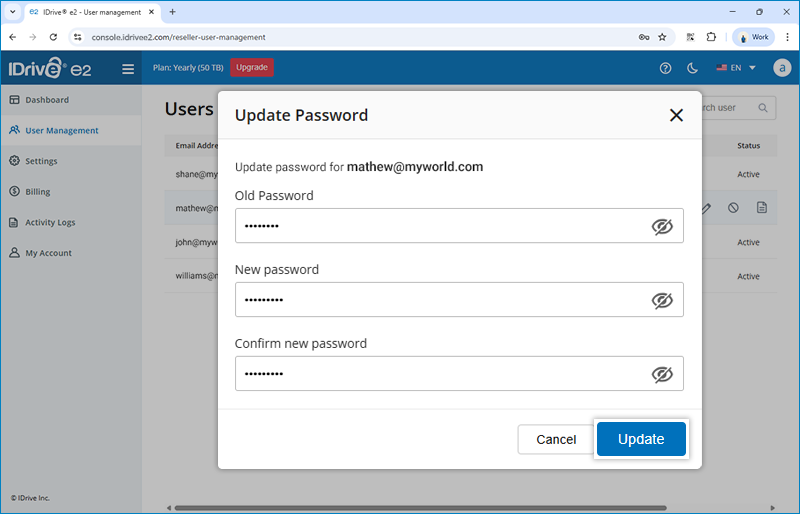
On successful update the user will be able to sign in with the new password.
To send a password reset link to users,
- Login to your IDrive® e2 reseller account.
- Hover on the required user and click
 .
.
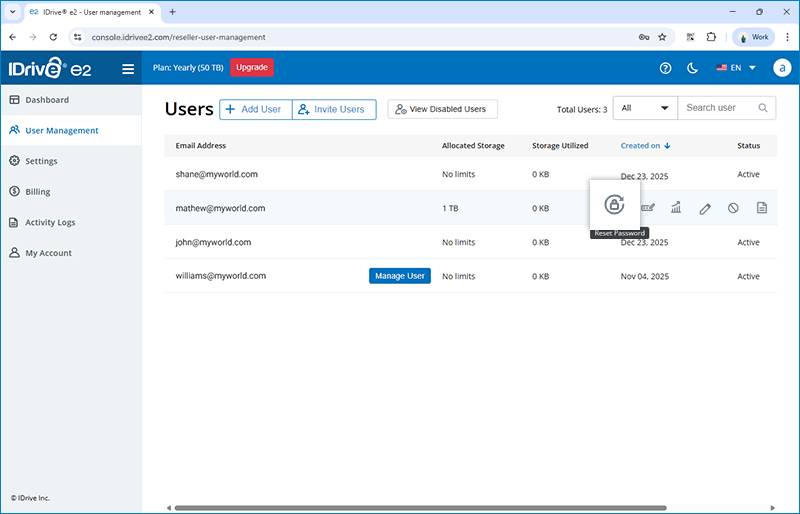
- Click Yes to provide confirmation in the popup.

The user will receive a password reset link on their registered email address.
Yes, we allow partners to white-label their IDrive® e2 storage endpoint URLs. This facility enables our partners to provide storage access to their end users while fully branding their object storage endpoints, maintaining security, and S3 API compatibility. Instead of using the default IDrive® e2 endpoints, you can set up your own domain and secure it with your own SSL certificate, for branding control and the flexibility to integrate endpoints into your applications under your naming conventions.
Using this white-labelling capability, our partner will be able to provide the IDrive® e2 object storage to customers without revealing IDrive® e2 endpoint URL.
To be eligible to use the white-label facility, you just need to create an IDrive® e2 reseller account, enable the regions and follow the CNAME documentation.
IDrive® e2 CNAME service is completely free.
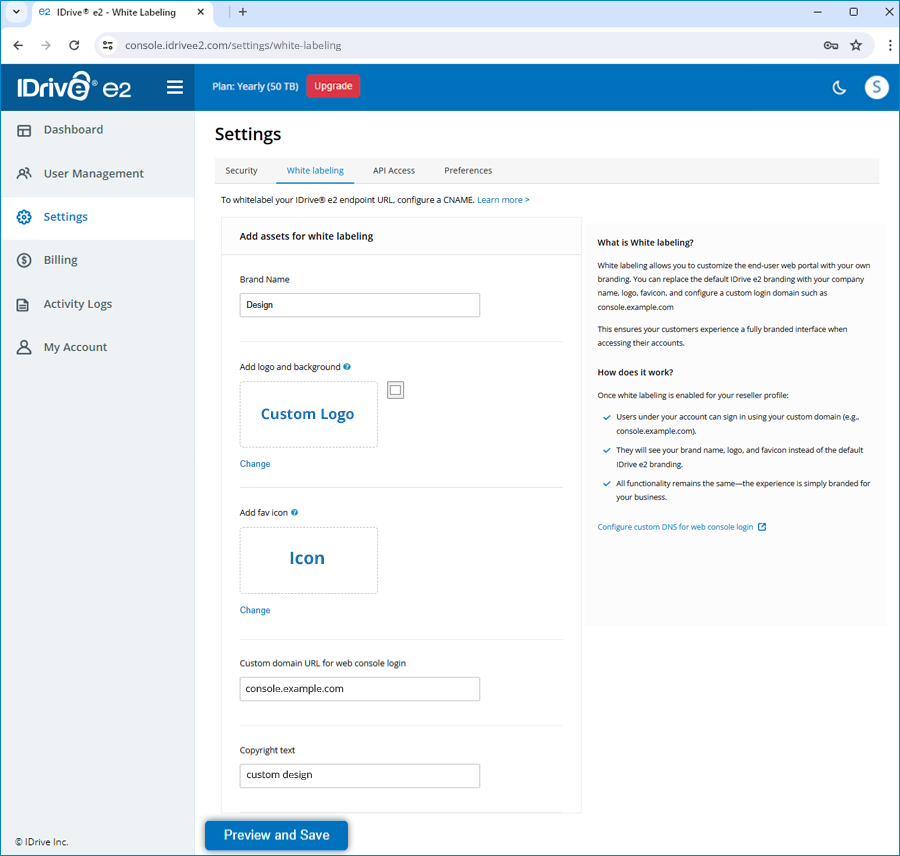
Yes, resellers can use their brand name, logo, fav icon, custom domain URL, and copyright name to provide a fully branded experience for users when accessing the IDrive® e2 web console.
To add assets for white labeling,
- Login to your IDrive® e2 reseller account.
- Go to Settings > White labeling.
- Enter a brand name.
- Upload a logo and fav icon.
- Enter a domain URL. Ensure DNS is configured for the domain URL using CNAME.
- Enter a copyright name to be used for the white-labeled application.
- Check the preview and click 'Preview and Save'.
You can edit or delete the brand name, logo, fav icon, custom domain URL, and copyright name.
Create user accounts manually
- Add each user under your reseller profile, then share their login credentials along with your custom web login URL.
Avoid using the "Invite User" option
- The invite feature sends a signup link directly from IDrive® e2, which breaks the white label experience.
Disable all IDrive® e2 email notifications for sub-users
- Any automated email from the system displays IDrive® e2 branding.
- To maintain a fully white-labeled setup, ensure email notifications are turned off during user creation or editing.
Handle all communication through the reseller
- Users should reach out to you—not IDrive® e2—for support or account questions.
- This keeps the experience consistent and fully white-labeled.
Resellers can control region access permissions for their users directly from the dashboard. After signing in to their reseller account, they can navigate to the Regions section and update the permissions to disable specific regions from being enabled by users.
Note: If a user has already enabled a region before the reseller applies the restriction, the user can continue using that region.