Create a Backup Job in Veeam® v13 to Back up to IDrive® e2 Using a Scale-out Repository
Veeam® Backup & Replication v13 introduces a Linux-based appliance, a modern web-first console, AI integration for smarter operations, and enhanced ransomware protection, all while reducing Windows dependencies to improve resilience and lower costs. The release also delivers faster performance, simplified deployment, and a stronger focus on long-term platform security. By creating a Backup Job in Veeam® v13 to back up to IDrive® e2 using a scale-out repository, you can leverage IDrive® e2's scalable, secure, and cost-effective cloud object storage to ensure resilient and efficient data protection.
Prerequisites
Before you begin, ensure the following:
- An active IDrive® e2 account. Sign up here if you do not have one.
- A bucket in IDrive® e2. See how to create a bucket.
- Valid Access Key ID and Secret Access Key. Learn how to create an access key.
- Veeam® Backup & Replication version 13 and installed on a supported OS like RHEL.
- The OVA file downloaded from the official download page.
The following steps can help you create a backup job in Veeam® v13 to back up to IDrive® e2 using a scale-out repository.
Install Veeam® 13 on a Linux Server in VMWare ESXi
Create Local Backup Repository (Performance Tier)
Backups will initially be stored in the Local Backup Repository and then copied/moved to IDrive® e2 Object Storage, also known as the Capacity Tier.
- Log in to the Veeam® console.
- Navigate to Backup Infrastructure > Backup Repositories.
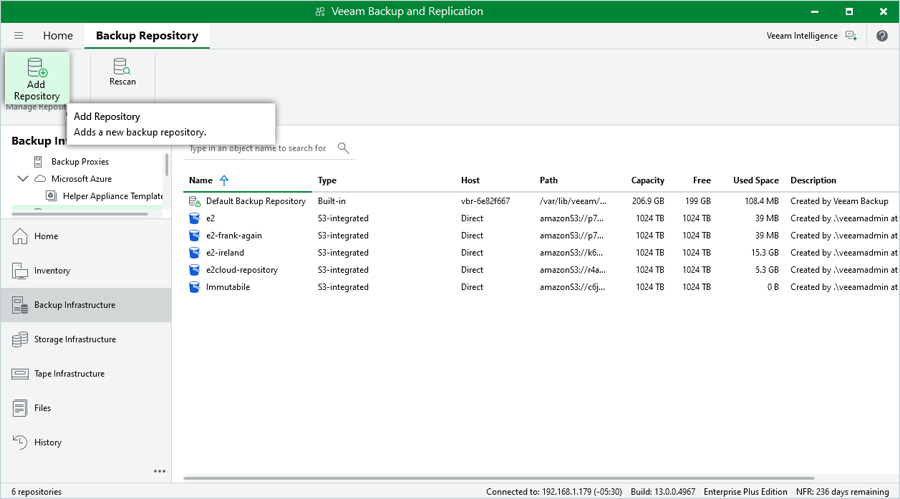
- Right-click on Backup Repositories and select Add Backup Repository.
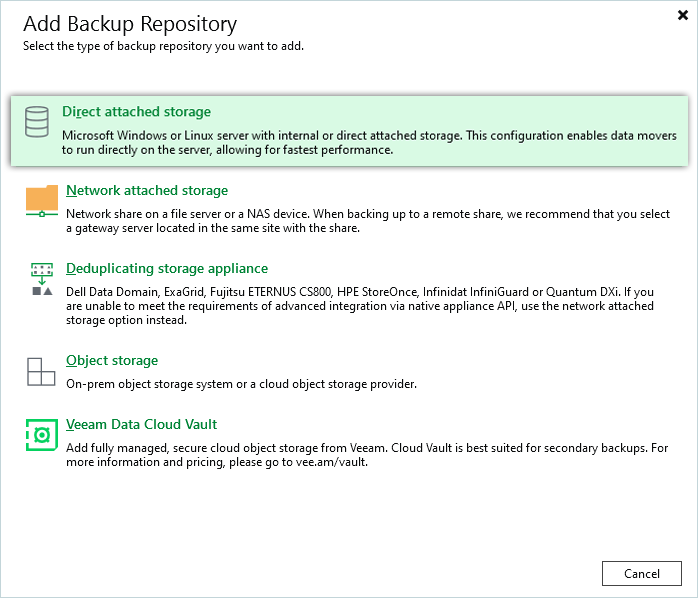
- Select Direct Attached Storage (A NAS or Dedupe Appliance can also be selected).
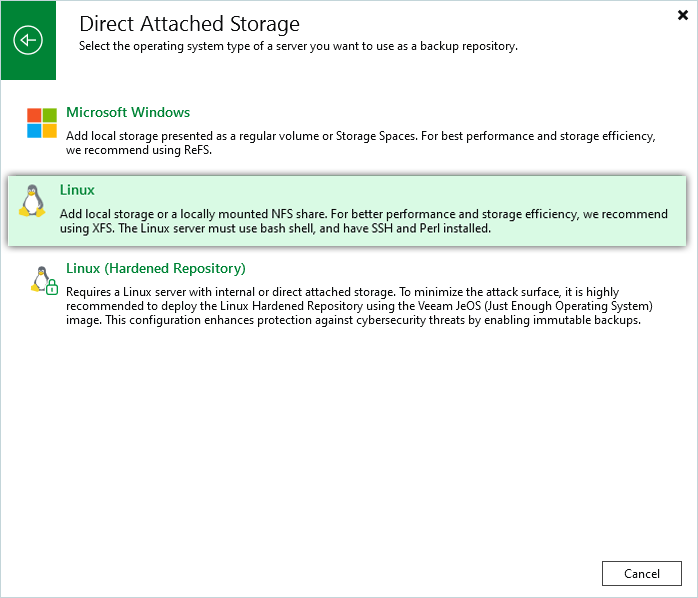
- Select Microsoft Windows or Linux. (In this example, Linux has been selected.)
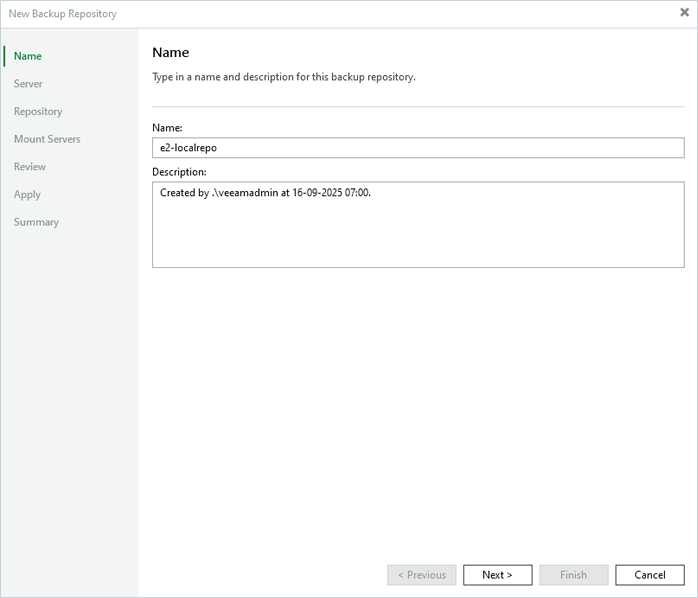
- Enter a name and description for the Backup Repository.
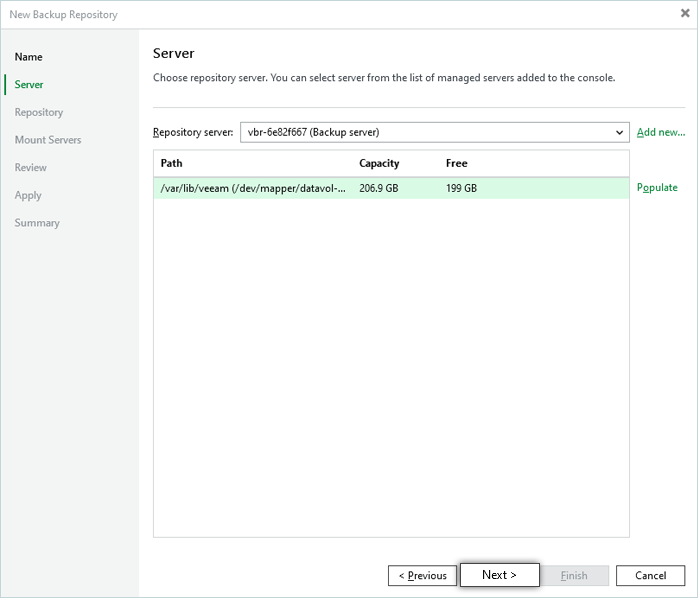
- Click Populate and select the drive you want to use as a Local Backup Repository.
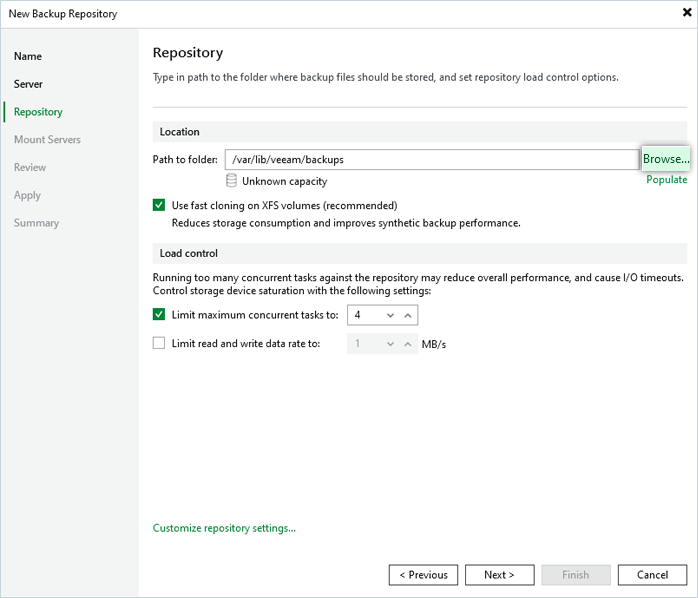
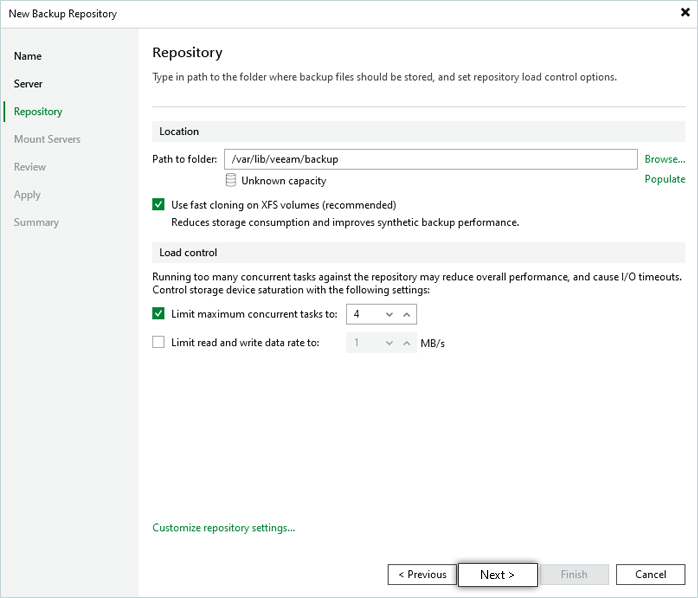
- Click Browse to select the specific Disk Partition and a Folder from the Veeam® Backup Server Disks that will be used as the target Local Backup Repository.
- While creating a disk partition on Windows, select the ReFS file system and 64KB Block size. This is the recommended file system for storing Veeam® Backups. If the default NTFS file system is selected during disk partition creation, a warning will be displayed on the next screen to inform you that the recommended file system has not been selected.
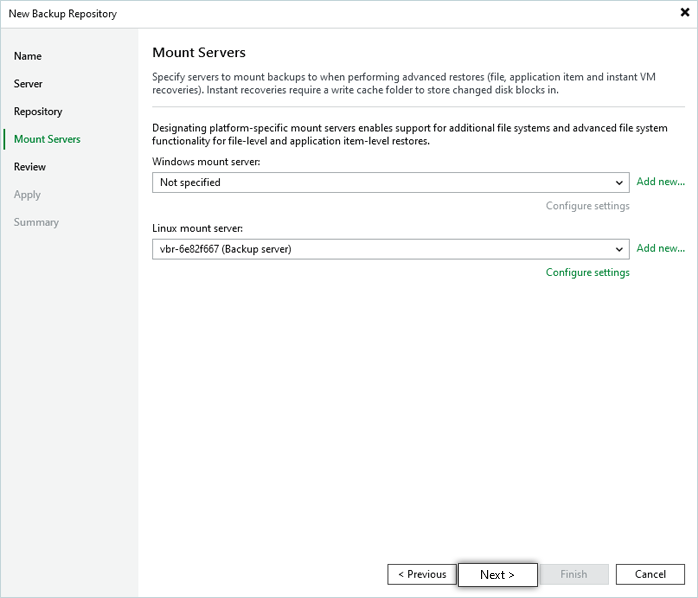
- Default settings will work fine for Mount Server. Click Next to continue with the configuration.
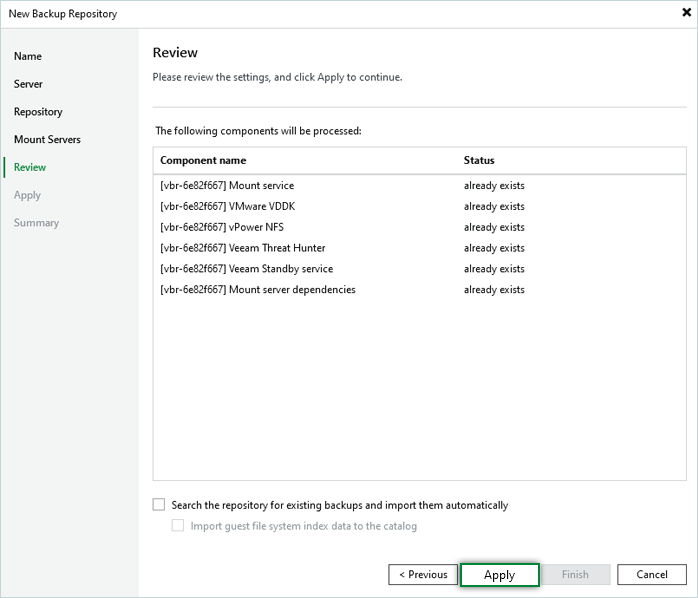
- Review the configuration settings and click Apply.
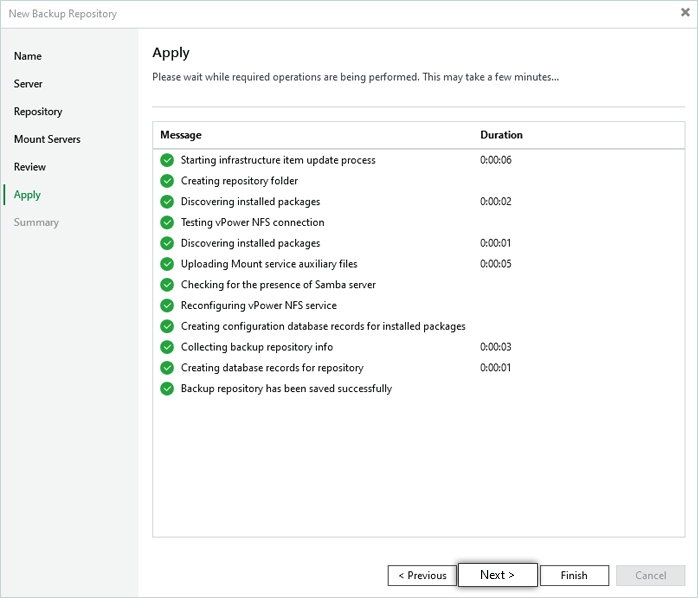
- Click Next to continue.
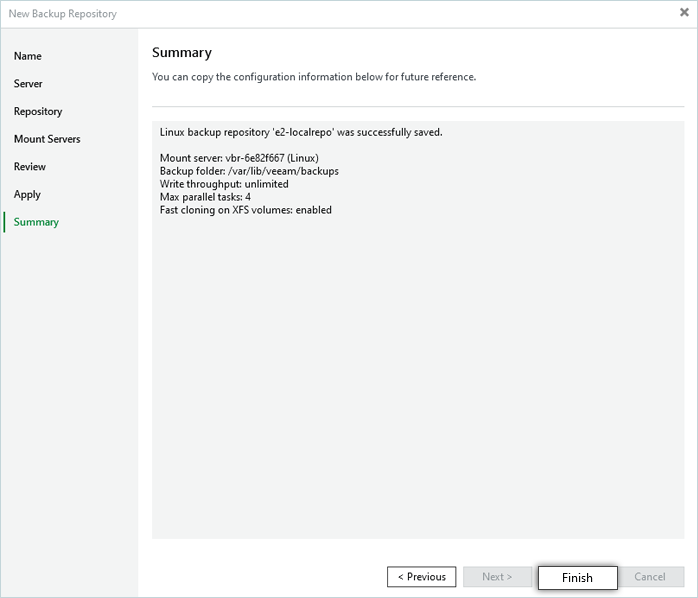
- Copy the configuration information for future reference and click Finish.
- Choose No when asked to change the configuration backup location.
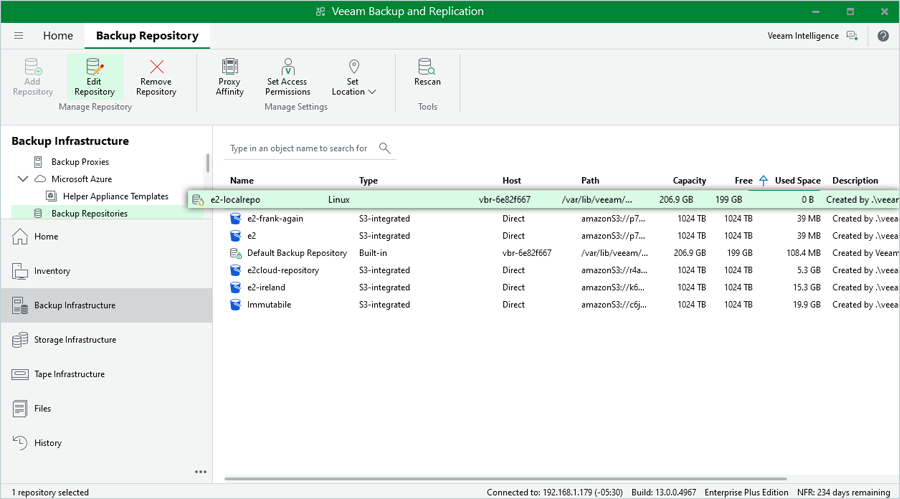
- A new Backup Repository will be listed under the Backup Repositories tab.
Configure IDrive® e2 as Object Storage Repository (Capacity Tier)
Follow the steps below to configure IDrive® e2 as an Object Storage Repository:
- Navigate to Backup Infrastructure > Backup Repositories and select Add Repository.

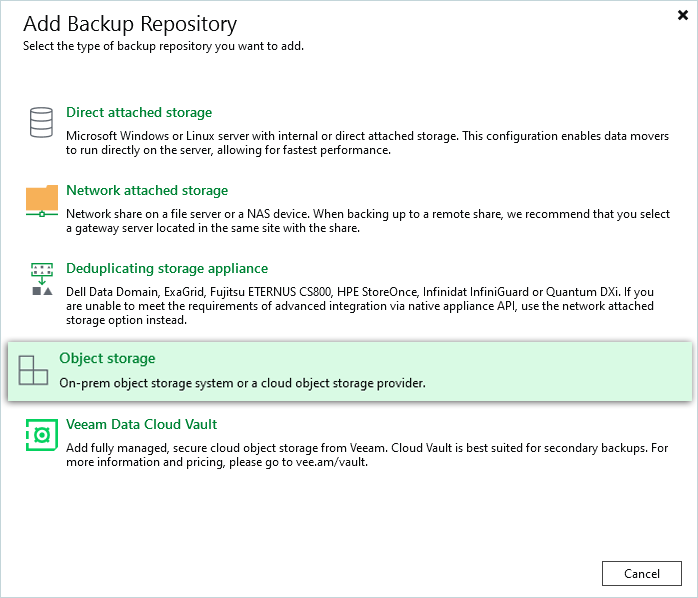
- Select Object Storage.
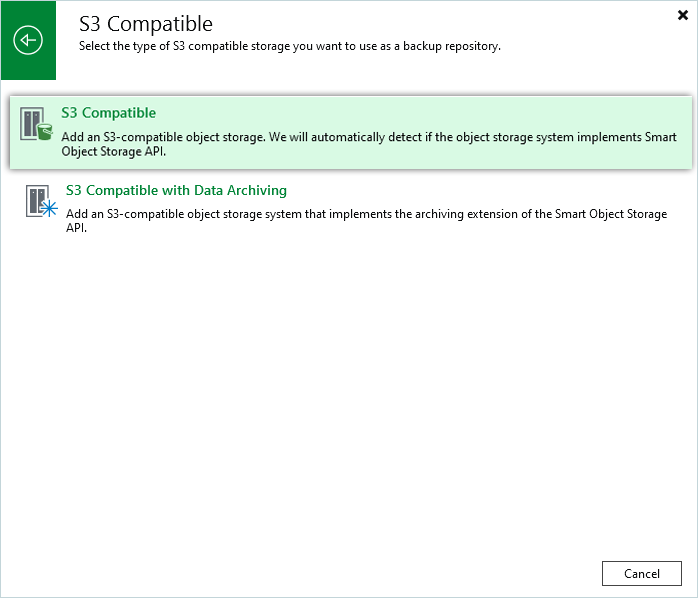
- Select S3 Compatible.
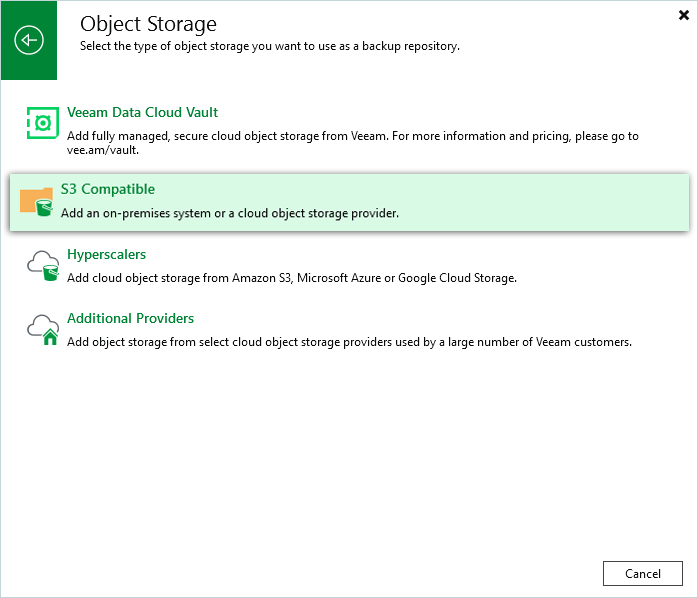
- Select S3 Compatible.
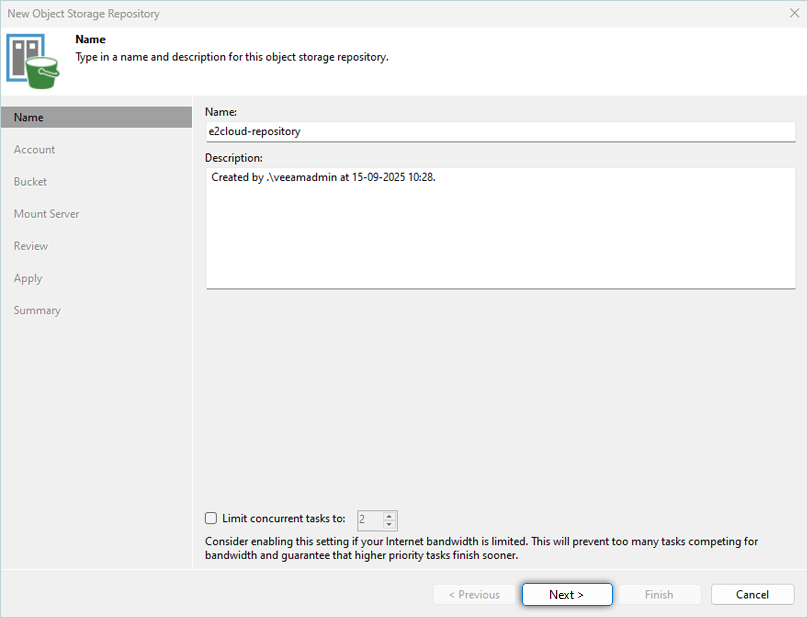
- Enter a Name and Description for the repository. Click Next.
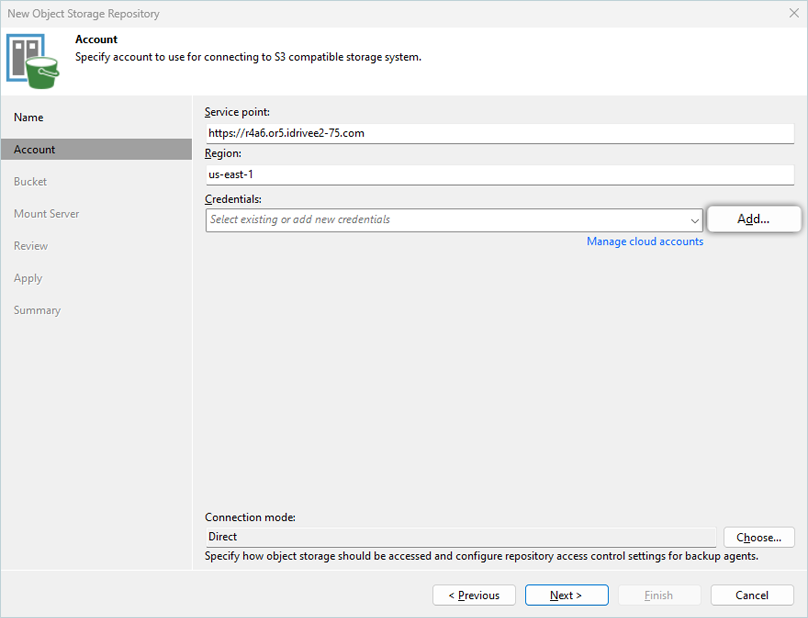
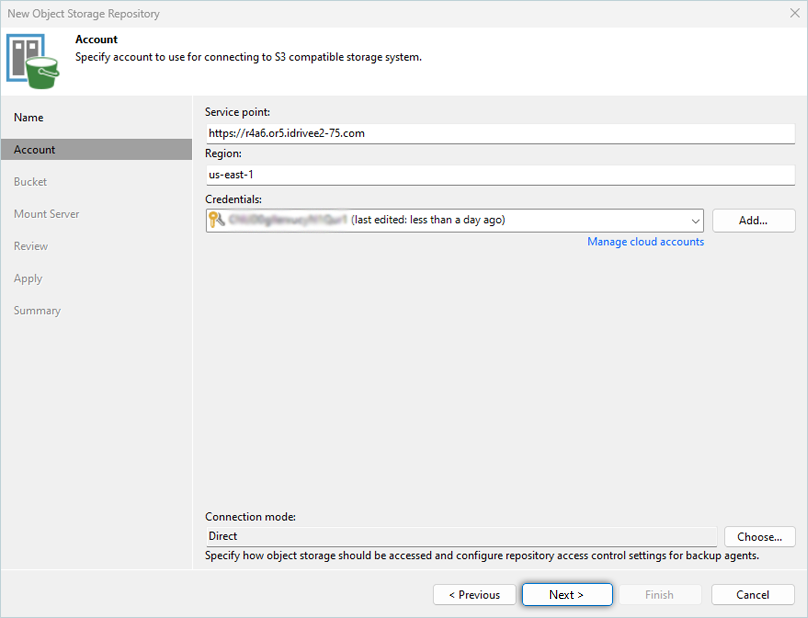
- Input the IDrive® e2 Endpoint URL under Service Point, Region, and click Add. Learn more about regions and endpoints.
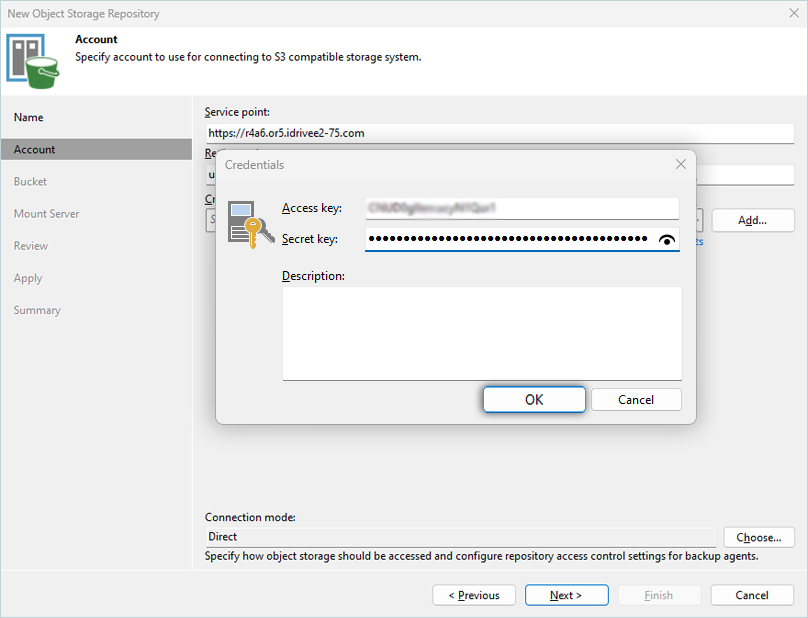
- Input the IDrive® e2 Access Key and Secret Key and click OK. Learn more about Access Keys.
- Click Next.
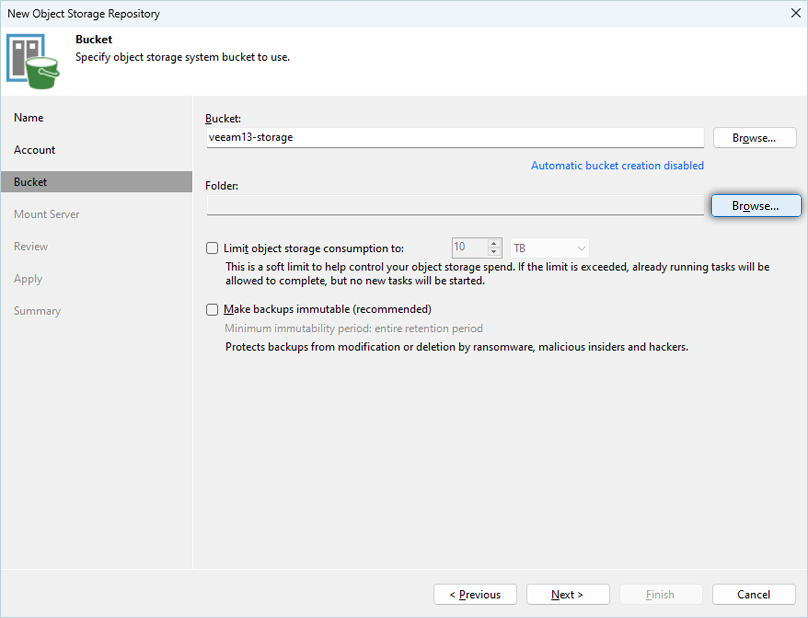
- Click Browse and select the Bucket. Click OK.
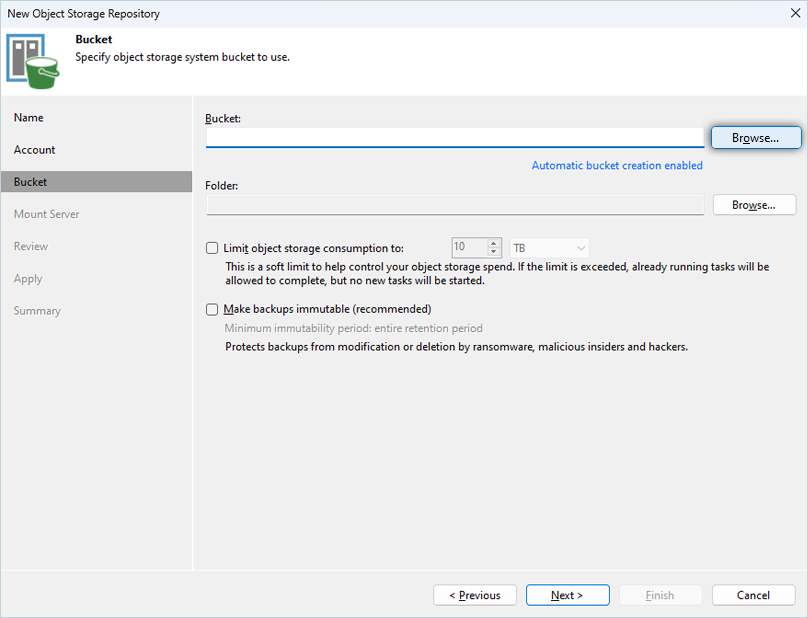 Note: Disable Automatic bucket creation enabled by clicking the link and clearing the Create new buckets automatically (recommended) checkbox.
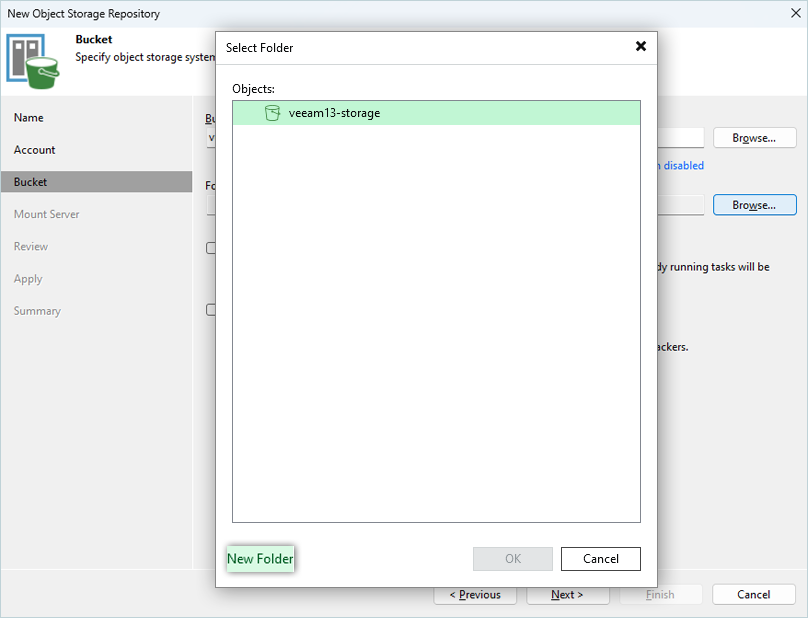
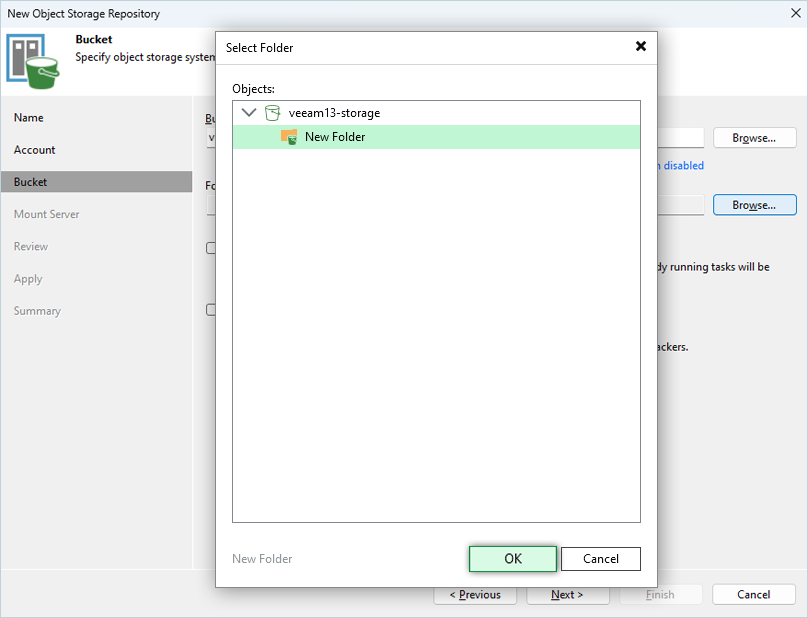
- Click Browse > New Folder. Enter a folder name, press the Enter key to confirm the name, and click OK.
- Select the Make recent backups immutable for x days checkbox to make recent backups immutable.
Note: We recommend enabling this feature to protect your data from ransomware.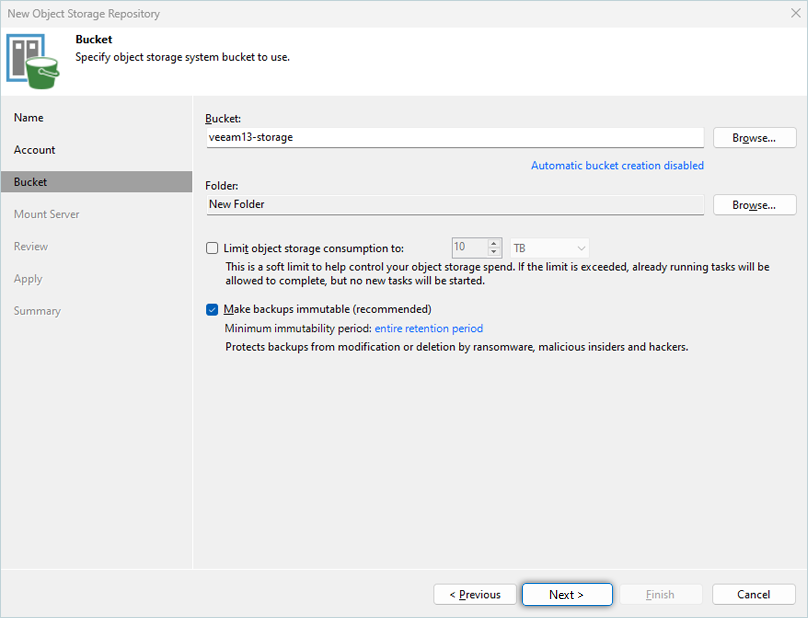
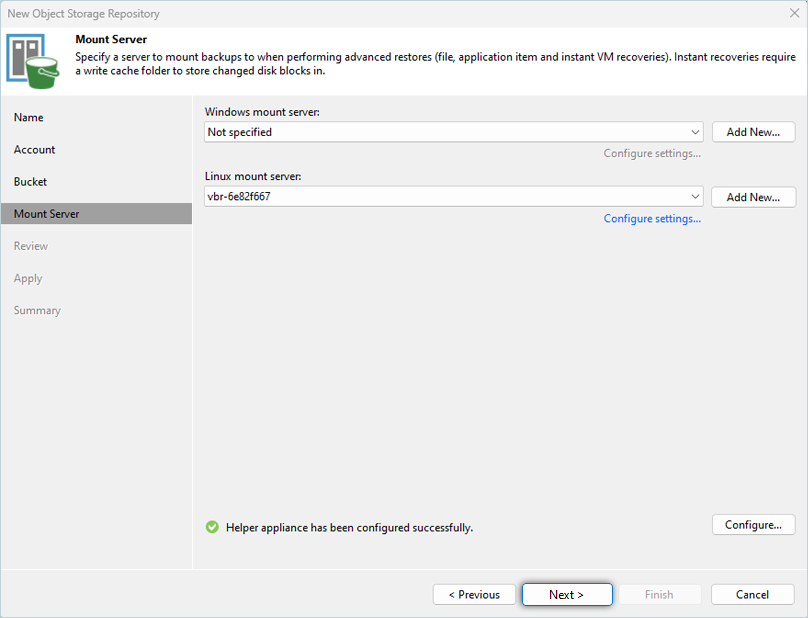
- To mount the server, click Next.
- Review the configuration and click Apply.

- Click Next.
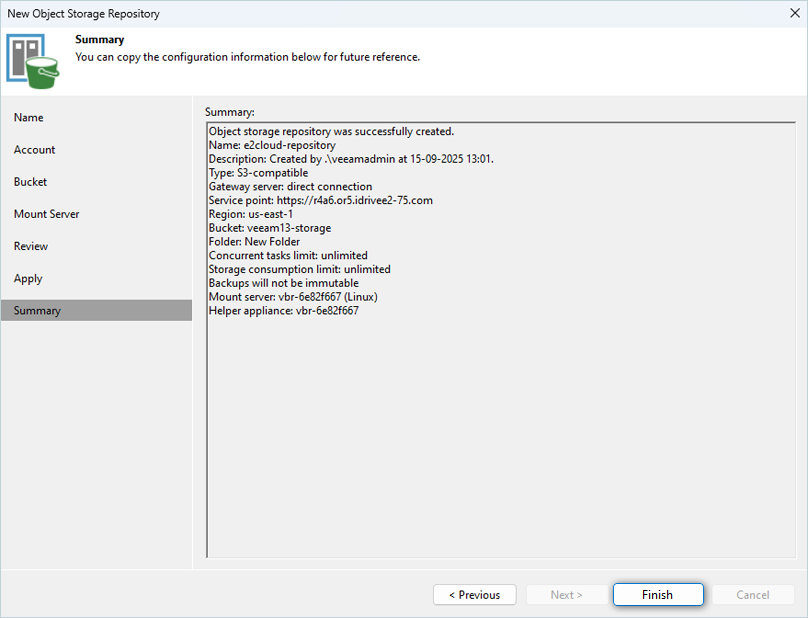
- In the summary tab, review the settings and click Finish.
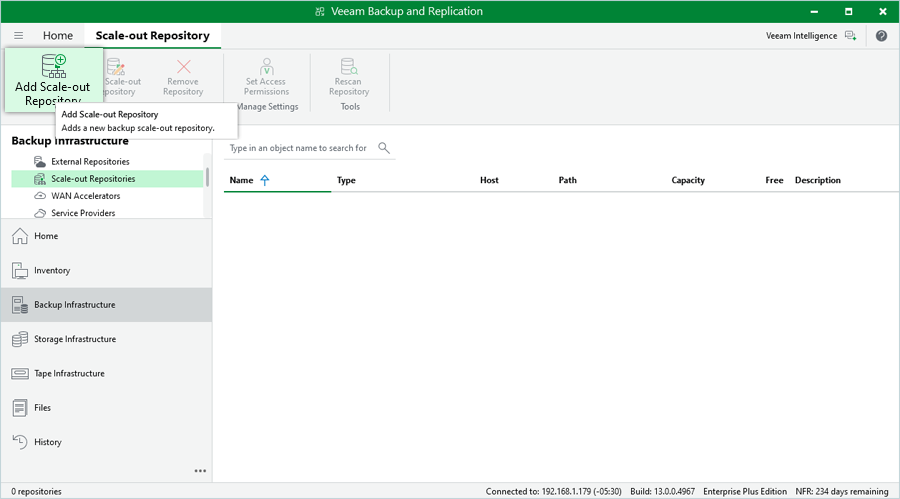
Create Scale-out Backup Repository
- Navigate to Backup Infrastructure, right-click on Scale-out Repository, and select Add scale-out backup repository.
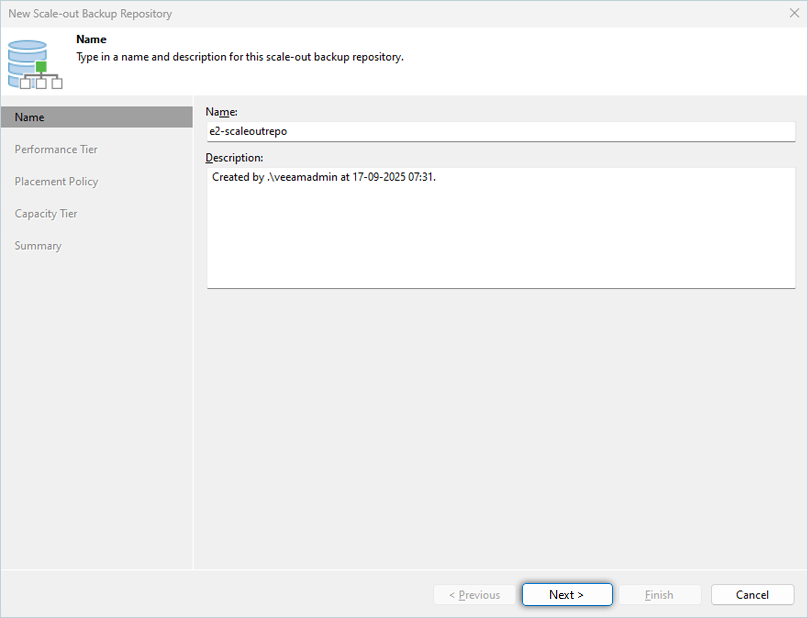
- Provide a name and description for SOBR and click Next.
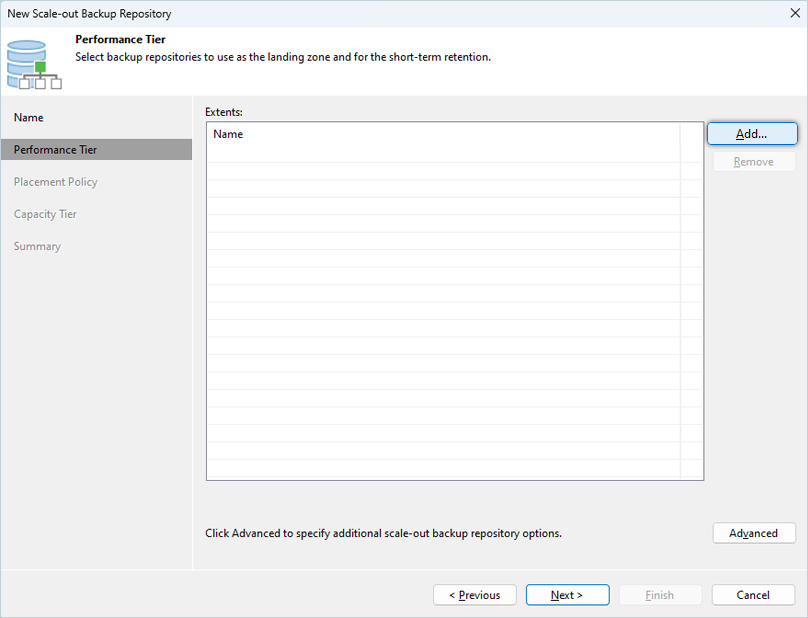
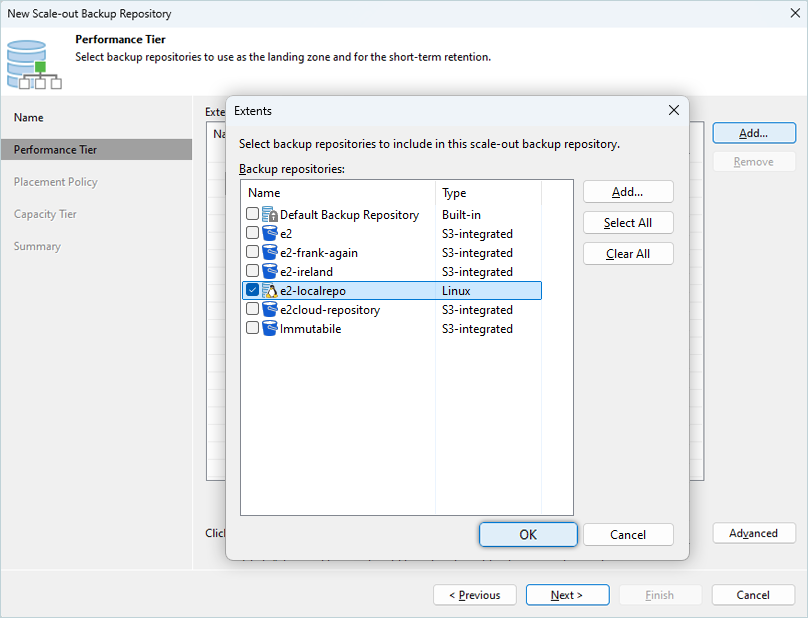
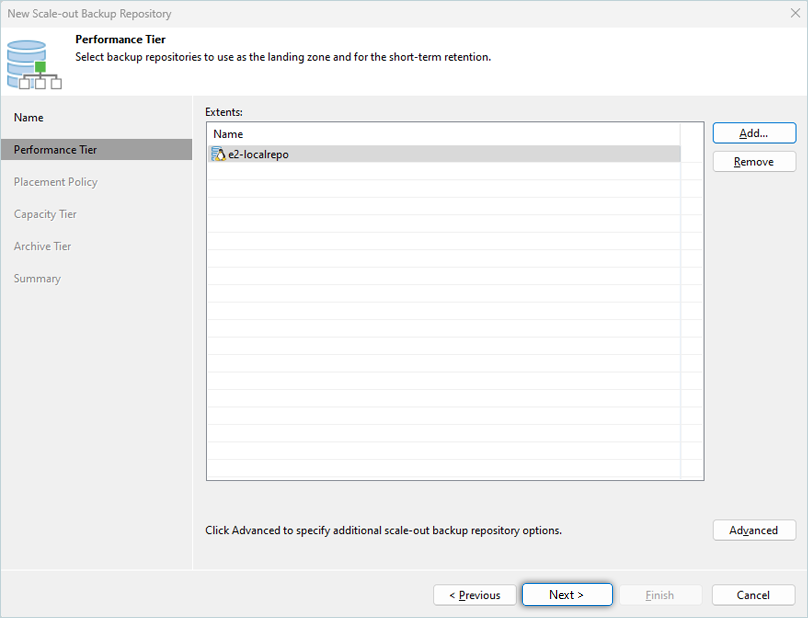
- On the next screen under Performance Tier, click Add. Under the Extents pop-up screen, select the Local Backup Repository created on the previous task, as follows:
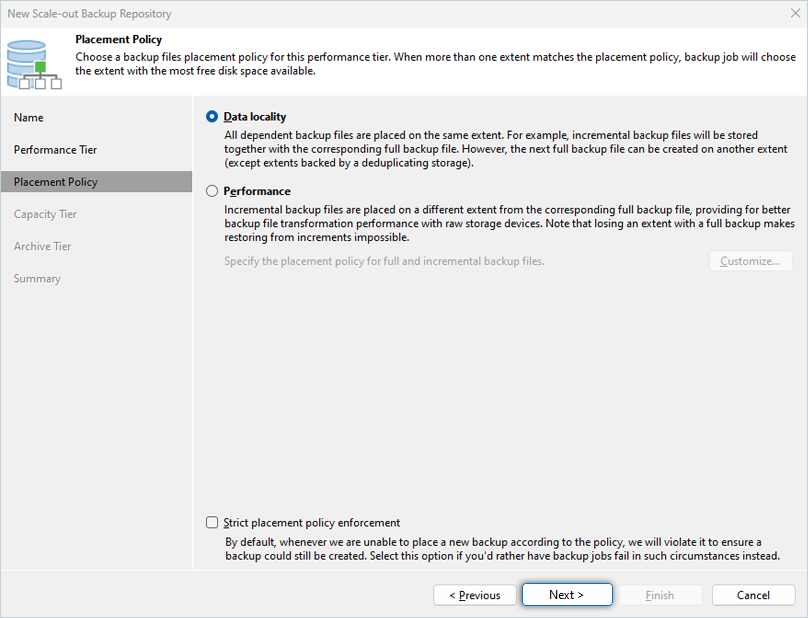
- Default values for Placement Policy should be selected.
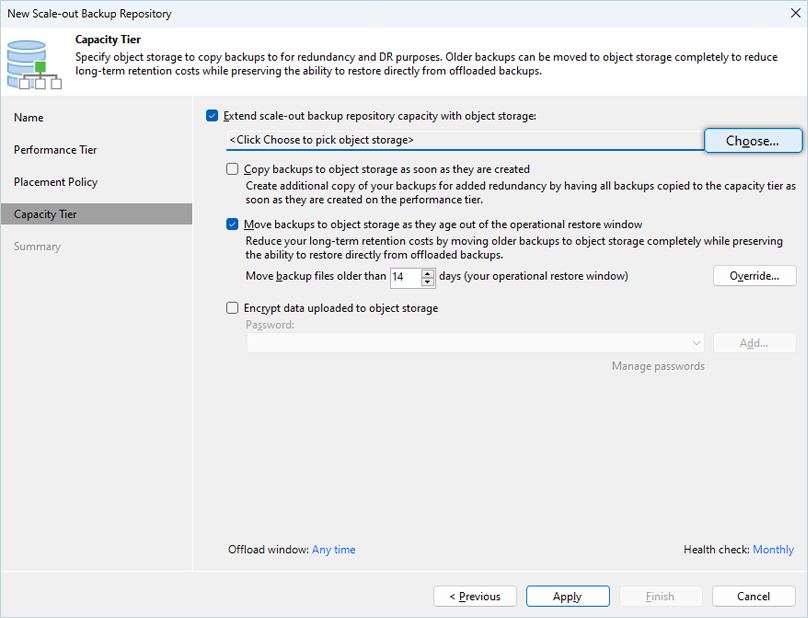
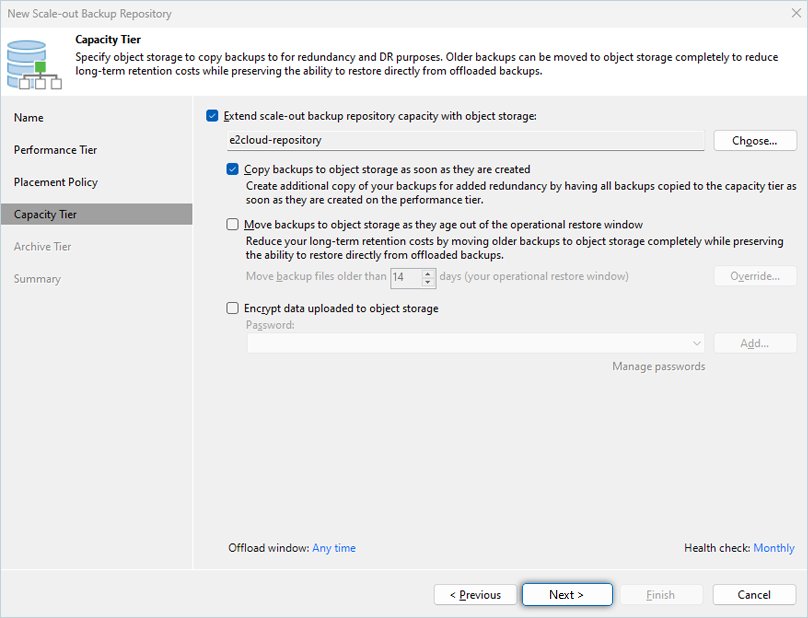
- Under the Capacity Tier tab, the following options need to be checked/selected.
Check Extend scale-out backup repository capacity with object storage and choose previously created IDrive® e2 Object Storage as Capacity Tier Repo.- Click Choose to pick object storage.
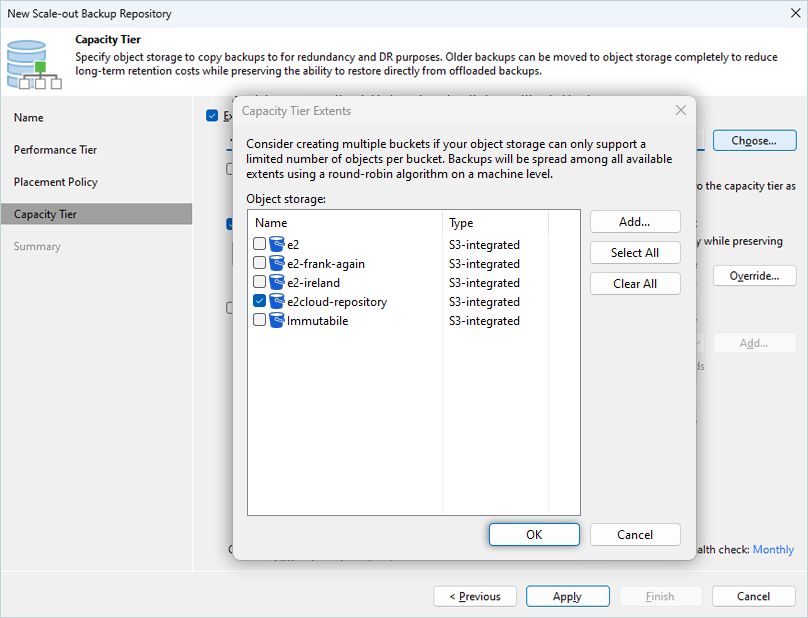
- Select object storage from the list and click OK.
- Click Choose to pick object storage.
- Check Copy backups to object storage as they are created. This will copy all the backups that are created on Performance Tier immediately to IDrive® e2 Object Storage.
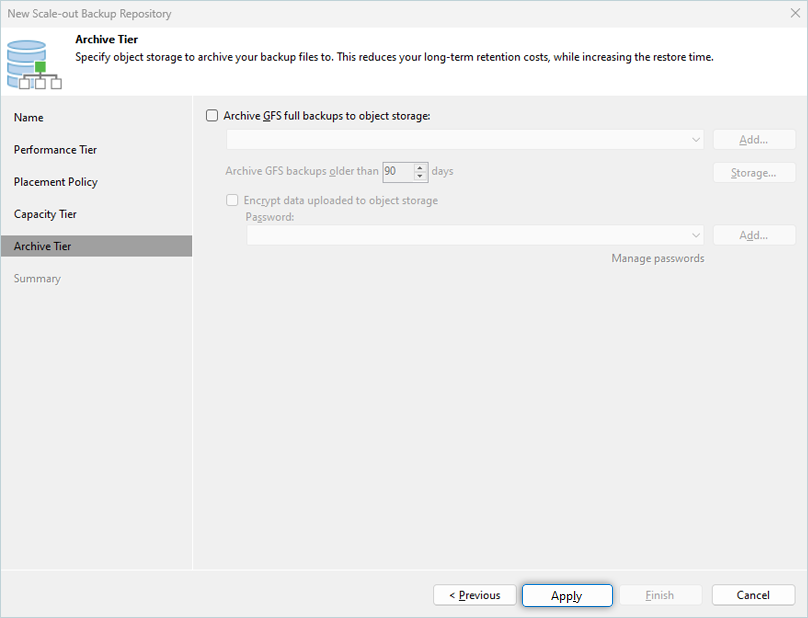
- Keep the other options unchecked for now. Click Next.
- Click Apply to continue.
- Review the settings and click Finish.

- A newly created Scale-out backup repository will be listed under the Backup Infrastructure tab.
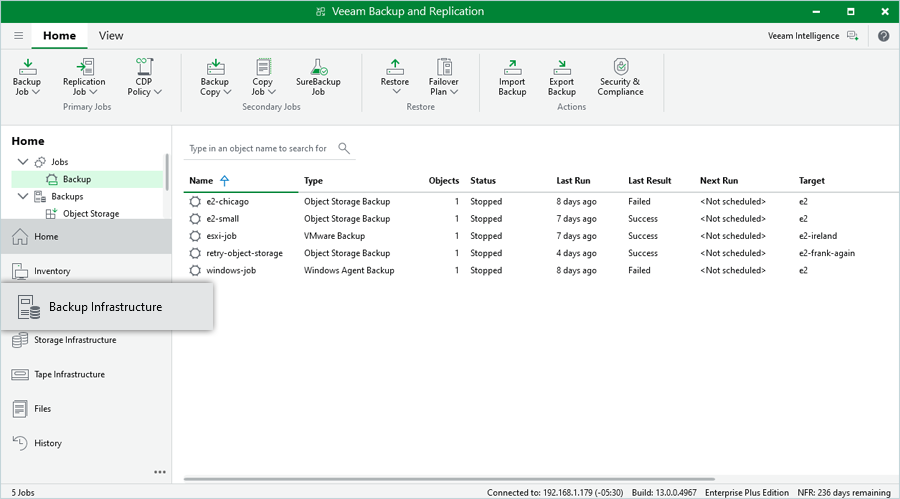
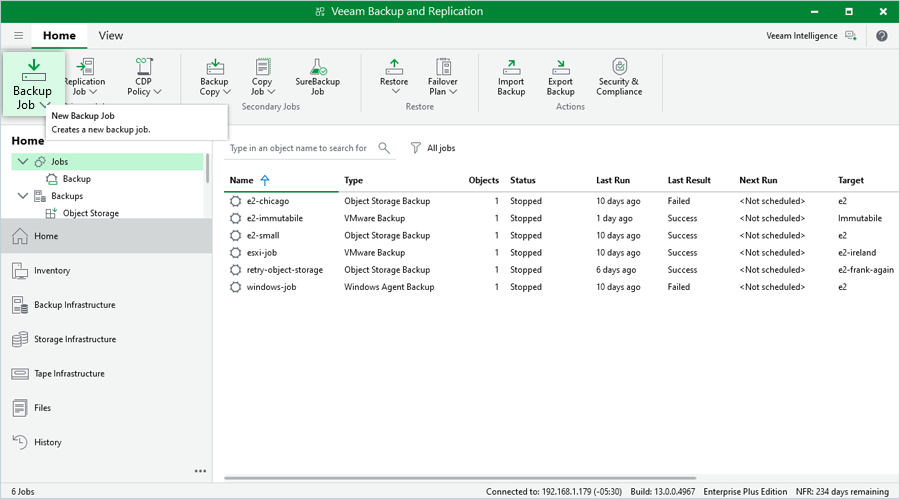
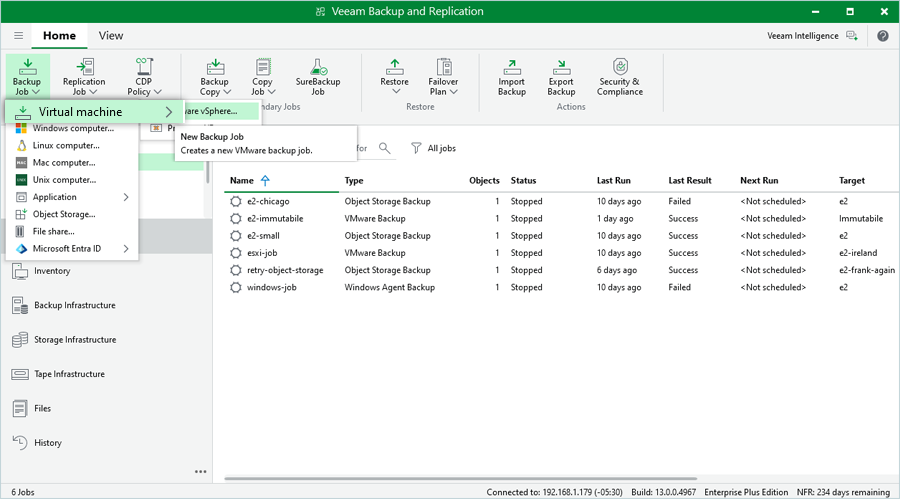
New Veeam® Backup Job
- Navigate to Home > Jobs > Backup > Virtual Machine.
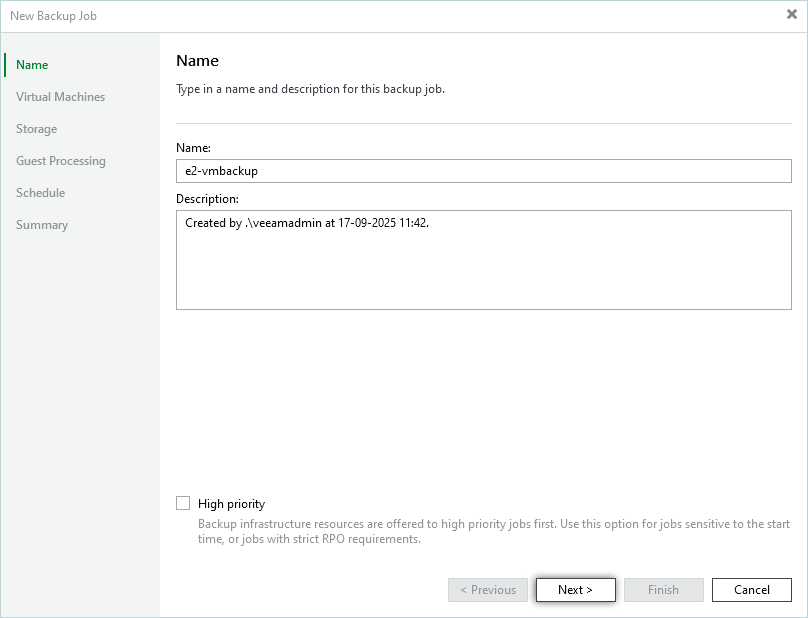
- Enter a Name and Description for the backup job. Click Next.
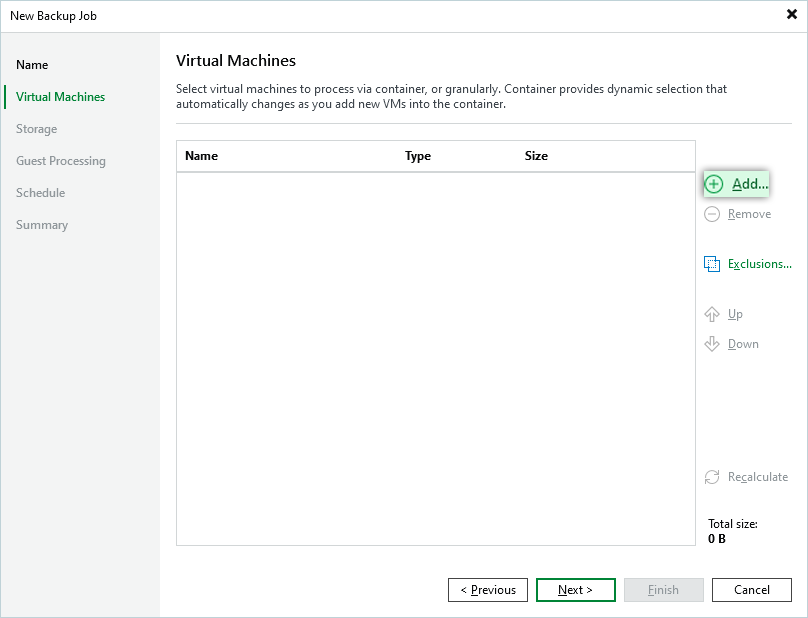
- Click Add on the RHS menu.
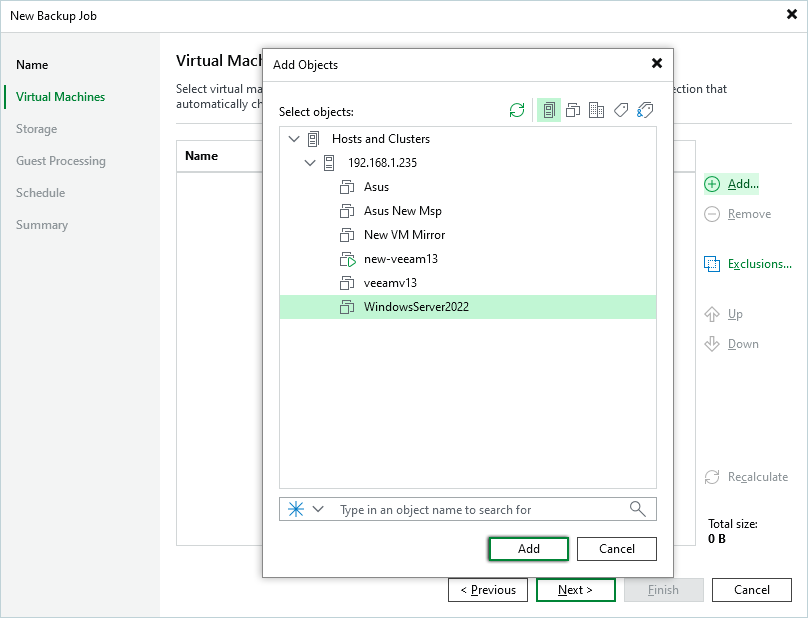
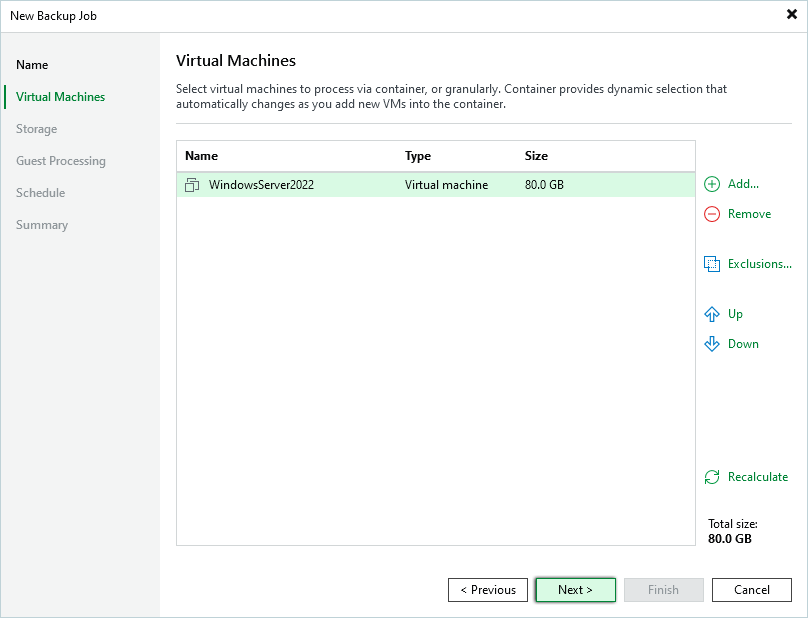
- Select the virtual machine(s) to be backed up and click Add. Repeat to add more VMs.
- Click Next.
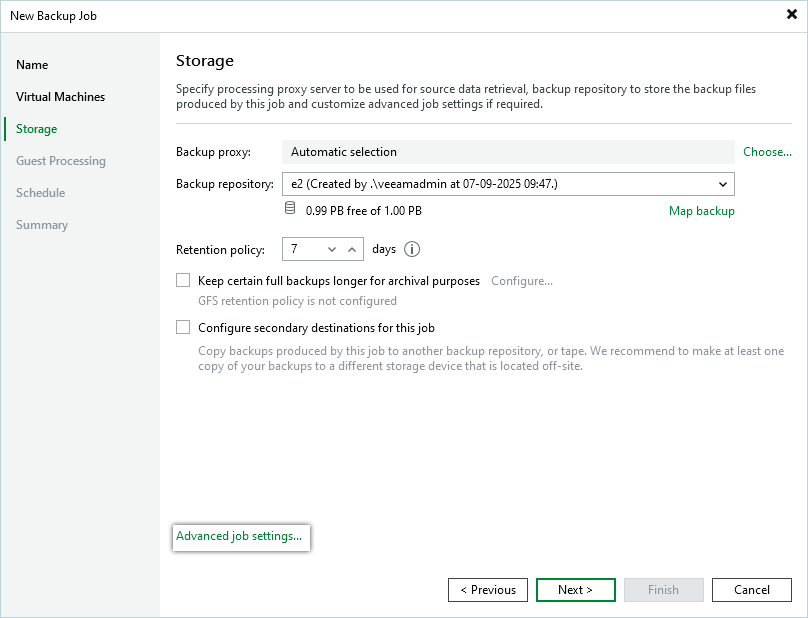
- Select IDrive® e2 Backup Repository from the Backup repository dropdown menu.
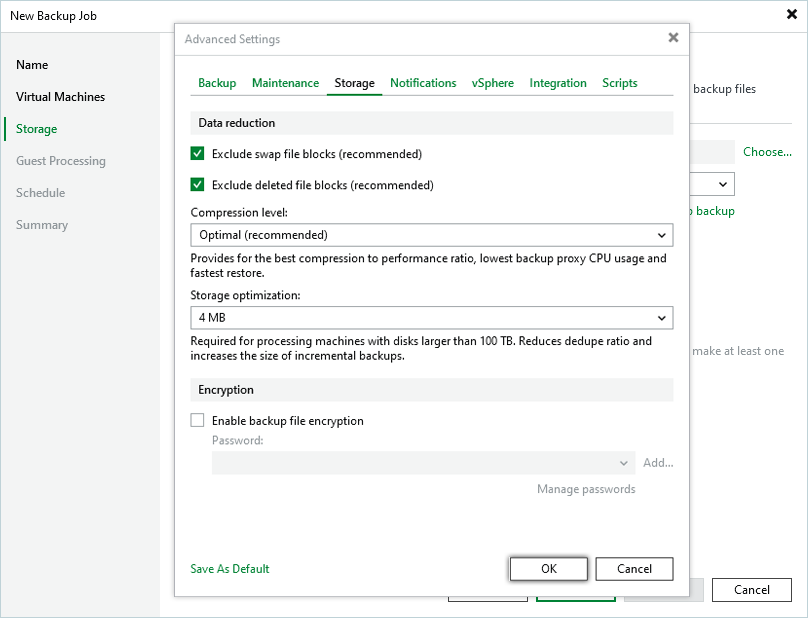
- Click Advanced and navigate to the Storage tab. Set Storage optimization to 4MB, and click OK.
- Click Next in the New Backup Job window.
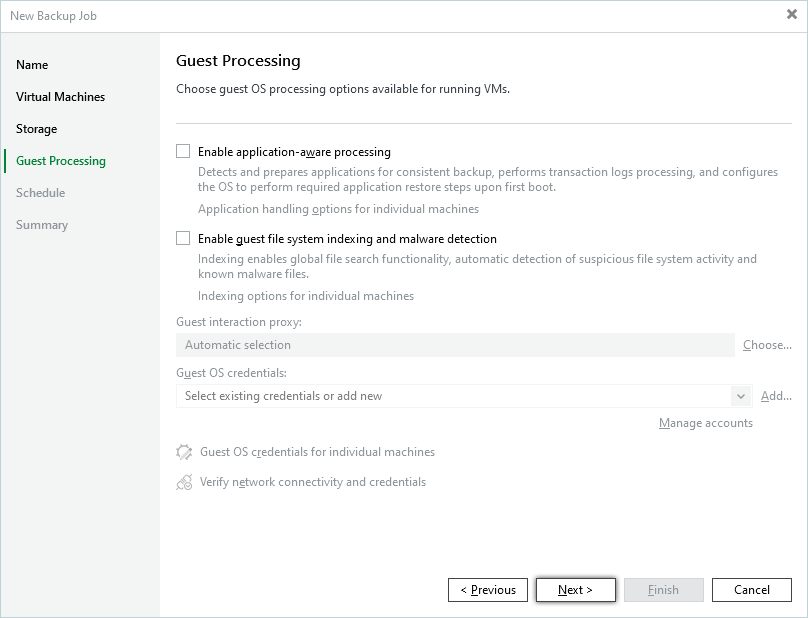
- Continue to the Schedule page without any modifications to the Guest Processing window.
- Check the Run the job automatically checkbox and set a schedule. Click Apply.
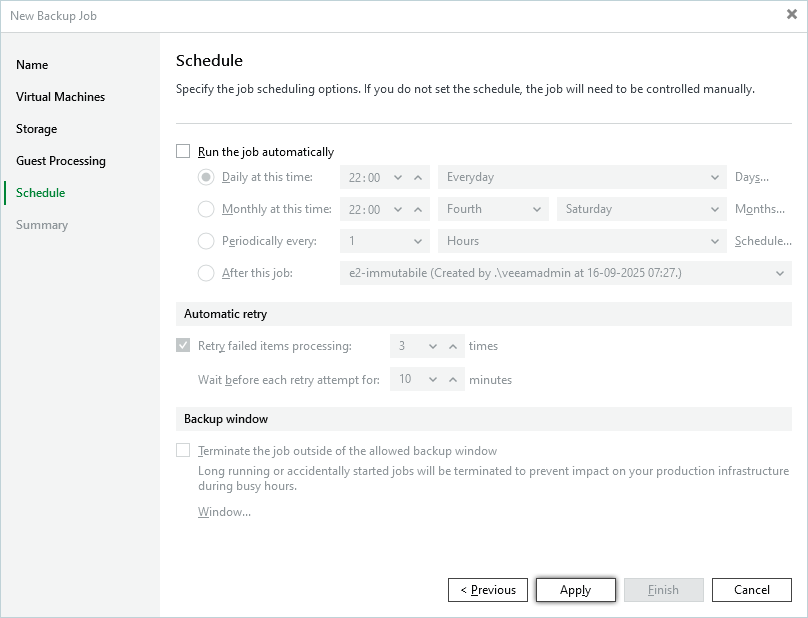
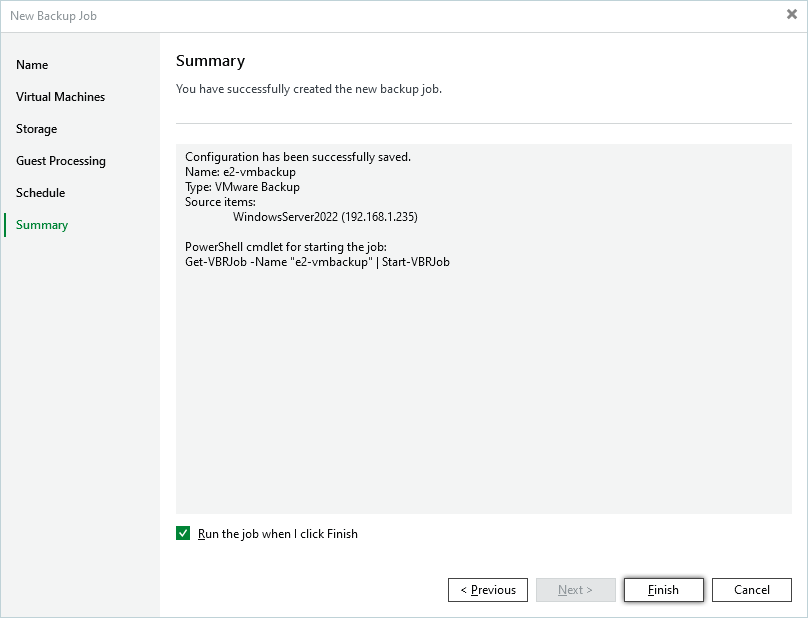
- You can, optionally, check the Run the job when I click Finish checkbox.
- In the Summary tab, click Finish. Your direct-to-cloud backup job to IDrive® e2 is configured with immutability!
- Before starting the backup job, look at the IDrive® e2 Cloud Storage Bucket for potential files on it. The bucket created for this example purpose looks as shown in the picture below:
Currently, there are no backups/files stored on it. Once the backup is completed, it will be copied to Cloud Storage and the same folder. - As the Backup Job starts, the VM gets backed up on the Local Backup Repository and copied to the IDrive® e2 Cloud Storage Bucket.
- Once the Backup Job completes, an offload process will start, moving the backup files instantly to IDrive® e2 Cloud Storage.
- Check the IDrive® e2 Cloud Storage bucket to ensure the files are copied during the process.
Note: Data restoration is handled by your specific backup solution provider and is affected by multiple variables that are unique to your environment. For application-related enquiries/support, it is strongly recommended you seek guidance from the technical team of your backup solution provider.