Related Links
Install Veeam® 13 on a Linux Server in VMWare ESXi
Deploy the OVA on VMware ESXi
- Launch the VMware ESXi host.
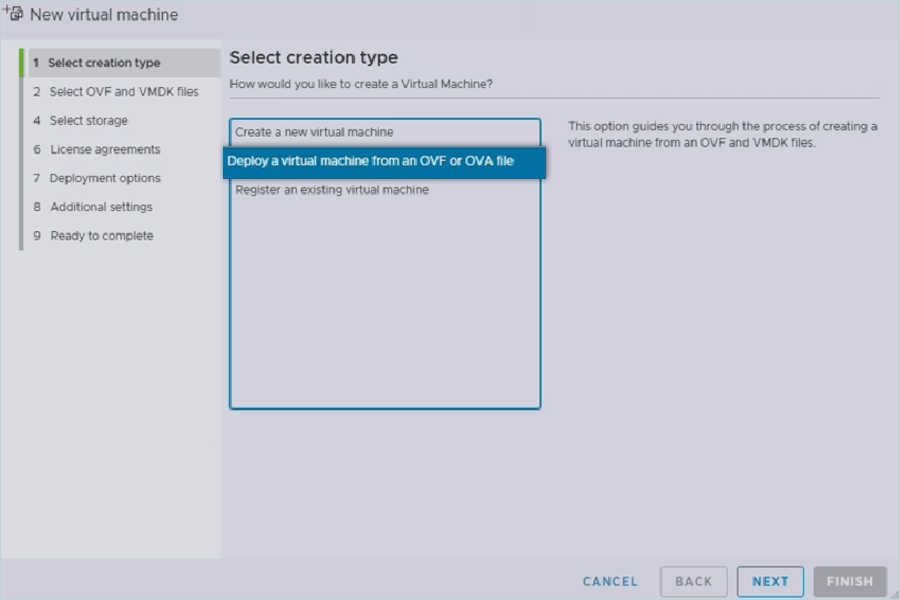
- Click Create a new virtual machine.
- Select Deploy a virtual machine from an OVF or OVA file.
- Enter a name, upload the OVA file, and click NEXT.
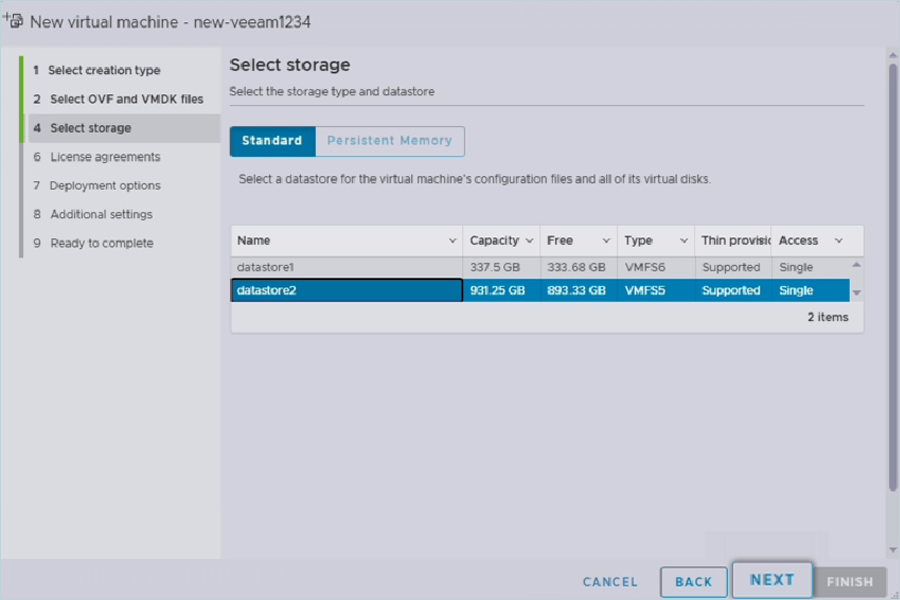
- Select a datastore with sufficient space (two virtual disks, 240 GB each).
- Proceed with default deployment options and click NEXT.
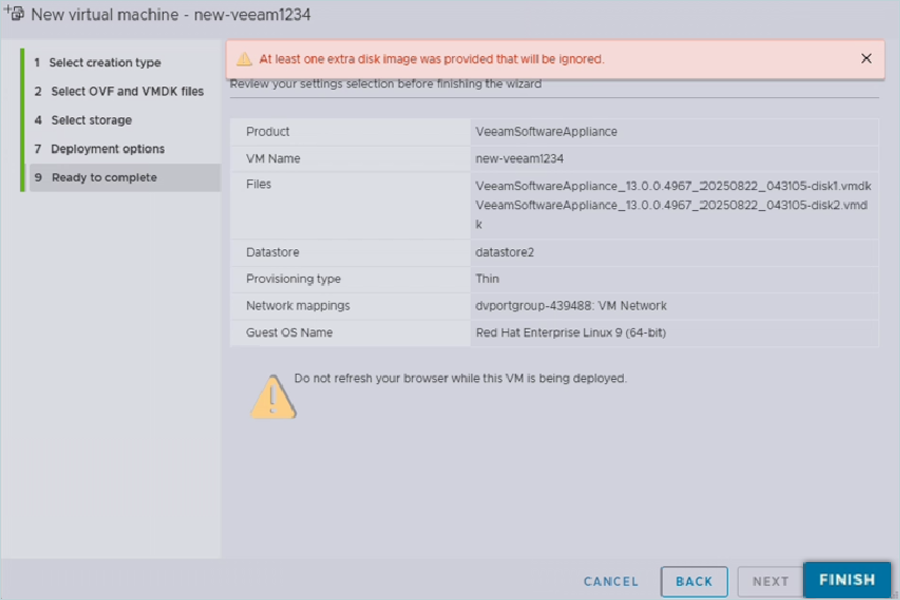
- Click FINISH to start deployment.
- Monitor the upload progress.

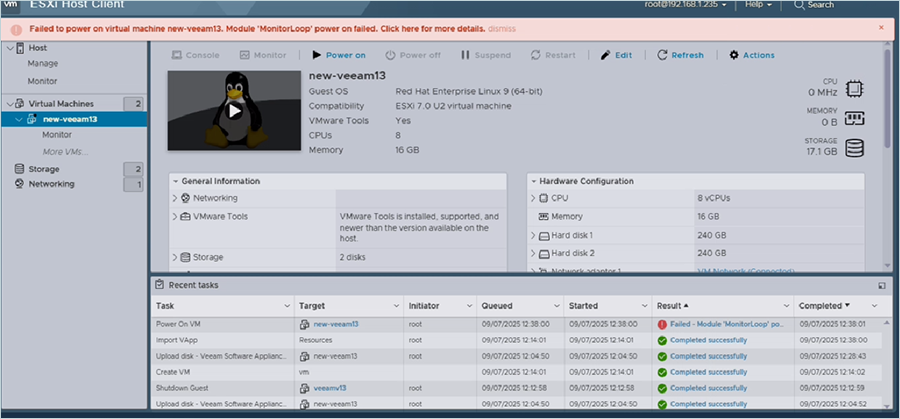
- By default, the VM requests 8 vCPUs. Edit the settings to 4 vCPUs and power on.
- Wait for the Veeam® Appliance software to boot.
Initial Configuration of Veeam® 13 During Installation
- Open the VM console.
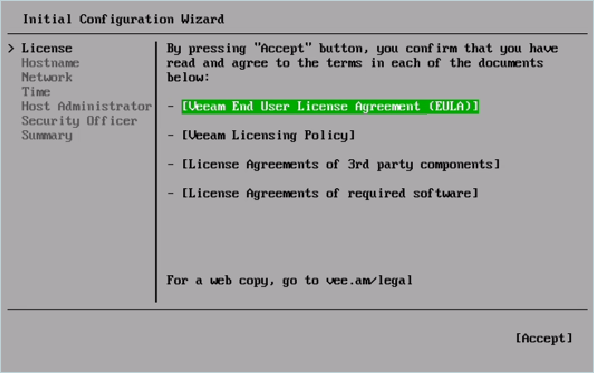
- Click Accept to accept the terms of the Veeam® License.
- Set a hostname and continue.
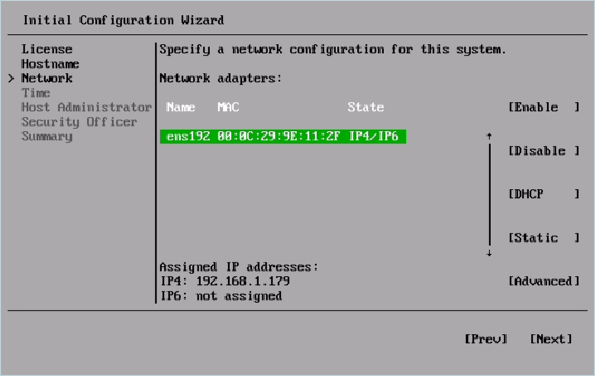
- Choose Network as DHCP and click Next.
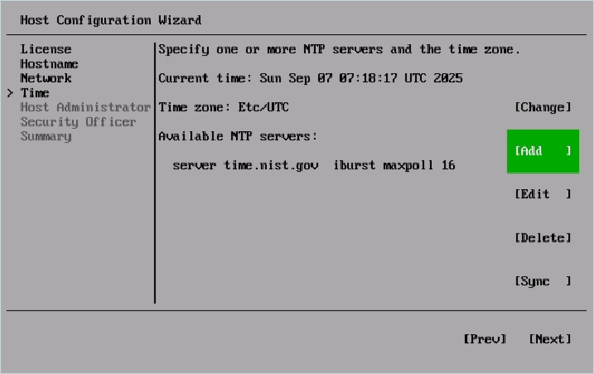
- Click Next and edit the NTP sync server, click Sync, and then click Next.
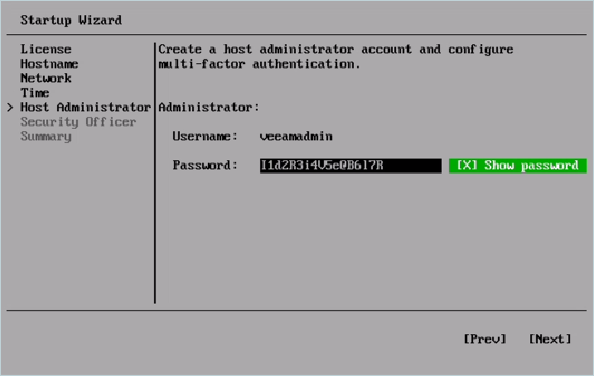
- In Host Administrator, provide the Password and click Next.
- Upon clicking Next, the Configure Multi-Factor Authentication (MFA) popup appears.
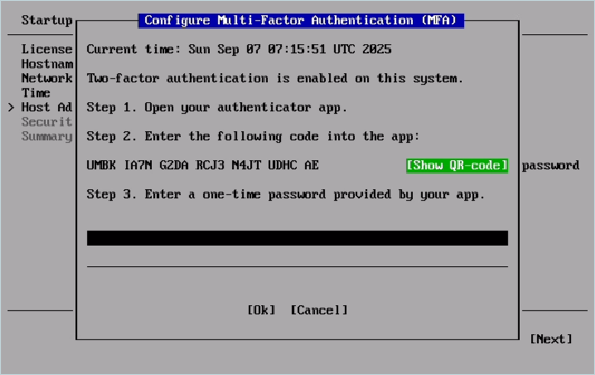
- Click Show QR-code and scan the QR code on your mobile device, and enter the code.
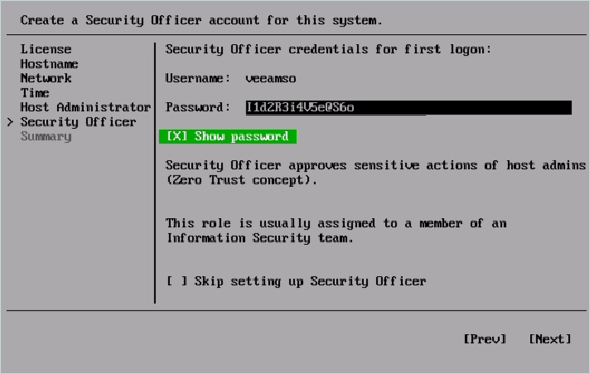
- Configure Security Officer in the next section.
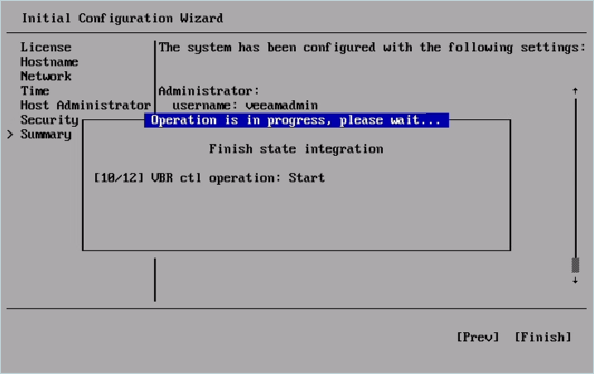
- Verify the summary and click Finish.

- Wait for the installation to complete.
- Once the installation completes, you will see the screen below.
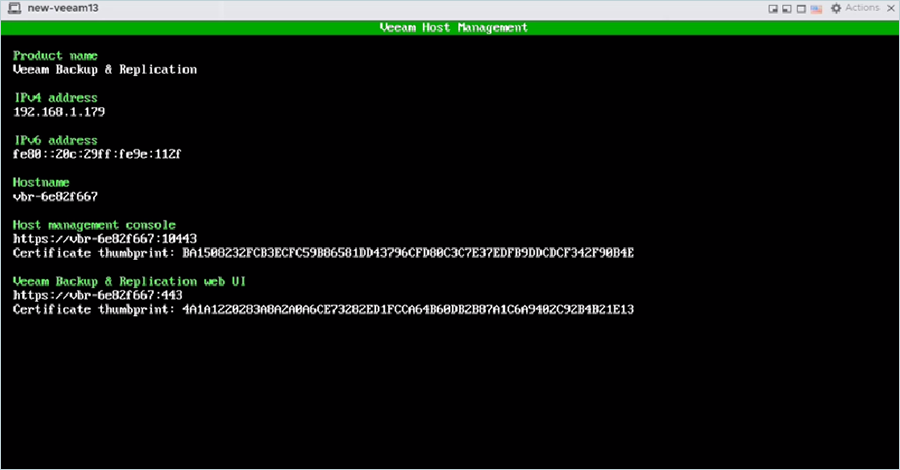
Note: The web consoles of Veeam® Backup, replication console, and Host management console can be accessed via the above link or at https://ip:portnumbers.
Access Veeam® 13 Backup & Replication Web Console (Limited Web Console Access)
- Below are the screenshots for the Management and B&R console after the installation.
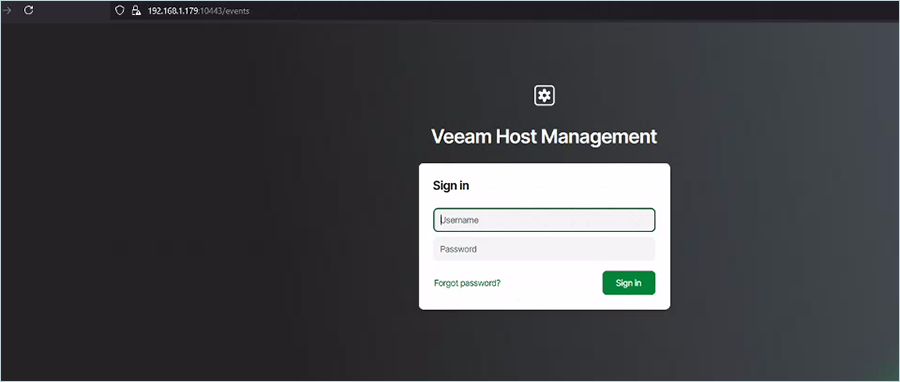
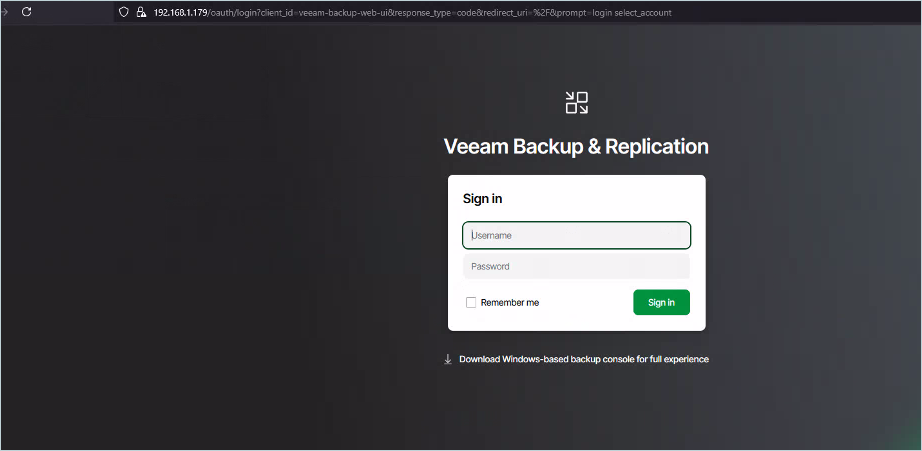
- With the management console, users will have only limited access to Veeam® Backup & Replication in this current build.
- To gain full access to Veeam® 13 B&R, use a Windows-based application.
- Upon clicking the Download Windows-based backup console for full experience button, an executable zip file will be downloaded.
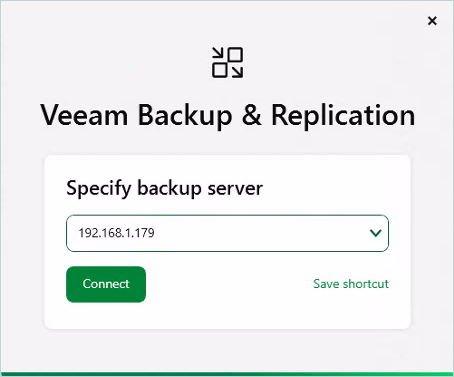
- Install the exe file.
- Upon launching the application, users have to provide the IP of the installed Veeam® Software appliance to get full access through the app UI.
- Provide username and password in the next section.
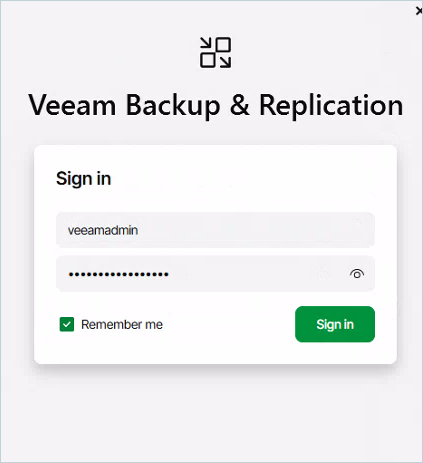
You now have full access to Veeam® 13 Backup & Replication.