Dashboard
Dashboard
The dashboard is an at-a-glance view of your IDrive account. You can view, manage, and monitor your IDrive account activities from the dashboard.
Remotely manage your computer with robust reporting tools in near real-time response.
Users and Groups
Create and manage user accounts, organize them into groups, and view information about all the users, their connected computers, used space, and backup status.
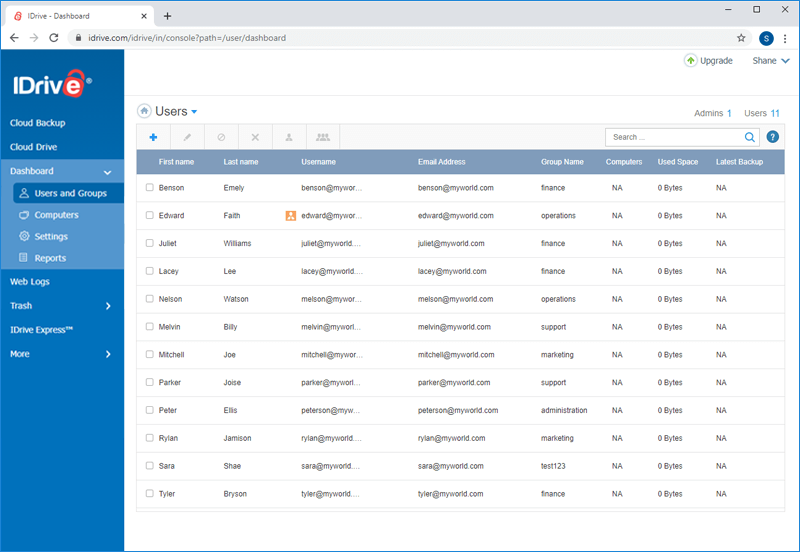
Users list
You can view information about all the users such as first name, last name, username, email address, group name, number of connected computers, storage space used from your account and the latest backup activity. You can also filter and view the users list for blocked users, admin only, or groups as per your requirement.
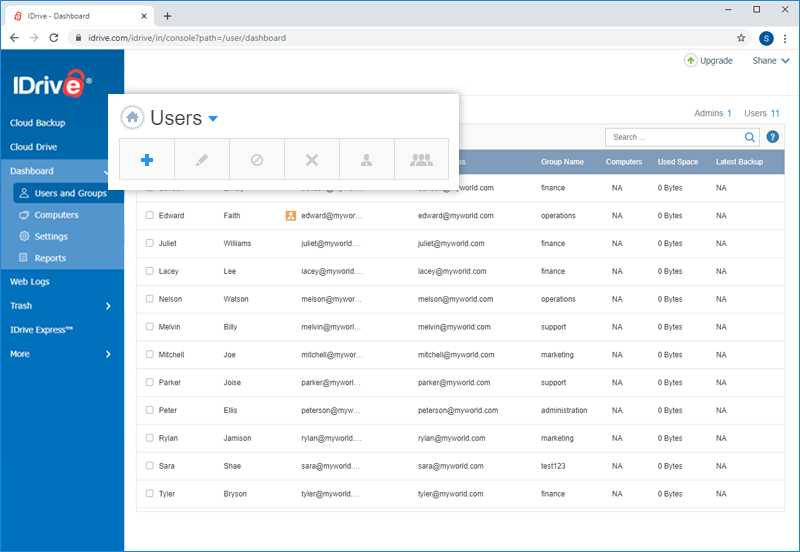
User-oriented operations
You can add, invite, edit, block, and delete users from your account. You can also grant admin rights to other users or add them to a group from the Dashboard.
Edit users
Update your user's details such as the first name, last name, email address and password.
To edit,
- Sign in to IDrive and click the 'Dashboard' tab.
- From the Dashboard, select the users for whom you want to edit the details.
- Click
 . The 'Edit' screen appears.
 - Update the required details and click 'Save'.
Block users
You can block the users and prevent them from accessing their IDrive web account.
To block users,
- Sign in to IDrive and click the 'Dashboard' tab.
- From the Dashboard, select the users whom you want to block.
- Click
 . The 'Block Selected Users' screen appears.
 - Click 'Yes'.
Delete users
You can remove the users and delete their data from your IDrive account permanently.
To delete users,
- Sign in to IDrive and click the 'Dashboard' tab.
- From the Dashboard, select the users whom you want to delete.
- Click
 . The 'Delete Selected Users' screen appears.
 - Click 'Yes'.
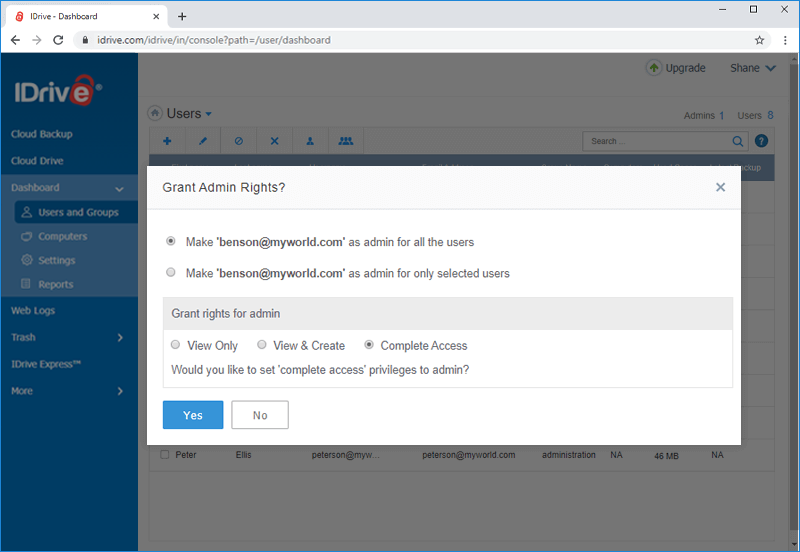
Grant admin rights
You can assign admin control to the users. Admin can add or invite users, edit, block, and delete users from your account. In addition, make the other users as admin from the Dashboard.
To make a user an admin,
- Sign in to IDrive and click the 'Dashboard' tab.
- From the Dashboard, select the users whom you want to grant the admin rights.
- Click
 . The 'Grant Admin Rights' screen appears.
 - Select the required admin right permissions - a) View Only b) View & Create c) Complete Access.
- Click 'Yes'.
Groups
A group is a collection of users whom you can organize for a variety of purposes. You can push settings, monitor backups, and do other operations. You can create up to 200 groups with any number of users and a user can be a part of multiple groups.
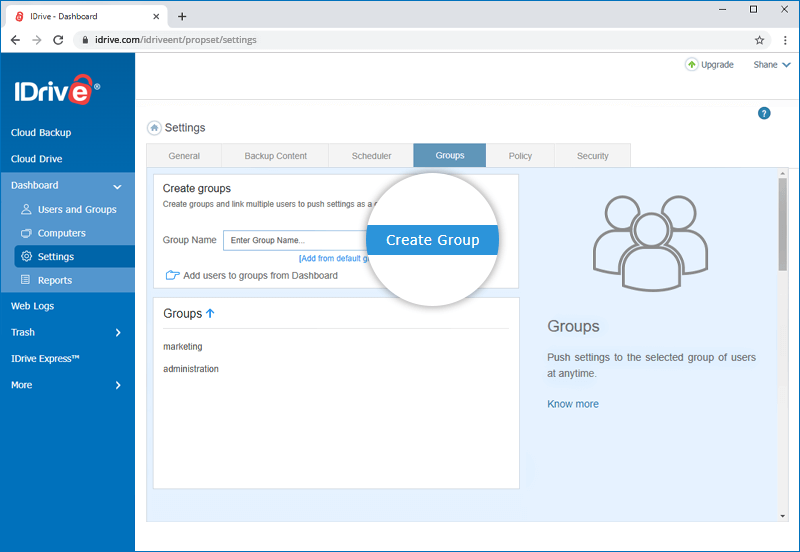
Create Groups
Create a group of users and push settings conveniently in one go.
To create a group,
- Sign in to IDrive and click the 'Dashboard' tab.
- Click 'Settings' and go to the 'Groups' tab.
- Provide the group name and click 'Create Group'.
Note: IDrive application has a few predefined groups. You can add these groups to your list.
You can see the newly created group under the 'Groups' list.
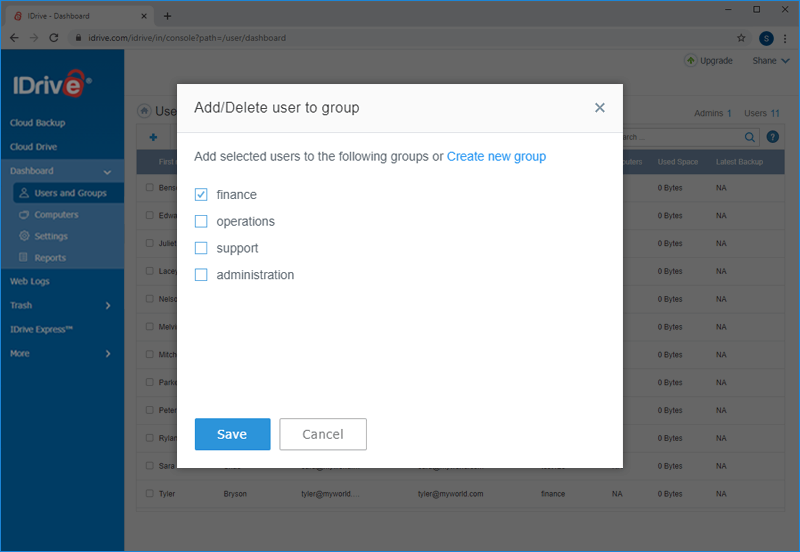
Add users to the group
You can add any number of users to the group.
To add users,
- Sign in to IDrive and click the 'Dashboard' tab.
- Select the users you want to add and click
 .
. - Select the group you want to add the users to and click 'Save'.