Secure endpoint backup
Backup multiple computers across the organization to a secure cloud by deploying the thin client application or using the full-suite desktop application. With regular backups, you enable faster business recovery from accidental data loss, server failure, hardware crash, malware corruption, and more.
File Backup
Set up backup for your computers using the thin client and manage via the console, or use the full-suite desktop app to configure backups, restore data, and manage settings.
Linux Backup
Add Linux machines, manage backup settings and schedules, perform restores from the centralized dashboard or use the desktop application.
Mobile Backup
Backup the photos, videos, contacts, calendar events on your iOS devices, including contacts, SMS, and other files in Android devices to your IDrive® 360 account.
Microsoft Office 365 Backup
Enable automated backup for your Microsoft Office 365 users and quickly restore the backed up data in case of accidental deletions, cyber-attacks, and ransomware threats.
Google Workspace Backup
Secure your Personal or Google Workspace data from accidental deletion or ransomware attacks with 3 automated backups per day and direct cloud recoveries.
Backup for Dropbox
Securely back up your Dropbox Personal and Professional files to the IDrive® 360 cloud to protect against ransomware, app outages, and other threats.
Box Backup
Automatically back up all your Box files - photos, videos, documents, and important business data with fast search and restore capabilities.
Server Backup
Safeguard your organization’s essential server environments with cloud backups for MS SQL, on-premise Exchange and SharePoint, Oracle Server, System State, Hyper-V, VMware, and Linux servers.
IDrive® 360 Express
Quick backup of data to the cloud in less than a week via physical storage shipment, ensuring no bandwidth usage.
Automated Backup
Protect multiple computers effortlessly with scheduled backups. Simply install the thin client, configure the backup plans, and schedule the backups.
External Drive Backup
Add your external drives to the backup set. Even if you need to remove the drive after initial backup, IDrive® 360 resumes backup as soon as it is plugged in.
Mass Deployment
Deploy IDrive® 360 at scale with ease - on Windows using GPO, Microsoft Intune, or NinjaOne, and on Mac using Apple Remote Desktop, Jamf Pro, or Microsoft Intune.
Encrypted Cloud Storage
Your data is protected with AES-256-encryption on transfer and at rest. The IDrive data centers are equipped with state-of-the-art security and surveillance systems.
File-Level Recovery
Save operations time with fast data recovery. Restore critical files from the cloud with an almost real-time objective, without recovering the entire system.
Snapshots #
IDrive® 360 provides up to 30 days of daily snapshots for the entire backed-up data of each computer. You can restore data from any of the recovery points.
Immutability and Legal Hold
Our daily snapshots are immutable, offering protection against alterations from human error or malware. This feature ensures that backups meet legal hold requirements.
Integrate ConnectWise
MSPs can leverage ConnectWise Manage + IDrive® 360 for customer record management, billing, and tracking services delivered via Service Desk tickets.
Integrate NinjaOne
Set up cloud backup and recovery for your business-critical Windows endpoints by deploying IDrive® 360 via NinjaOne.
Centralized management in IDrive® 360
Add user accounts with company administrator/account owner, or assign backup-manager access via the web-based console.
-
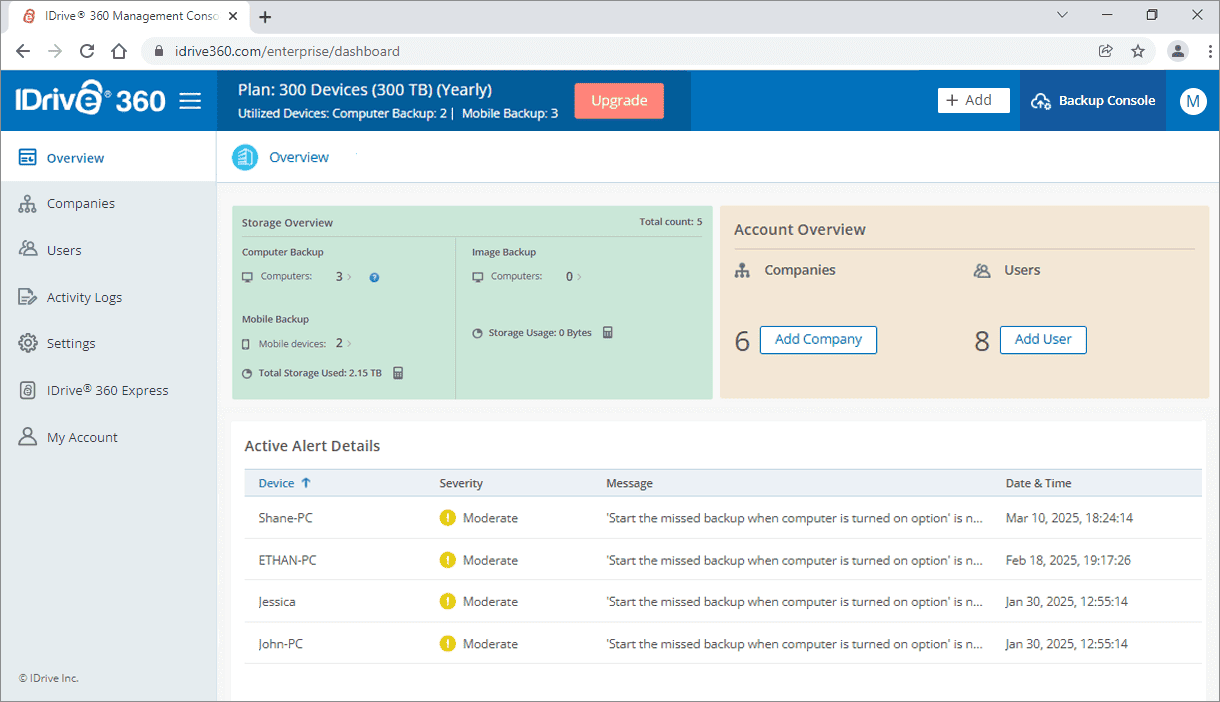
IDrive® 360 management console
Configure organizational data backup structure, manage users and their access rights, monitor cloud storage utilization.
-
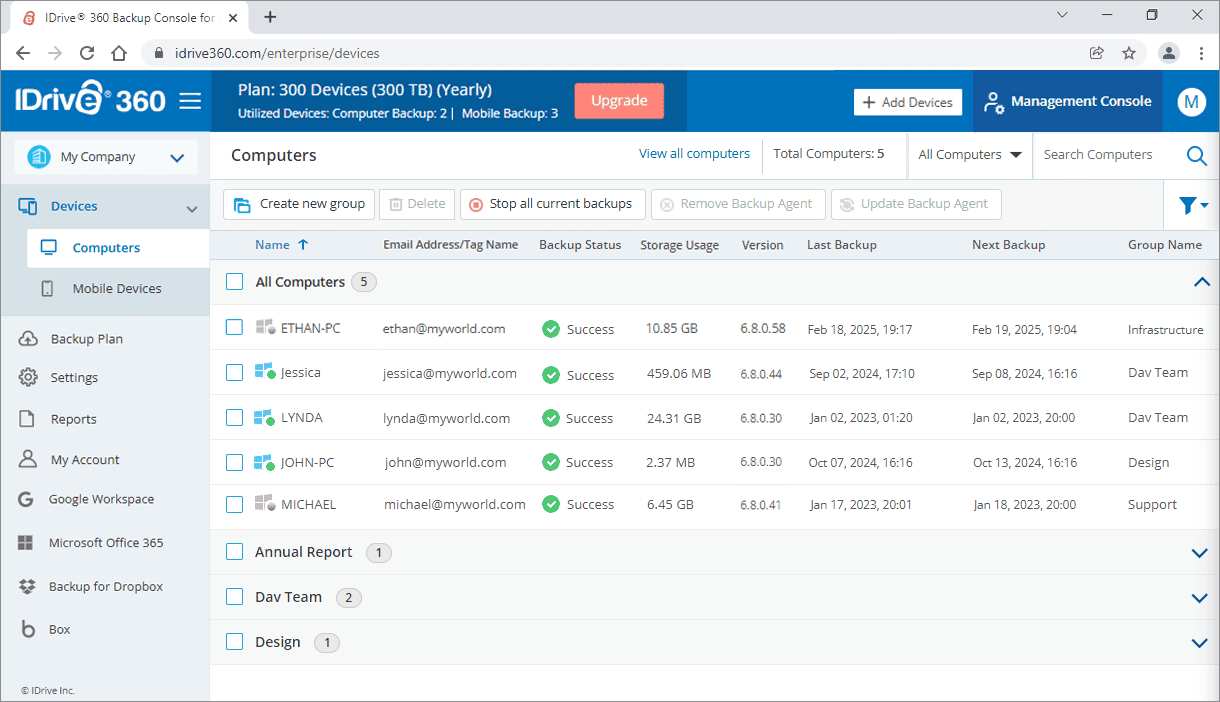
IDrive® 360 backup console
Add and manage devices for backup, schedule logical backup plans for computer groups, and configure various backup settings according to business requirements.
Secured account access
IDrive® 360 extends data security beyond encryption to include multiple layers of account access-checks and controls.
Endpoint backup and disaster recovery with IDrive® 360
Note:
- * At IDrive® 360, 'unlimited' storage means you can back up all your essential business data from local drives without worrying about rigid caps. To ensure fast, reliable performance for all users, our fair usage policy applies. We focus on standard endpoint backups, so mapped drives, NAS devices, and specialized formats like Time Machine are not included in the unlimited backup definition. If your storage or device needs exceed typical usage, we’ll work with you to optimize your plan or add devices for a small fee, keeping your backups seamless. Typical usage is currently defined to be < 10 TB.
- # The snapshot-based restore functionality applies only to accounts created/devices added on or after 03-05-2024.
- Dropbox is a registered trademark of Dropbox, Inc. IDrive® 360 is a third-party service and is not affiliated with, sponsored by, or endorsed by Dropbox.