Related Links
Store Veeam v12 backup copies in IDrive® e2
Create a Backup Copy Job in Veeam® Backup & Replication v12 to securely replicate your backup data to IDrive® e2 object storage. Backup Copy Jobs provide an additional layer of protection by creating independent copies of your backups and storing them in a secure, offsite location.
Prerequisites
Before you begin, ensure the following:
- An active IDrive® e2 account. Sign up here if you do not have one.
- A bucket in IDrive® e2. See how to create a bucket and assign public access to it.
- Valid Access Key ID and Secret Access Key. Learn how to create an access key.
- A valid Veeam12 account.
Add IDrive® e2 as Object Storage Repository
Create a Backup Copy Job
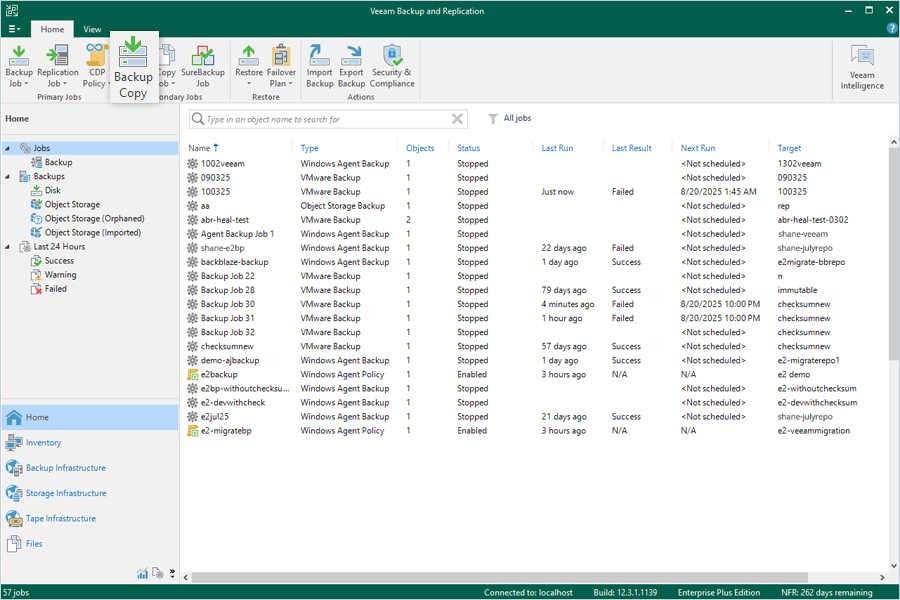
- Go to Home > Jobs > Backup Copy.
- Enter a name for your Backup Copy Job. Keep the default selection for Copy Mode as Immediate copy, then click Next.
Note:
Immediate copy: Mirrors all new restore points created by the backup job.
Periodic copy: Mirrors only the recent restore point within the backup copy interval.
In a scenario where you run your Backup Job daily and your Backup Copy Job weekly, using Periodic Copy will only transfer the latest restore point to Wasabi Hot Cloud Storage. This method can help save both bandwidth and storage capacity, especially on slower connections. For more information on immediate and periodic copy settings,
refer to Veeam's documentation.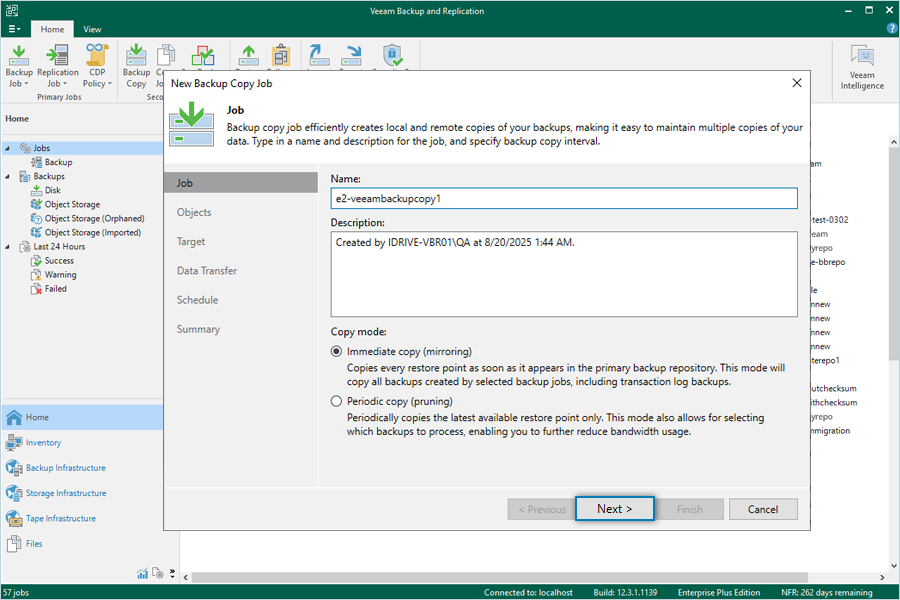
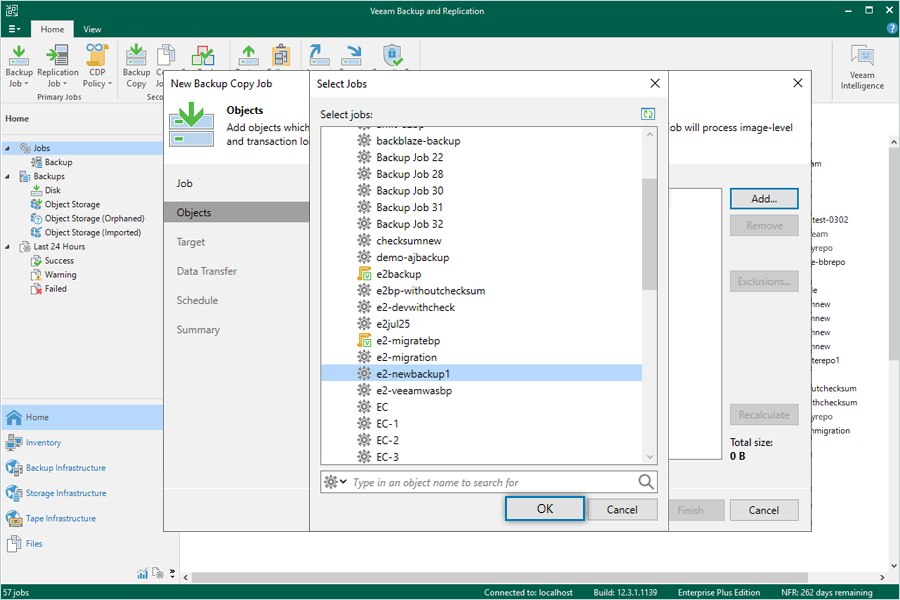
- Click Add, then select From Jobs to choose a backup job.

- Select the backup job you want to copy, then click OK.
- Select your IDrive® e2 storage repository as the target backup repository, then click Next.
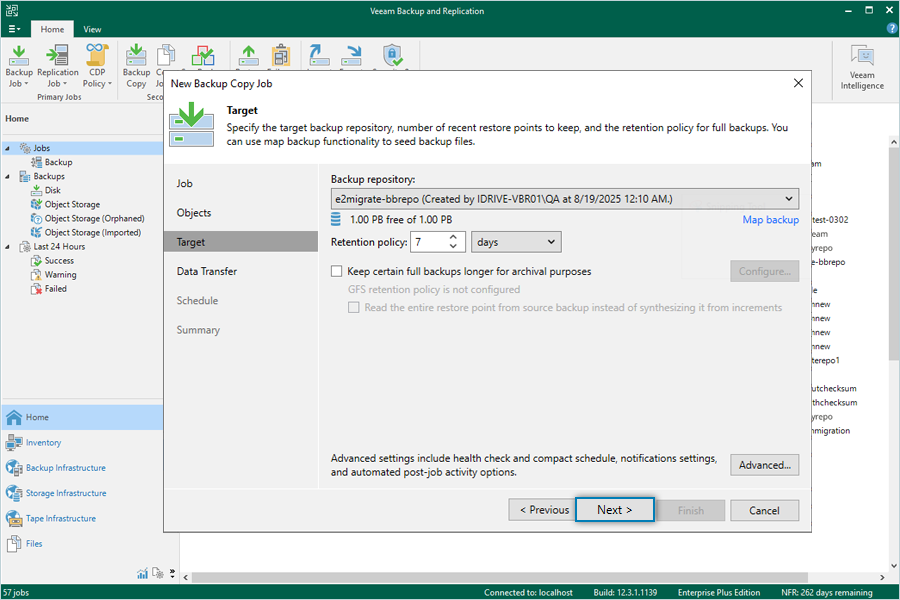
- Leave the default value for Data Transfer and click Next.
Note: Direct: Copies data directly from the source backup repository to the target.
Through built-in WAN accelerators: For advanced users with WAN acceleration devices deployed between the source and target repositories. For more information, refer to Veeam WAN Acceleration Docs.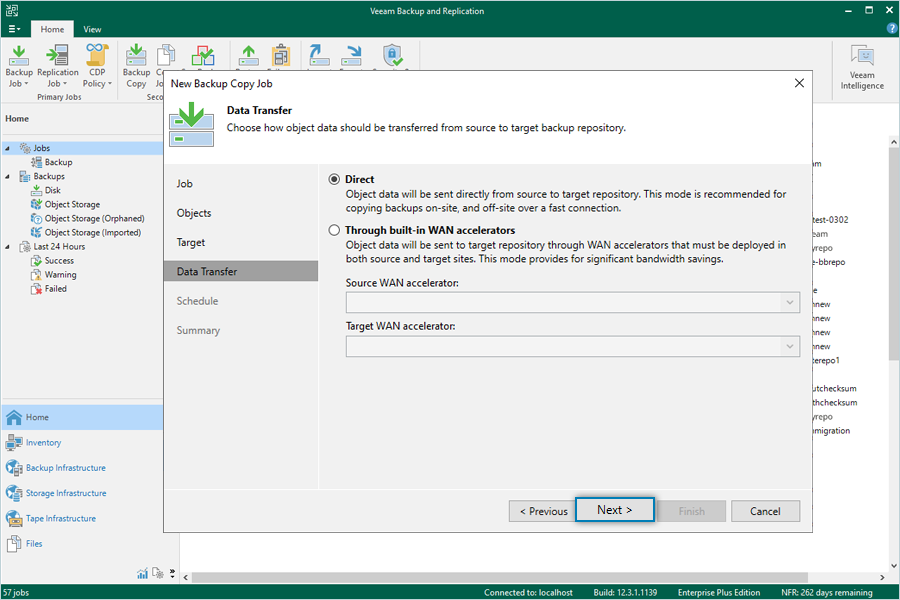
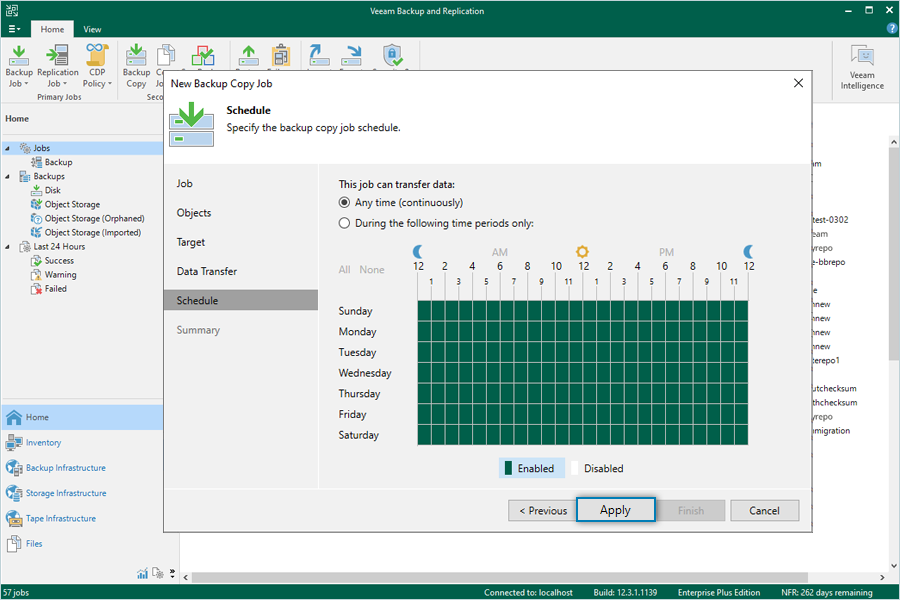
- Configure the schedule for your Backup Copy Job as required, then click Apply.
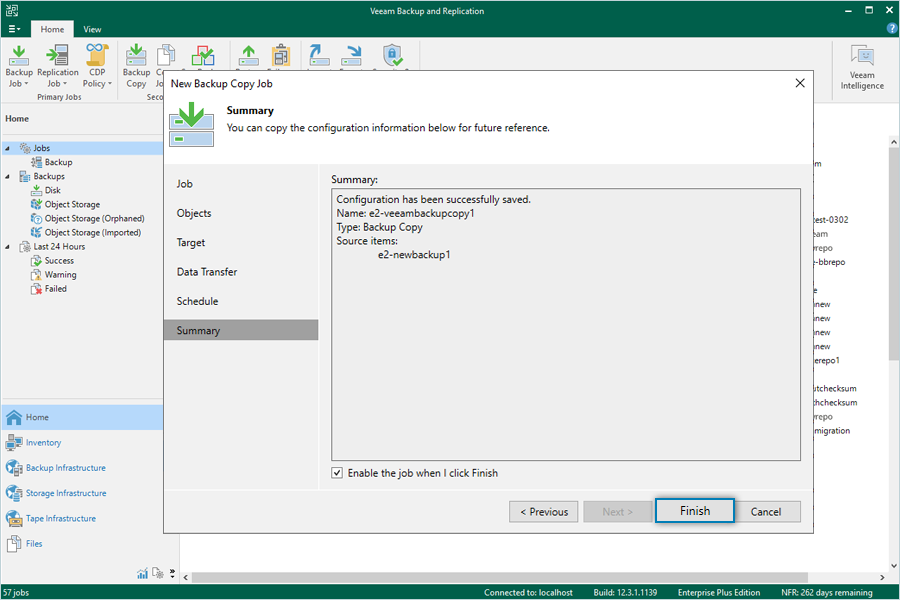
- Review the Summary and click Finish. To run the job immediately, check Enable the job when I click Finish.
- Notes:
- Data restoration is handled by your specific backup solution provider and is affected by multiple variables that are unique to your environment. For application-related enquiries/support, it is strongly recommended you seek guidance from the technical team of your backup solution provider.
- IDrive® e2 does not allow creating public buckets. Only public buckets created before 21st July, 2026 are available.