Related Links
Integrate Pulse-IT/Automate-IT with IDrive® e2
Pulse-IT and Automate-IT by Embrace help systematize media workflow automation and creative content versioning through intelligent orchestration and real-time management. Both platforms offer efficient collaboration, resource optimization, and high-speed content delivery across hybrid environments. Integrating Pulse-IT and Automate-IT with IDrive® e2 adds a capable and scalable cloud object storage solution that facilitates systematic integration for secure and efficient media operations.
Prerequisites
Before you begin, ensure the following:
- An active IDrive® e2 account. Sign up here if you do not have one.
- A bucket in IDrive® e2. See how to create a bucket.
- Valid Access Key ID and Secret Access Key. Learn how to create an access key.
- Inside Pulse-IT workflow with S3 tasks.
- With Media Selector inside Forms.
The following steps can help you successfully integrate Pulse-IT/Automate-IT with IDrive® e2 cloud object storage.
S3 Tasks Configuration
- To use the S3 task with IDrive® e2, simply add a key to the Resource sub-menu.
- Name: 'endpoint_url'
- Value: 'https://r4a6.or5.idrivee2-75.com'

- Enter your IDrive® e2 details as mentioned below.
- Enter your IDrive® e2 region as Region.
- Enter your IDrive® e2 Access Key as Access key id.
- Enter your IDrive® e2 Secret Key as Secret access key.
- Click Save.
Media Selector Configuration
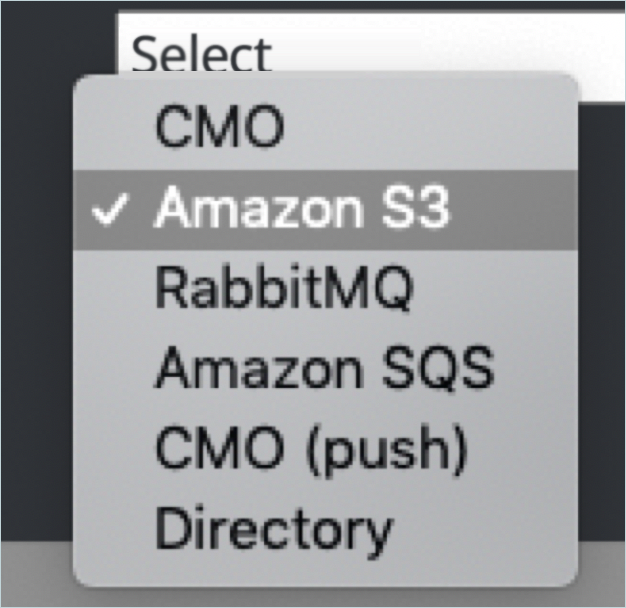
- To create the IDrive® e2 connector, Select Amazon S3 as the Connector Type.
- Enter your IDrive® e2 credentials in the Connector setup.
- Enter your ® e2 Access Key as Access key ID.
- Enter your IDrive® e2 Secret Key as Secret access key.
- Enter your IDrive® e2 Bucket as Bucket.
- Enter your IDrive® e2 region as Region.
- Under Resource options.
- Key as endpoint_url
- Value as your IDrive® e2 S3 endpoint

- Click SAVE.
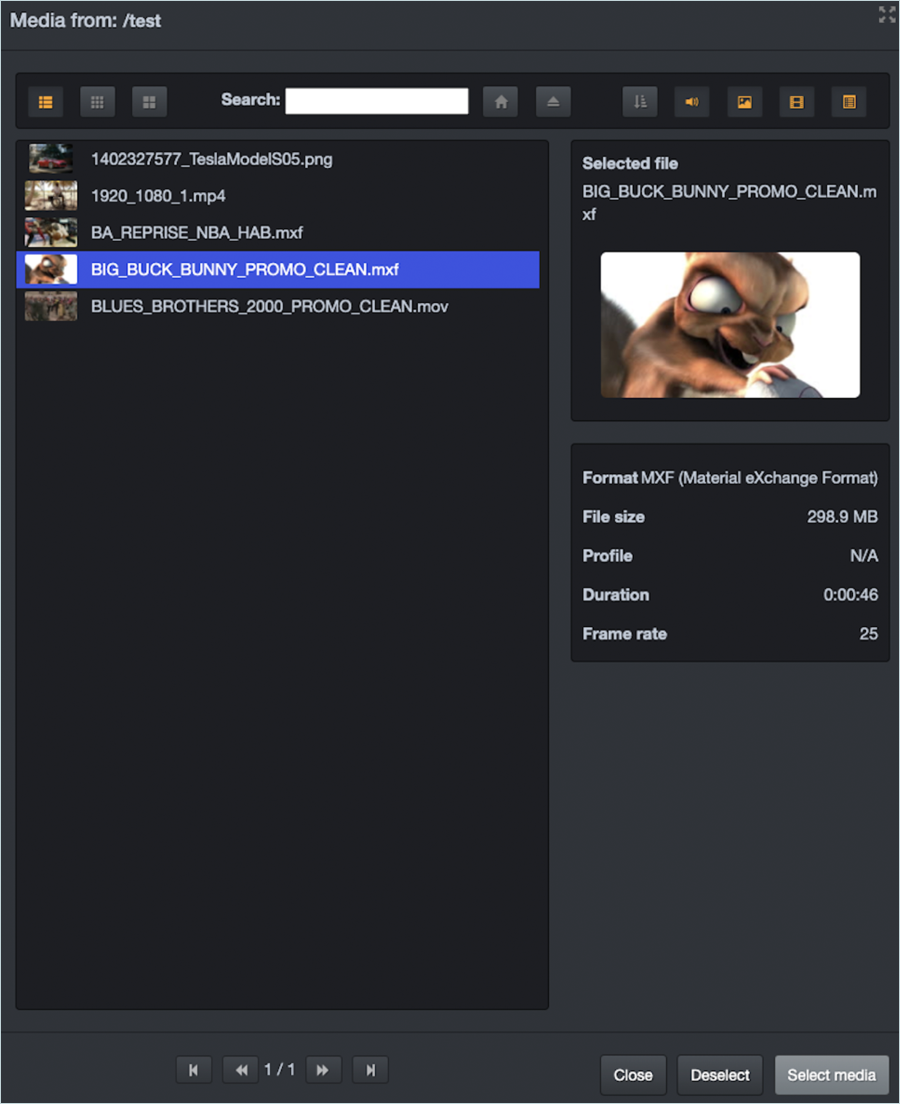
- Now, you can add an IDrive® e2 media connector in Forms and allow users to browse and select media in an IDrive® e2 bucket.