Integrate Network Optix NX with IDrive® e2
Network Optix NX is an enterprise video platform (Nx EVOS) designed to build intelligent, AI-driven video solutions that integrate video with real-time data insights to improve operational management. It supports scalable deployments, robust APIs, and seamless integration of IP cameras, IoT devices, and third-party applications into a unified ecosystem. Integrating Network Optix NX with IDrive® e2 adds a capable and scalable cloud object storage solution that facilitates systematic integration for secure, efficient, and cost-effective video data management.
Prerequisites:
Before you begin, ensure the following:
- An active IDrive® e2 account. Sign up here if you do not have one.
- A bucket in IDrive® e2. Learn how to create a bucket.
- Valid Access Key ID and Secret Access Key. Learn how to create an access key.
- Network Optix Nx Witness v5.1 or later.
- Valid and Active Nx Licensing applied.
The following steps can help you successfully integrate Network Optix NX with IDrive® e2 cloud object storage.
Install Network Optix NX on Windows
- To install the Nx Plugin in Windows,
- Copy the Nx_Windows_1.0.3.zip over to the machine running Nx Witness.
- Extract the .zip file contents.
- Navigate inside the install-storage-sdk-window folder, and you will see the install.bat file.
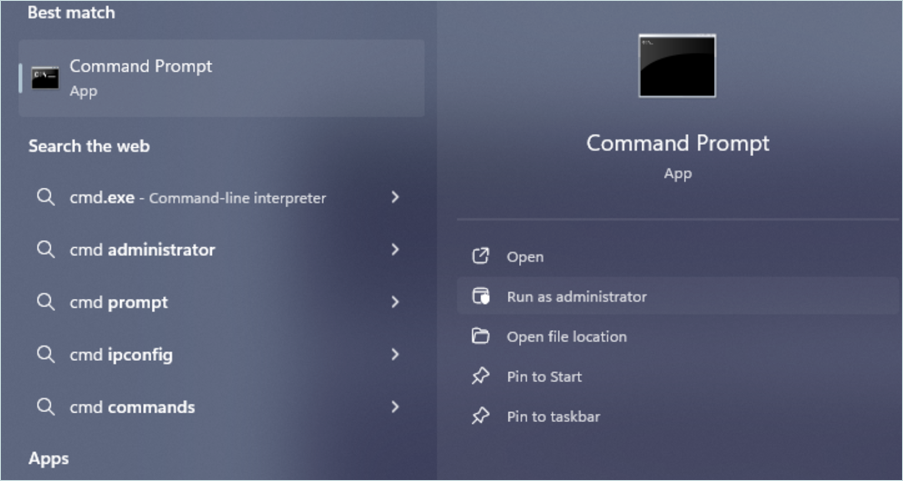
- Run the command prompt as admin.
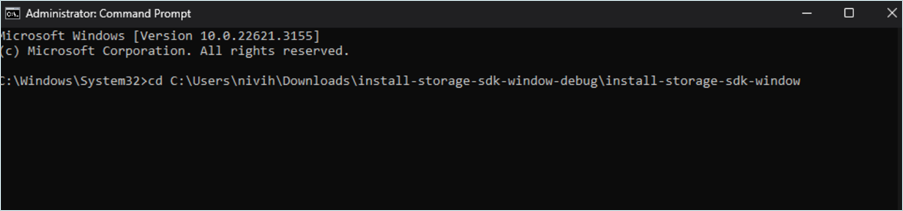
- Navigate the directory to where the install-storage-sdk-window folder is located.
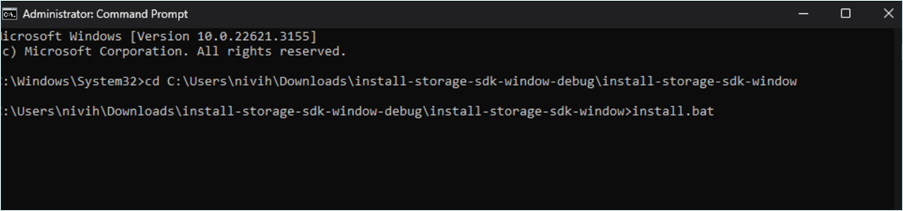
- Run the install.bat file.
Now, the plugin is attached to the Network Optix Media Server.
Configure E2 Cloud Storage as External Storage
- Within Nx Witness, ensure that recording is turned on for the cameras in your environment.
- Right-click on the camera name under Server, and then select Camera Settings from the options list.
- Click the Recordings tab and highlight and select the schedule you want to apply to that particular camera.
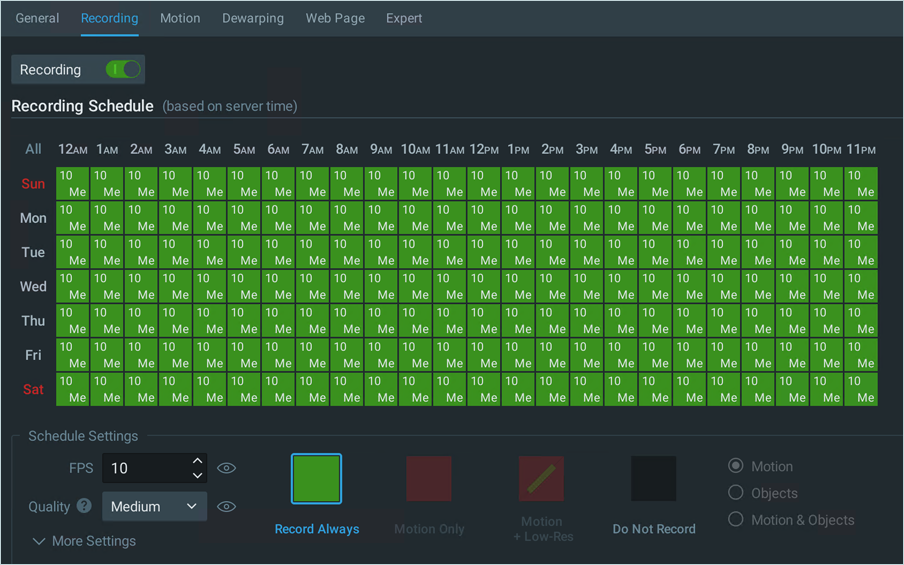
Note: Adjust your archive settings to set the overall retention period to achieve your desired outcome on that camera.

- Click Apply and then click OK.
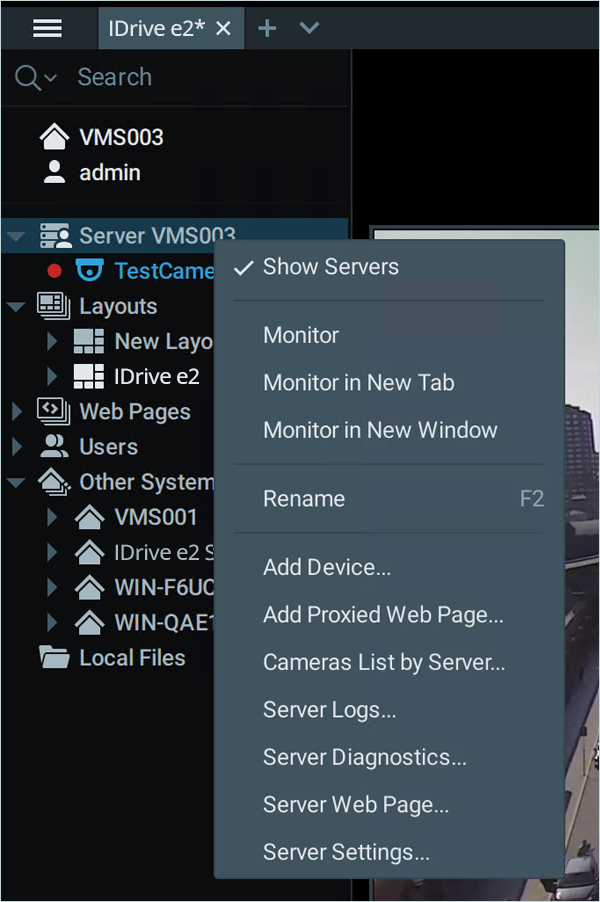
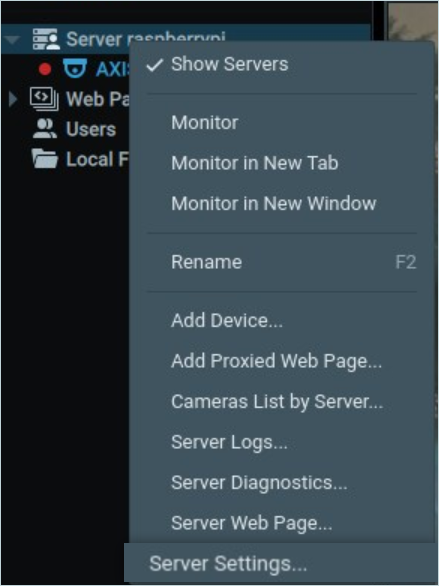
- Right-click on the server name and then click Server Settings.
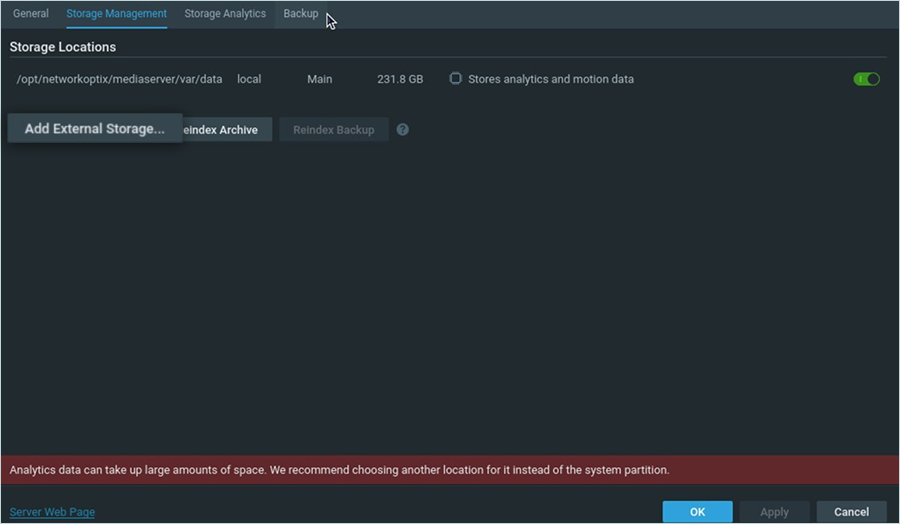
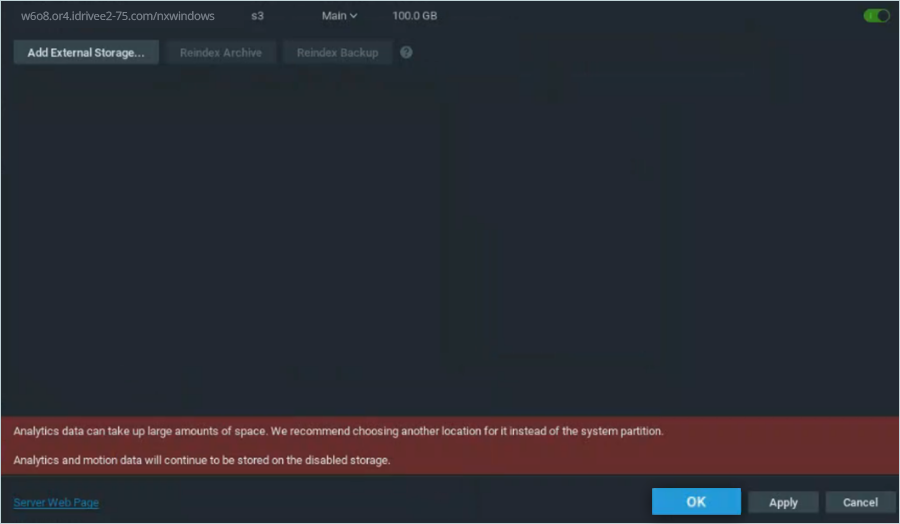
- Click the Storage Management tab and then click Add External Storage.
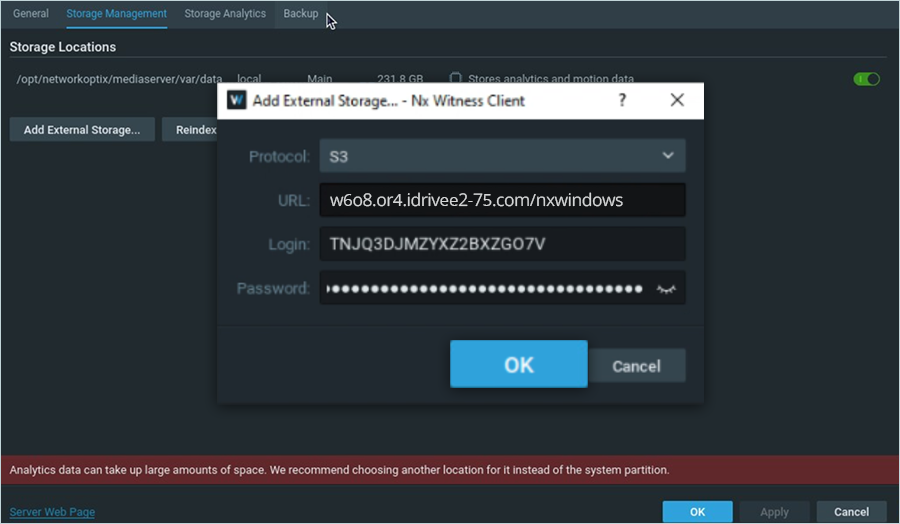
- In the Add External Storage window,
- Select S3 as the Protocol.
- Enter your IDrive® e2 endpoint as URL.
- Enter your IDrive® e2 Access Key as Login.
- Enter your IDrive® e2 Secret Key as Password.
- Click OK.
- Click Apply to initialize the IDrive® e2 bucket as the new storage target.
- Click OK to close the window.
Logs Location for Windows
C:\ProgramFiles\Network Optix\Nx Witness\MediaServer\logs
For a more in-depth look at Nx Witness VMS, click here.
Note: Data restoration is handled by your specific backup solution provider and is affected by multiple variables that are unique to your environment. For application-related enquiries/support, it is strongly recommended you seek guidance from the technical team of your backup solution provider.