Integrate MSP360 Managed Backup Service with IDrive® e2
MSP360 Managed Backup Service is a centralized backup solution designed for MSPs and IT teams, supporting backups of images, files, databases, and virtual environments with flexible options for cloud or local storage. It offers remote management, automated scheduling, white-labeling, and strong encryption through an intuitive web console. Integrating MSP360 with IDrive® e2 extends these capabilities with a capable and scalable cloud object storage solution that facilitates systematic integration for secure, efficient, and cost-effective backup management.
Prerequisites
Before you begin, ensure the following:
- An active IDrive® e2 account. Sign up here if you do not have one.
- A bucket in IDrive® e2. See how to create a bucket.
- Valid Access Key ID and Secret Access Key. Learn how to create an access key.
- A valid MSP360 Managed Backup Service account and web application installed.
The following steps can help you successfully integrate MSP360 Managed Backup Service with IDrive® e2 and run a backup in the web console.
Add New Storage
- Download and install MSP360 Managed Backup Service. Sign in to the MBS web interface using your MBS credentials.
- Click Backup and select Storage Account from the list.
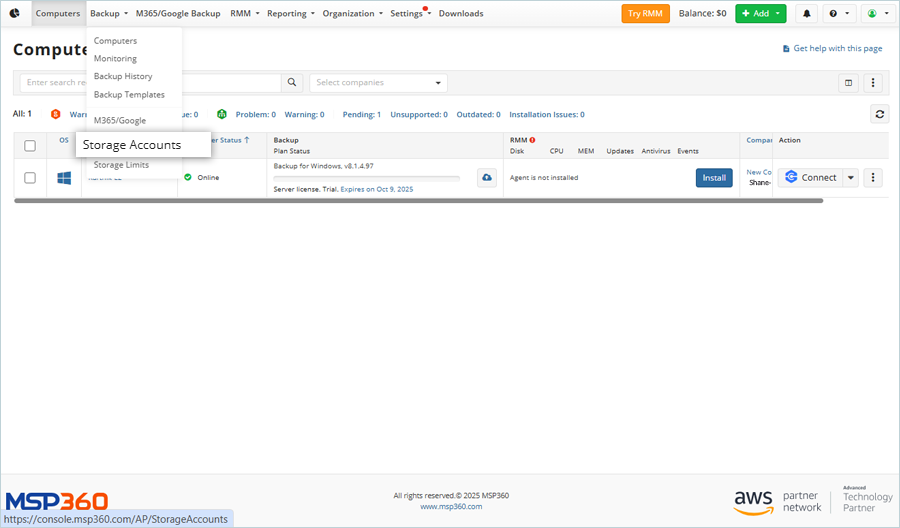
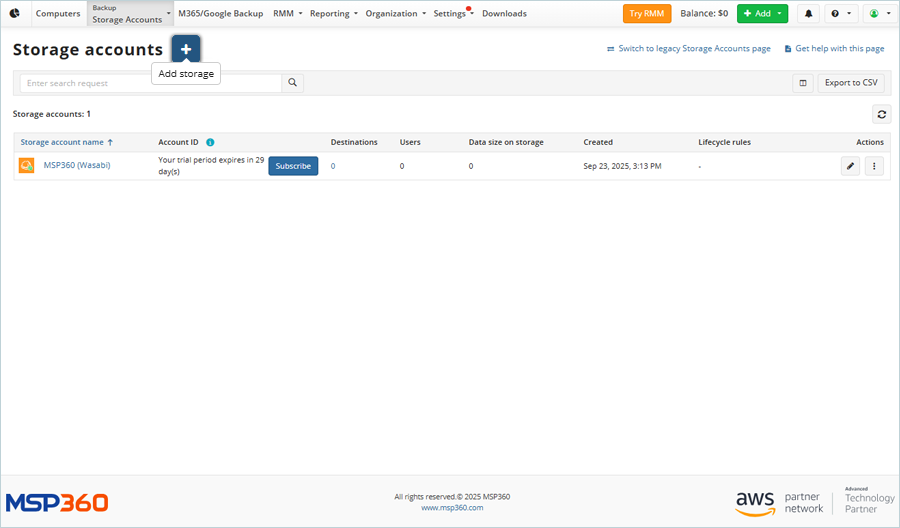
- Click Add Storage under Storage Accounts.
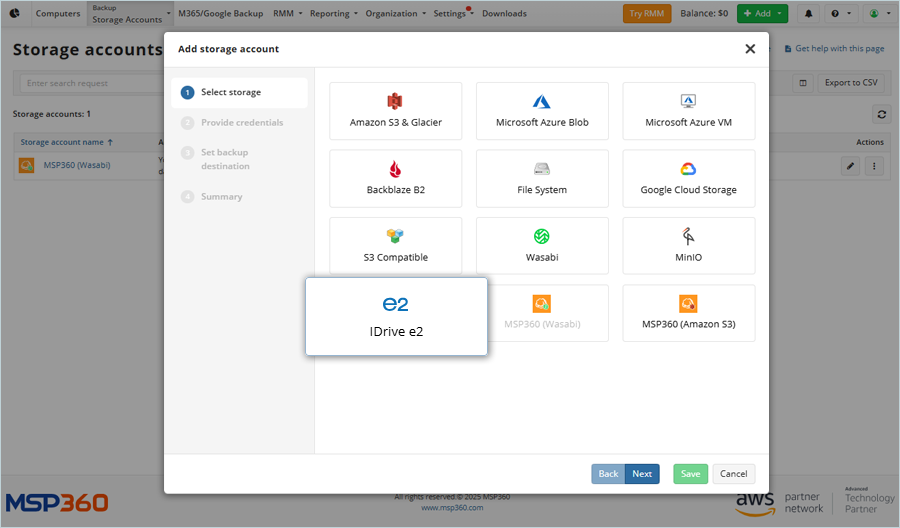
- In the Add Storage Account window, select IDrive® e2 as the Storage Provider, then click Next.
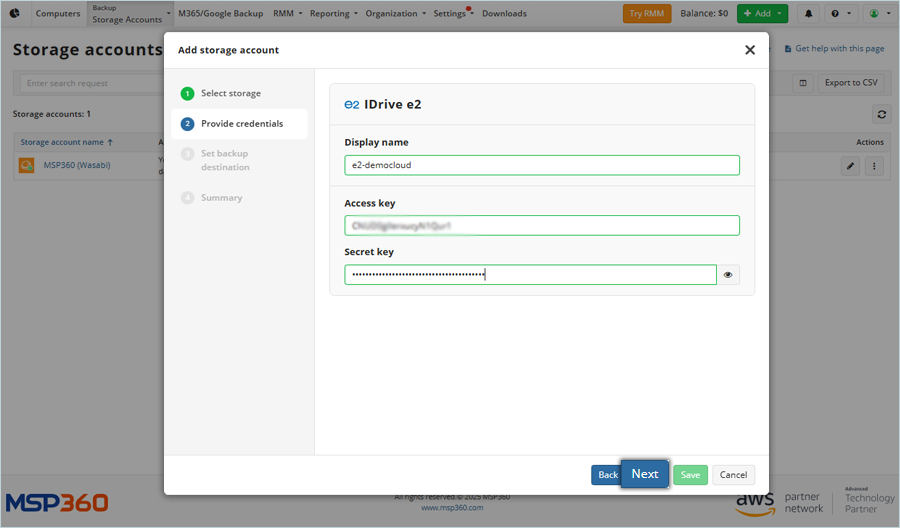
- Enter your IDrive® e2 Credentials as mentioned below.
- Enter a name for the Storage.
- Enter your IDrive® e2 Access Key as Access Key
- Enter your IDrive® e2 Secret Key as Secret Key
- Click Next.
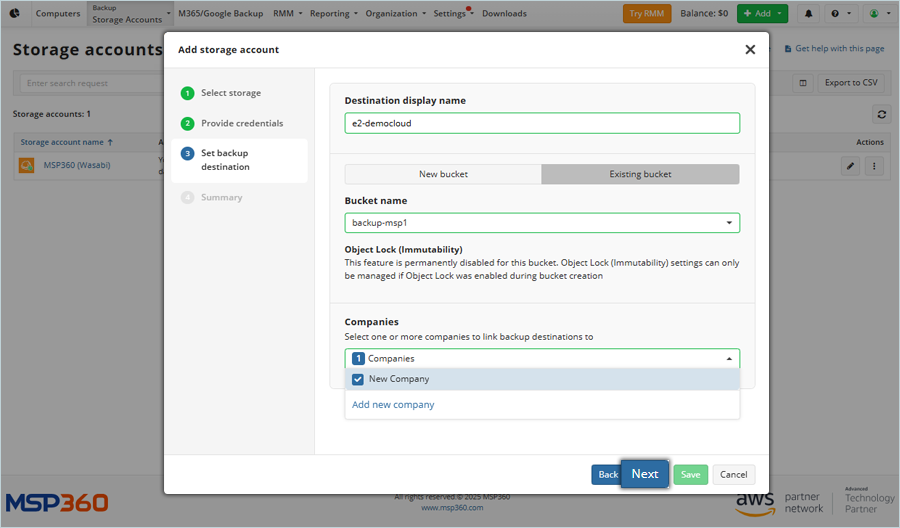
- Enter the display name for the destination and click on Existing Bucket, then select e2 bucket from the list.

- Select the company by clicking on the Companies drop-down, then click Next.
- Review the storage summary and click Save.
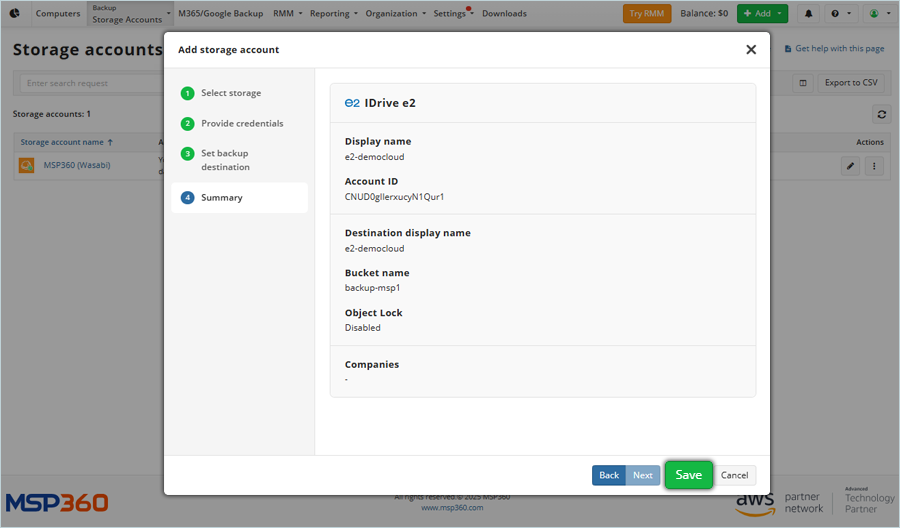
- The Storage is now added and listed.

Add Computer and Install Online Backup Server
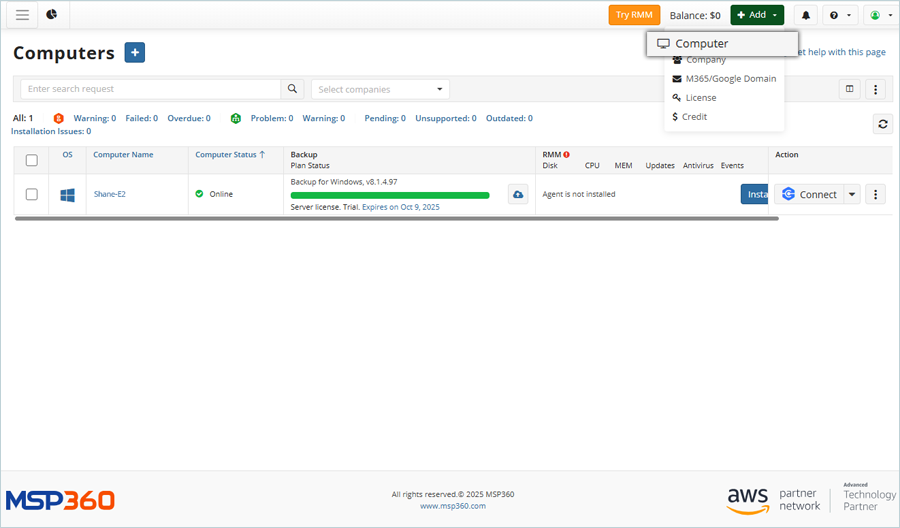
- Click
 Add in the top right-hand corner and select Computer.
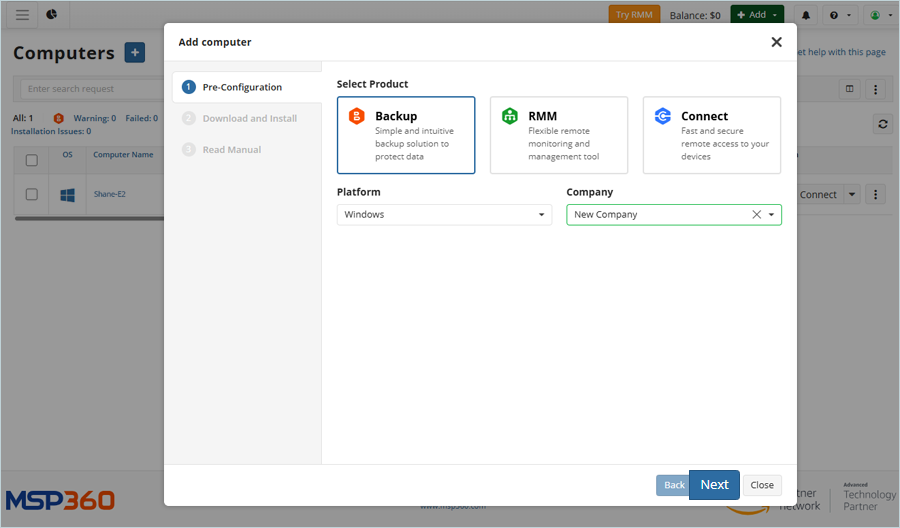
- Select Backup and Windows as Platform and Company from the list, and click Next.
- Click Download to download and install Agent, and install the downloaded file.
Note: After downloading, install the backup server application. After successful installation, the cloud storage will be accessible on the backup server.
Add Backup Plan and Run
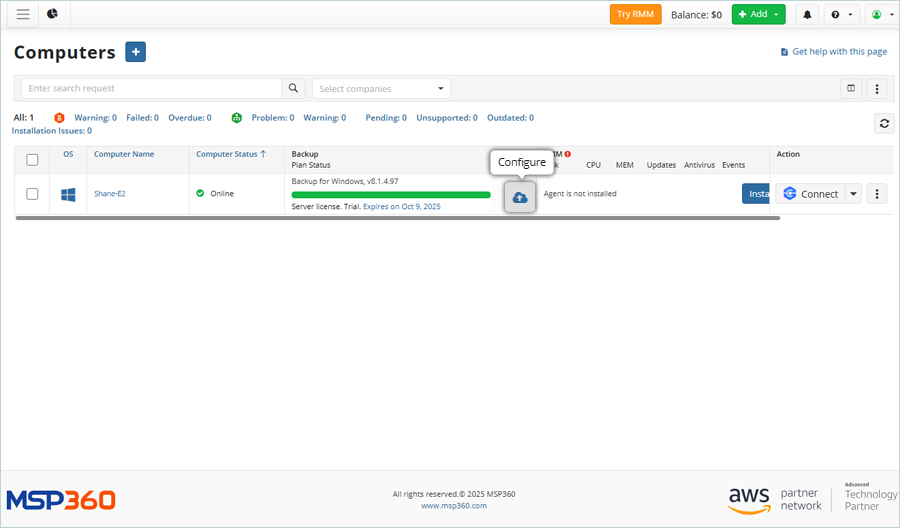
- Refresh the Computers list after installing the backup server.
- Click the
 on the particular computer.

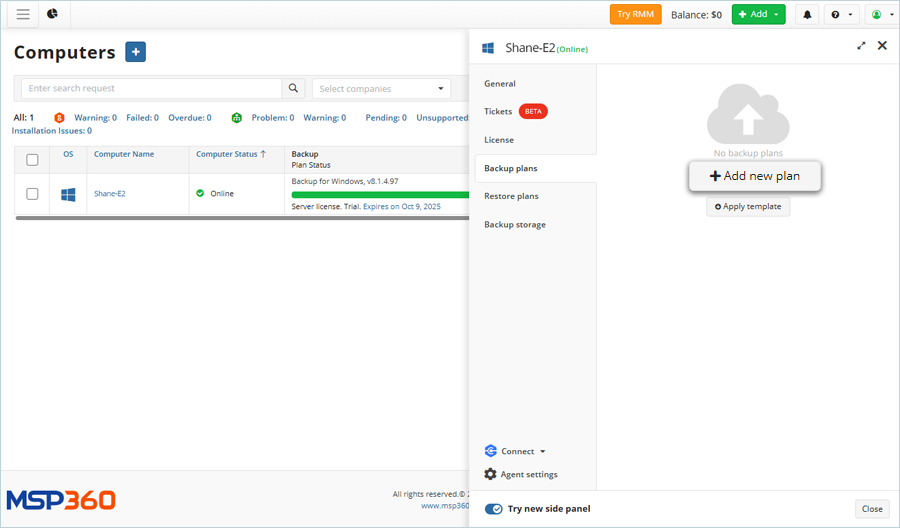
- Select Backup Plans and click Add new plan in the computer configuration window.
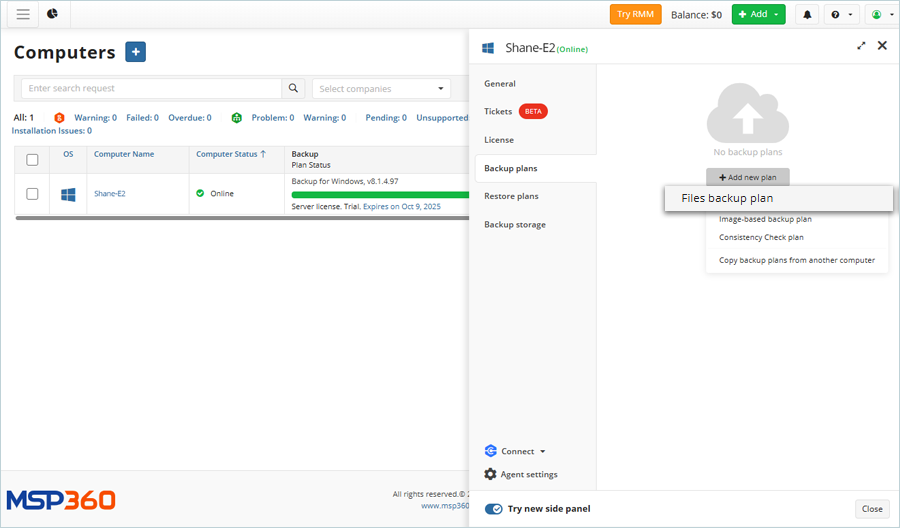
- Select Files Backup Plan from the list.
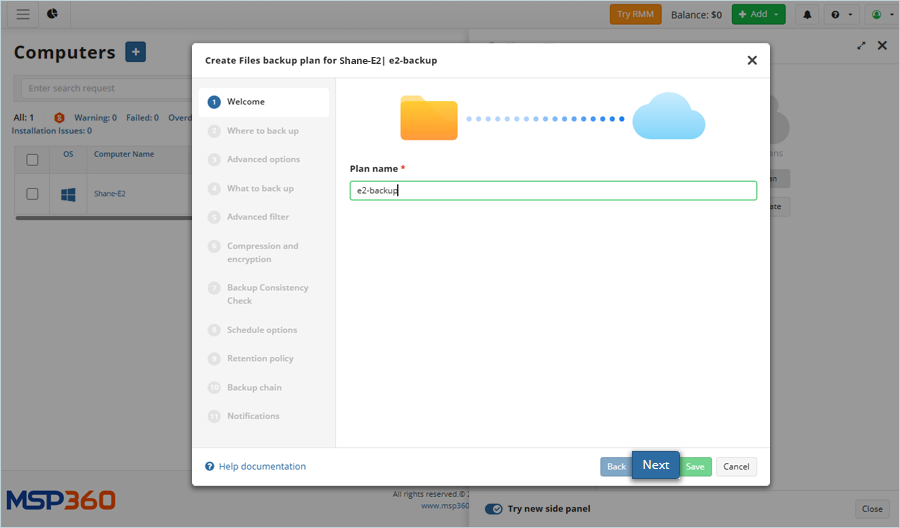
- Enter the Plan name and click Next.
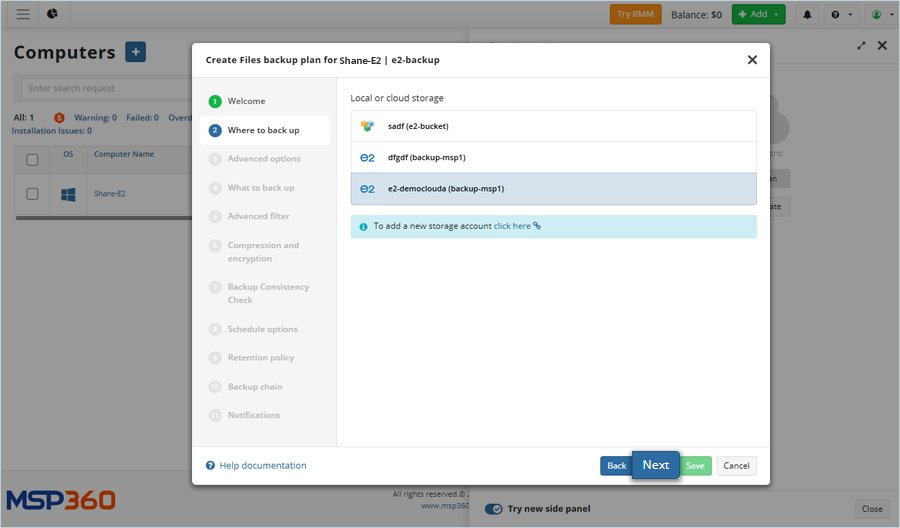
- Select the added cloud storage from the list as Backup Storage and click Next.
- Select Backup Source from the local drive and click Next.
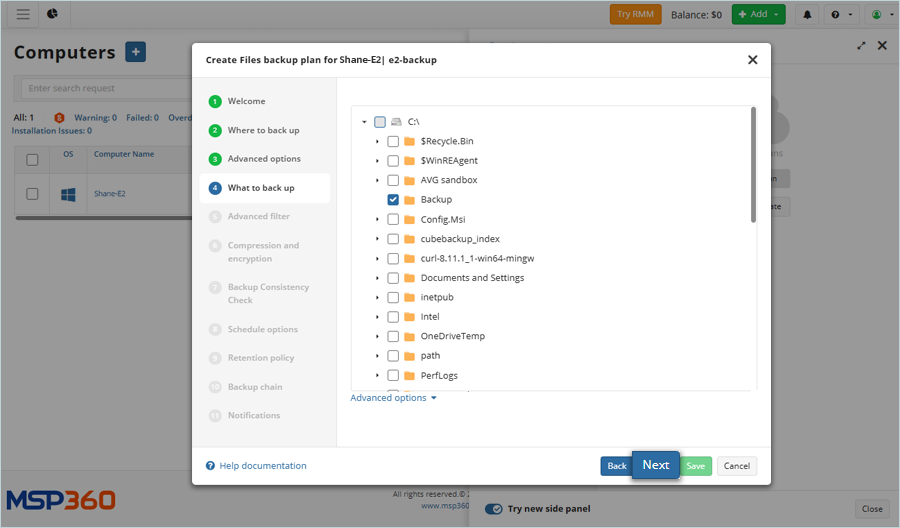
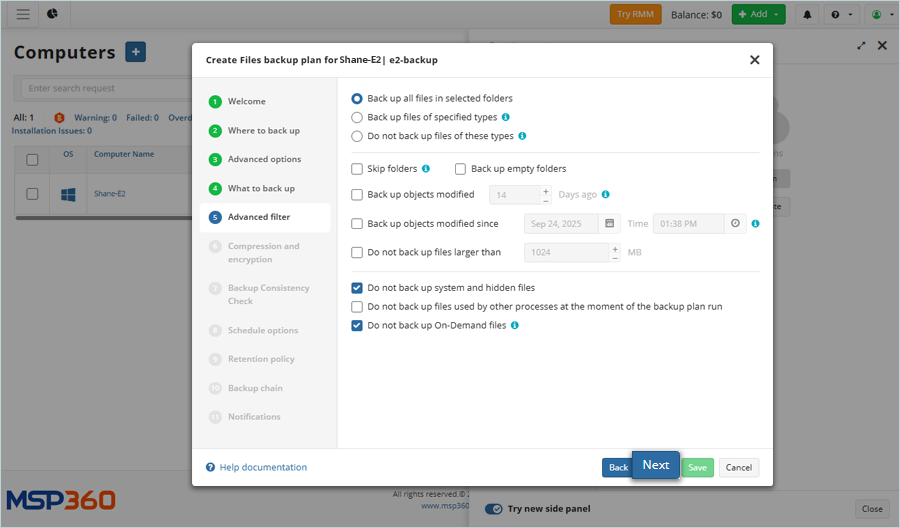
- Select Advanced Options as required and click Next.
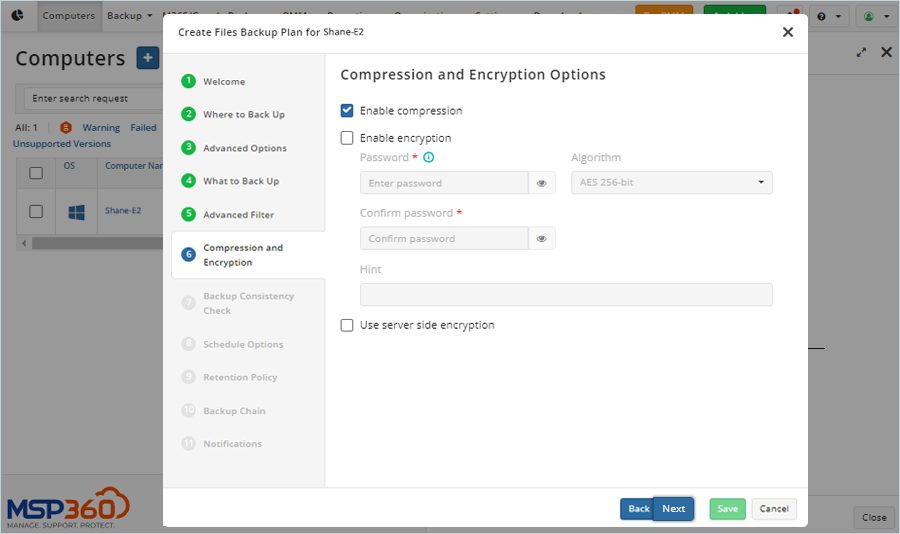
- Select Compression and Encryption Options and click Next.
- Enable Backup Consistency Check by selecting the Consistency Check checkbox. Click Next.

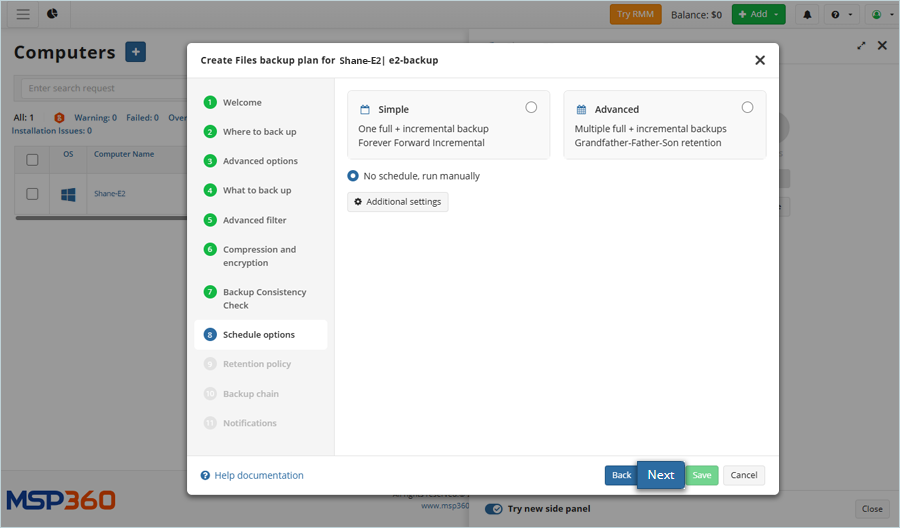
- Set a backup schedule according to the requirements and click Next.
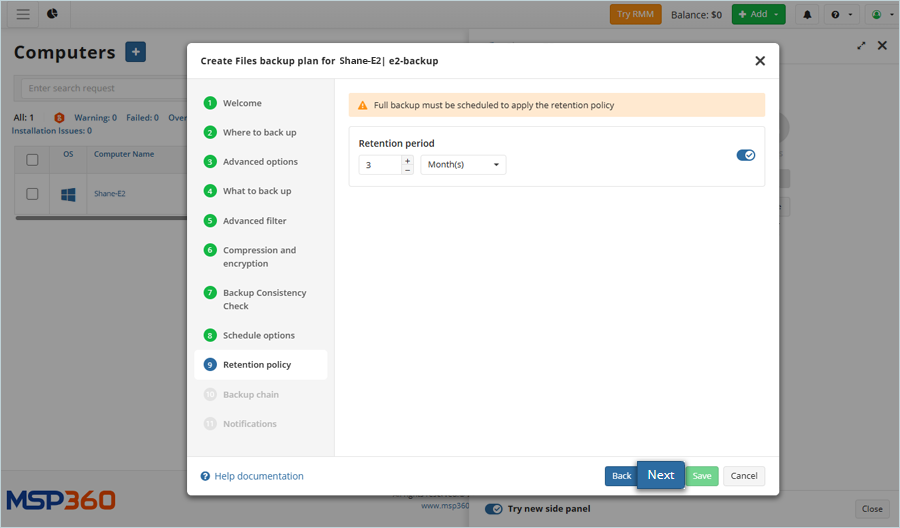
- Set the Backup Retention period and click Next.
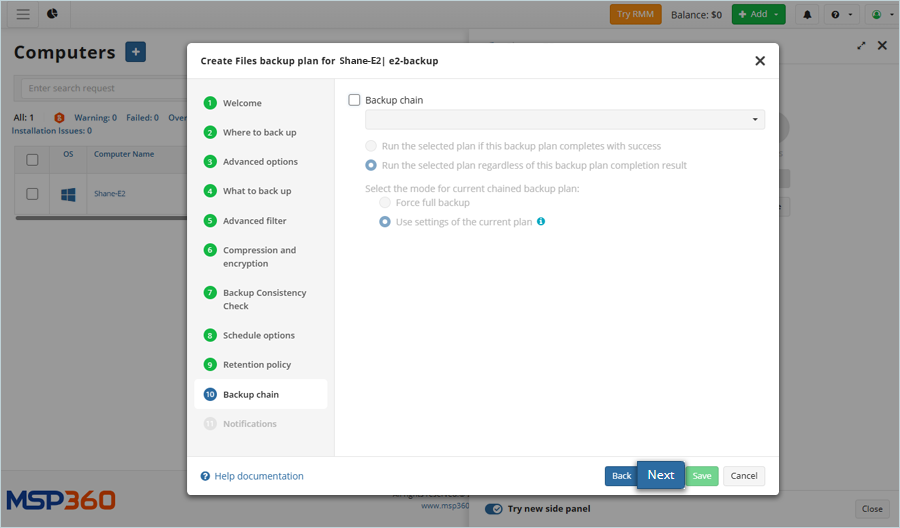
- Select the Backup chain checkbox and click Next.
- Set Notification and Logging as required, and click Save.

- Select Files Backup Plan from the list.
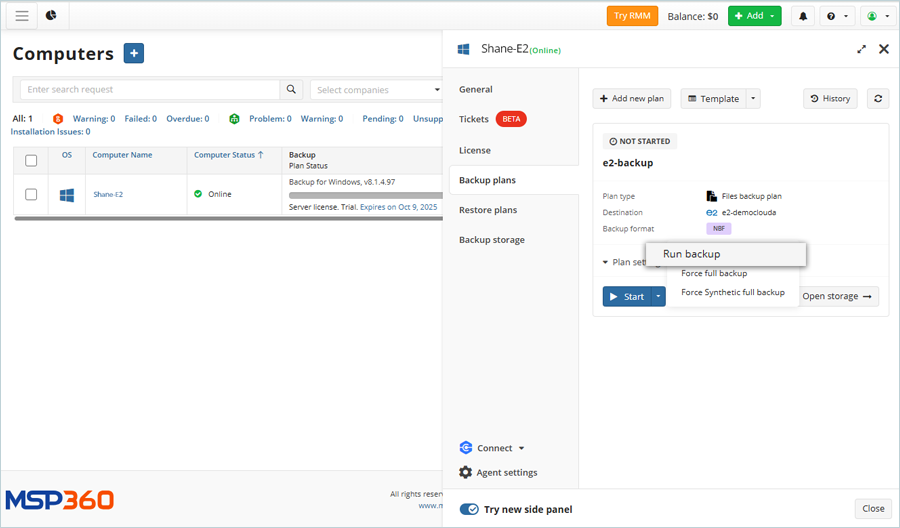
- The Job Plan is added and listed.
- Click Start, then click Run Backup.
The backup operation starts, and you can observe its progress on the status bars.

Restore Backup Plan
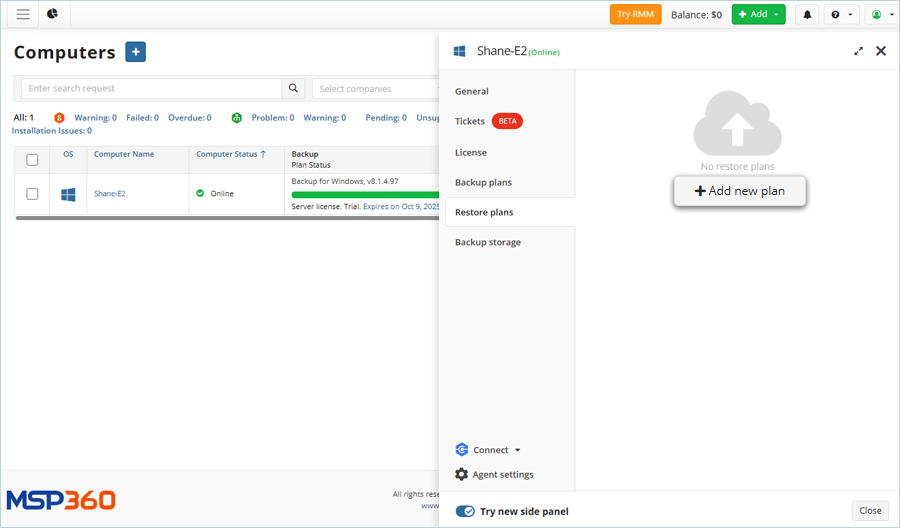
- Select Computer and click the .
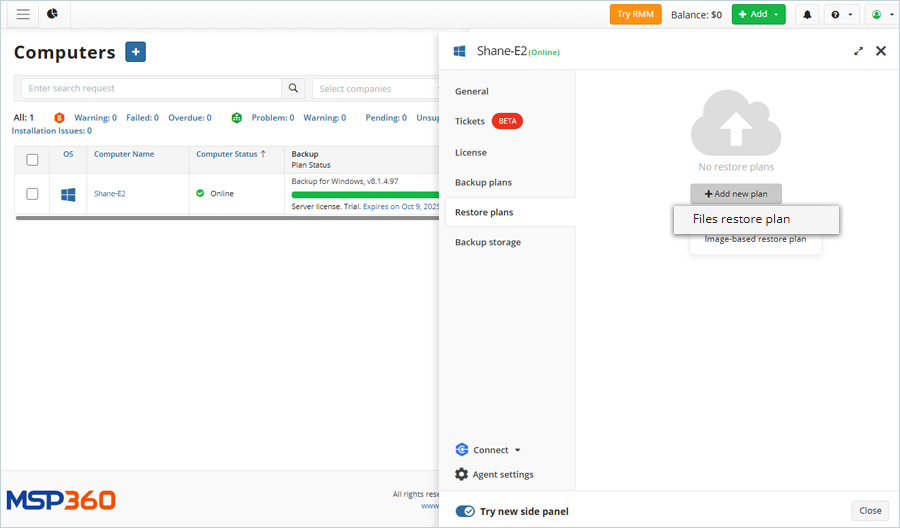
- Click Restore Plans and then click Add new plan. Select Files restore plan (This is based on your backup plan type).
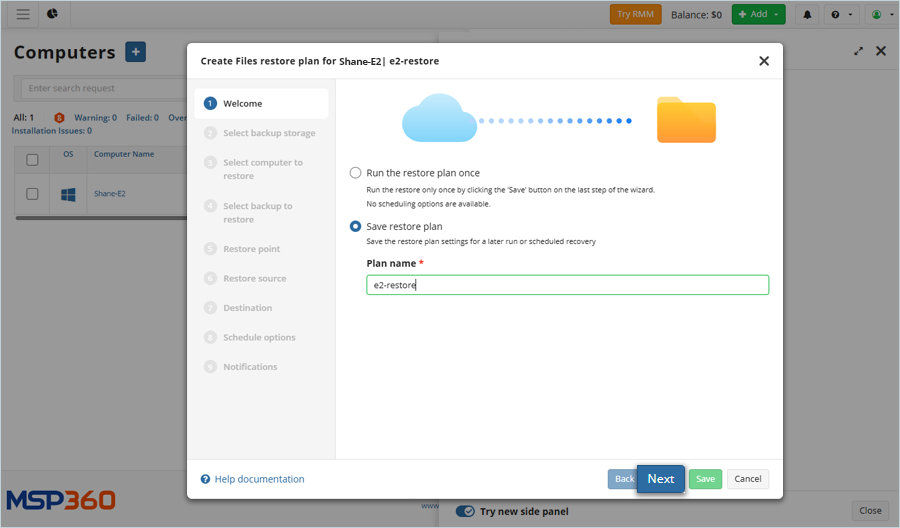
- Select Save restore plan, enter a Plan name for the Restore Plan, and click Next.
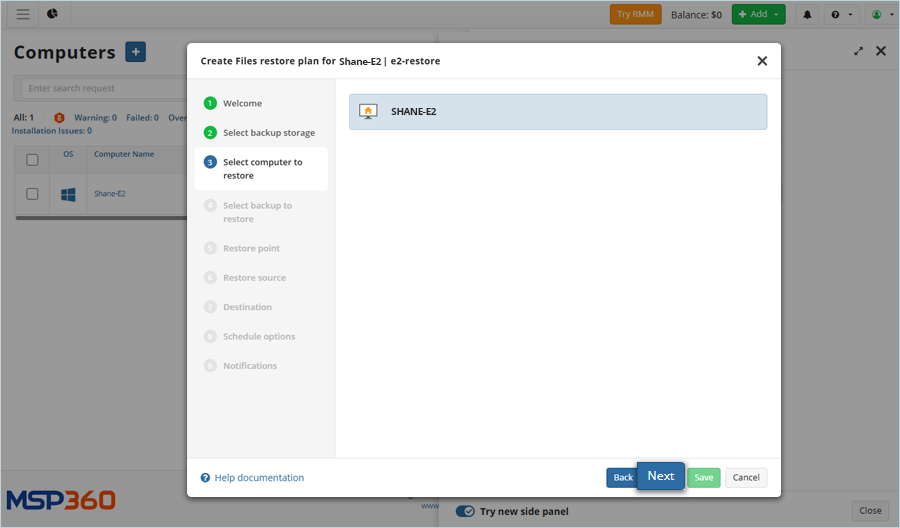
- Select the computer to restore and click Next.
- Select the Backup Storage from the list (The Storage should be the same as that used for backup) and click Next.

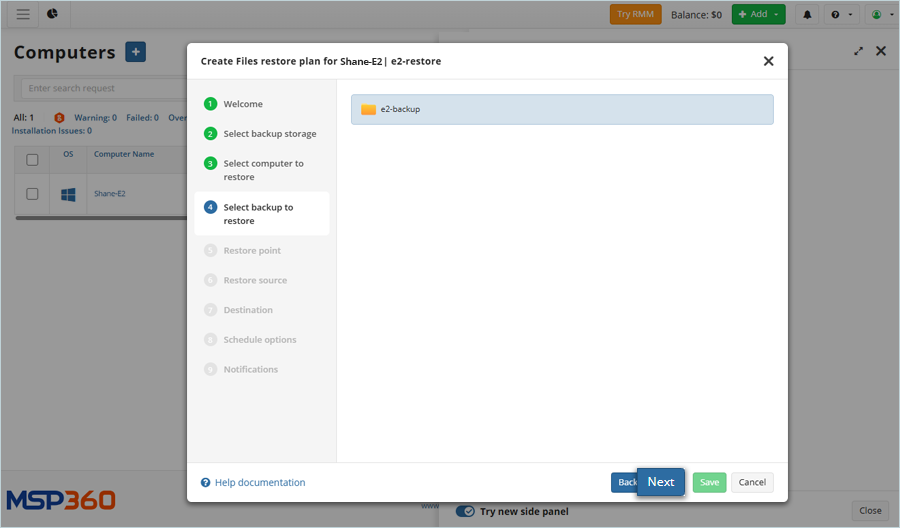
- Select the backup to restore and click Next.
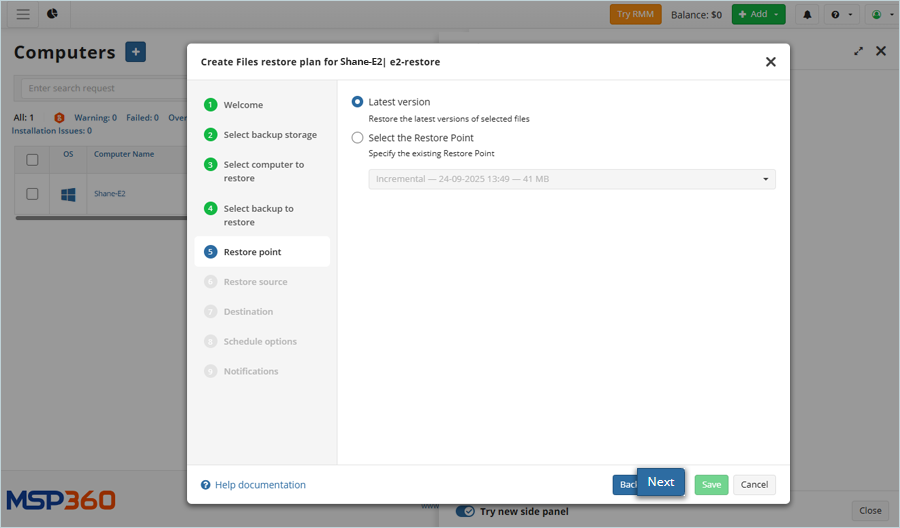
- Select the version of Backup and Restore Point (Based on your backup) and click Next (This example uses the Latest version).
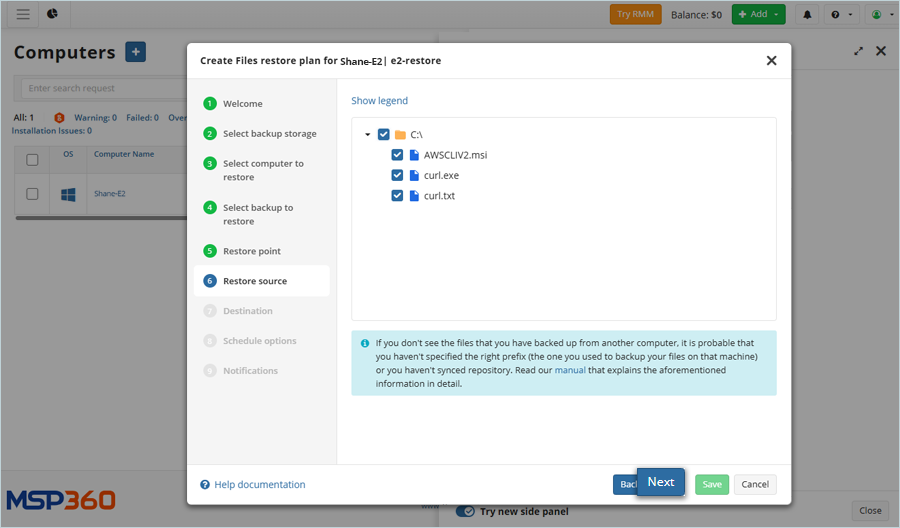
- Select the source file to restore and click Next.
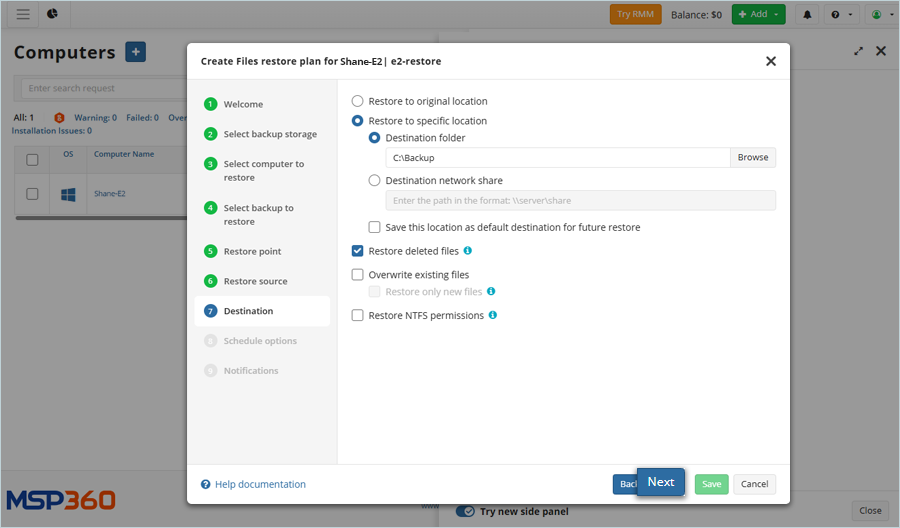
- Select the Destination to restore from the computer by clicking Browse, and then click Next.
- Schedule the Restore Plan according to the requirements and click Next.

- Click Save.
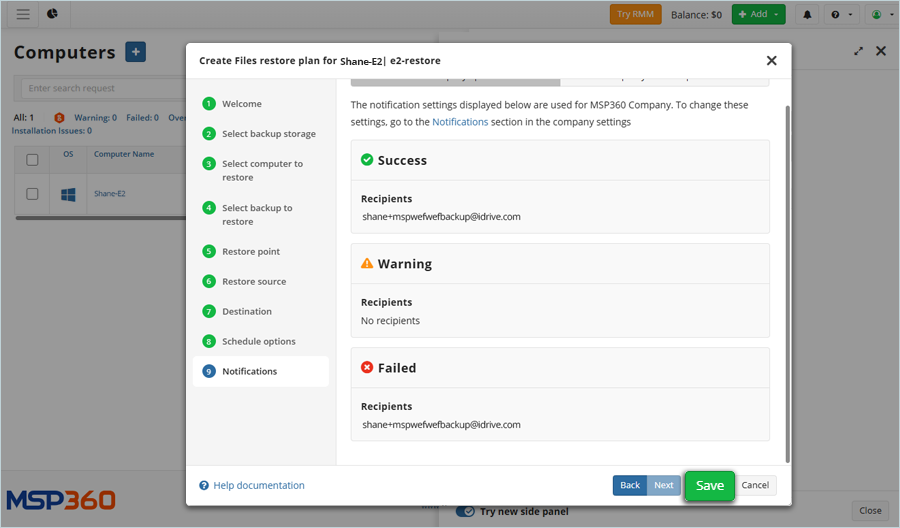
- The restore plan has been successfully added and listed.
- Click Start to start restoration immediately.

The restore operation starts, and you can observe its progress in the status bar.
Note: Data restoration is handled by your specific backup solution provider and is affected by multiple variables that are unique to your environment. For application-related enquiries/support, it is strongly recommended you seek guidance from the technical team of your backup solution provider.