Integrate MSP360 Backup with IDrive® e2
MSP360, formerly known as CloudBerry Lab, is a comprehensive backup and IT management platform for MSPs and IT teams, offering image and file-level backup, centralized management, ransomware protection, and remote access across diverse environments. It supports a bring-your-own-storage model with broad cloud integrations. Integrating MSP360 with IDrive® e2 extends these capabilities with a capable and scalable cloud object storage solution that facilitates systematic integration for secure and efficient data protection.
Prerequisites
Before you begin, ensure the following:
- An active IDrive® e2 account. Sign up here if you do not have one.
- A bucket in IDrive® e2. See how to create a bucket.
- Valid Access Key ID and Secret Access Key. Learn how to create an access key.
- A valid MSP360 account with the MSP360 Backup Desktop Edition application installed.
Configure MSP360 Backup with IDrive® e2
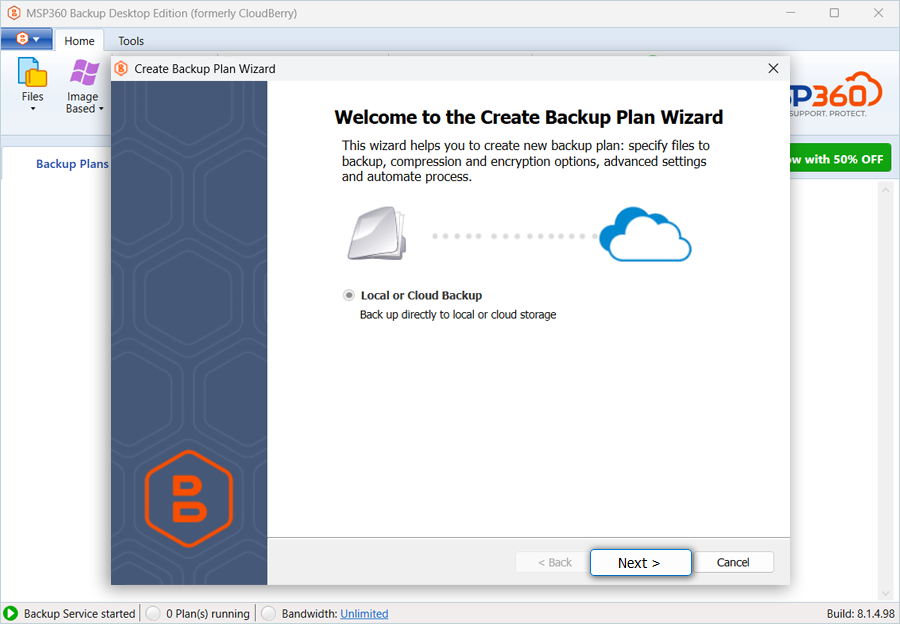
- Launch the MSP360 Backup Desktop Edition application.
- Click Local to Cloud and then click Next in the Create Backup Plan Wizard.

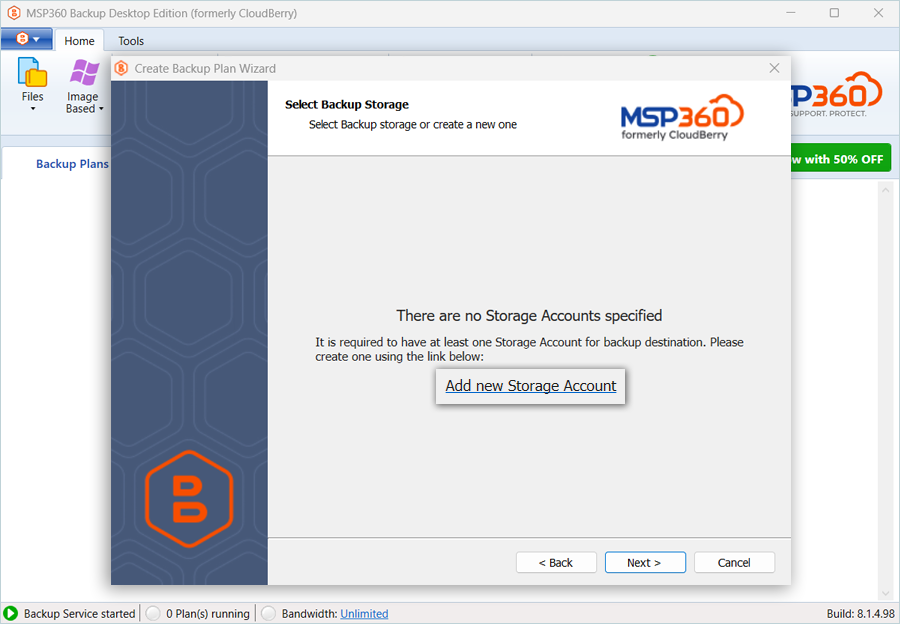
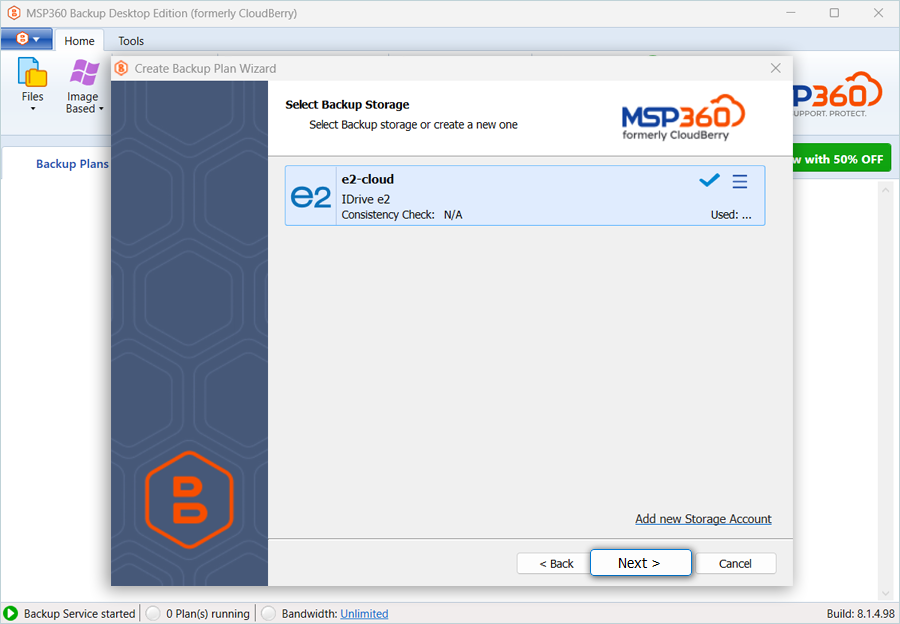
- Click Add new Storage Account in the Select Backup Storage window.
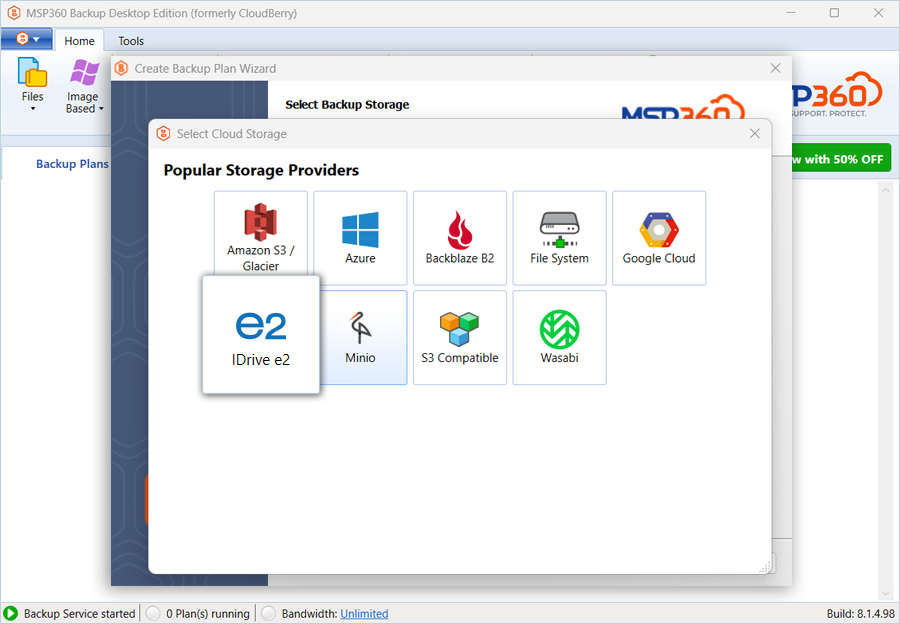
- Select IDrive® e2 as the Storage Provider.
- In the IDrive® e2 Storage Account tab, provide the following details.
- Enter a Display name.
- Enter your IDrive® e2 Access Key as Access Key.
- Enter your IDrive® e2 Secret Key as Secret Key.
- Select your IDrive® e2 Bucket as the Bucket name from the list.
- Click OK.
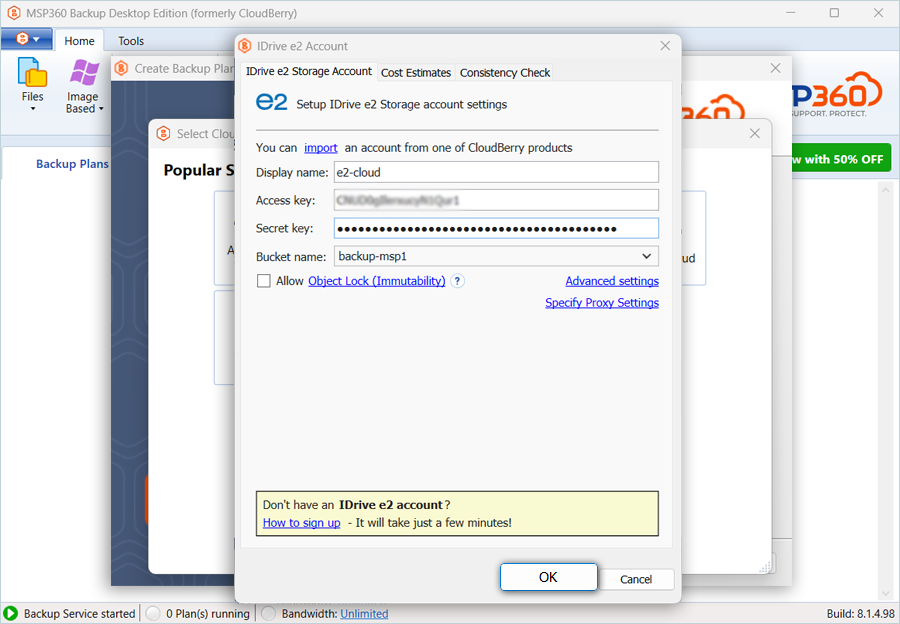
Note: Check the Allow Object Lock (Immutability) checkbox only if your IDrive® e2 bucket is configured with object lock in the e2 console.
- Click Next once your e2 storage is added and listed.
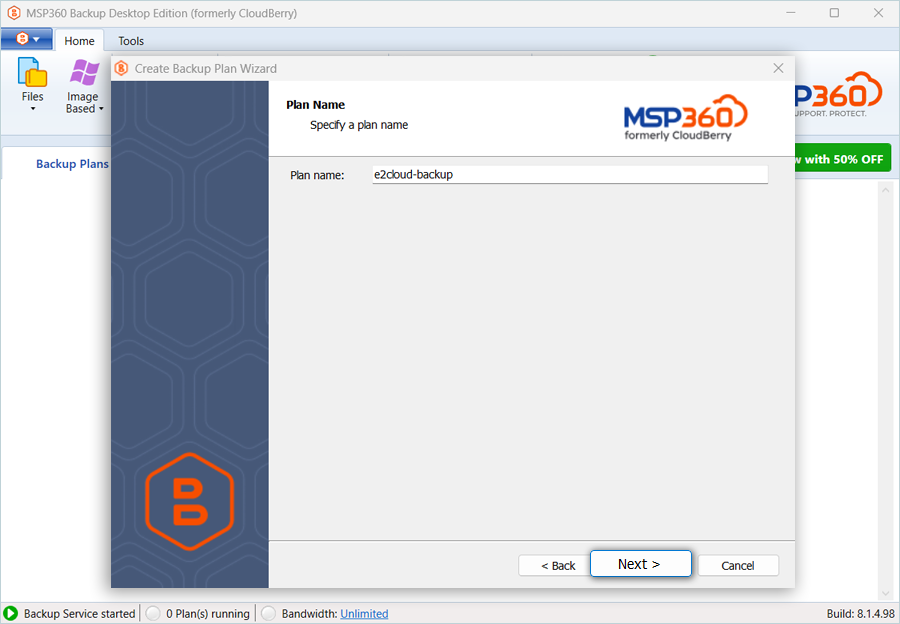
- Enter the Plan name for the Backup and click Next.
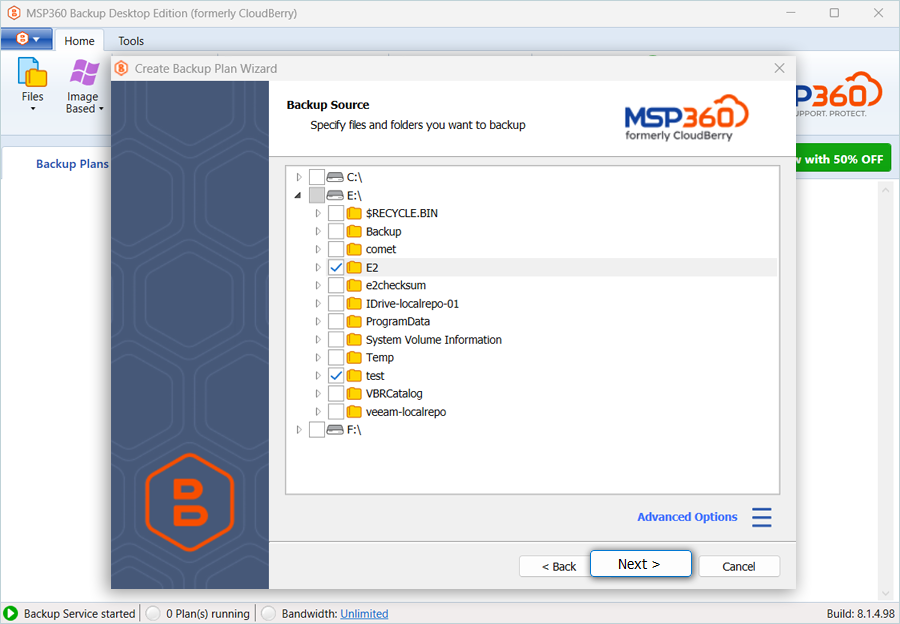
- Select the Backup Source from local storage and click Next.
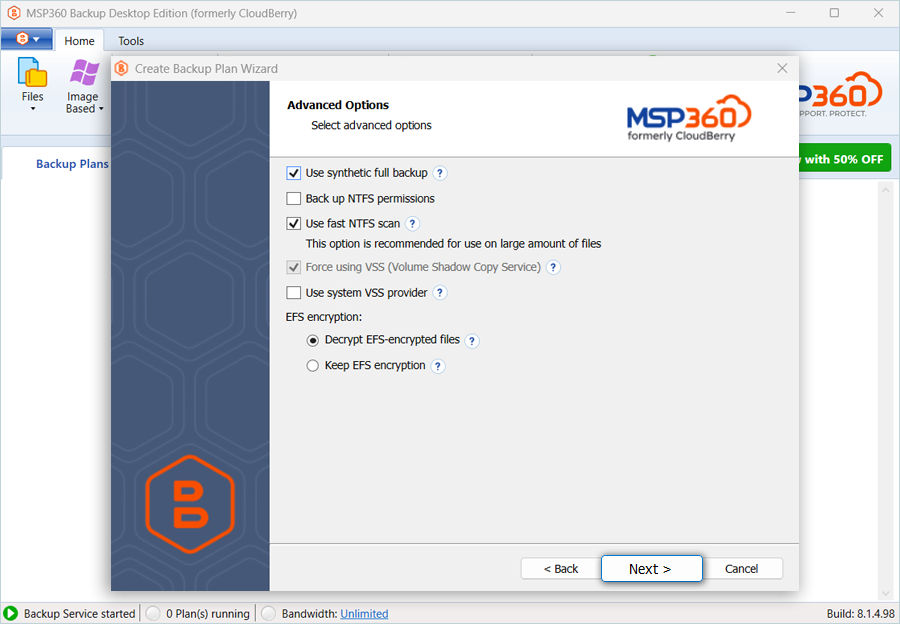
- Select and update the Advanced options, then click Next.
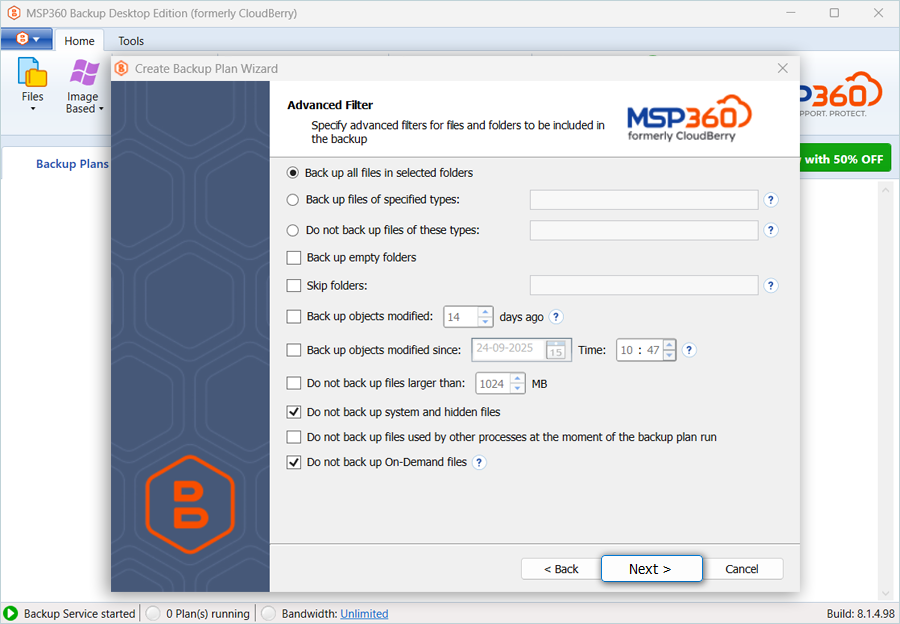
- Select and update Advanced Filters as per the requirement and click Next.
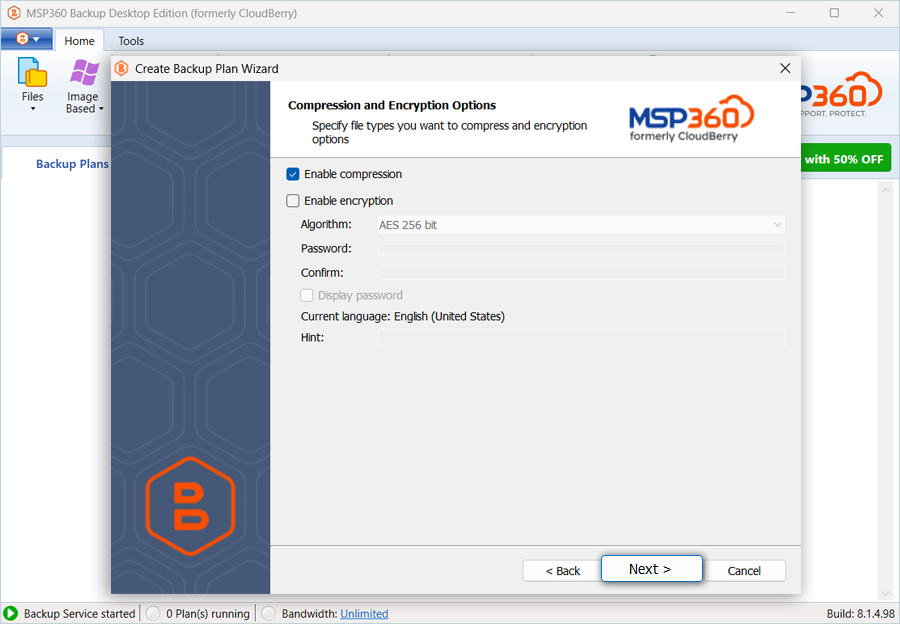
- Select/deselect the Compression and Encryption Options checkboxes according to your requirements, then click Next.
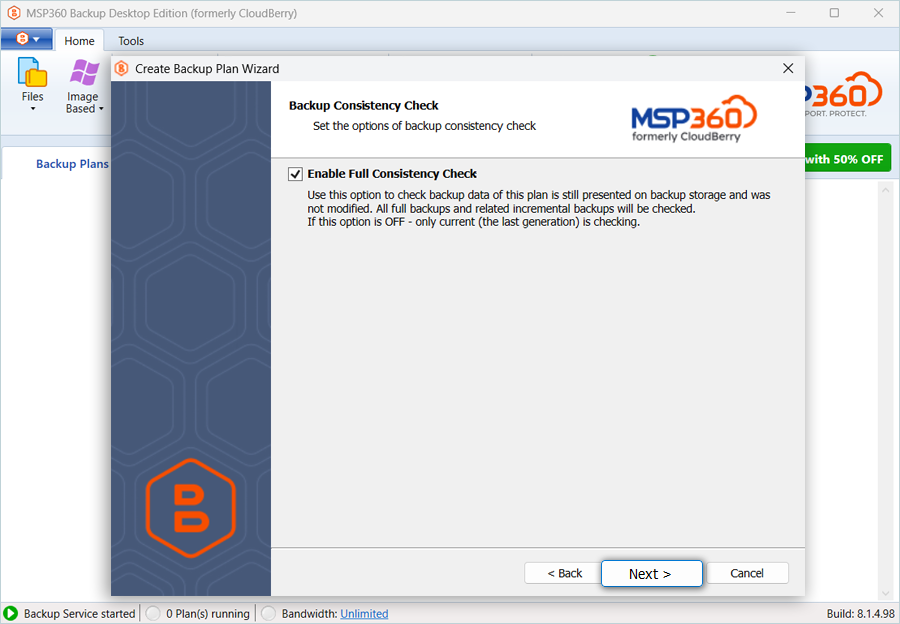
- Select/deselect the Enable Full Consistency Check checkbox as needed, and then click Next.
- Schedule the job according to the requirements (in this example, we are not scheduling a backup job).

- Specify the retention policy of the backup plan and then click Next.

- Update the Pre-backup and Post-backup action preferences and notifications as needed, and then click Next.

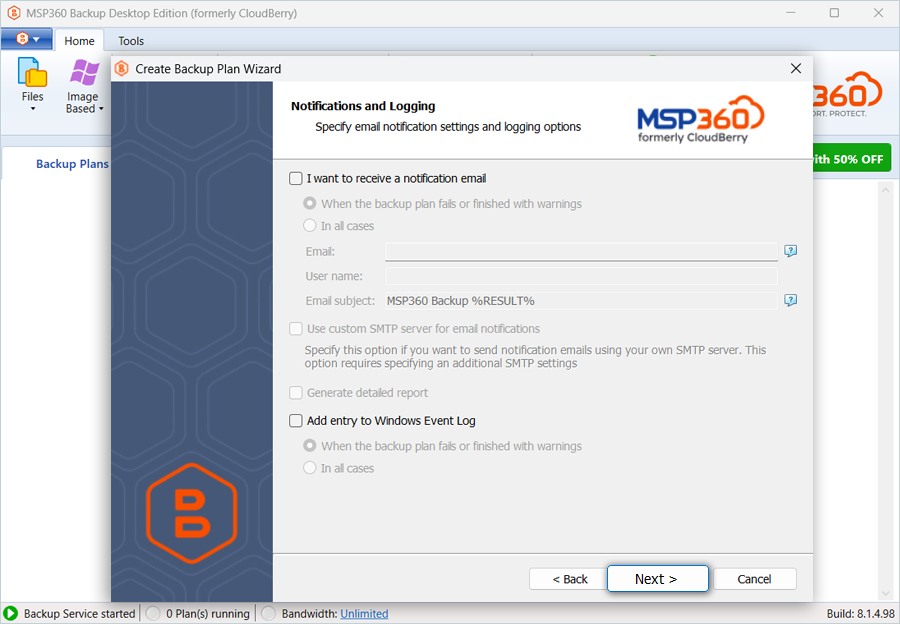
- Specify the notifications and logging preferences and then click Next.
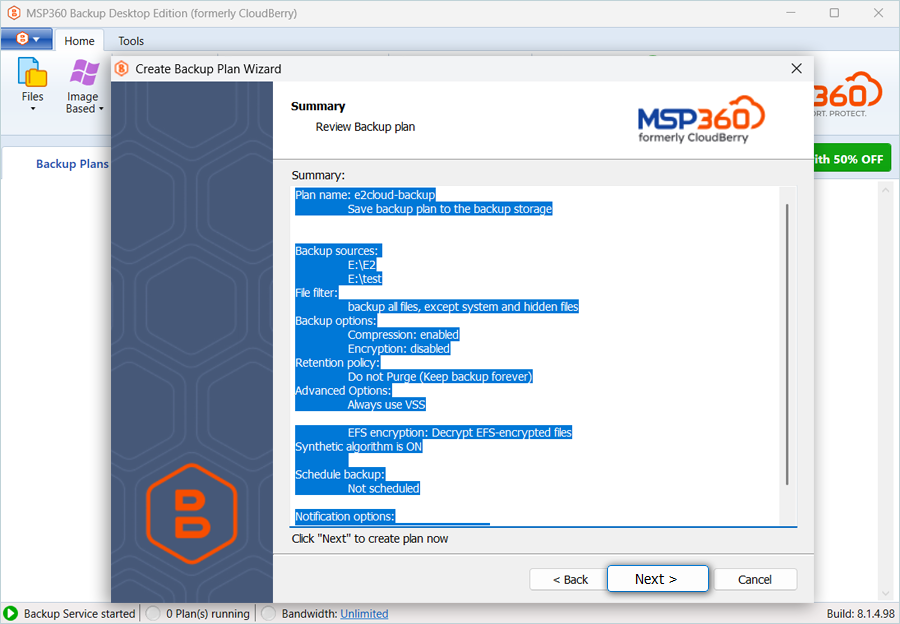
- Review the Summary and Click Next.
- Select the Run backup now checkbox (to run the job immediately) and click Finish.

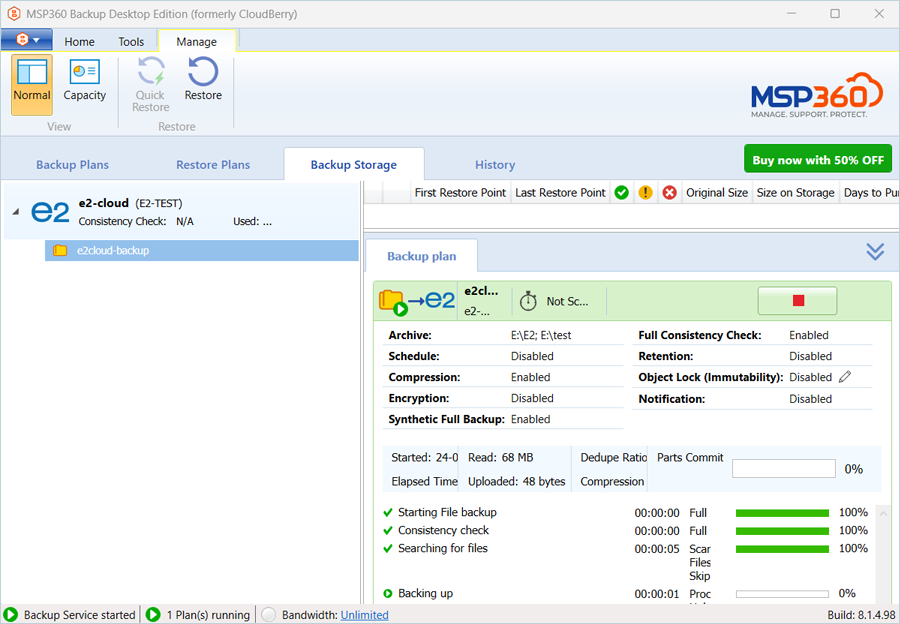
- The backup job has been successfully added and started.
Note: Data restoration is handled by your specific backup solution provider and is affected by multiple variables that are unique to your environment. For application-related enquiries/support, it is strongly recommended you seek guidance from the technical team of your backup solution provider.