Integrate LakeFS with IDrive® e2
LakeFS is an open-source data version-control platform that brings Git-style branching, committing, and merging to datasets stored in object storage. It supports reproducible experimentation, safe rollbacks, and scalable data and ML workflows across your pipelines. Integrating LakeFS with IDrive® e2 gives you a capable and scalable cloud object storage solution that supports systematic integration for controlled, efficient, and reliable data versioning.
Prerequisites
Before you begin, ensure the following:
- An active IDrive® e2 account. Sign up here if you do not have one.
- A bucket in IDrive® e2. Learn how to create a bucket.
- Valid Access Key ID and Secret Access Key. Learn how to create an access key.
- The latest version of Docker and Docker Compose installed and running.
The following steps can help you successfully integrate LakeFS with IDrive® e2.
Install LakeFS using Docker Compose
- Create a folder for LakeFS.
$ mkdir -p data/lakefs && cd lakefs
- Update permission for the directory.
$ sudo chown -R $USER:$USER data
$ sudo chmod -R 777 data
Create docker-compos-yml
- Create the file.
$ nano docker-compose.yml
Paste this:version: "3.8"
Services:
lakefs:
image: treeverse/lakefs:latest
container_name: lakefs
ports:
- "8000:8000"
environment:
LAKEFS_DATABASE_TYPE: local
LAKEFS_DATABASE_LOCAL_PATH: "/data/lakefs"
LAKEFS_BLOCKSTORE_TYPE: s3
LAKEFS_BLOCKSTORE_S3_ENDPOINT: "https://<Your Idrive e2 endpoint>"
LAKEFS_BLOCKSTORE_S3_REGION: "us-east-1"
LAKEFS_BLOCKSTORE_S3_BUCKET: "lakefs"
LAKEFS_BLOCKSTORE_S3_FORCE_PATH_STYLE: "true"
# ★★ CORRECT VARIABLE NAMES ★★
LAKEFS_BLOCKSTORE_S3_CREDENTIALS_ACCESS_KEY_ID: "<your IDrive e2 Access Key>"
LAKEFS_BLOCKSTORE_S3_CREDENTIALS_SECRET_ACCESS_KEY: "<Your IDrive e2 Secret Key>"
LAKEFS_AUTH_ENCRYPT_SECRET_KEY: "mysecretkey123456"
volumes:
- ./data:/data/lakefsSave & exit: CTRL+O, ENTER, CTRL+X
Start LakeFS
- Run the command below to start LakeFS.
$ docker-compose up -d
- Check added containers.
$ docker ps
- Start and get LakeFS credentials.
$ docker logs -f lakefs
Note: You will get the LakeFS Admin user endpoint with the Access keys by clicking on "http://127.0.0.1:8000/setup"
User Configuration using Setup URL
- In the User Configuration window,
- Enter the name for the admin account.
- Enter the email for user configuration.
- Click Setup by selecting the confirmation checkbox.
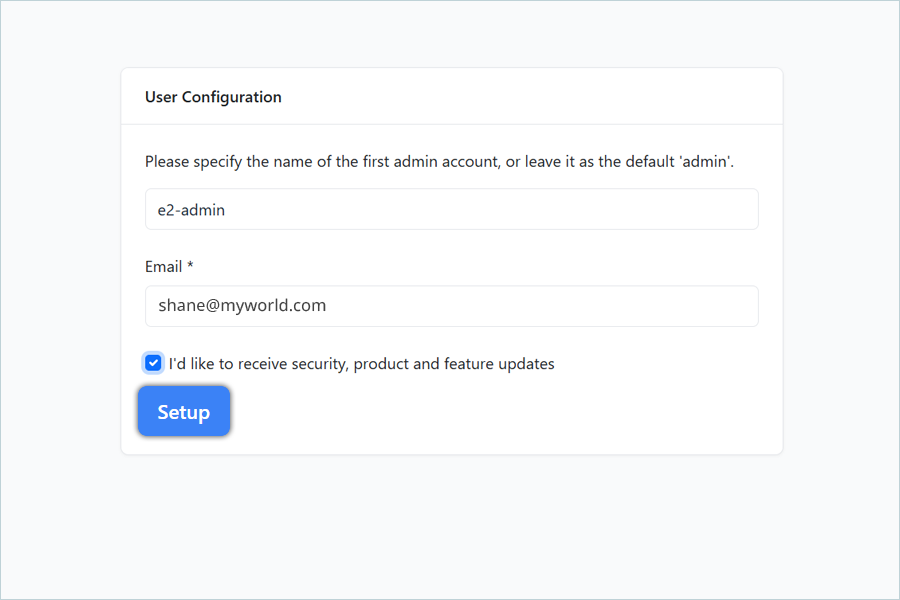
- Now, you will get your credentials to access your LakeFS repo list.
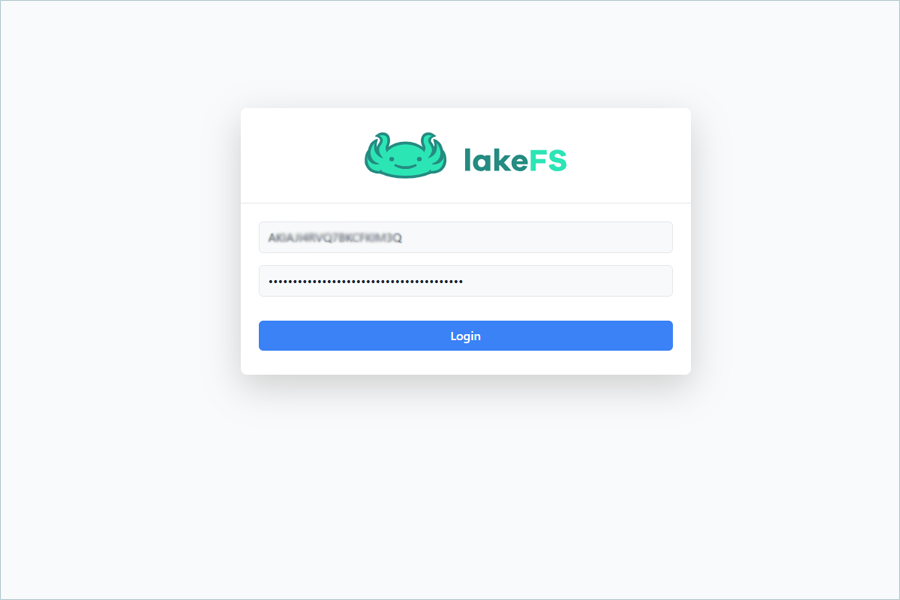
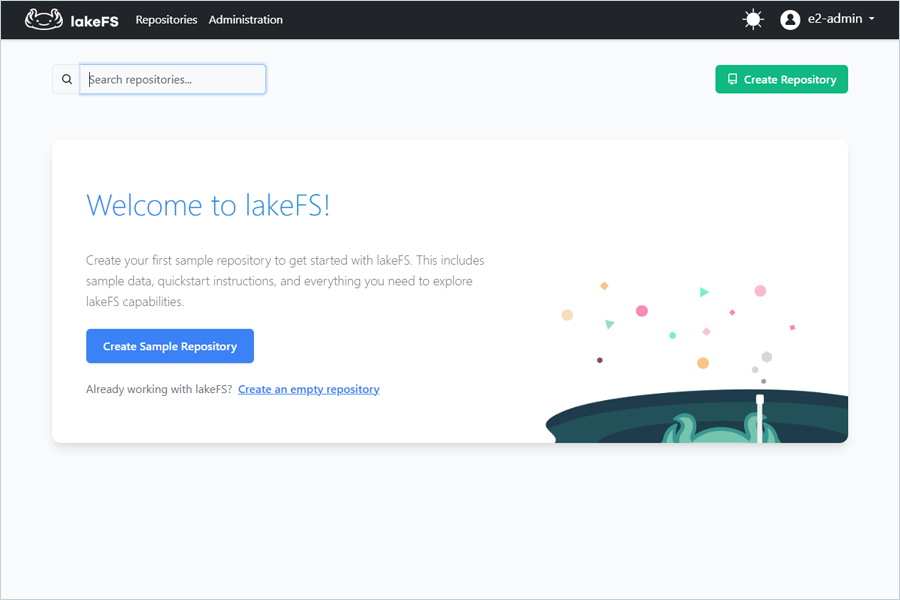
Note: Click on Go To Login to access LakeFS login screen.Enter the LakeFS access key and click on Login to access LakeFS UI.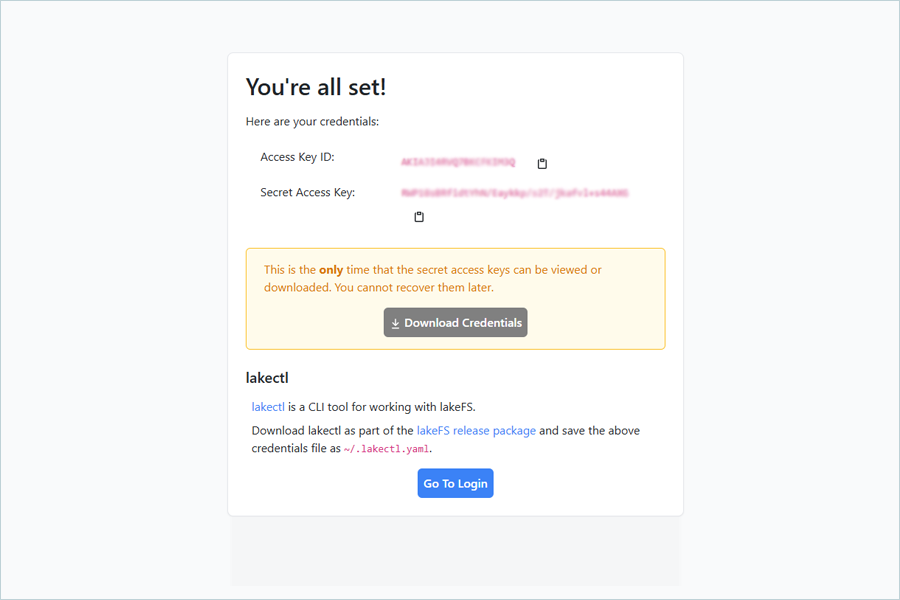
Access LakeFS using the CLI tool of LakeFS
- Download and install the LakeFS CLI tool called lakectl.
Note: We will use the lakectl binary to carry out lakeFS operations. You need to find the distribution suitable for your operating system here, and extract the lakectl binary from the tar.gz archive. Locate it somewhere in your $PATH and run lakectl --version to verify.
Configure lakectl and Create Branch, and Commit after copying data to the branch
- To configure lakectl using the credentials you obtained during setup, please run the command below.
$ lakectl config

# output:
# Config file /home/janedoe/.lakectl.yaml will be used
# Access key ID: <LAKEFS_ACCESS_KEY_ID>
# Secret access key: <LAKEFS_SECRET_KEY>
# Server endpoint URL: http://127.0.0.1:8000/api/v1 - Create a new repo using your IDrive® e2 bucket.
$ lakectl repo create lakefs://<repo-name>  s3://<e2-Bucket></e2-Bucket>

# output
# Repository: lakefs://example-repo
# Repository 'example-repo' created:
# srage namespace: s3://example-bucket
# default branch: main
# timestamp: 1764666581 - Make sure that lakectl can access lakeFS with the command:
$ lakectl repo list

#Output
REPOSITORY CREATION DATE DEFAULT REF NAME STORAGE ID STORAGE NAMESPACE my-first-repo 2025-12-01 12:47:07 +0000 UTC main example-repo s3://example-bucket/ - Generate 2 example files.
$ echo "my first file" > test1.txt
$ echo "my second file" > test2.txt - Create a branch and copy the file to it, and commit.
$ lakectl branch create lakefs://example-repo/e2-test --source lakefs://example-repo/main

Output:
# Source ref: lakefs://example-repo/main
# created branch 'e2-test'
b7768a1fcf876a518c456742153f3ece2f9cfa869121b5b336ff9776f72a8245

$ mc cp ./test1.txt lakefs/example-repo/e2-test/
Output:
# akefs-e2/test1.txt: 14 B / 14 B
6.39 KiB/s 0s

$ lakectl commit lakefs://example-repo/e2test -m "Successfully added my_new_object.json"

Output:
# Branch: lakefs://example-repo/e2-test
# Commit for branch "e2-test" completed.

# ID: cda0da36f67dc685bc0aecdbe70b1635e734e2d3b9b68a2befb3f26805b0203a
# Message: Successfully added my_new_object.json
# Timestamp: 2025-12-02 10:02:21 +0000 UTC
# Parents: b7768a1fcf876a518c456742153f3ece2f9cfa869121b5b336ff9776f72a8245 - Create a tag for committed data in the test branch (e2-test) : (your ML models can access your data by tag later):
$ lakectl tag create lakefs://example-repo/my-ml-tag1 lakefs://example-repo/e2test

Output:
# Created tag 'my-ml-tag1' ({cda0da36f67dc685bc0aecdbe70b1635e734e2d3b9b68a2befb3f26805b0203a my-ml-tag1}) - Now, merge the branch back to main.
$ lakectl merge lakefs://example-repo/e2test lakefs://example-repo/main

Output:
# Source: lakefs://example-repo/e2-test
# Destination: lakefs://example-repo/main
# Merged "e2-test" into "main" to get
"ccfc874006bc4e28850b639f20da29fff1b15e0bb66d4ca26d9dba5eca104b53".
Note: Data restoration is handled by your specific backup solution provider and is affected by multiple variables that are unique to your environment. For application-related enquiries/support, it is strongly recommended you seek guidance from the technical team of your backup solution provider.