Integrate GS RichCopy 360 with IDrive® e2
GS RichCopy 360 is an enterprise-grade data migration, backup, and synchronization software for Windows servers, NAS devices, and cloud platforms. It delivers multi-threaded copying, real-time sync, robust scheduling, long-path and NTFS permission support, and automated dashboard management to handle large, secure transfers with minimal manual intervention. Integrating GS RichCopy 360 with IDrive® e2 allows you to extend these capabilities with a capable and scalable cloud object storage solution that facilitates systematic integration, secure transfers, and efficient hybrid and multi-cloud management.
Prerequisites
Before you begin, ensure the following:
- An active IDrive® e2 account. Sign up here if you do not have one.
- A bucket in IDrive® e2. See how to create a bucket.
- Valid Access Key ID and Secret Access Key. Learn how to create an access key.
- A valid GS RichCopy 360 Enterprise account.
Configure GS RichCopy 360 with IDrive® e2
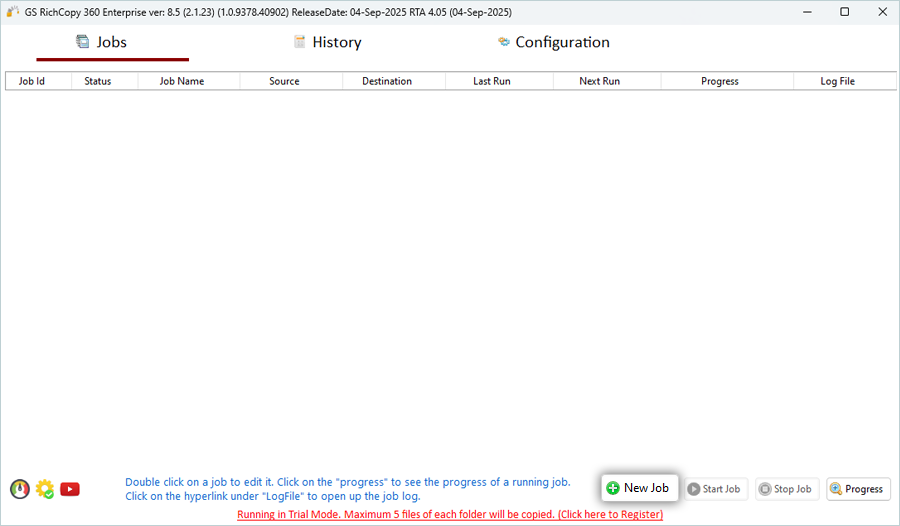
- Launch the GS RichCopy 360 app.
- Click New Job Under Jobs.
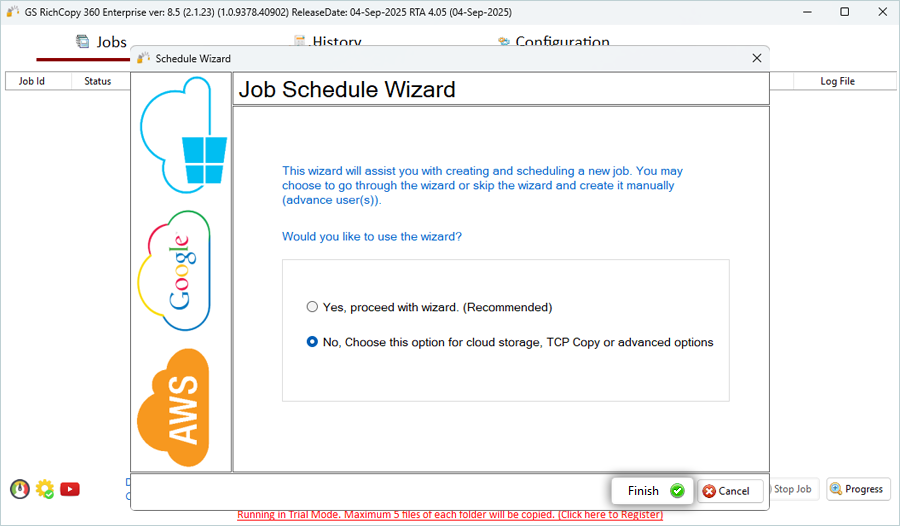
- Select the checkbox with the option NO and click Finish.
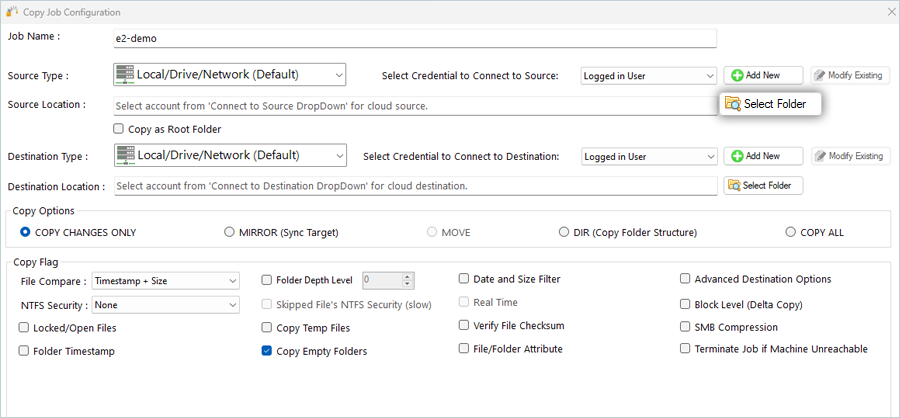
- In the Copy Job Configuration window,
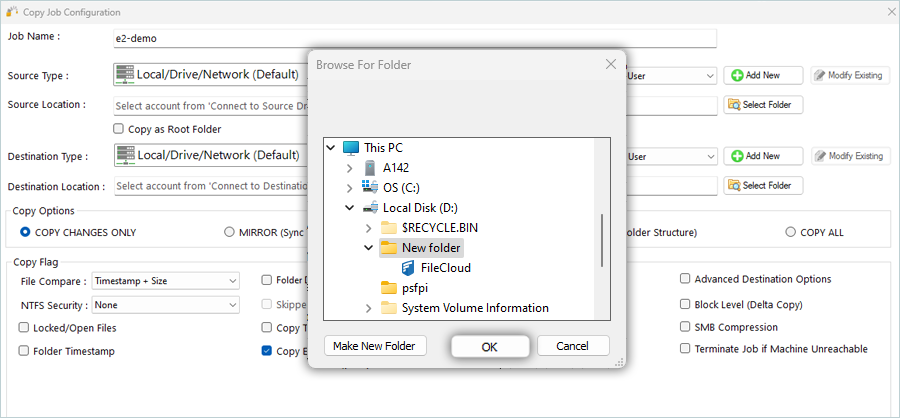
- Select the Source type from the list and click Select Folder (Use the Local Machine as the Source).
- Select the Folder from the local machine and click OK.
- Select S3 Compatible Storage as the Destination Type and click Add New.

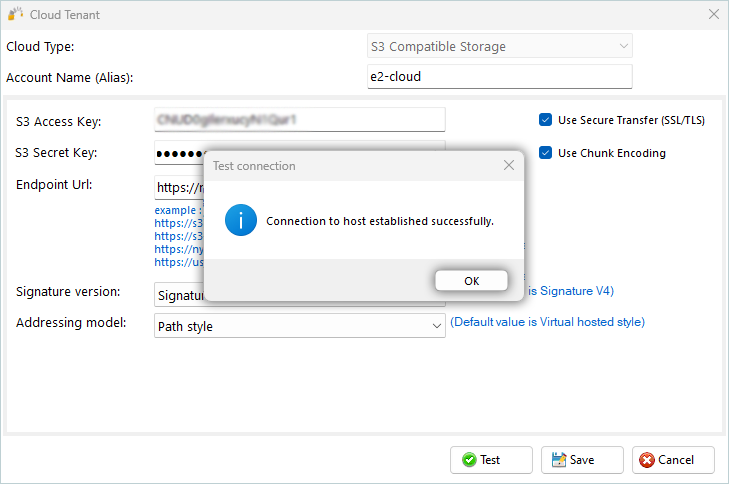
- In the Cloud Tenant window, enter your IDrive® e2 details.
- Enter an Account Name.
- Enter your IDrive® e2 Access Key as S3 Access Key.
- Enter your IDrive® e2 Secret Key as S3 Secret Key.
- Enter your IDrive® e2 S3 endpoint as Endpoint URL
(https://v1e8.da.idrivee2-17.com). - Select Signature V4 as the Signature version.
- Select Path Style as the Addressing model.
- Click Test to verify the credentials.

- Click OK and then click Save after the connection to the host is established successfully.
- Click Select Folder to select the e2 bucket as the Destination folder.
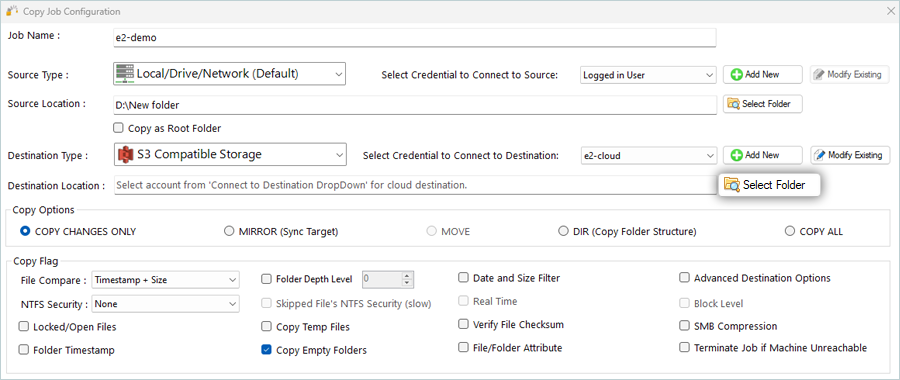
- Select a bucket from the list and click OK.

- Select the Source type from the list and click Select Folder (Use the Local Machine as the Source).
- Select the Copy Options as required.
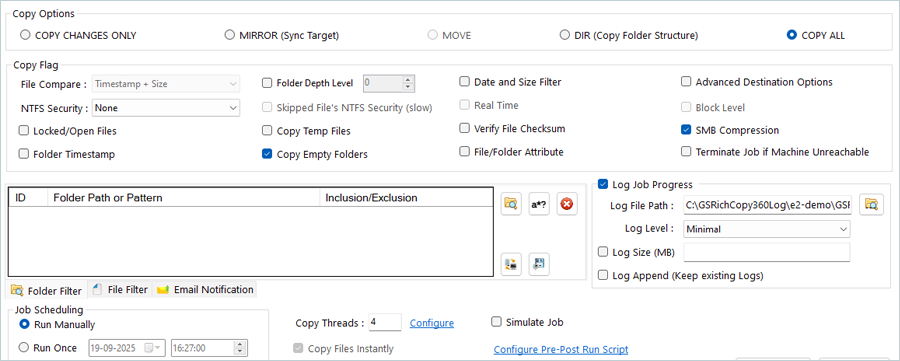
- Schedule the job according to the requirements.
- Click SAVE.
- In the Jobs window, select the newly added Job and click Start Job.
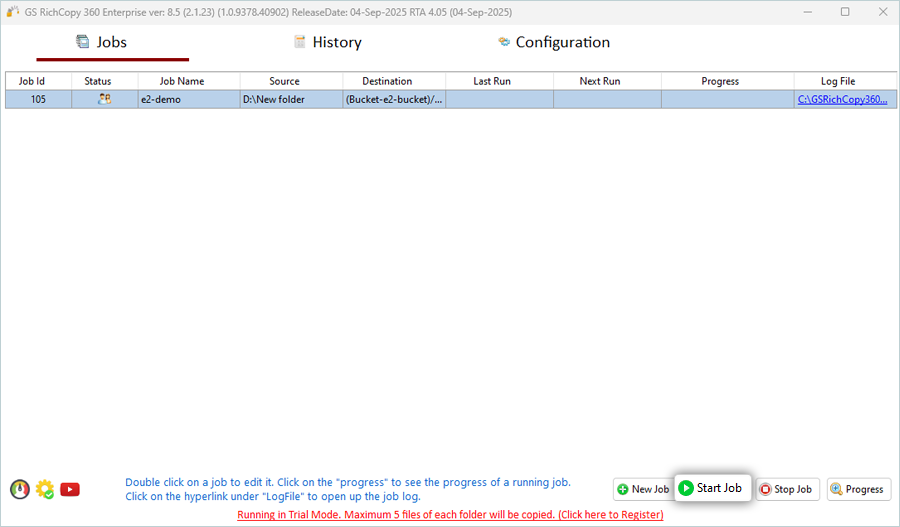
You will see the job progress once it is started.

Note: Data restoration is handled by your specific backup solution provider and is affected by multiple variables that are unique to your environment. For application-related enquiries/support, it is strongly recommended you seek guidance from the technical team of your backup solution provider.