Integrate DataCore vFilO with IDrive® e2
DataCore vFilO is a software-defined storage solution that consolidates file and object data across hybrid and multi-cloud environments under a single global namespace. It offers intelligent data placement, policy-driven automation, and multi-protocol access (NFS, SMB, S3) to simplify management, improve performance, and optimize storage costs while strengthening governance and collaboration. Integrating DataCore vFilO with IDrive® e2 extends these capabilities with a scalable, secure, and cost-effective cloud object storage solution, enabling systematic data optimization and seamless hybrid cloud integration.
Prerequisites
Before you begin, ensure the following:
- An active IDrive® e2 account. Sign up here if you do not have one.
- A bucket in IDrive® e2. See how to create a bucket.
- Valid Access Key ID and Secret Access Key. Learn how to create an access key.
- A valid DataCore vFilO account.
Configure DataCore vFilO with IDrive® e2
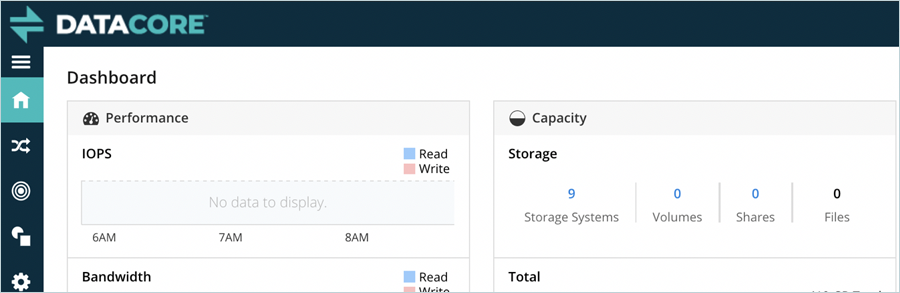
- Log in to the Datacore vFilo admin portal via browser.
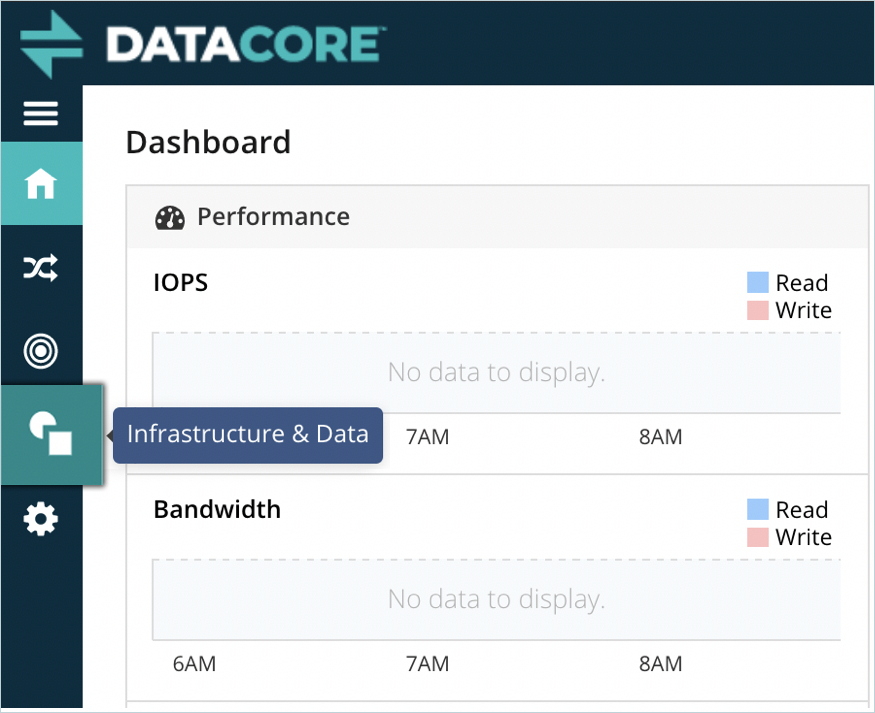
- Click on the Infrastructure and Data tab in the left menu-bar.
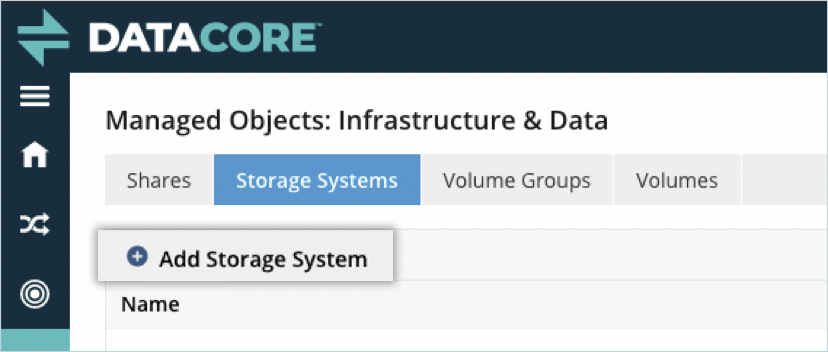
- Navigate to Storage Systems and then click + Add Storage System.
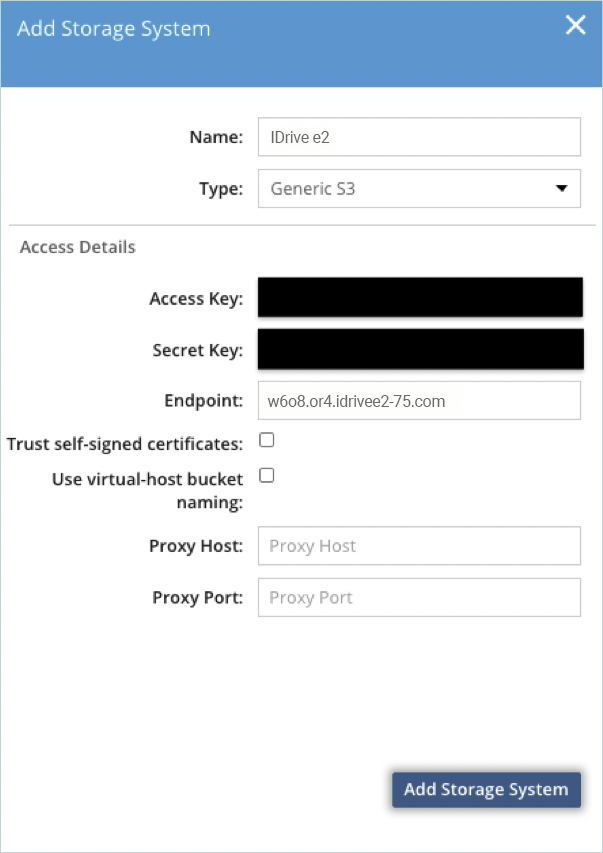
- Provide details as mentioned below.
- Enter a name for the Storage.
- Select Generic S3 as Type.
- Enter your IDrive® e2 Access key as Access Key.
- Enter your IDrive® e2 Secret key as Secret Key.
- Enter your IDrive® e2 S3 endpoint as Endpoint.
- Click Add Storage System.
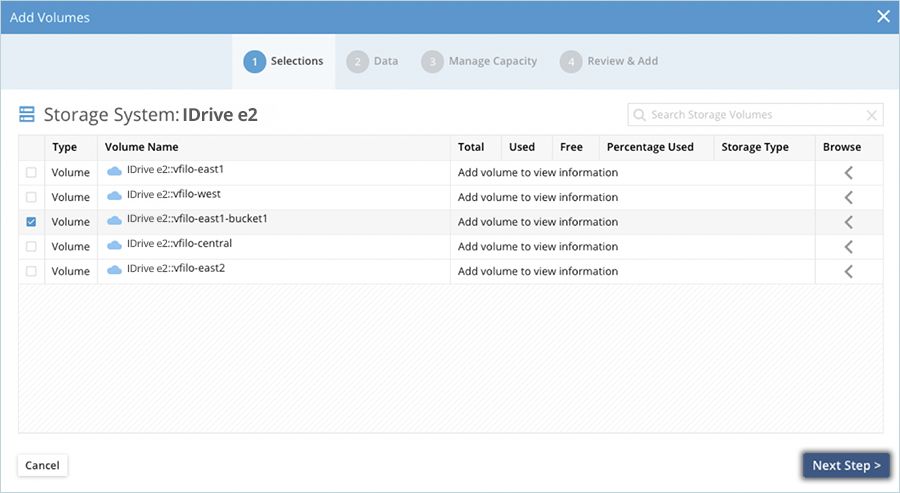
- Navigate to Volumes and click the + Volume icon.
- Select an empty bucket from the list of e2 and click Next Step.
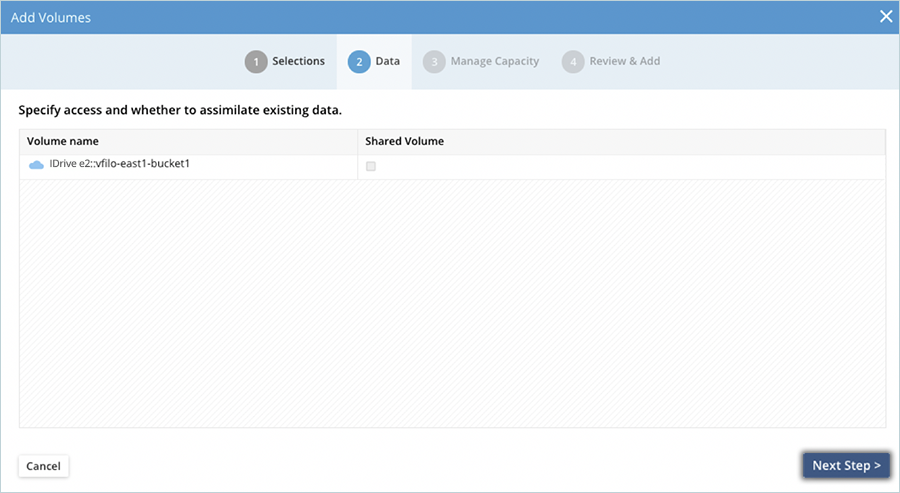
- Click Next Step, leaving the Shared Volume checkbox unchecked.
- Click Add Volumes after reviewing your selection to create the volume.

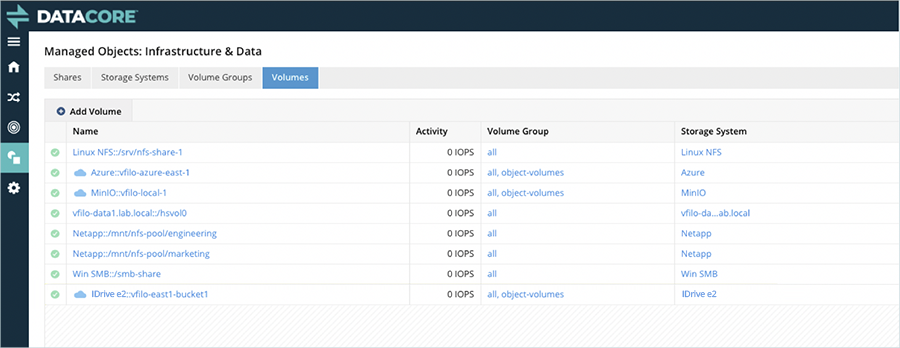
- Click Volumes under Infrastructure and Data, and check if the new volume is added to the list.
- Now that the IDrive® e2 volume is created and available, we can apply the vFilO policy to move files to IDrive® e2.
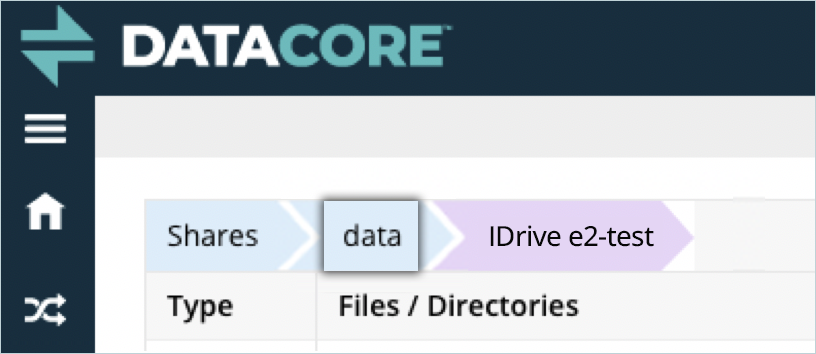
First, navigate to Shares under Infrastructure & Data to see the list of available shares. vFilO policies can be applied at any level: share, folder, or even individual files. In this example, we will use the e2-test folder located under the /data share. By clicking on /data share, and then the e2-test folder name, we can explore the folder contents and identify the current location of the files. Note that files in this folder are stored on one of the local volumes.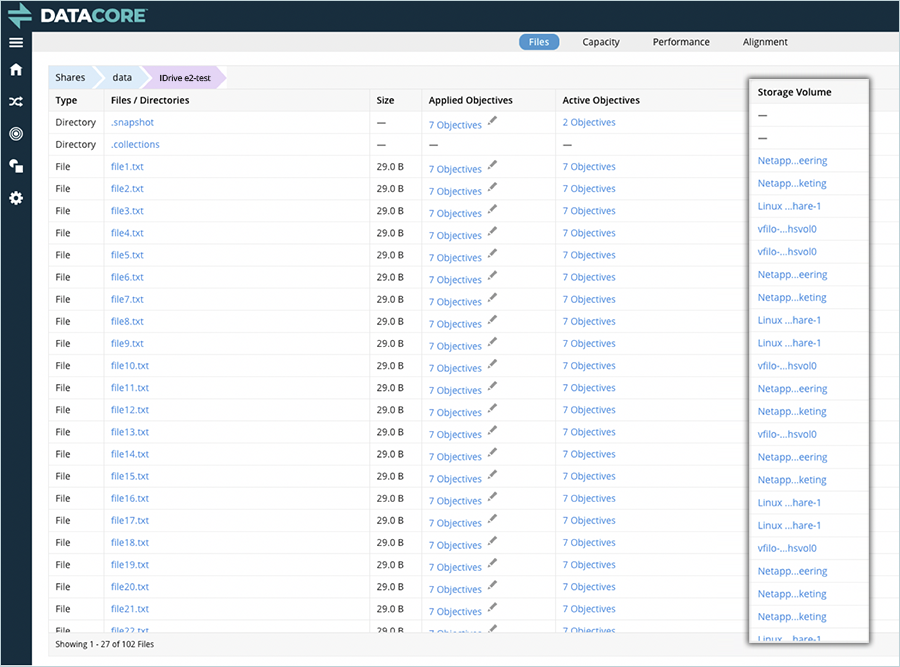
- Now you need to apply a policy to move all the files under this folder to IDrive® e2.
Navigate back to the /data share by using the tabs at the top. Then click next to Objectives on the e2-test folder to edit the objectives for the selected folder.
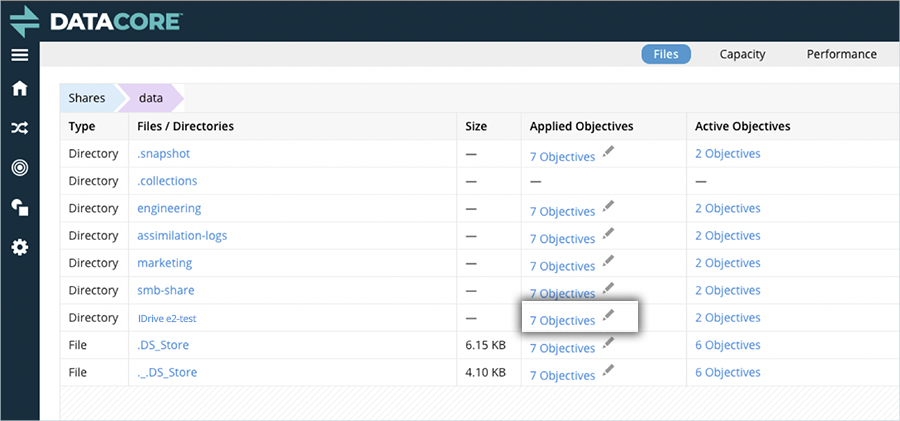
- Scroll down the list to find the objective place-on-IDrive::vfilo-e2bucket, click the checkbox to select it, and then click Save.

- The above action triggers all the data located in the e2-test folder to move to the selected IDrive® e2 bucket. All files will be deduplicated, compressed, and (optionally) encrypted before being sent to IDrive® e2 to maximize bandwidth use and capacity allocated on IDrive® e2.
After a few minutes, navigate to the e2-test folder to verify the files are now stored in IDrive® e2.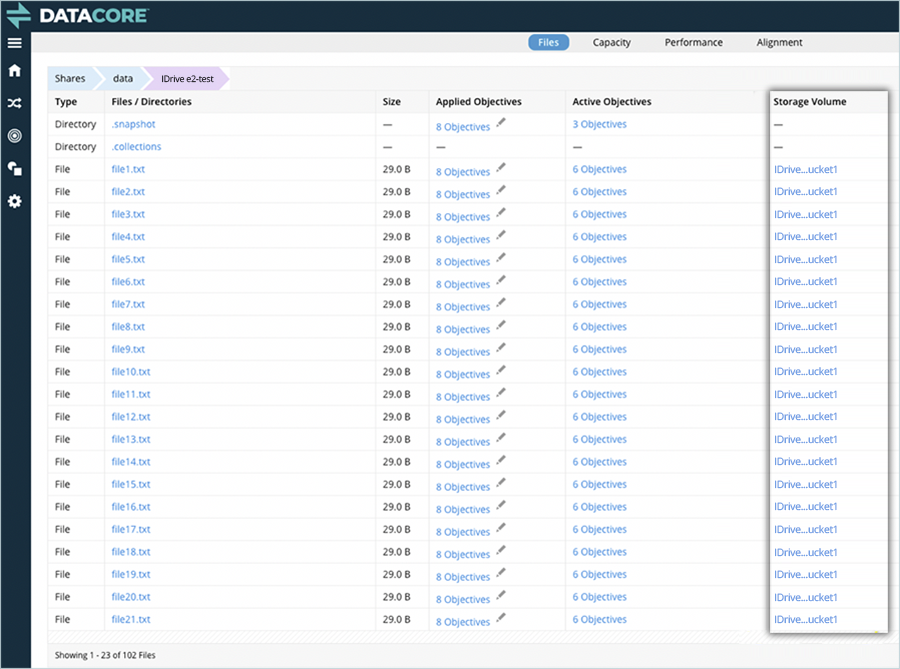
Note: Data restoration is handled by your specific backup solution provider and is affected by multiple variables that are unique to your environment. For application-related enquiries/support, it is strongly recommended you seek guidance from the technical team of your backup solution provider.