Integrate CTERA with IDrive® e2
CTERA is a hybrid cloud data platform that provides secure file services, backup, and collaboration across on-premises, remote, and cloud environments. With its unified global file system and cyber-resilient architecture, it helps enterprises modernize file infrastructure, safeguard distributed data, and support hybrid workforces with compliance-ready security. Integrating CTERA with IDrive® e2 extends these capabilities with a scalable, secure, and cost-effective cloud object storage solution, enabling systematic data management and protection across environments.
Prerequisites
Before you begin, ensure the following:
- An active IDrive® e2 account. Sign up here if you do not have one.
- A bucket in IDrive® e2. See how to create a bucket.
- Valid Access Key ID and Secret Access Key. Learn how to create an access key.
- A valid CTERA portal installed and configured, compatible with AD, LDAP, and SAML-based auth services. CTERA Edge Filer installed and configured. CTERA agent is installed and configured (optional).
Configure CTERA with IDrive® e2
- Log in to the CTERA Portal and confirm that you are in Administrator mode.
- Click Storage Nodes in the left menu bar.
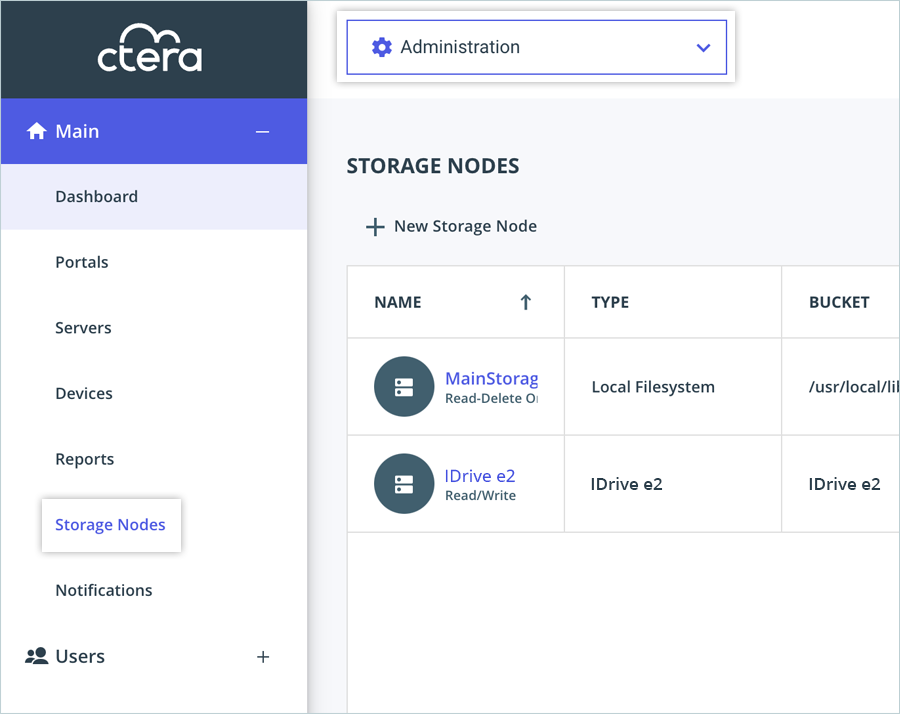
- Click + New Storage Node in the Storage Nodes tab.
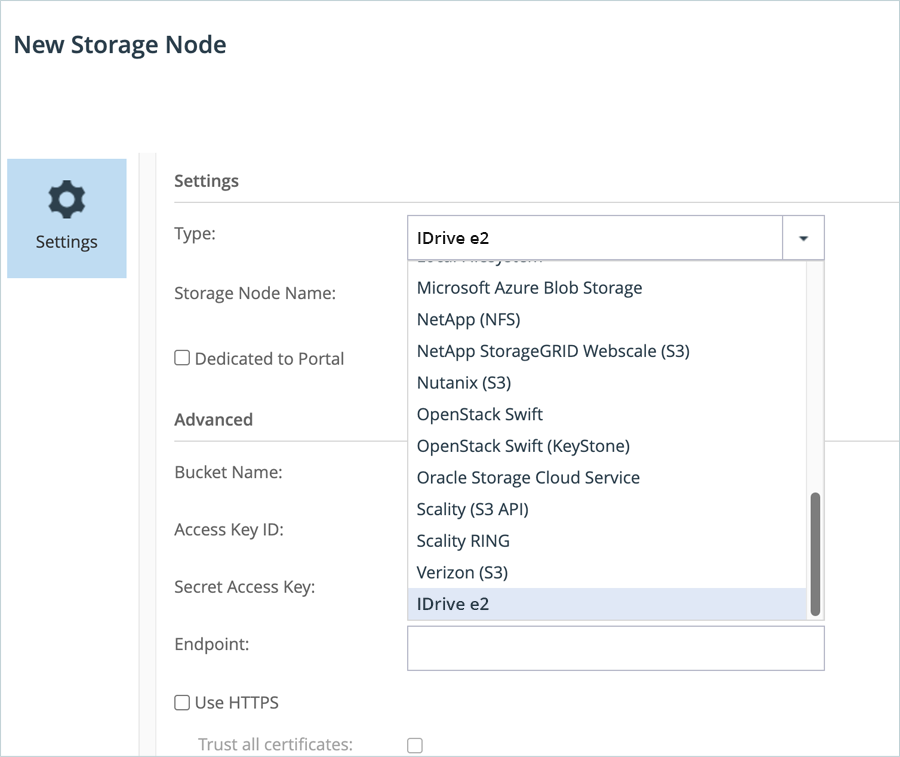
- In Storage Settings, select Generic S3 as the type of storage and configure the following.
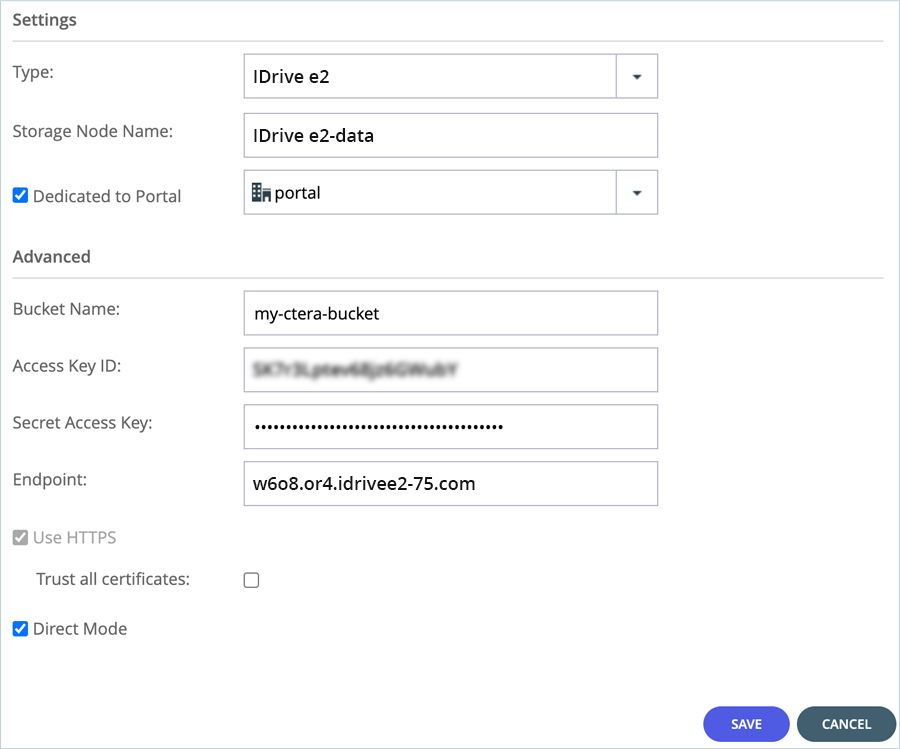
- Enter a name for the Storage Node.
- Enter your IDrive® e2 bucket as Bucket Name.
- Enter your IDrive® e2 Access Key as Access Key ID.
- Enter your IDrive® e2 Secret Key as Secret Access Key.
- Enter your IDrive® e2 S3 endpoint as the Endpoint and select the HTTPS checkbox.
- Click SAVE.
The CTERA application is now linked with your IDrive® e2 storage for reading, writing, and deleting data.
Migrate Data From CTERA to IDrive® e2
- Change the mode of the user from Administrator to Portal.
Note: The following sections guide you through manually managing data via CTERA. However, in a typical CTERA implementation, the CTERA Edge Filer automates this process. Contact your CTERA sales representative for information on how to set up a CTERA Edge Filer to work with the CTERA portal.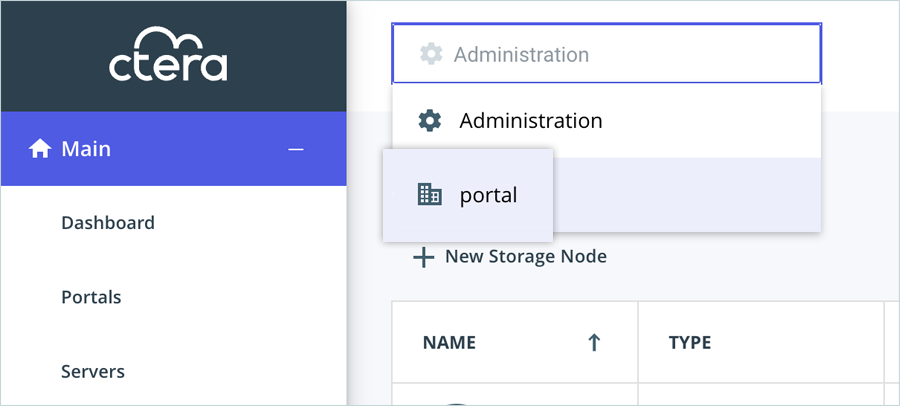
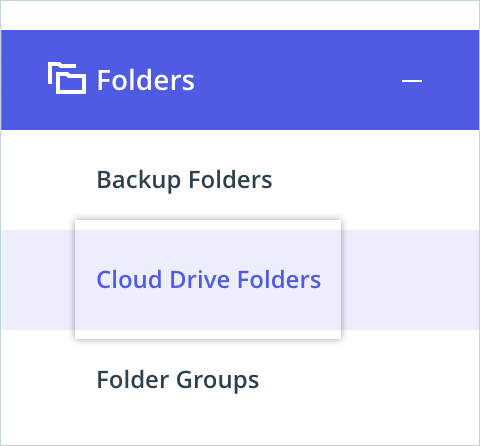
- Click Folders and then select Cloud Drive Folders.
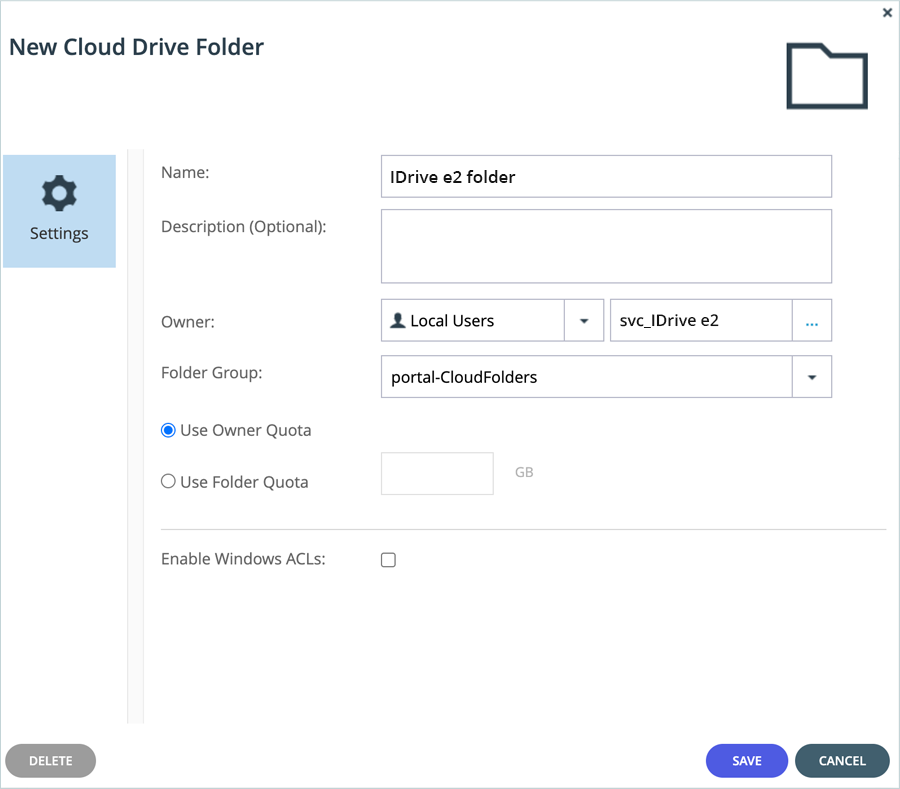
- Under Cloud Drive Folders, click + New Folder and provide the following details.
- Enter a Name for the Folder.
- Select Local Users as the Owner.
- Select portal-CloudFolders as the Folder Group.
- Click SAVE.
- Hover over the newly created Cloud Drive folder and click on the View Files icon.

- The CTERA portal will direct you to another webpage where you can manually upload data to the Cloud Drive folder.
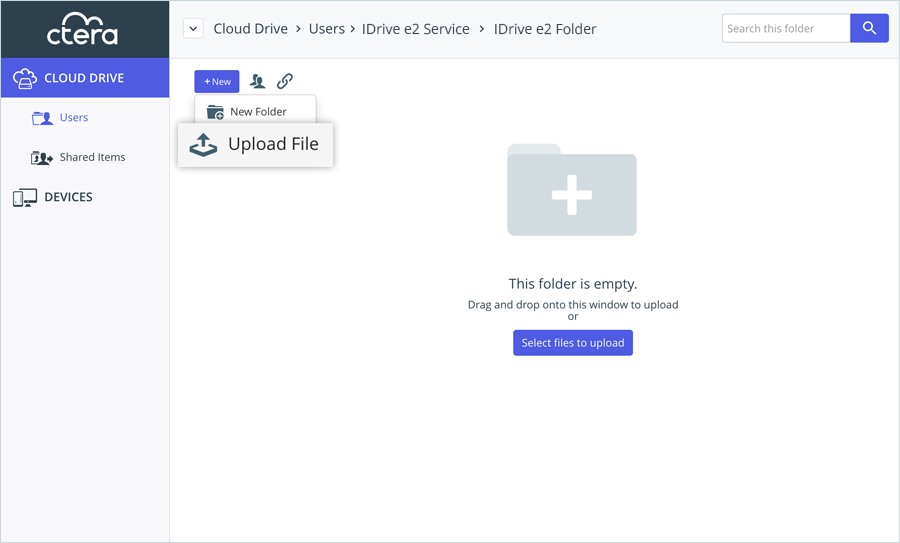
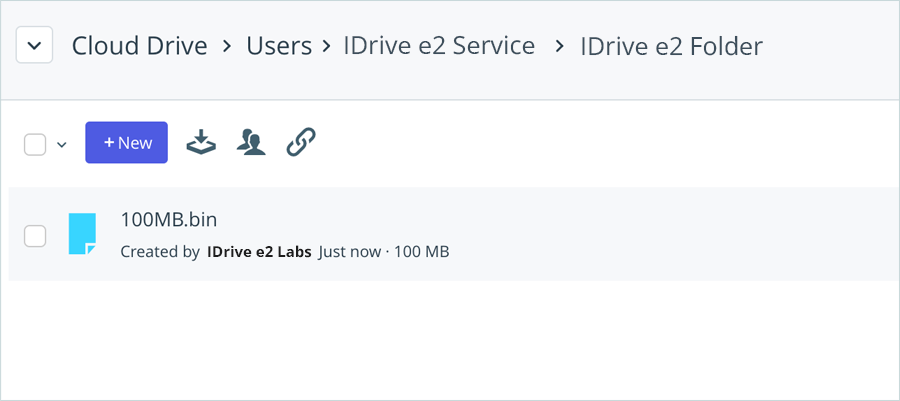
- Click Upload File to select files from your local storage and upload them to IDrive® e2. You can now view the uploaded files in your IDrive® e2 bucket.
Note: In the CTERA portal, you can upload, download, and delete objects that belong to the IDrive® e2 bucket.
Note: Data restoration is handled by your specific backup solution provider and is affected by multiple variables that are unique to your environment. For application-related enquiries/support, it is strongly recommended you seek guidance from the technical team of your backup solution provider.