Migrate Comet backup Data from AWS S3 to IDrive® e2 using Cloud Data Migration
Comet backup is a versatile and secure backup platform built for IT providers and businesses, offering complete control over backup environments with support for cloud and local storage options. It features advanced client-side deduplication, encryption, and incremental backups for efficient storage management and quick recovery, along with flexible branding and scheduling for managed service providers. Migrating Comet backup data from AWS S3 to IDrive® e2 using Cloud Data Migration ensures a hassle-free transition while utilizing IDrive® e2 as a scalable, secure, and cost-effective cloud object storage solution.
Prerequisites
Before you begin, ensure the following:
- An active IDrive® e2 account. Sign up here if you do not have one.
- A bucket in IDrive® e2. See how to create a bucket.
- Valid Access Key ID and Secret Access Key. Learn how to create an access key.
- A valid Comet backup account.
Migrate Backup from AWS S3 to IDrive® e2
Once the migration is complete, you can log into your Comet backup software and update the AWS storage vault to point to your IDrive® e2 storage account.
Steps to Migrate Comet backup Data from AWS S3 to IDrive® e2
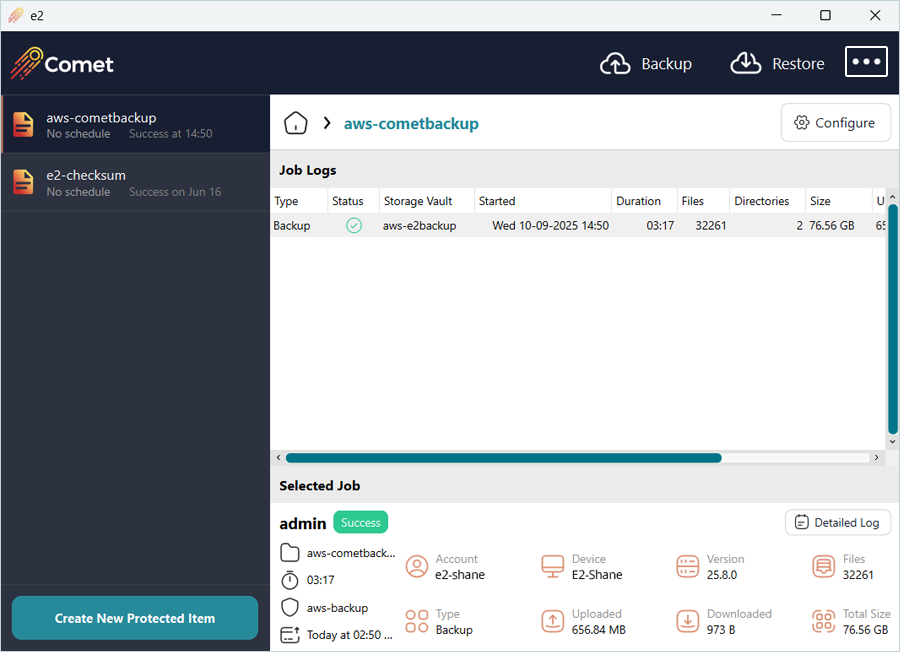
- Launch the Comet backup agent.
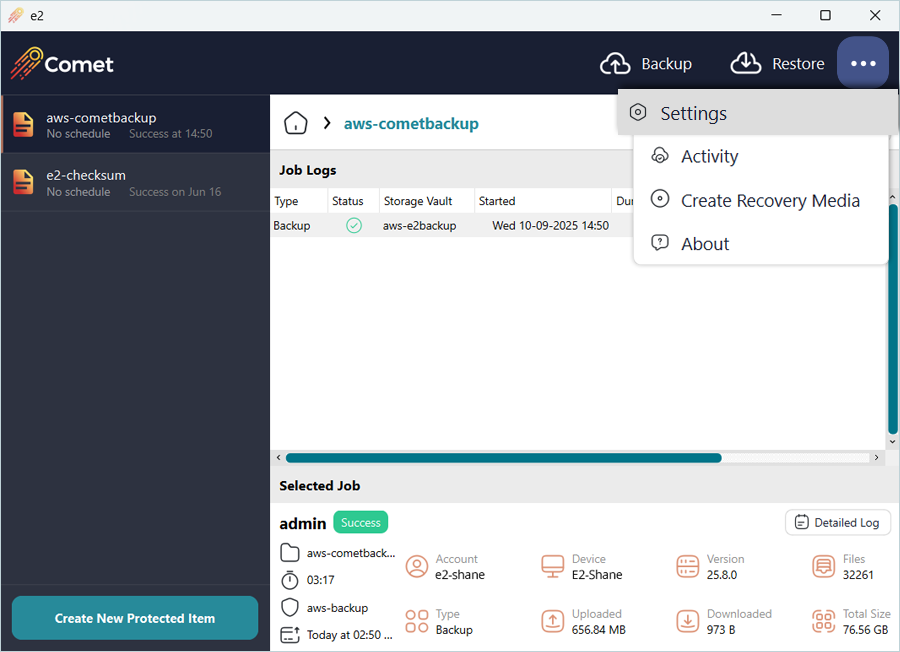
- Click the three dots in the upper-right-hand corner.
-
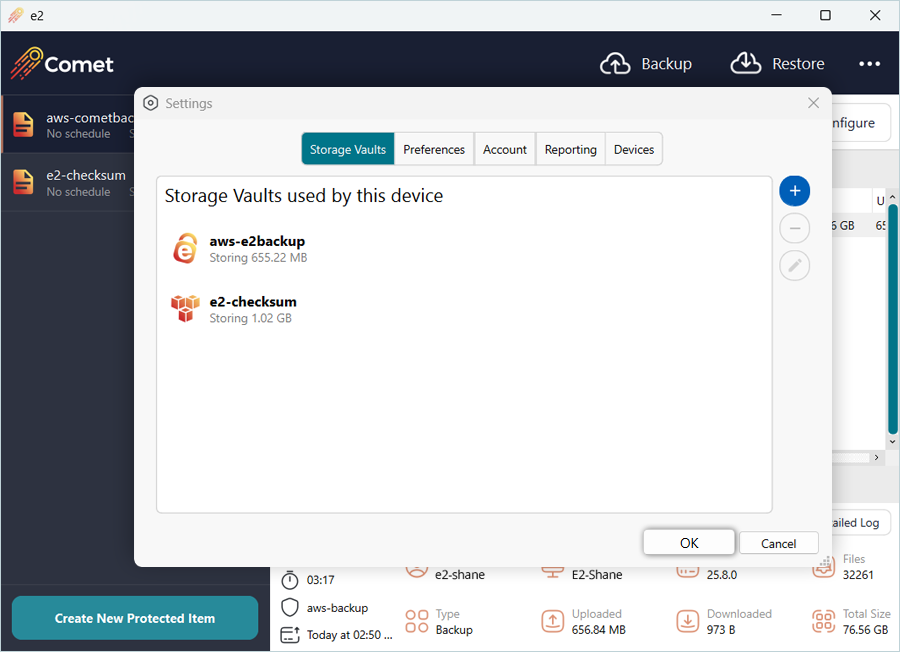
Click Settings. Under the Storage Vaults tab, select
AWS Vault Storage and click Edit (Pen Icon).
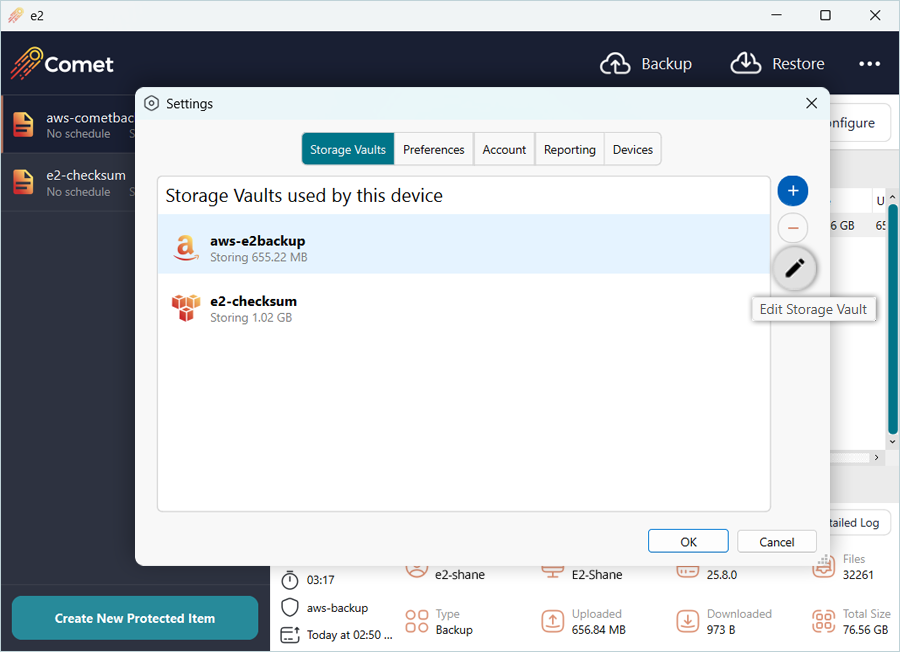
- Click the Storage tab, and click the + icon.
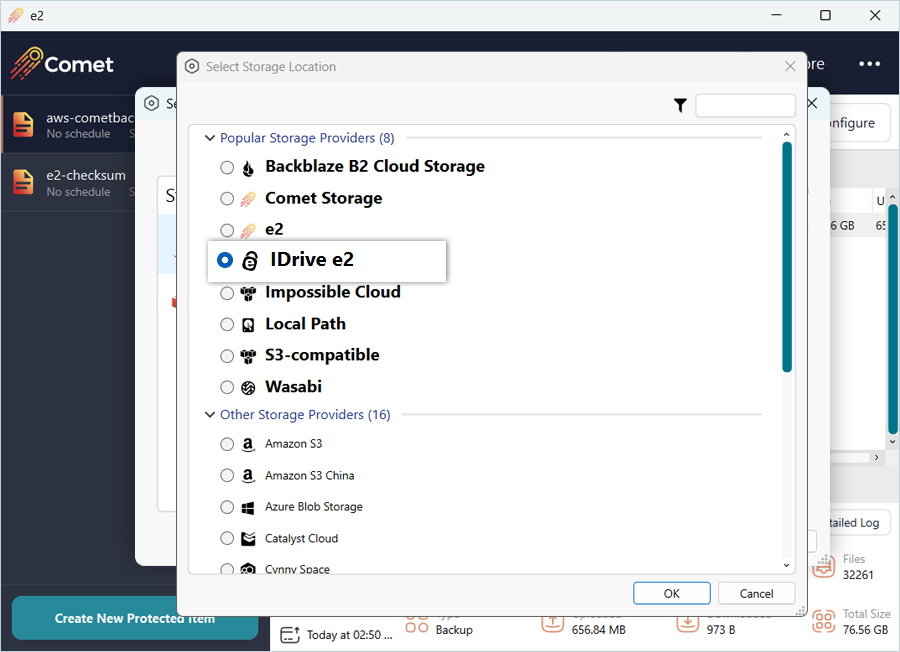
- Select IDrive® e2 from the list and click OK.
-
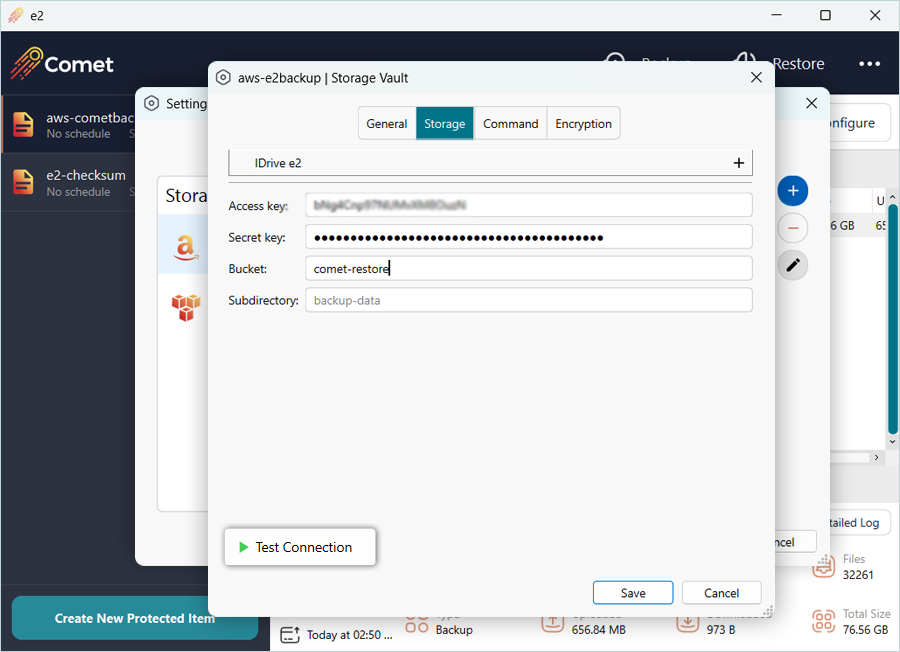
Replace your IDrive® e2 details as mentioned.
- Enter your IDrive® e2 Access Key as Access Key.
- Enter your IDrive® e2 Secret Key as Secret Key.
- Enter your IDrive® e2 bucket as Bucket.
-
Click Test Connection and then click Save.
 Note: This bucket should be the same bucket from which the data was migrated from AWS S3 to IDrive® e2.
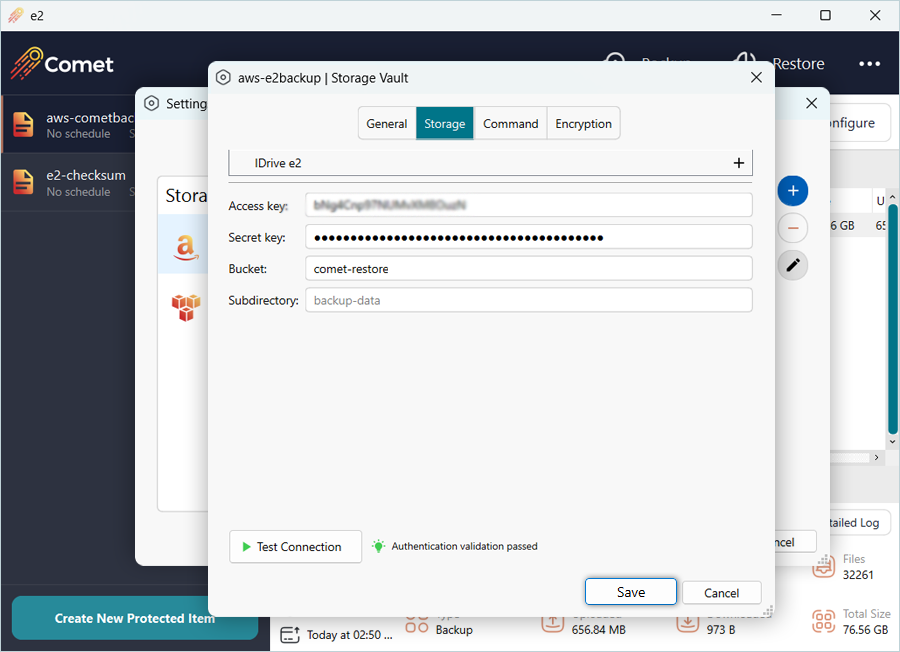
-
You will notice that the AWS icon has been updated to the IDrive® e2 icon now.
Click OK.
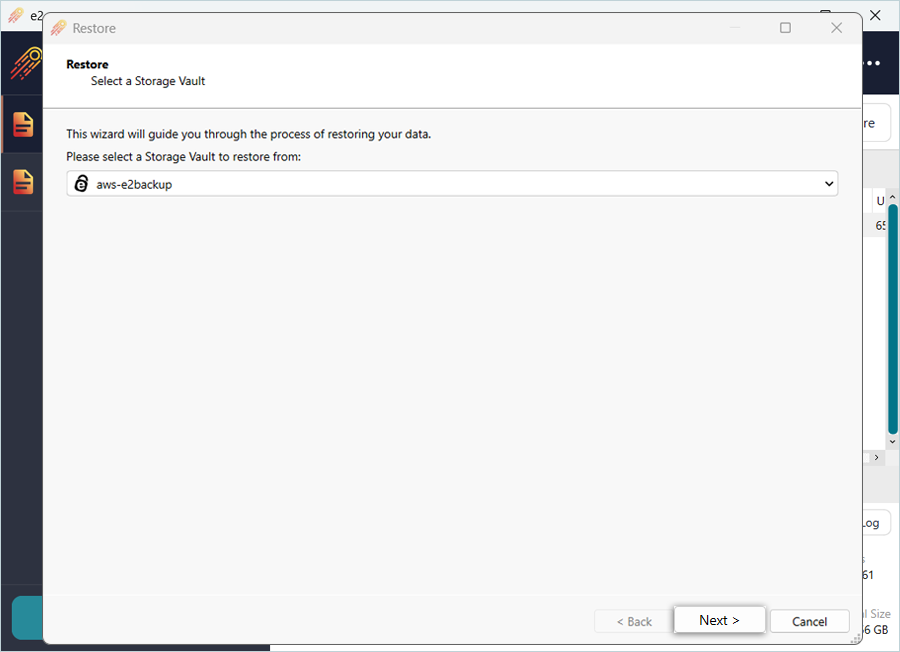
Restore Backup using IDrive® e2 Vault
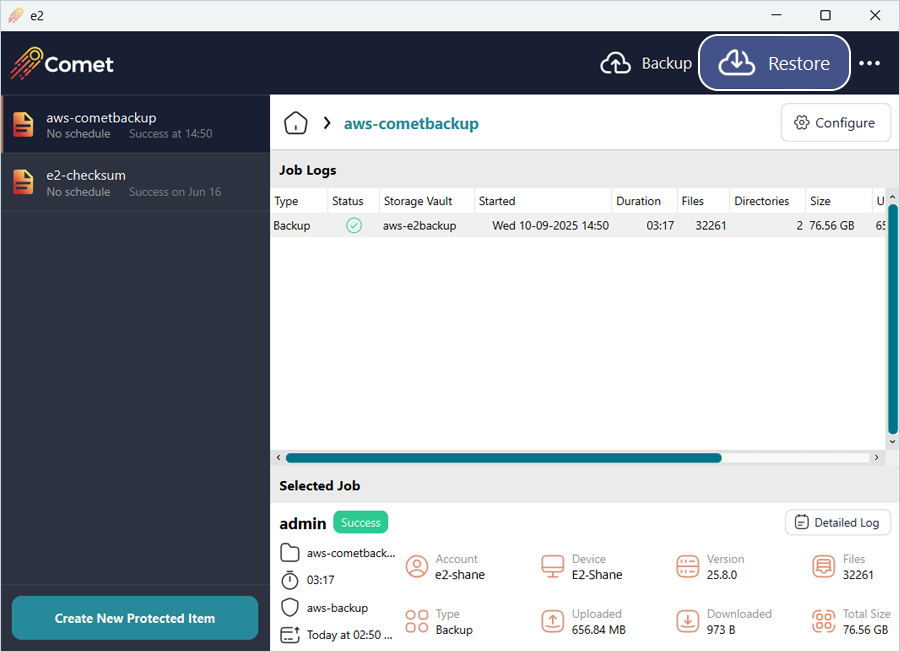
- Click Restore on the dashboard.
- Select your IDrive® e2 Vault, and then click Next.
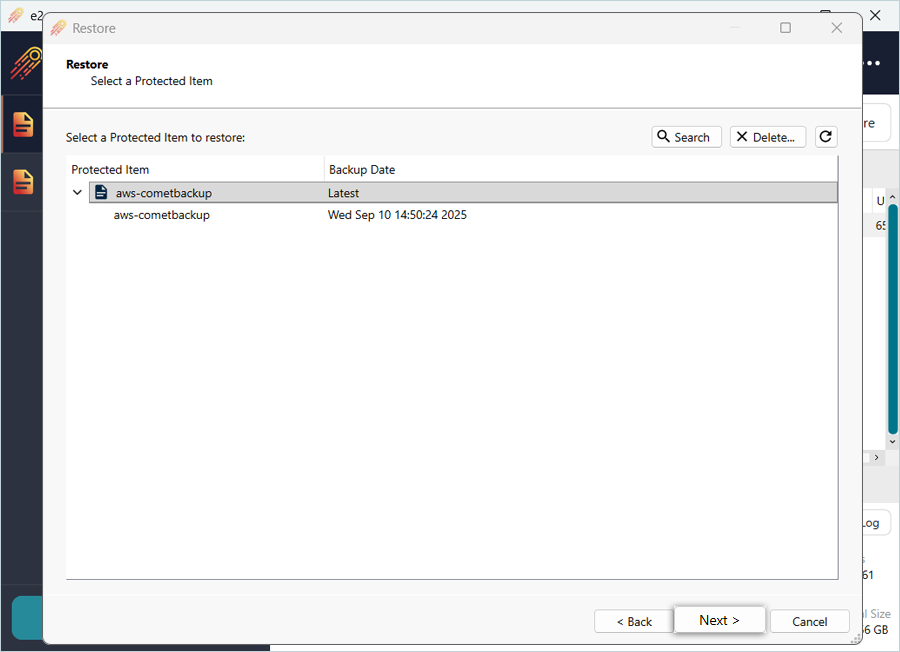
- Select the AWS backup from the list and click Next.
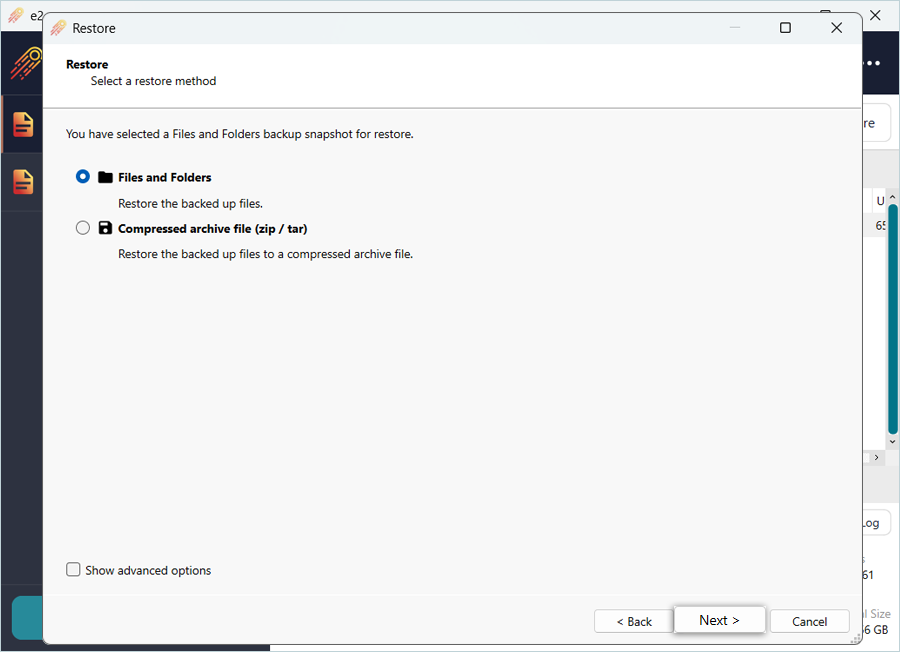
- Select the Restore Method as required and click Next.
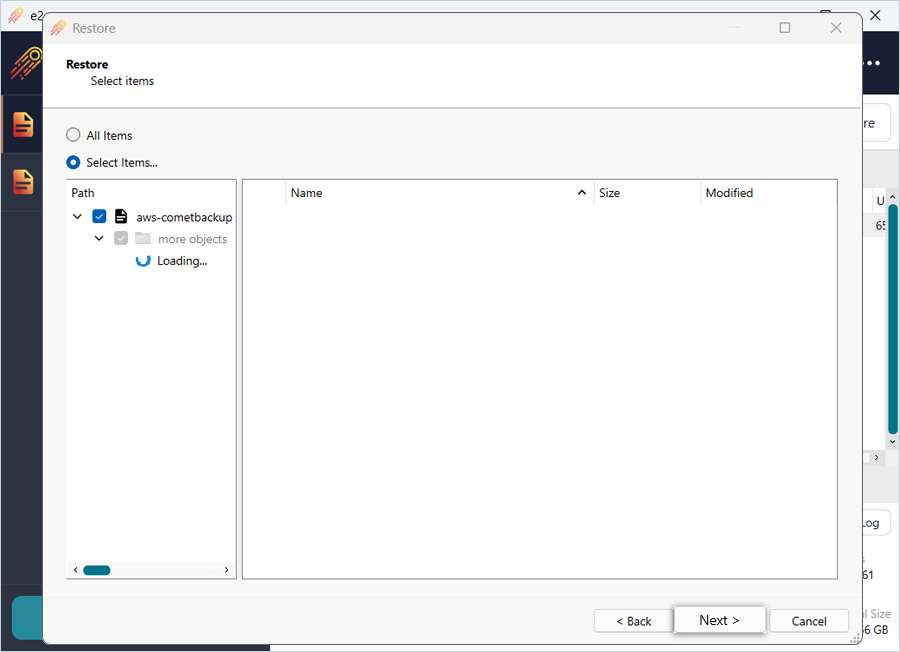
- Select items to restore (Select All) and click Next.
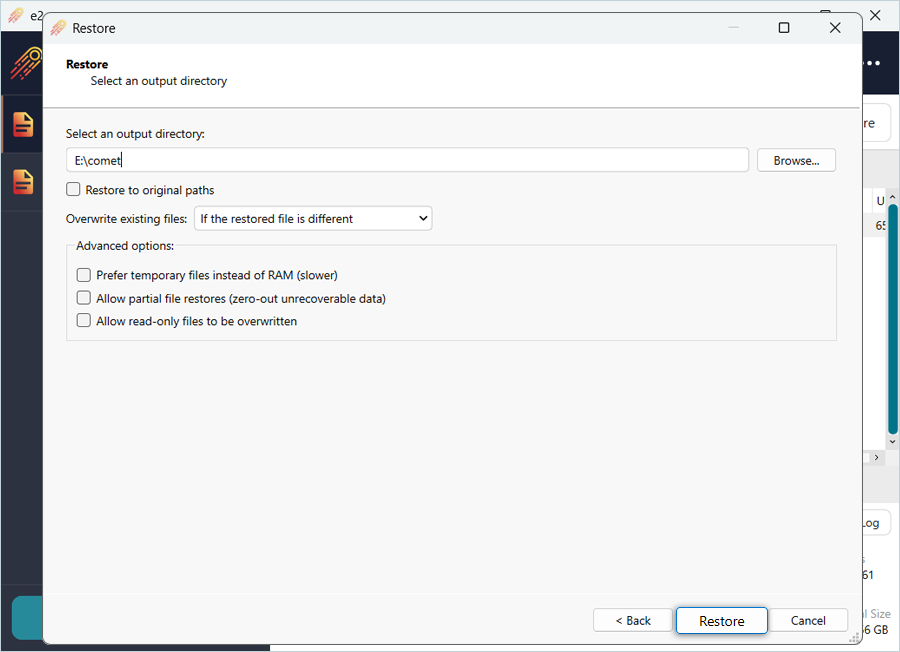
- Click Browse to select the directory to restore objects, and click Restore.
Note: Data restoration is handled by your specific backup solution provider and is affected by multiple variables that are unique to your environment. For application-related enquiries/support, it is strongly recommended you seek guidance from the technical team of your backup solution provider.