Integrate Cloudsfer with IDrive® e2
Cloudsfer is a secure data migration and backup platform that automates file transfers, synchronization, and permissions across multiple cloud storage providers and on-premises systems. It enables fast, encrypted, and reliable migrations with scheduling and management from a simple dashboard. Integrating Cloudsfer with IDrive® e2 extends these capabilities with scalable, secure, and cost-effective cloud object storage.
Prerequisites
Before you begin, ensure the following:
- An active IDrive® e2 account. Sign up here if you do not have one.
- A bucket in IDrive® e2. See how to create a bucket.
- Valid Access Key ID and Secret Access Key. Learn how to create an access key.
- A valid Cloudsfer account.
Configure Cloudsfer with IDrive® e2
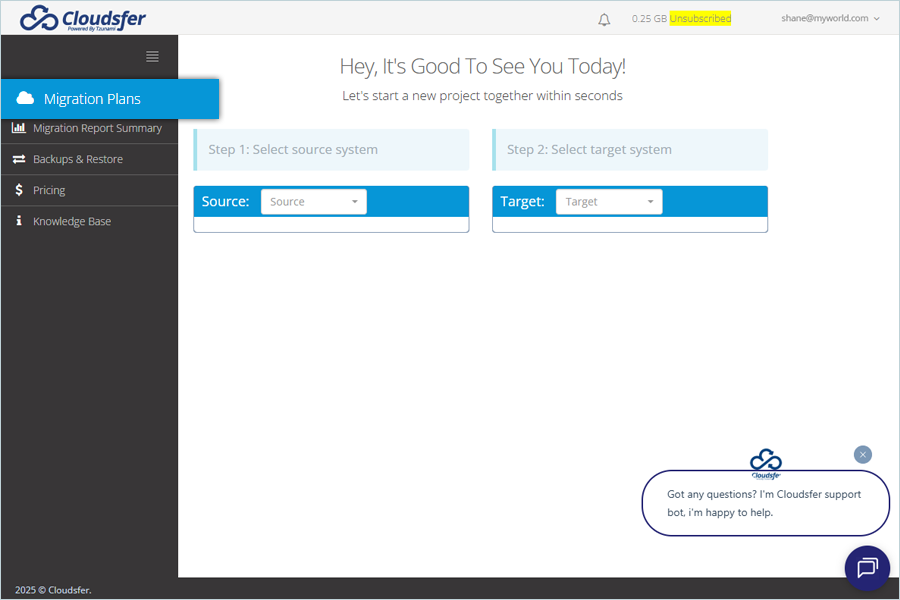
- Log in to your Cloudsfer account.
- Click Migration Plans.
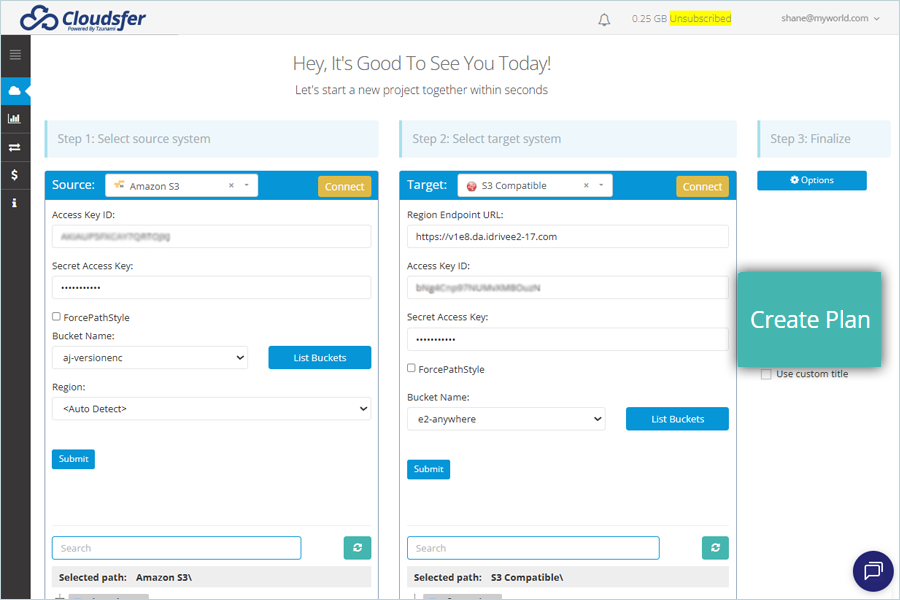
- Under Select source system, select Source by clicking the list. Click Connect.
(Source should be appropriately configured and connected. It should be based on where you want to migrate.)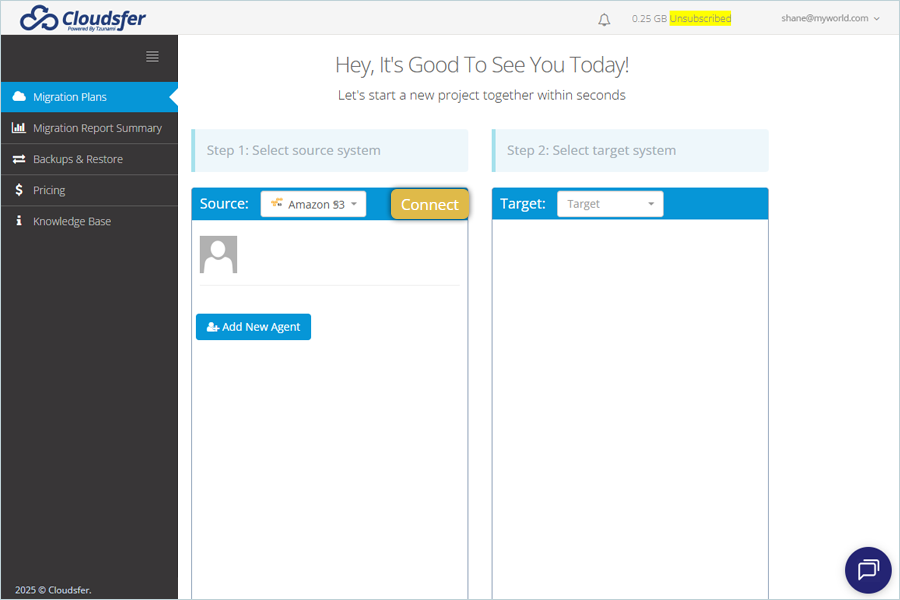
- Click the Target list and select S3 compatible as the Target.
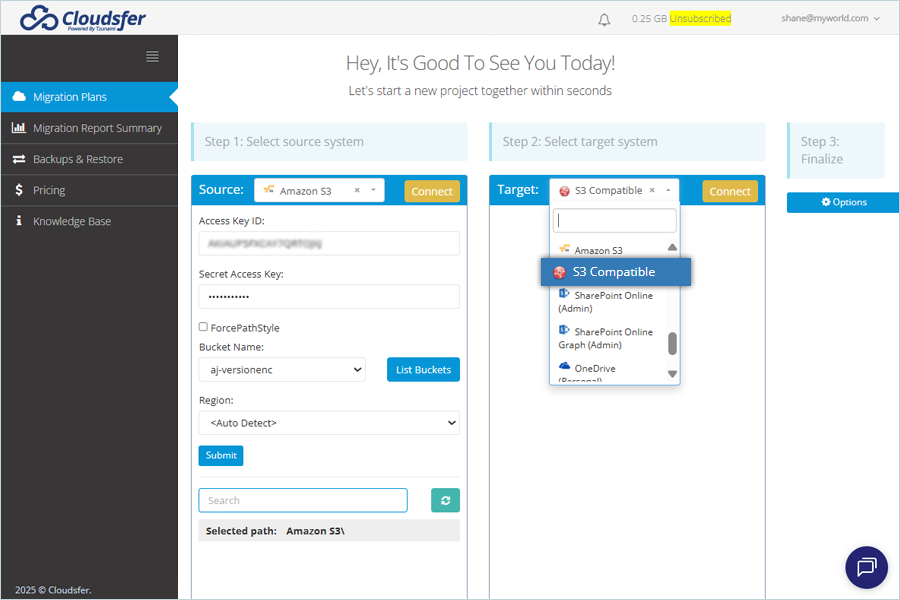
-
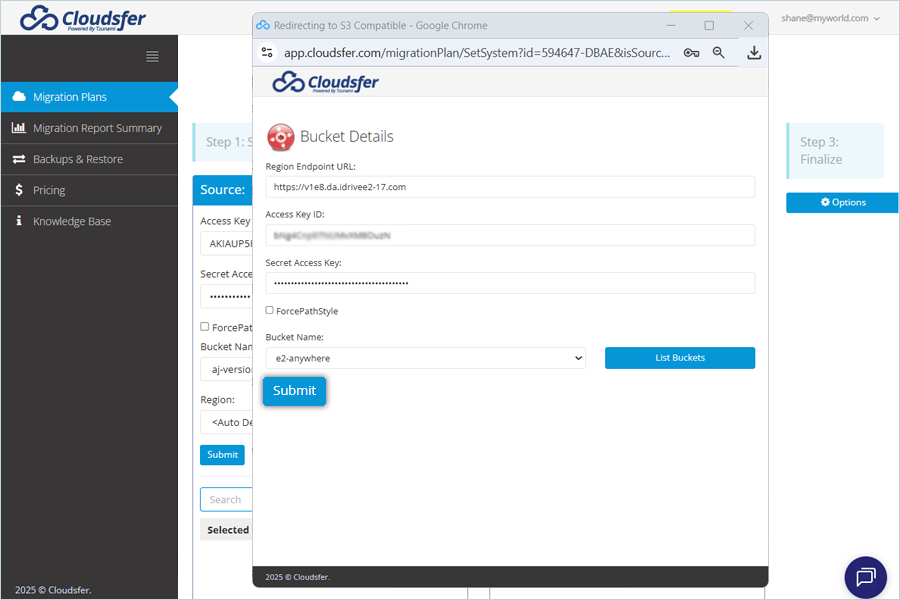
Click S3 Compatible and enter the following details in the Bucket Details tab.
- Enter your IDrive® e2 S3 endpoint as the Region Endpoint URL.
- Enter your IDrive® e2 Access Key as Access Key ID.
- Enter your IDrive® e2 Secret Key as Secret Access Key.
- Click List Buckets and select the bucket.
- Click Submit.
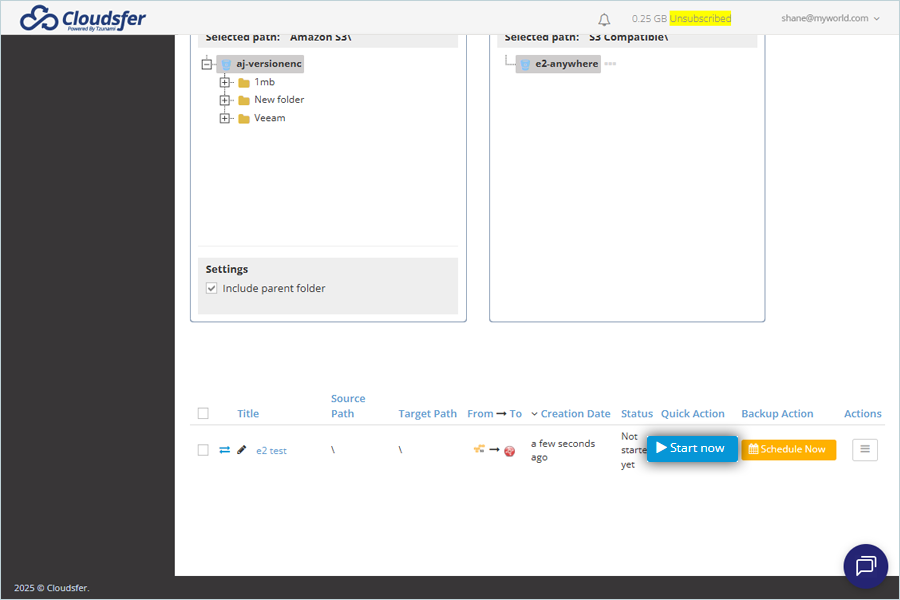
- Select the folder where you want to store the migration in your target bucket, located under Target.
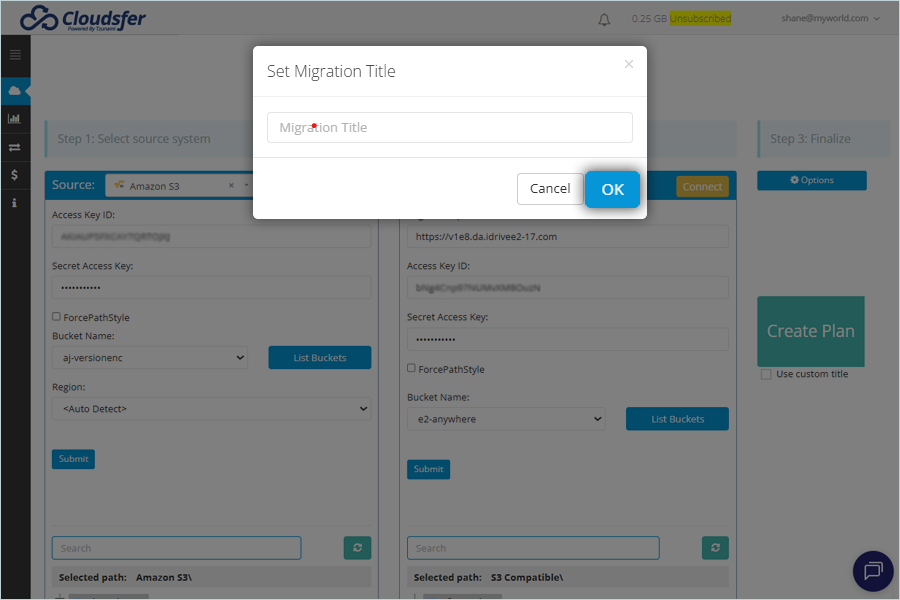
- To finalize, click Create Plan.
- Enter the Plan Name and click OK.
-
In the Migration Plan Tab, select the new migration plan.
- Change the Migration Plan name as per the requirement.
- Schedule Migration as per the requirement by clicking Migration plan settings.
- You can also modify the Migration Plan settings by clicking the Actions icon
 and selecting the appropriate action.
- To start Migration immediately, click Start now.
Note: Data restoration is handled by your specific backup solution provider and is affected by multiple variables that are unique to your environment. For application-related enquiries/support, it is strongly recommended you seek guidance from the technical team of your backup solution provider.