Integrate CloudBackO with IDrive® e2
CloudBackO is a comprehensive backup and recovery software that protects data across servers, virtual machines, cloud apps, databases, and endpoints with advanced features like deduplication, AES-256 encryption, two-factor authentication, and immutable backups. It supports multiple platforms, including Windows, macOS, Linux, iOS, and Android, while offering flexible storage destinations such as NAS, FTP, local drives, and cloud providers. Integrating CloudBackO with IDrive® e2 allows you to extend these capabilities with scalable, secure, and cost-effective cloud object storage.
Prerequisites
Before you begin, ensure the following:
- An active IDrive® e2 account. Sign up here if you do not have one.
- A bucket in IDrive® e2. See how to create a bucket.
- Valid Access Key ID and Secret Access Key. Learn how to create an access key.
- A valid CloudBacko account.
Configure CloudBackO with IDrive® e2
- Launch and start the CloudBackO app on your system.
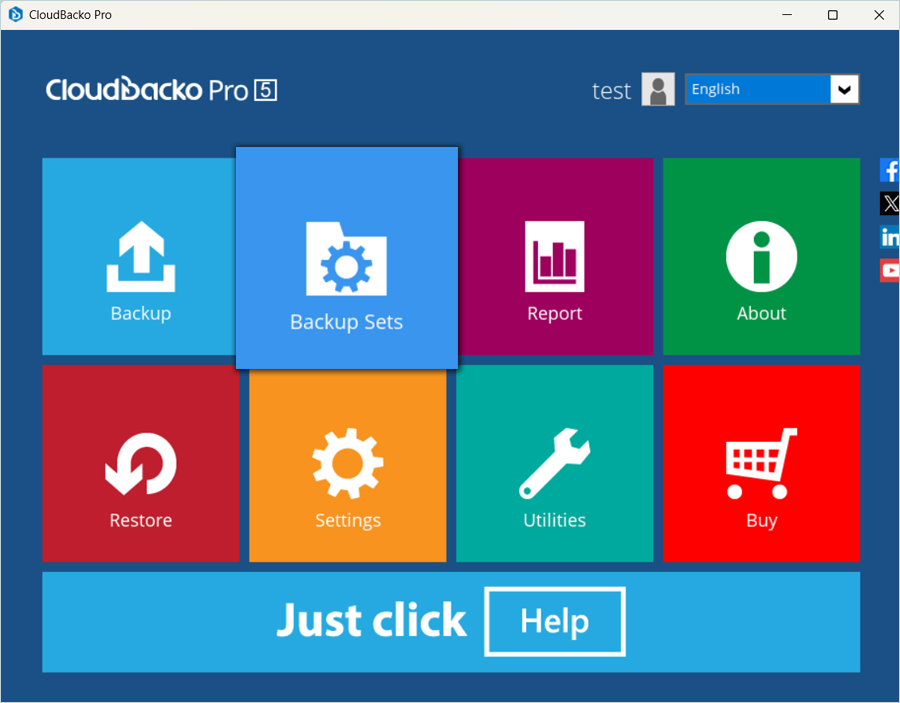
- Click Backup Sets to add a new backup destination.
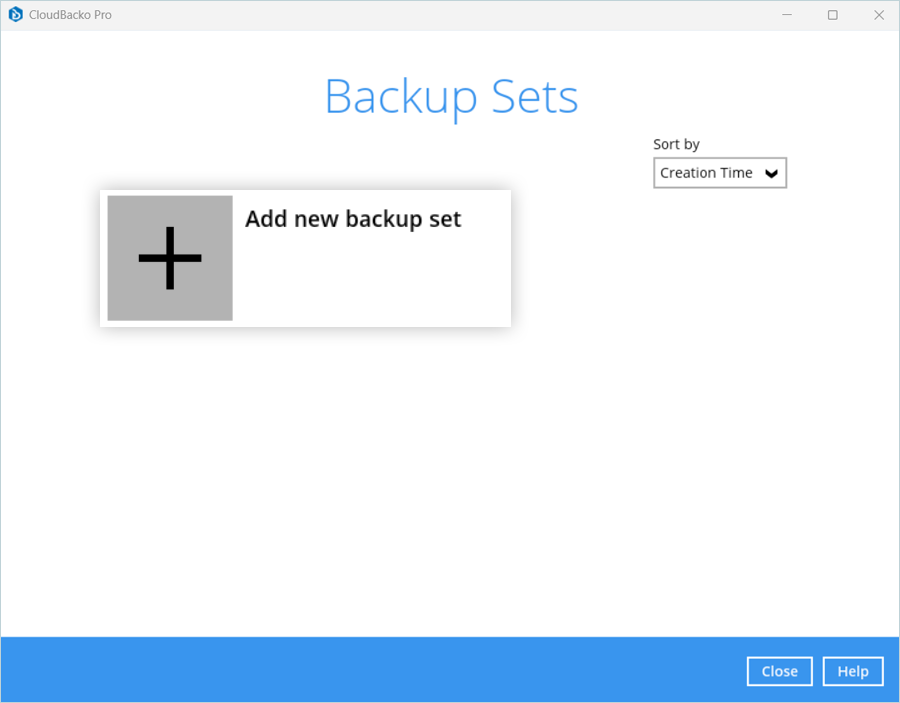
- Click Add new backup set.
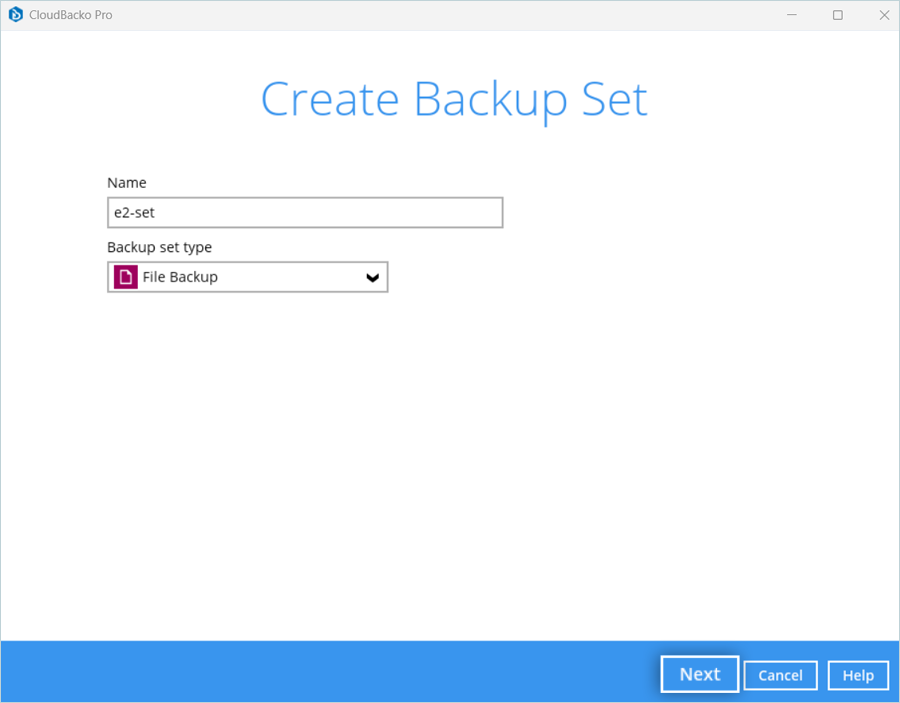
- Enter a Name for your Backup set, select the Backup set type, and click Next.
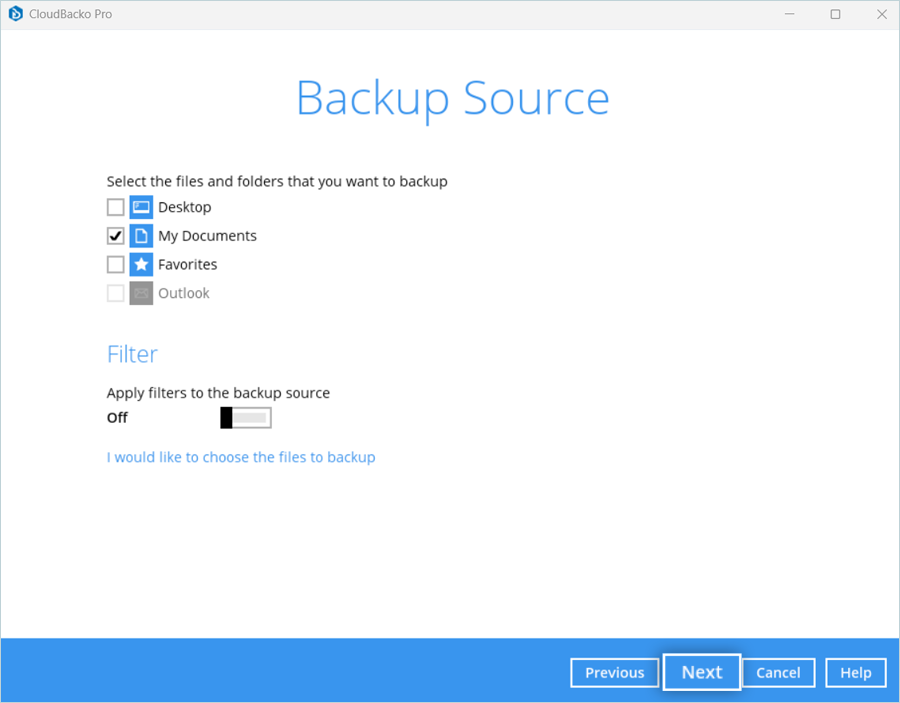
- Select the files and folders you want to back up, and then click Next.
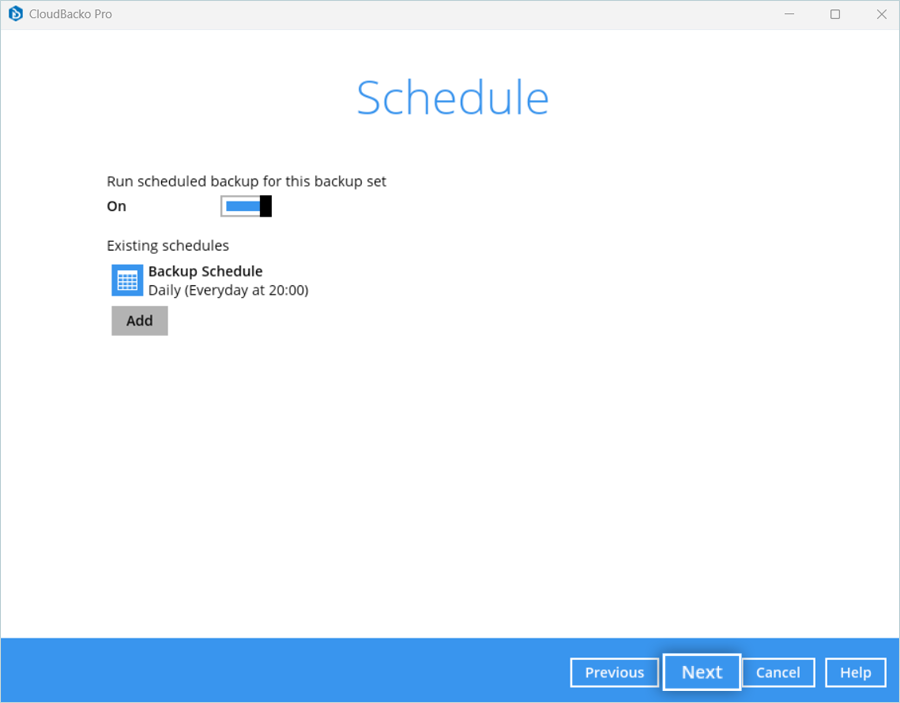
- Schedule backup as per the requirement and click Next.
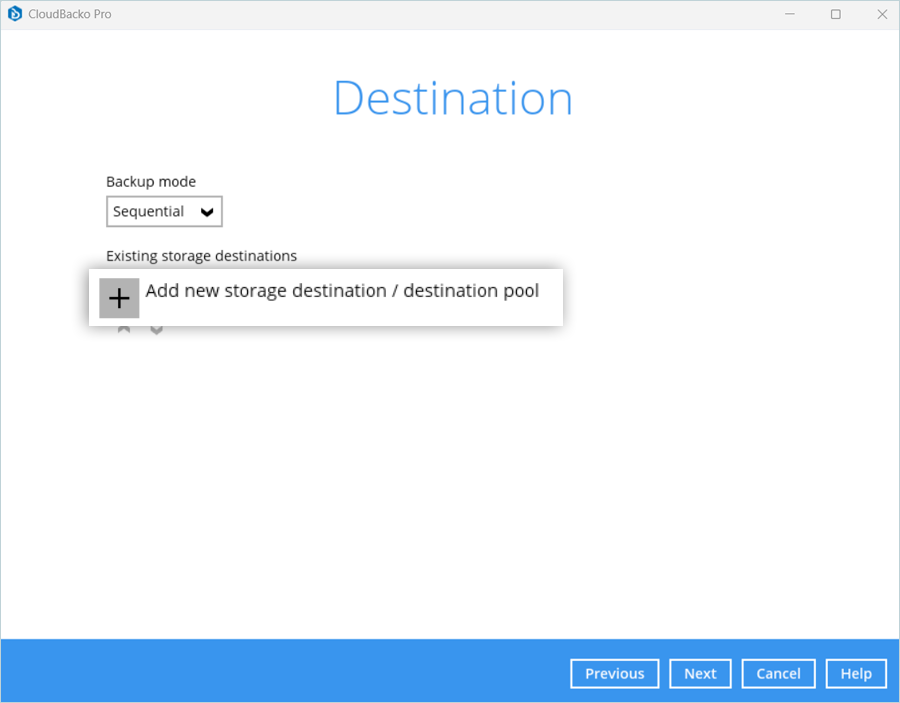
- Click Add new storage destination/destination pool to add your IDrive® bucket as the destination.
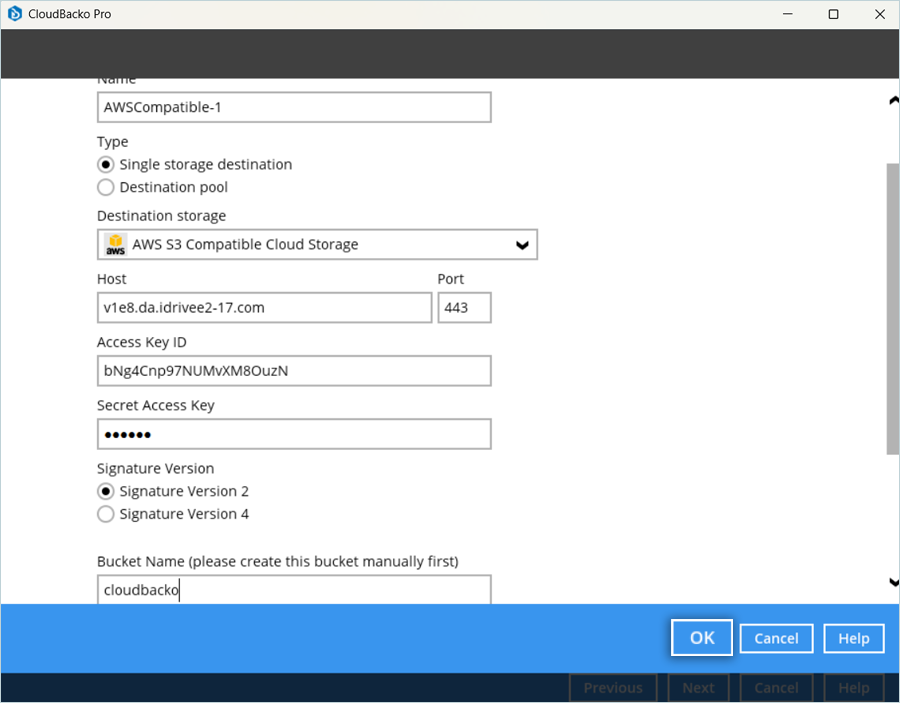
- Enter your e2 details as mentioned below.
- Enter the Name for Destination.
- Select Single storage destination as Type.
- Select AWS S3 Compatible Cloud Storage as the Destination storage.
- Enter your IDrive® e2 S3 endpoint as Host. Port should be 443.
- Enter your IDrive® e2 Access key as Access Key ID.
- Enter your IDrive® e2 Secret key as Secret Access Key.
- Enter your IDrive® e2 Bucket name as Bucket Name.
- Select the check box for Connect with SSL/TLS.
- Click OK to test the connection.
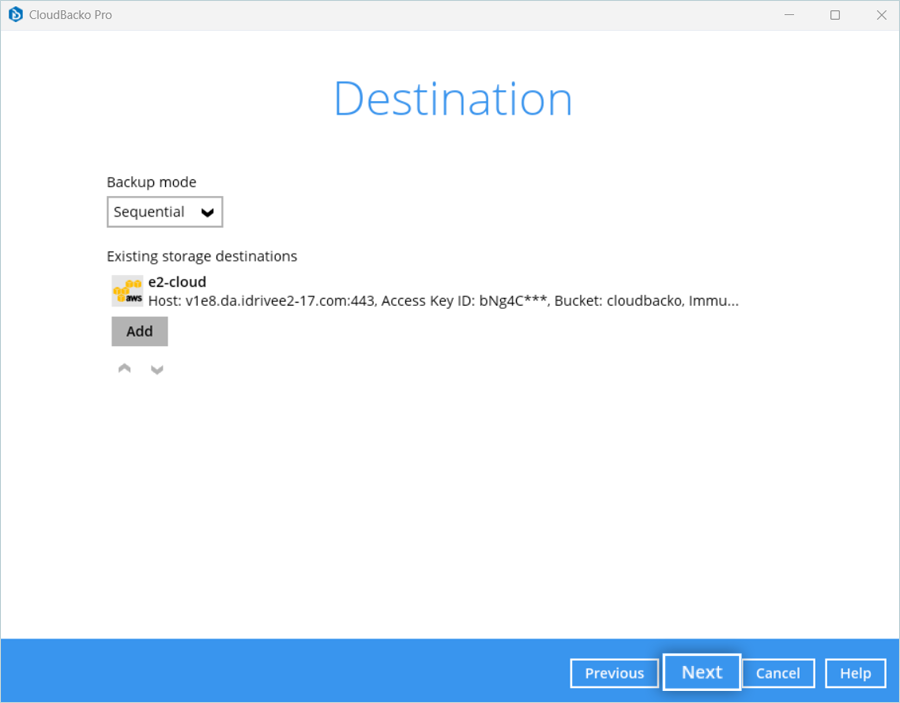
- Click Next after the destination is added successfully.
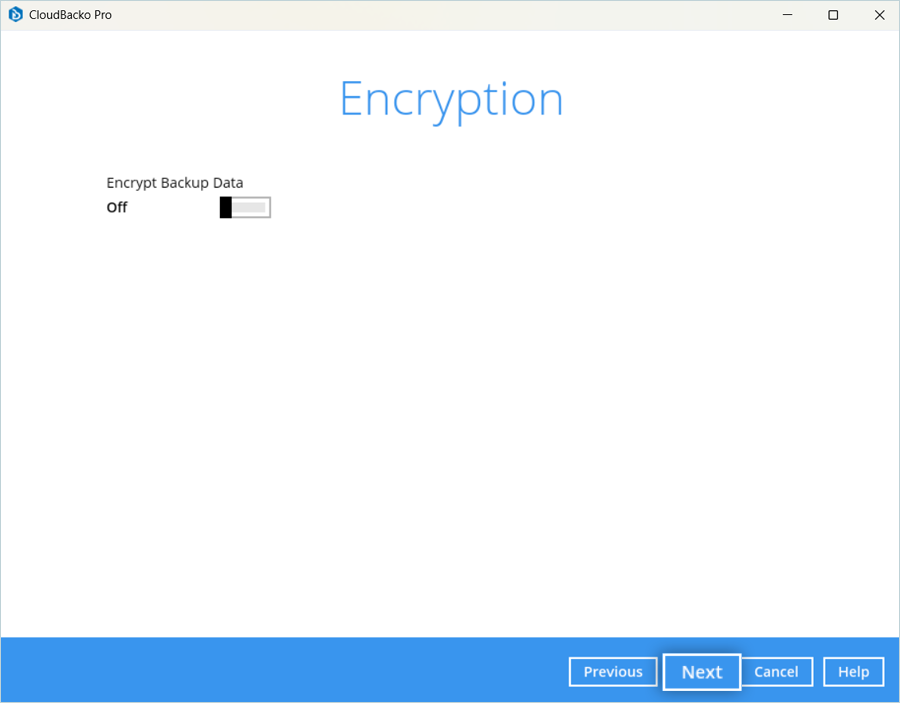
- Turn on/off the Encrypt Backup Data toggle based on the requirement and click Next.
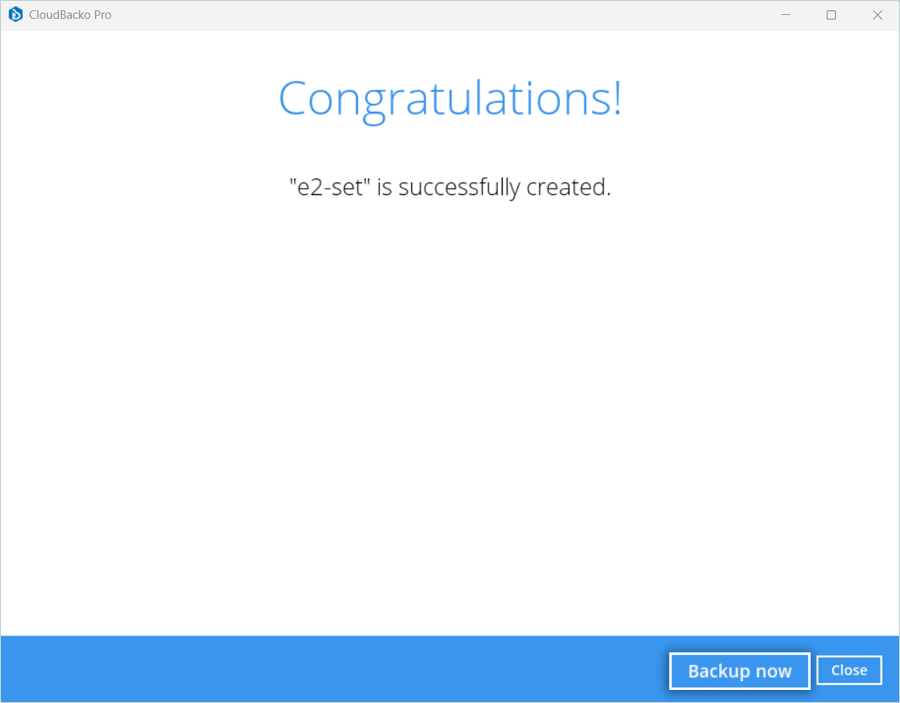
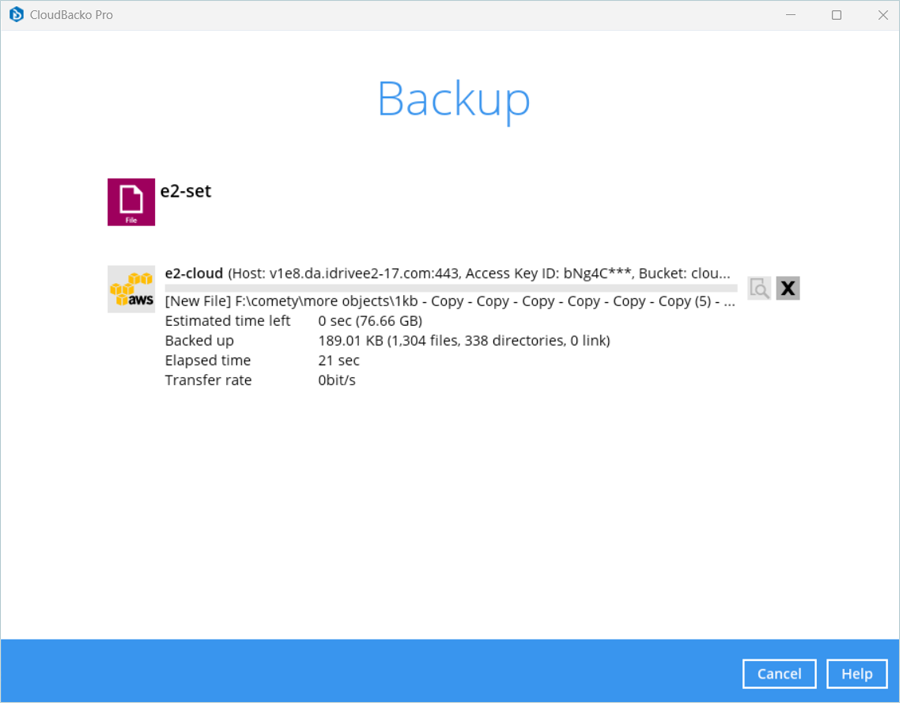
- Click Backup now to start the backup. The backup begins, and you can observe its progress and status.
Note: Data restoration is handled by your specific backup solution provider and is affected by multiple variables that are unique to your environment. For application-related enquiries/support, it is strongly recommended you seek guidance from the technical team of your backup solution provider.