Integrate Cloud IBR with IDrive® e2
Cloud IBR is an automated disaster recovery SaaS platform for Veeam backups, offering one-click bare metal server deployment, instant failover recovery, and monthly compliance testing. It helps businesses cut recovery time from weeks to hours while ensuring continuity during outages or ransomware attacks. Integrating Cloud IBR with IDrive® e2 adds a capable and scalable cloud object storage solution that facilitates systematic integration and secure disaster recovery management.
Prerequisites
Before you begin, ensure the following:
- An active IDrive® e2 account. Sign up here if you do not have one.
- A bucket in IDrive® e2. See how to create a bucket.
- Valid Access Key ID and Secret Access Key. Learn how to create an access key.
- A valid Cloud IBR account.
The following steps can help you successfully integrate Cloud IBR with IDrive® e2 cloud object storage.
Configure Cloud IBR with IDrive® e2
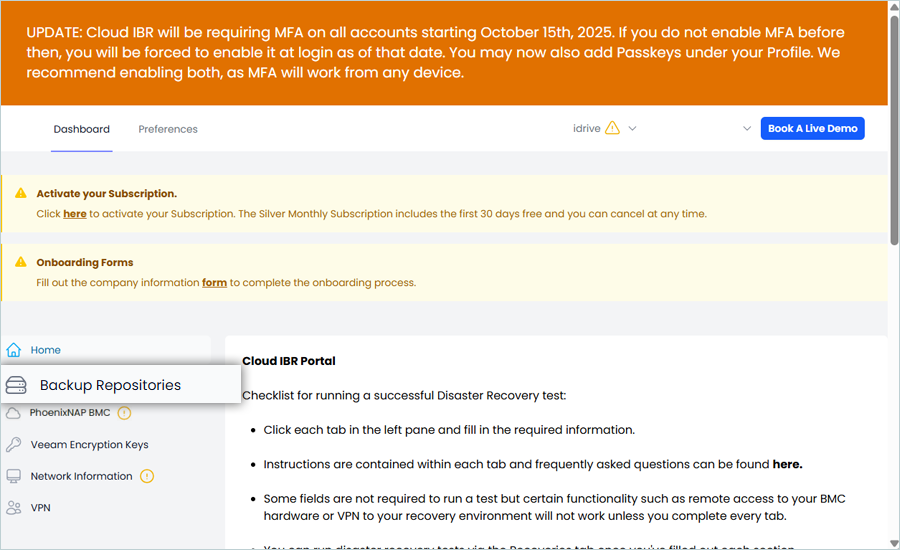
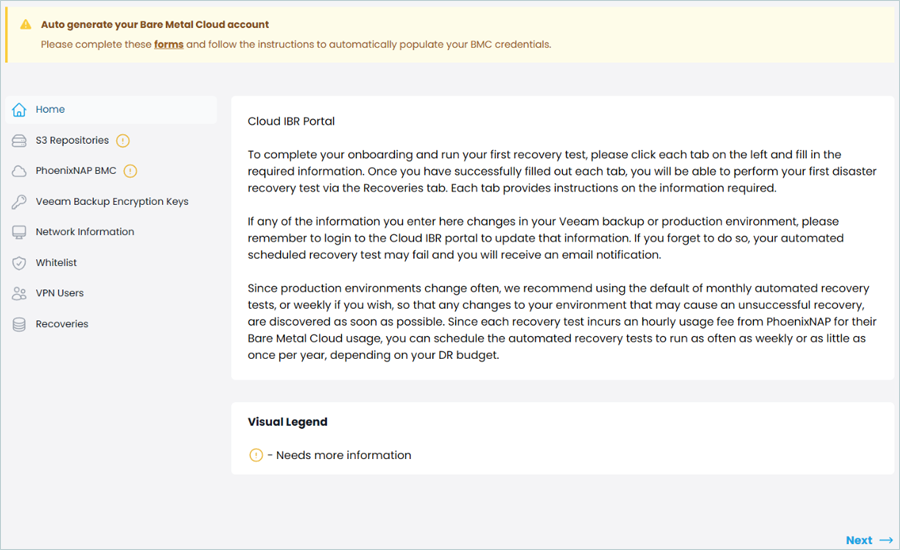
- Log in to CloudIBR Dashboard.
- Under Dashboard, click Backup Repositories.
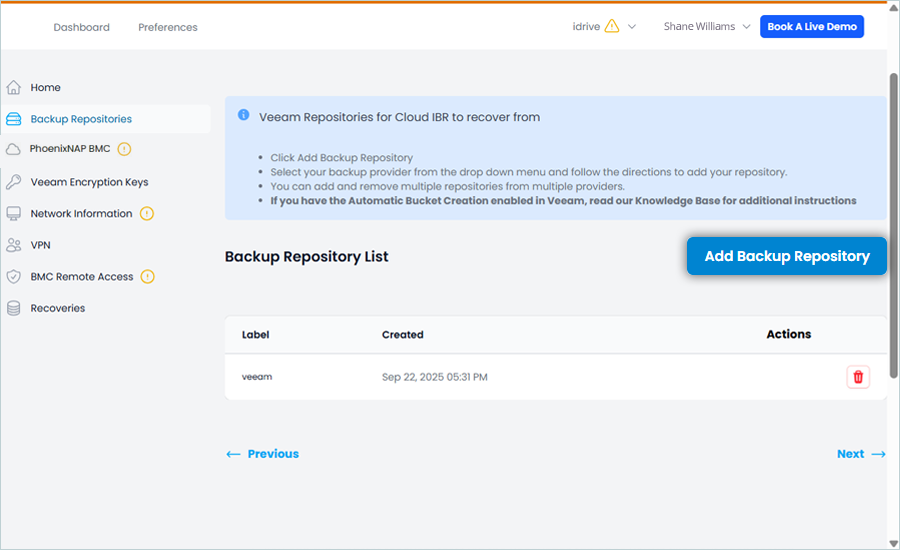
- Click Add Backup Repository.
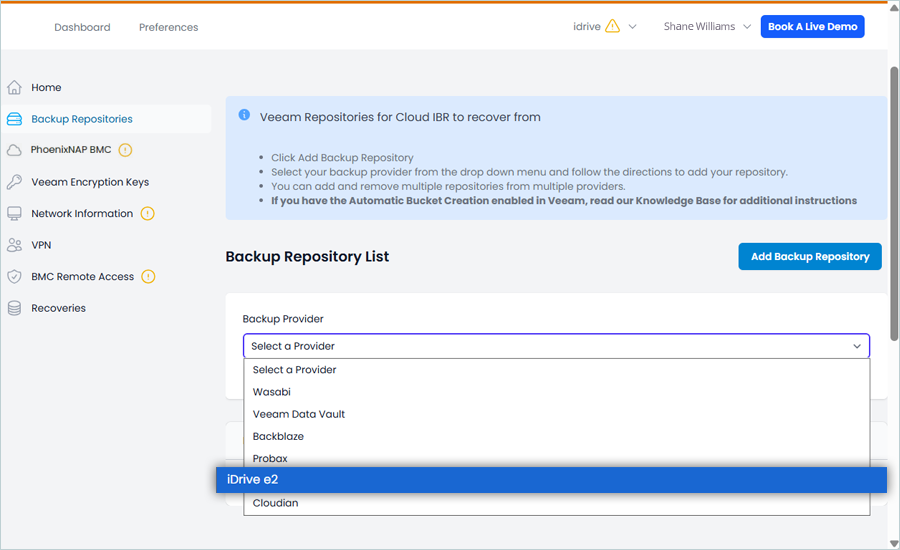
- From the Backup Provider dropdown, select IDrive® e2 as the S3 Provider and provide your IDrive® e2 details.
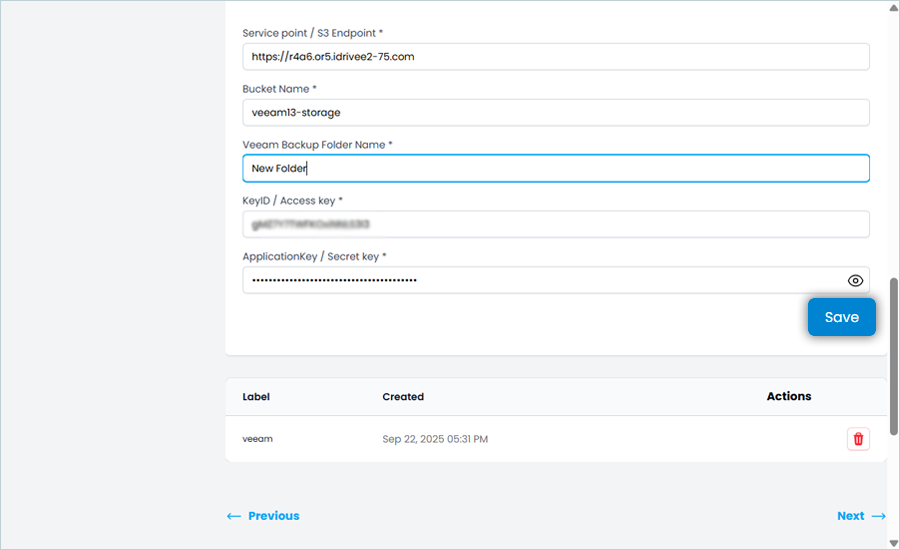
- Enter your IDrive® e2 S3 endpoint as Service point / S3 Endpoint (e.g., https://r4a6.or5.idrivee2-75.com).
- Enter your IDrive® e2 bucket name as Bucket Name (This bucket should be the same bucket that was used for Veeam Backup).
- Enter the Veeam Backup Folder Name, which was used for the Veeam Bucket (Used during Veeam Backup).
- Enter your IDrive® e2 Access Key as KeyID/Access key.
- Enter your IDrive® e2 Secret Key as ApplicationKey/Secret key.
- Click Save.
Now, your e2 Storage has been added as a Repository in CloudIBR.
Configure a PhoenixNAP BMC Environment
- Select PhoenixNAP BMC in the left menu.
- Click Add Recovery Storage.
- Enter your storage requirements (between 1 TB and 25 TB).
- Click Save.
- Click Add Desired Memory.
- Select a memory value, for example, 256.
Your Cloud IBR subscription is tied to the amount of total desired memory. For more information, see Cloud IBR pricing. To estimate the phoenixNAP pay-as-you-go charges, click here. - Click Save.
- Select a memory value, for example, 256.
Add Veeam Encryption Key
- Click Veeam Encryption Keys in the left-side menu bar.
- Click Add Veeam Encryption Key to add a new key.
- Enter the Veeam Encryption Password Hint and Veeam Encryption Key, then click Save.
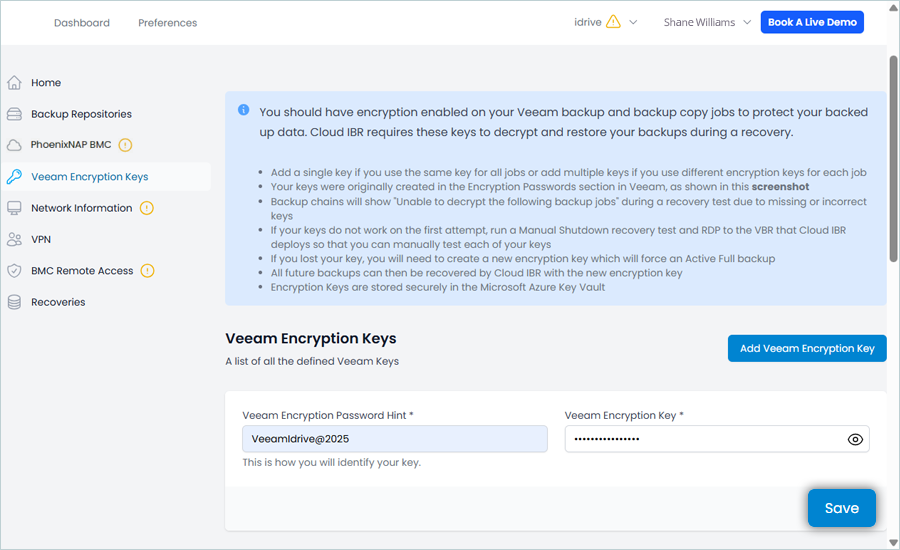
The Veeam Encryption has now been successfully added and listed.
Add Network Information
- Select Network Information in the left menu.
- Click Add Gateway.
- Enter a description.
- Enter the IPv4 address.
- Select a Mask.
- Click Save.
- Repeat these steps for each production gateway that you want to add.
- Click Add Port Mapping to allow for inbound access from the internet to any of your recovered servers on each port that you open.
- Enter a description.
- Enter a port number.
- Enter an internal production IP address.
- Click Save.
- Repeat these steps for each port that you want to map.
Add a Whitelist Host and Whitelist Network
- Select Whitelist in the left menu.
- Click Add Whitelist Host.
- Enter an IP address.
- Enter a description.
- Click Save.
- To enter multiple IP addresses, click Add Host and repeat these steps.
- Click Add Whitelist Network.
- Enter a network.
- Select a mask.
- Enter a description.
- Click Save.
- Repeat these steps for each whitelist network that you want to add.
Add a VPN User
- Select VPN Users in the left menu.
- Click Add DR Testing User.
- Enter an email address.
- Click Save.
- To enter multiple VPN users, click Add Another Recovery Test User and repeat these steps.
- Click Add End User.
- Enter an email address.
- Click Save.
- To enter multiple end users, click Add Another End User and repeat these steps.
The onboarding process for Cloud IBR and IDrive® e2 is complete.
DR Testing Users will have VPN access to your recovery environment every time you run a recovery. End Users will only have VPN access when you opt to include them in the test and when you run an actual recovery. In the two scenarios above, the specified users will receive an encrypted email with their VPN credentials and a link to download the OpenVPN software and client configuration file.
Add New Recovery
- Click Recovories in the left side menu bar.
- Click Start New Recovery.
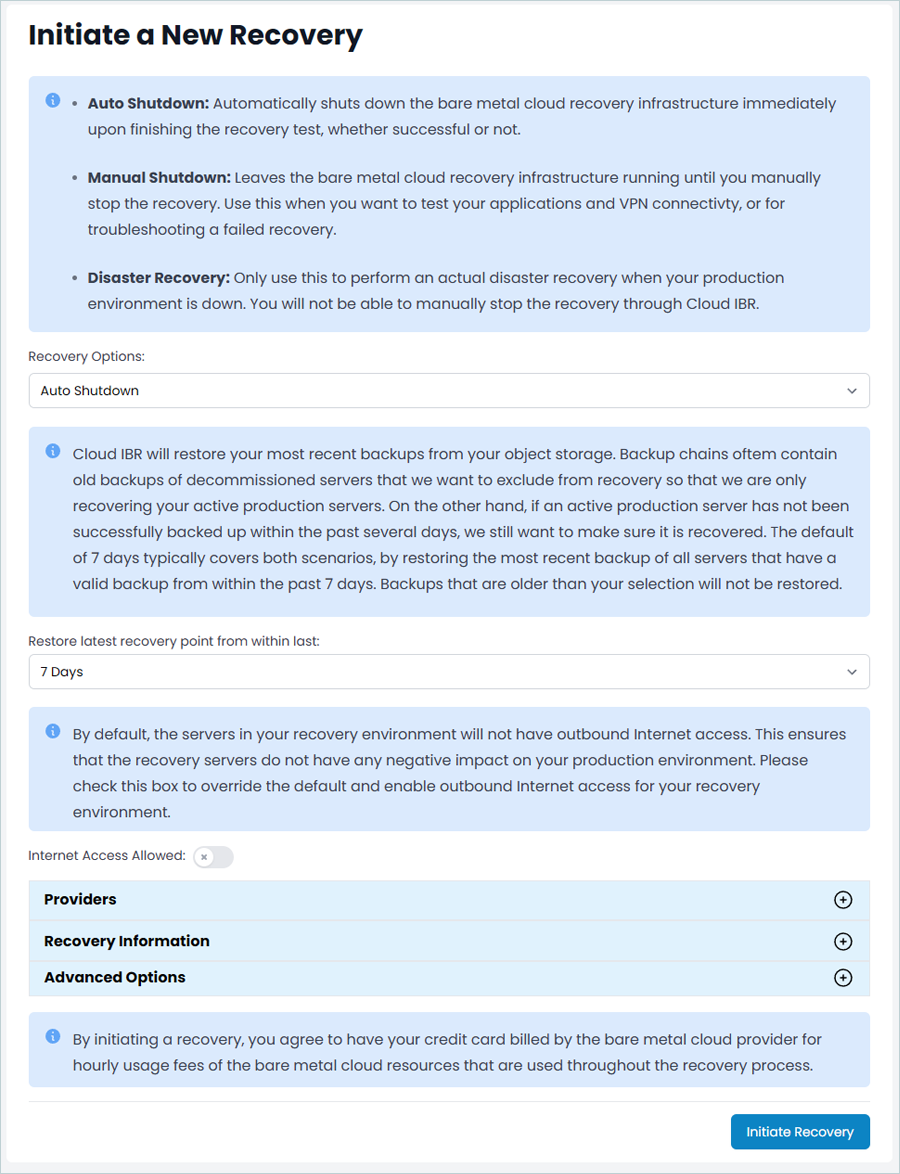
- In the Initiate New Recovery tab,
- Click the Recovery Duration drop-down and select Auto Shutdown or Manual Shutdown, or Disaster Recovery (For this example, Auto Shutdown has been chosen).
- Select the desired period under Restore latest recovery point from within last:
- Optionally, enable internet access. By default, servers have inbound internet on the ports that you mapped, but they do not have outbound internet access.
- Click Initiate Recovery.
- Click Click here to see it to monitor the status of your recovery.
Your server restores begin within approximately 60 minutes. After the recovery completes, your VPN credentials, server and network details, and credentials for your physical servers running in the baseboard management controller (BMC) are displayed. - To view historical recoveries, select Recoveries in the left menu and click the Recovery ID of the recovery that you want to view.
Note: Data restoration is handled by your specific backup solution provider and is affected by multiple variables that are unique to your environment. For application-related enquiries/support, it is strongly recommended you seek guidance from the technical team of your backup solution provider.