Integrate BitMovin with IDrive® e2
BitMovin is a multimedia technology company that delivers cloud-native solutions for video encoding, adaptive streaming, and playback to support high-quality live and on-demand video delivery. It provides scalable video workflows with features like multi-codec support, dynamic ad insertion, and advanced playback analytics. Integrating BitMovin with IDrive® e2 enables you to enhance these streaming capabilities with a scalable, secure, and cost-effective cloud object storage.
Prerequisites
Before you begin, ensure the following:
- An active IDrive® e2 account. Sign up here if you do not have one.
- A bucket in IDrive® e2. See how to create a bucket.
- Valid Access Key ID and Secret Access Key. Learn how to create an access key.
- A valid BitMovin account.
The configuration of BitMovin and IDrive® E2 consists of three main steps: creating an output, setting up an input, and performing encoding.
Create Output
- Log in to the Bitmovin dashboard.
- Click on VOD encoding in the left-side panel and select
Outputs.
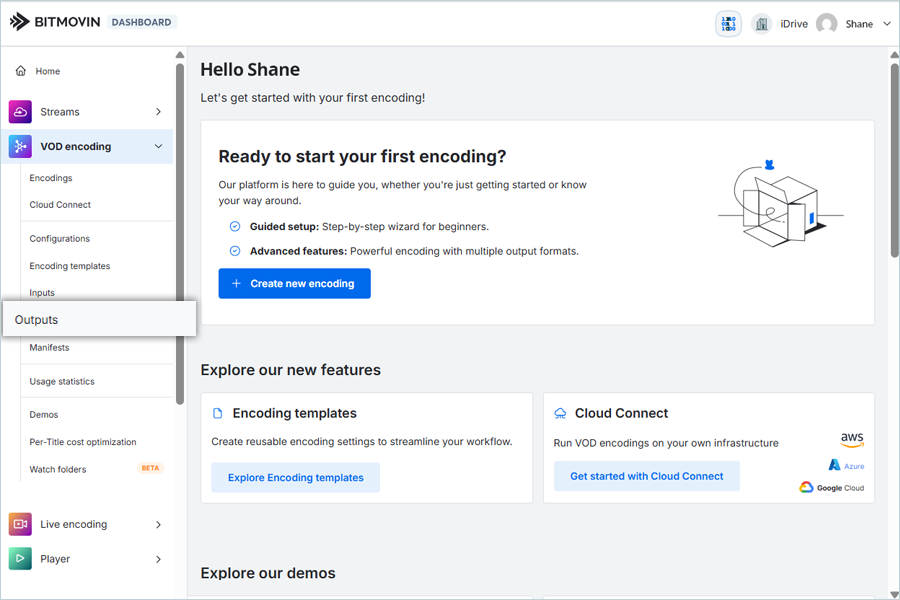
- Click Create in the Outputs tab.
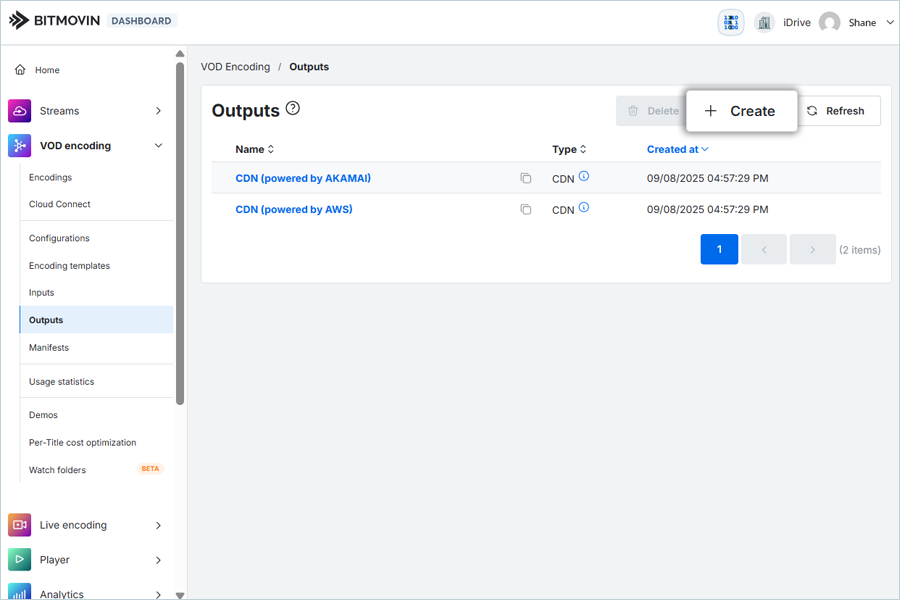
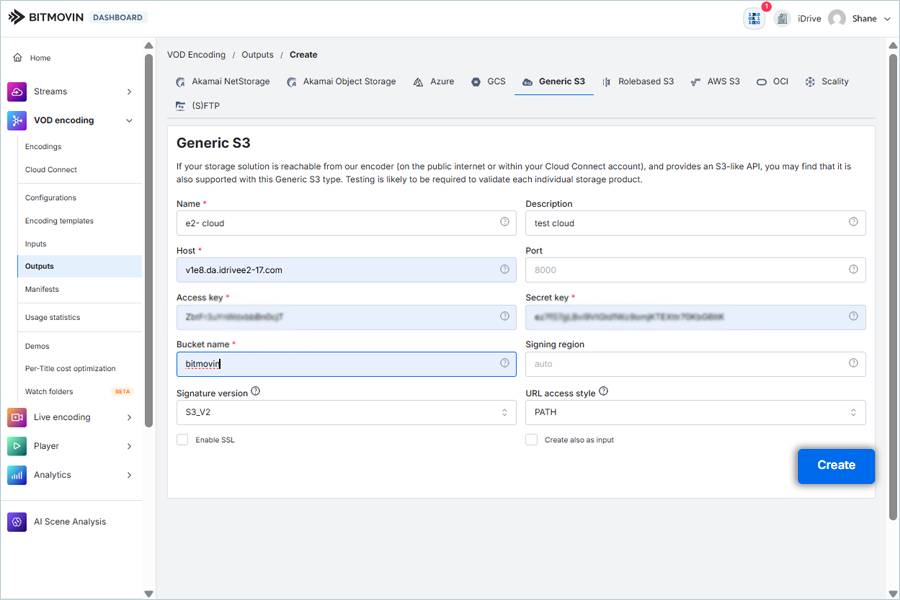
- Select Generic S3 and enter details in the format below.
- Enter a Name for the Output.
- Enter your IDrive® e2 S3 Endpoint as Host.
- Enter your IDrive® e2 Access Key as Access Key.
- Enter your IDrive® e2 Secret Key as Secret Key.
- Enter your IDrive® e2 Bucket as Bucket Name.
- Keep S3_V2 as Signature version and PATH as URL access style.
- Click Create.
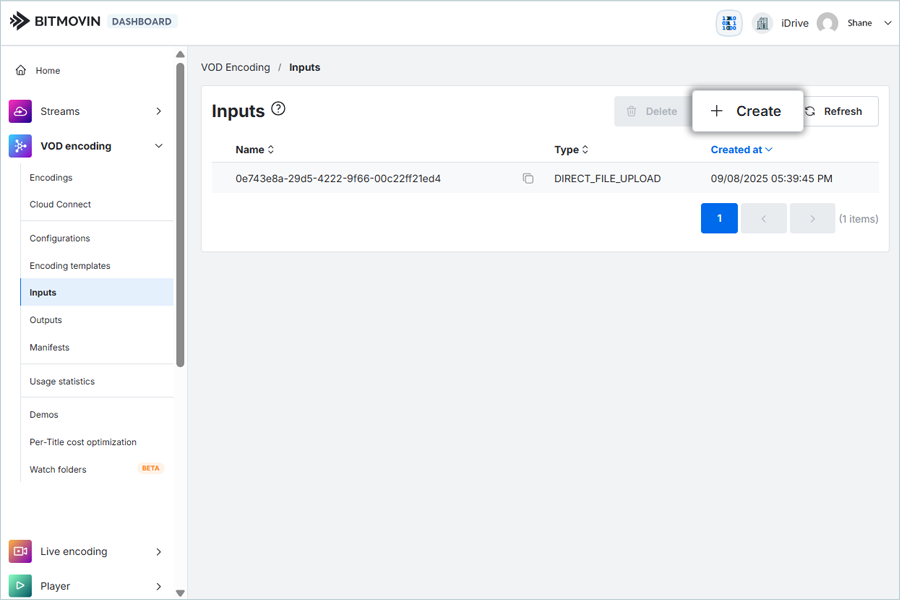
Create Input
- Click Inputs under VOD encoding on the left-side panel.
-
Click Create in the Inputs tab.
-
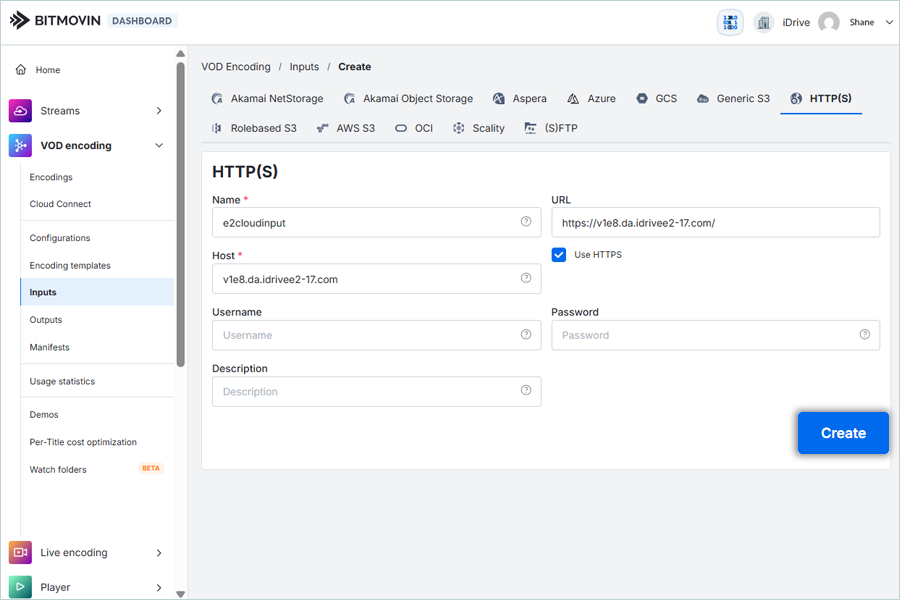
Select HTTP(S) under Create and enter the following
details.
- Enter a Name for the Input.
- Enter your IDrive® e2 S3 endpoint as URL (https://v1e8.da.idrivee2-17.com) and select the Use HTTPS check box.
-
Click Create.
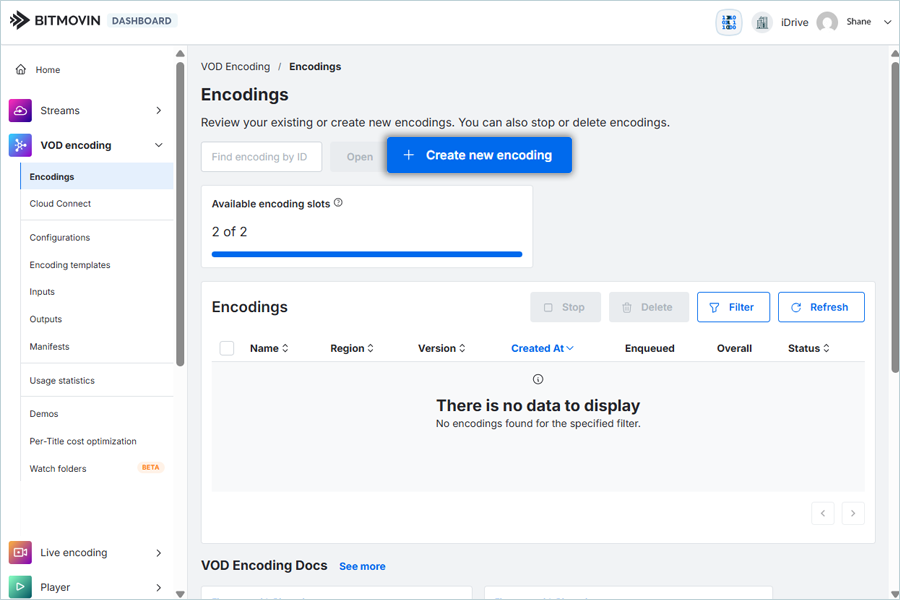
Create Encoding
- Click Encodings under VOD Encodings on the left-side panel.
-
Click Create new encoding in the Encodings tab.
-
Click Input list and select the input that was previously created.
Then enter the
File Path (Bucketname/folder/filename).
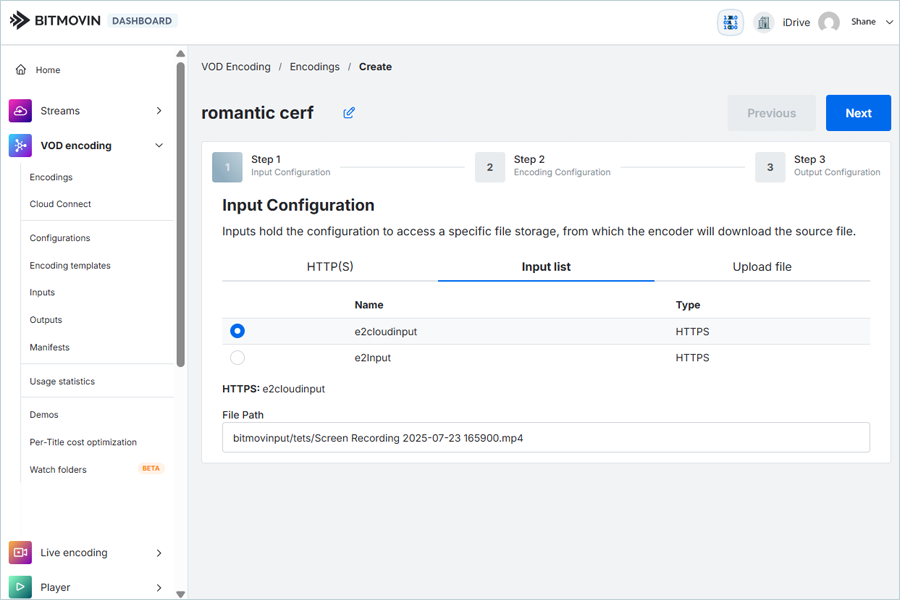
-
Click Upload File and then click Next.

-
In Encoding Configuration,
- Select the Video codec as per requirement (H.264/AVC).
- Set the Encoding mode to Three-pass and scroll
down.
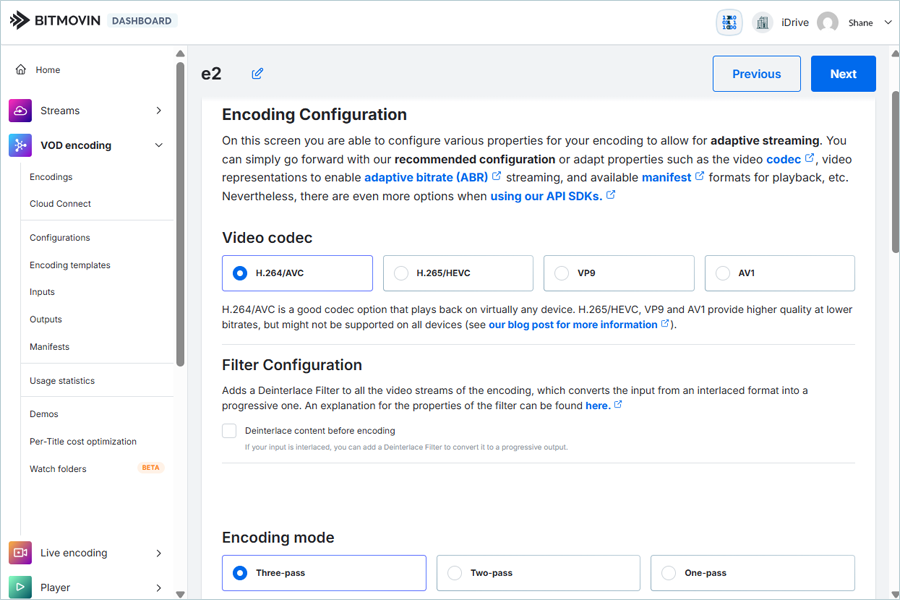
- Set Audio representations as per requirement (AAC / 128Kbit/s).
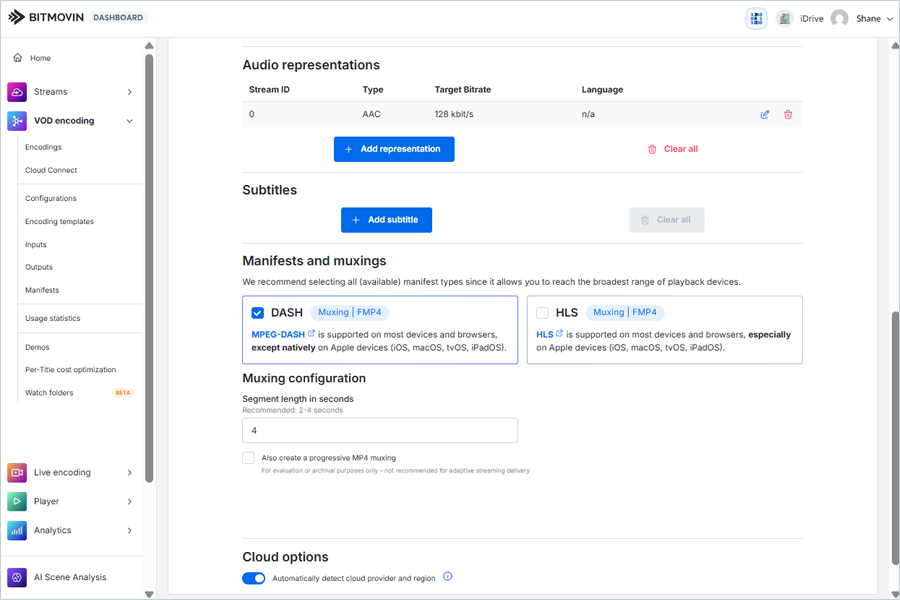
- Select DASH as Manifests and muxings.
- Click Next.
-
In Output Configuration, click on Existing Output and
select
Generic S3 from the list.
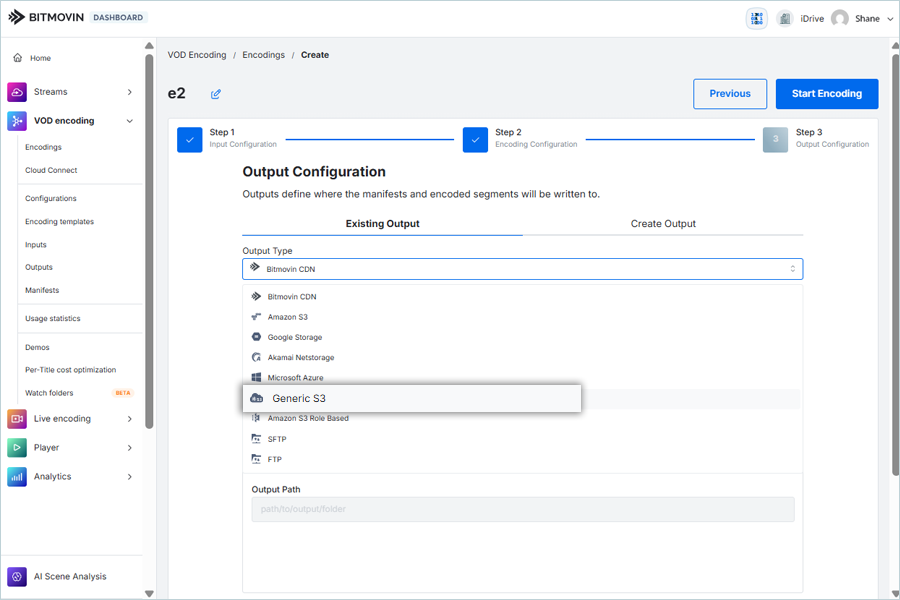
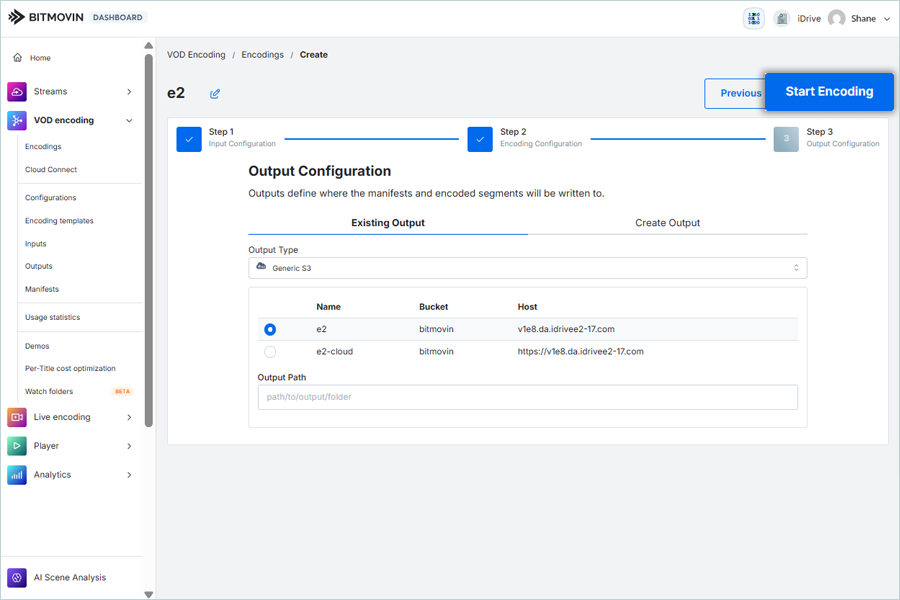
- Select your cloud storage as Output.
-
Click Start Encoding.
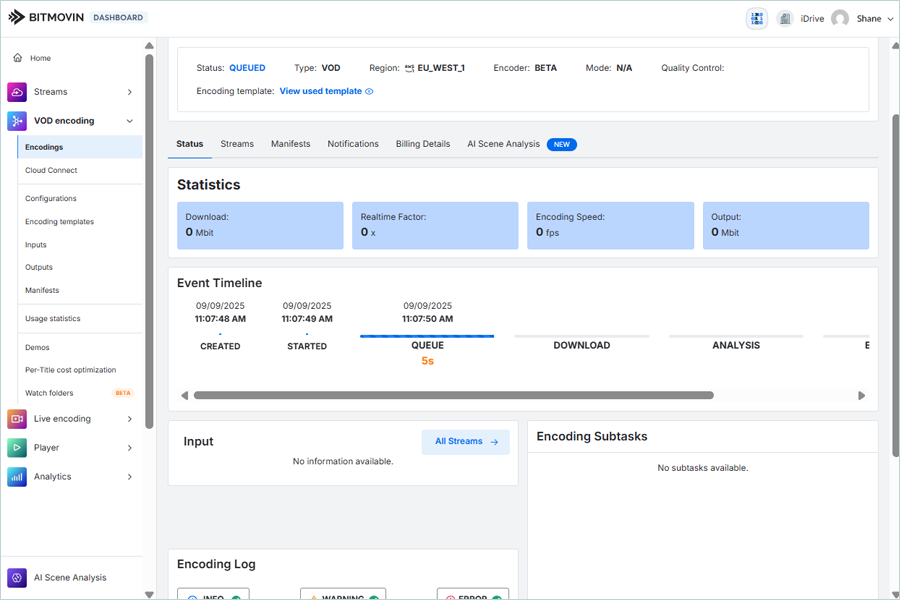
Now, Encoding will start, and you can observe its progress under Status.
Note: Data restoration is handled by your specific backup solution provider and is affected by multiple variables that are unique to your environment. For application-related enquiries/support, it is strongly recommended you seek guidance from the technical team of your backup solution provider.