Integrate Ava Cloud Cameras with IDrive® e2
Ava Cloud Cameras are AI-powered, cloud-native video security cameras that deliver high-resolution imaging, advanced analytics, and proactive threat detection through seamless integration with the Ava Aware Cloud platform. Integrating Ava Cloud Cameras with IDrive® e2 allows you to enhance video storage capabilities with a scalable, secure, and cost-effective cloud object storage solution.
Prerequisites
Before you begin, ensure the following:
- An active IDrive® e2 account. Sign up here if you do not have one.
- A bucket in IDrive® e2. See how to create a bucket.
- Valid Access Key ID and Secret Access Key. Learn how to create an access key.
- A current release of Ava Aware, an Ava Aware camera license, and an Ava Storage Connect license.
Configure IDrive® e2 with Ava Cloud Cameras for Backup
- Log in to your Ava Aware Cloud Deployment platform.
- Click the Devices tool within Aware.
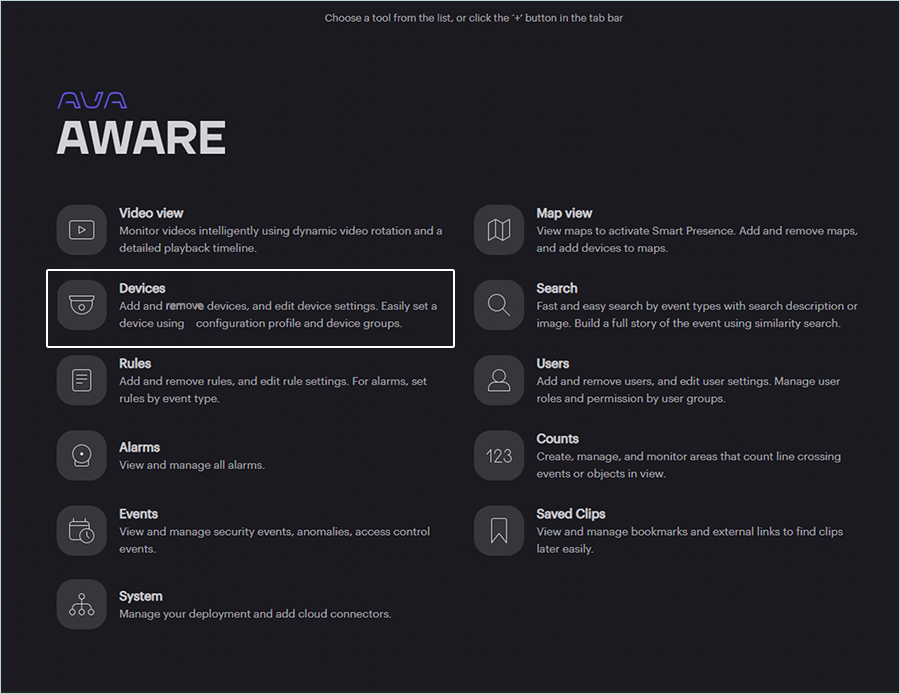
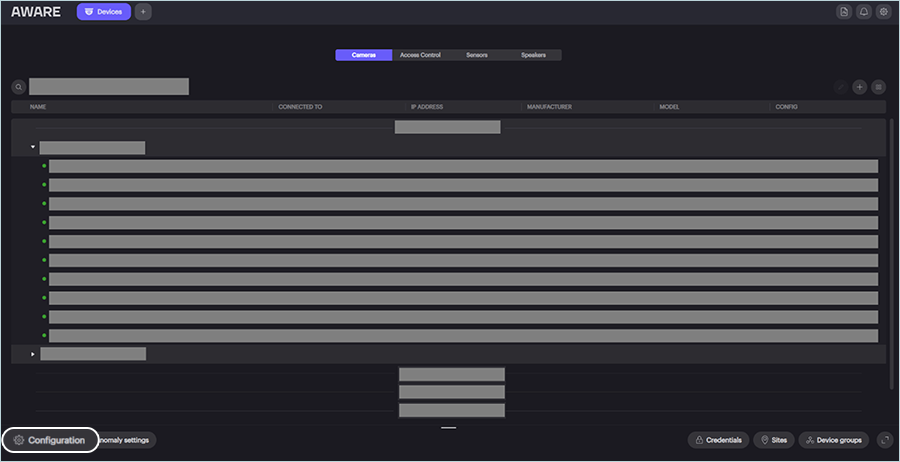
- In the Devices window, click Camera > Configuration.
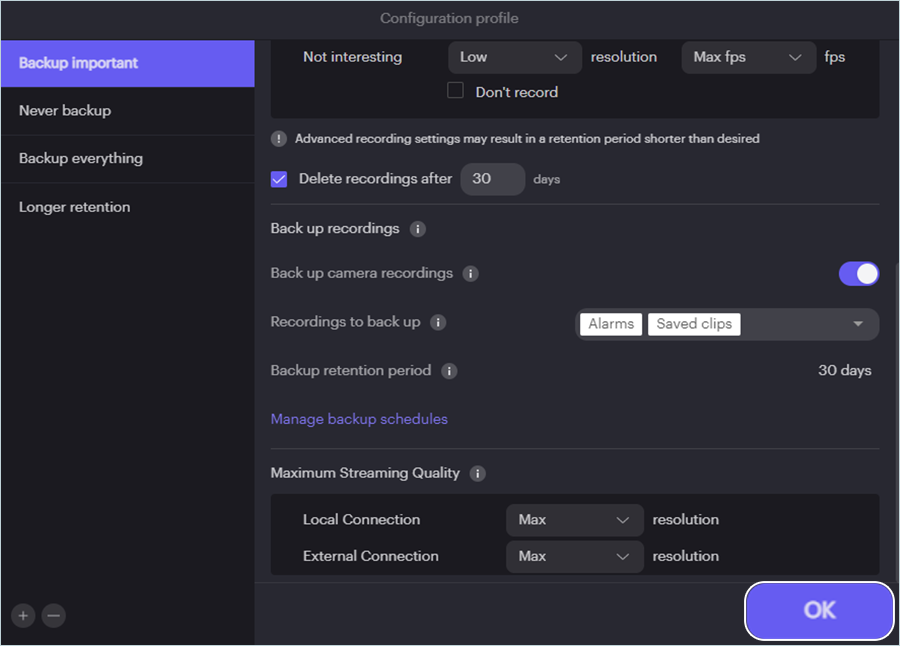
- Create a new profile for backups or use an existing profile. Enable Back up camera recordings and choose what types of recordings to back up by clicking Recordings to backup.
- Click OK.
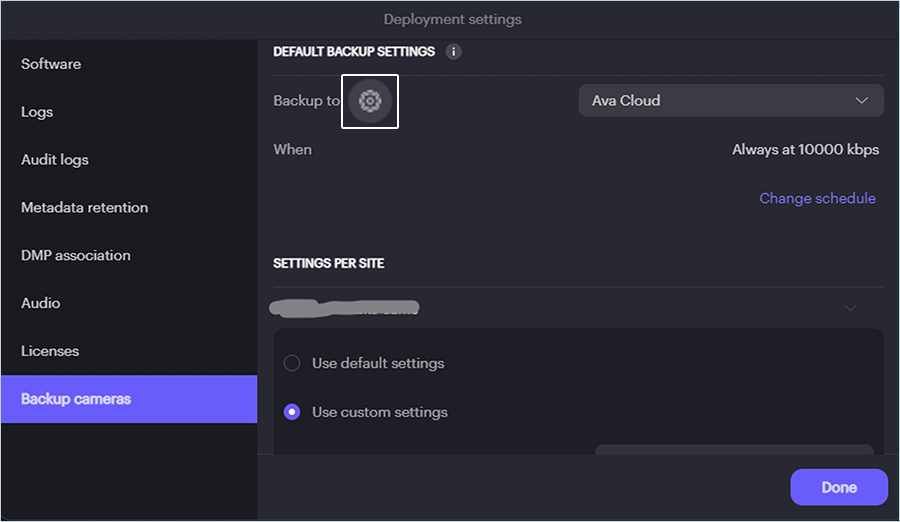
- To configure IDrive® e2 cloud storage, re-open the Configuration window and click Manage Backup Settings.
- To create a new destination, click
 .
.
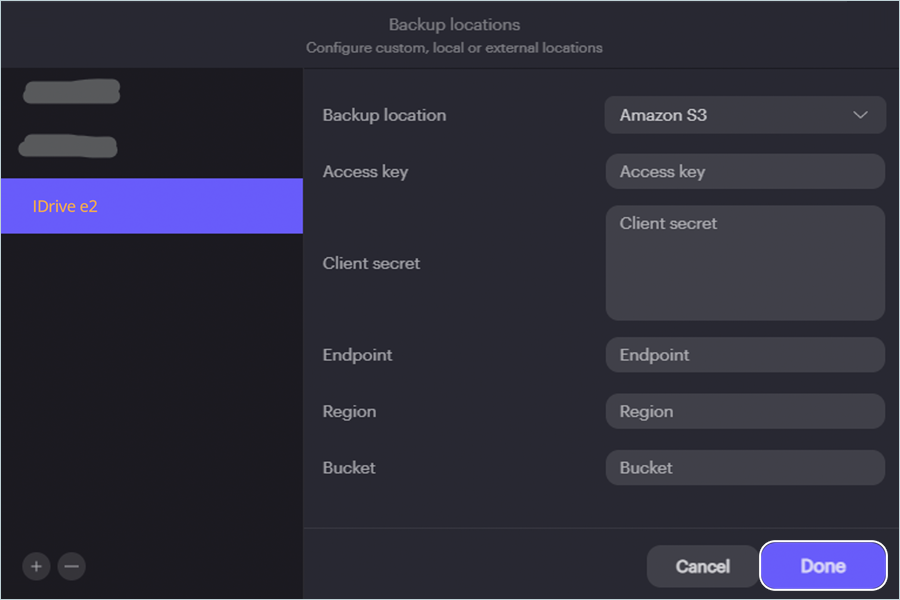
- Enter the following details in the Backup Locations window.
- Select Amazon S3 as the Backup location.
- Enter your IDrive® e2 Access Key as Access Key.
- Enter your IDrive® e2 Secret Key as Client Secret.
- Enter your IDrive® e2 S3 endpoint as Endpoint.
- Enter your region name as Region.
- Enter your IDrive® e2 Bucket Name as Bucket.
- Click Done.
- To change the backup schedule, clickChange Schedule in the Deployment settings window.

Apply a New Configuration Profile to a Camera
- Log in to your Ava Aware Cloud deployment.
- If required, enter your 2-factor authentication code to authenticate your user credentials.
- Select Devices.
- Select the cameras you wish to apply the configuration to by clicking on their respective checkboxes.
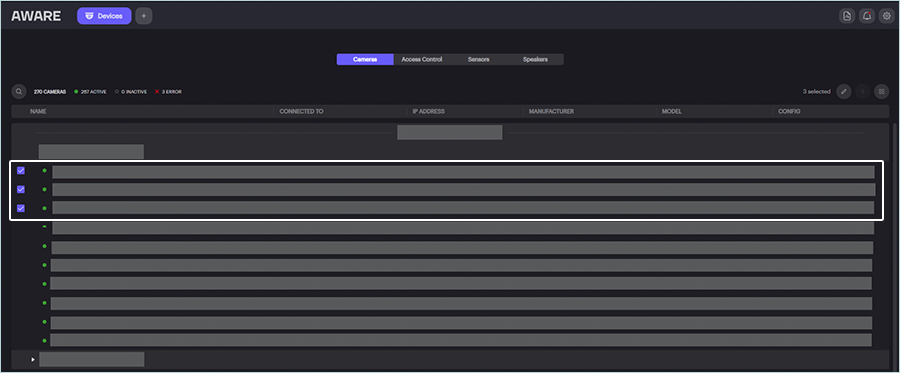
- Click
 on the right. The Edit dialog is displayed. Select the configuration profile to apply to the cameras.

- Select your new profile (Storage) as the Camera configuration profile from the drop-down.

- Click Done.
Recordings backed up using Ava Storage Connect can be accessed and downloaded by signing into your IDrive® e2 Console. The recordings are stored as MP4 files.
Note: Data restoration is handled by your specific backup solution provider and is affected by multiple variables that are unique to your environment. For application-related enquiries/support, it is strongly recommended you seek guidance from the technical team of your backup solution provider.