Related Links
Integrate Asigra SaaSAssure with IDrive® e2 Cloud Storage
Asigra SaaSAssure is a cloud-native platform that delivers secure backup, recovery, and compliance for SaaS applications with advanced features for data protection and management. Integrating Asigra SaaSAssure with IDrive® e2 cloud object storage allows you to extend SaaS data protection with scalable, secure, and optimum performance.
Prerequisites:
Before you begin, ensure the following:
- An active IDrive® e2 account. Sign up here if you do not have one.
- A bucket in IDrive® e2. See how to create a bucket.
- Valid Access Key ID and Secret Access Key. Learn how to create an access key.
- A valid Asigra SaaSAssure account and portal access.
- Existing SaaSAssure connector(s). See What Connectors does SaaSAssure Support for details.
Configure Asigra SaaSAssure with IDrive® e2 Cloud Storage
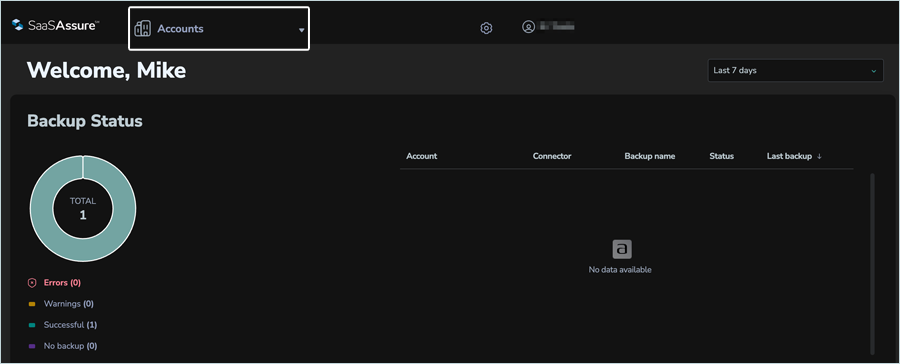
- Log in to the SaaSAssure UI. Click the Accounts drop-down.
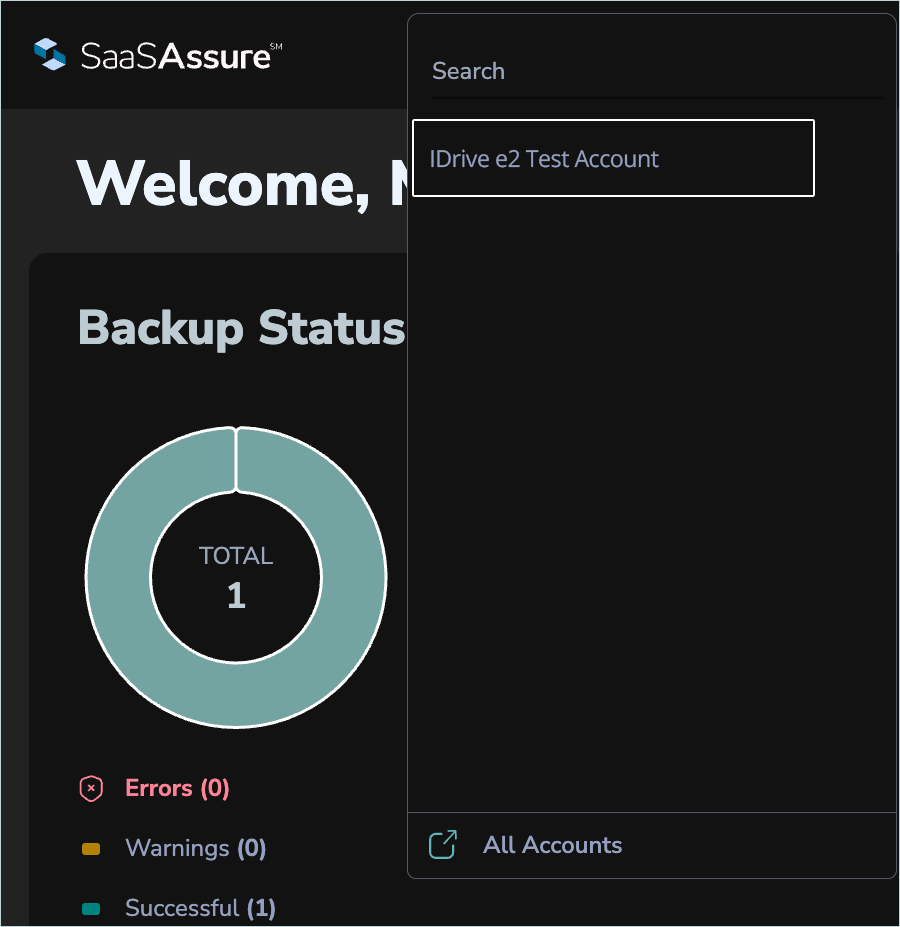
- Select the appropriate account (Test Account).
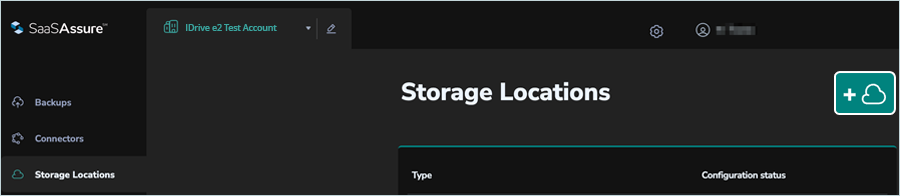
- Click Storage Locations in the left-side menu and click on the
 to add a new storage location.
-
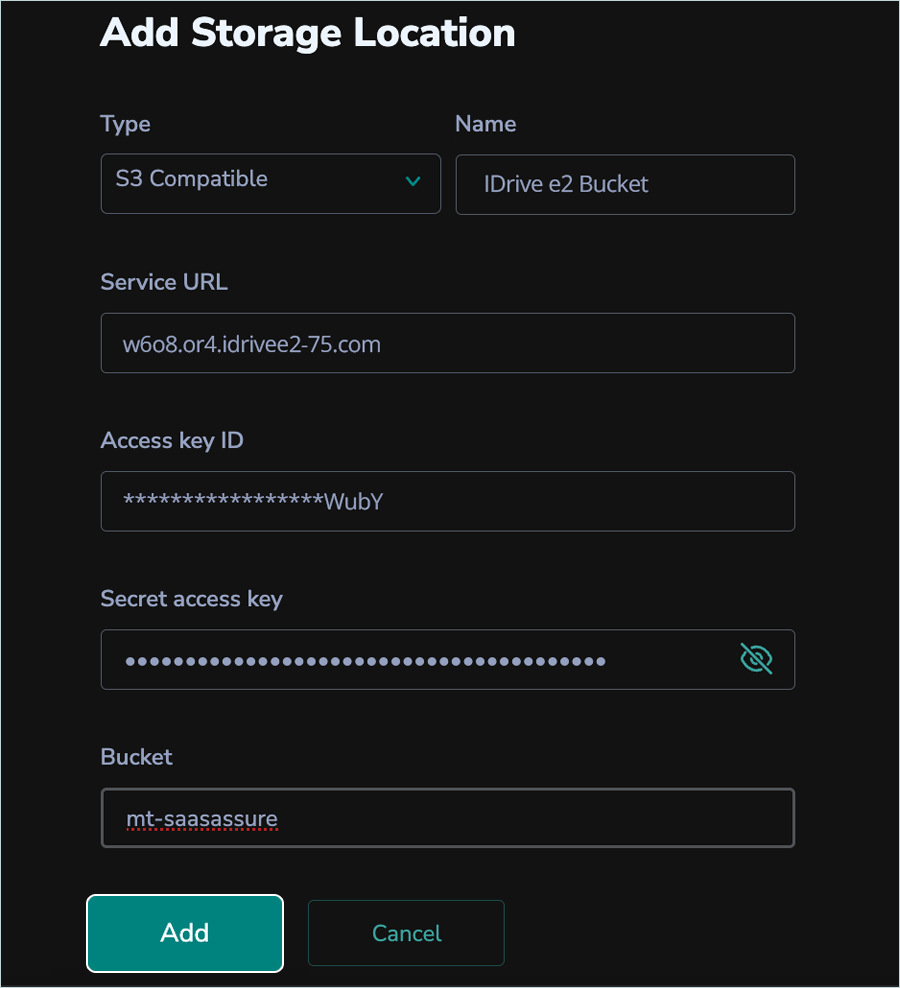
In the Add Storage Location window, enter the following details.
- Select S3 Compatible as Type.
- Enter Namefor IDrive® e2 storage.
- Enter your IDrive® e2 Endpoint URL as the Service URL.
- Enter your IDrive® e2 Access Key as Access Key.
- Enter your IDrive® e2 Secret Key as the Secret Access Key.
- Enter your IDrive® e2 Bucket Name.
- Click Add.
Create a Backup Job
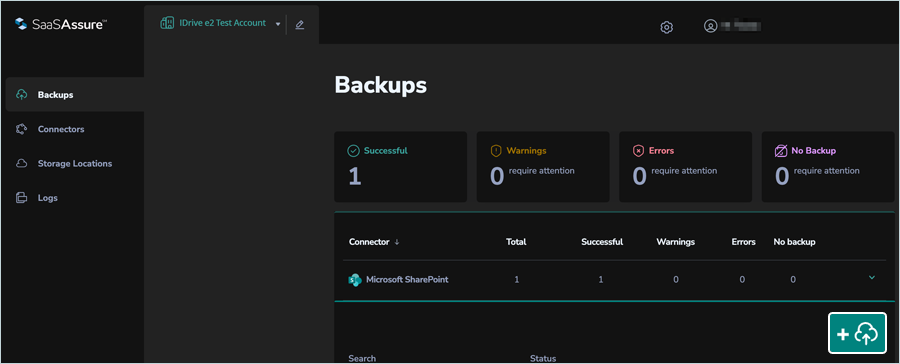
- Click Backups on the left-side menu.
- Select an existing Connector (used Microsoft SharePoint) and click +.
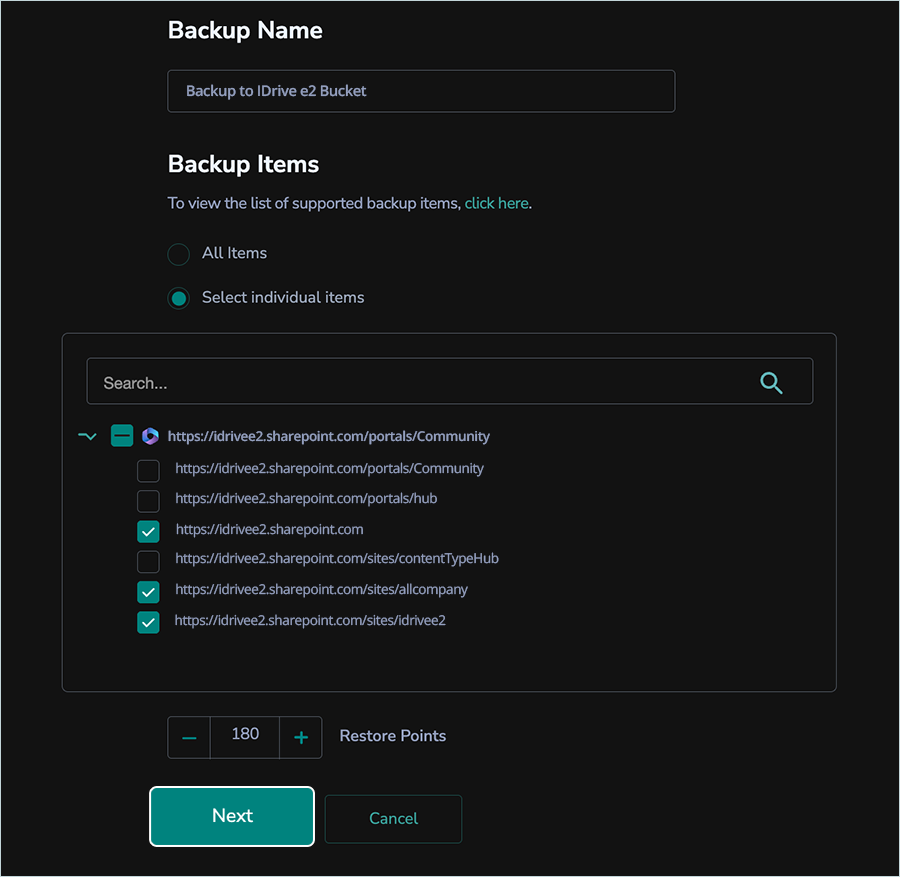
- Enter a Name for the backup and select the appropriate backup items. In this case, since we selected Select individual items, choose the items you wish to back up.
- Scroll down and select the number of restore points you want to have, then click Next.
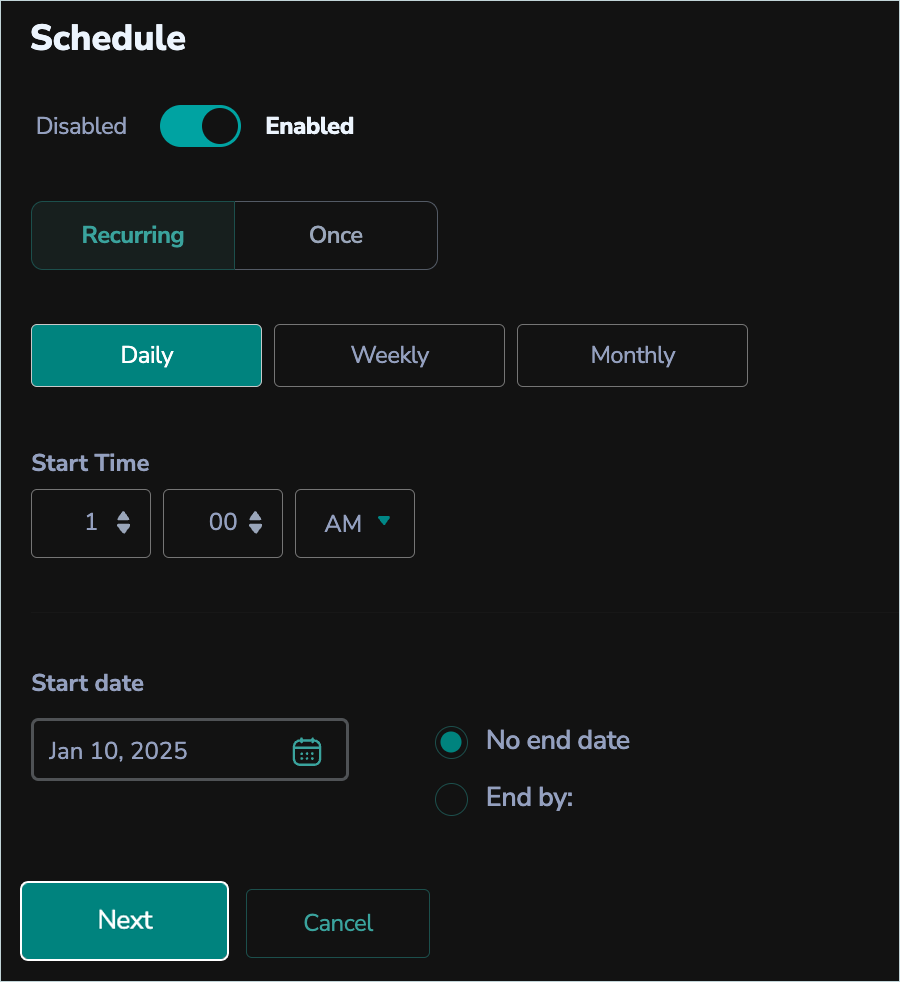
- Schedule backup frequency as per your requirement by enabling the toggle button. Click Next.
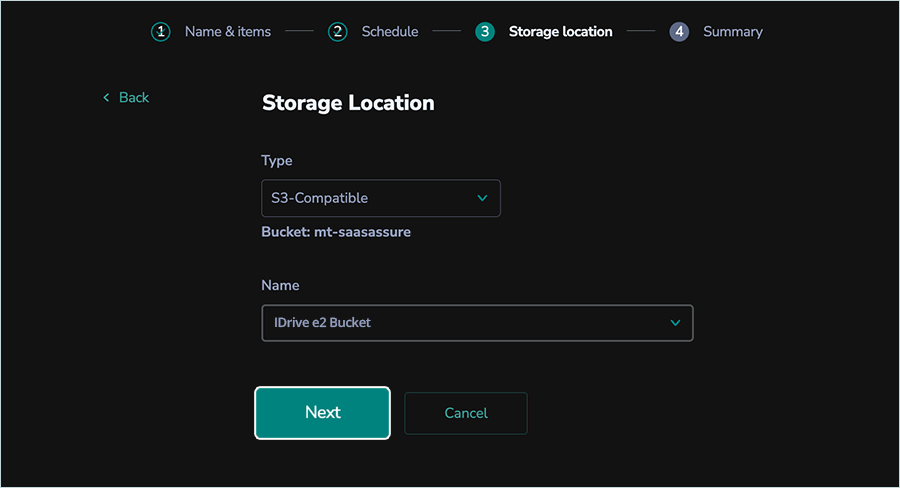
- In Storage Locations, select S3-Compatible as Type and select the name of your IDrive e2 storage. Click Next.
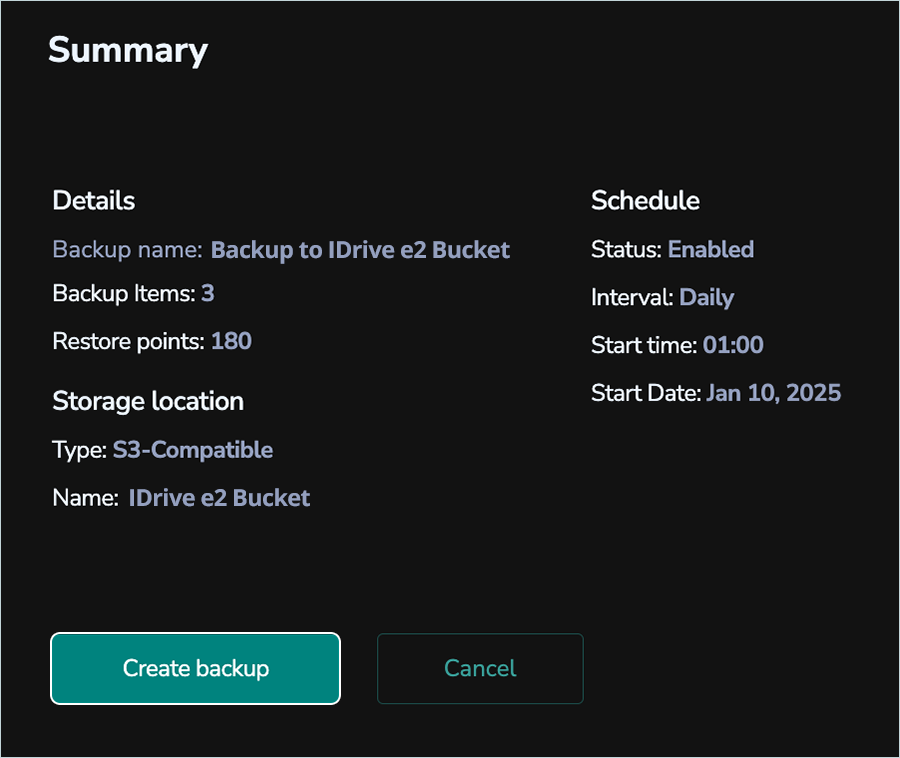
- Review the Summary and click Create backup.
- Navigate to Backups, and click Connector.
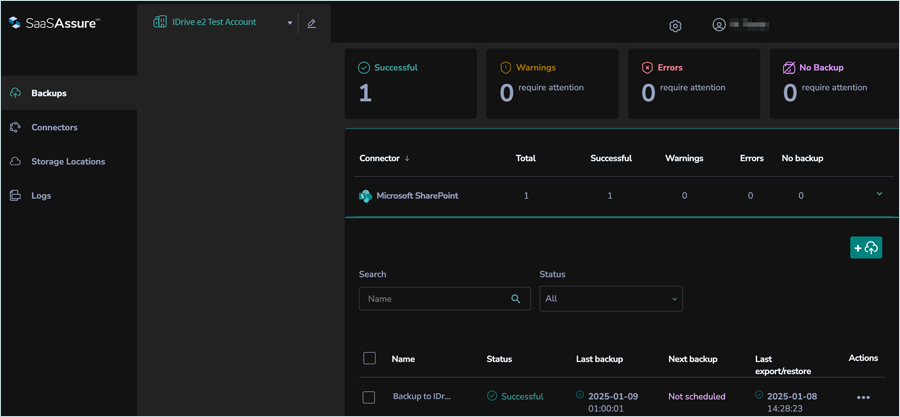
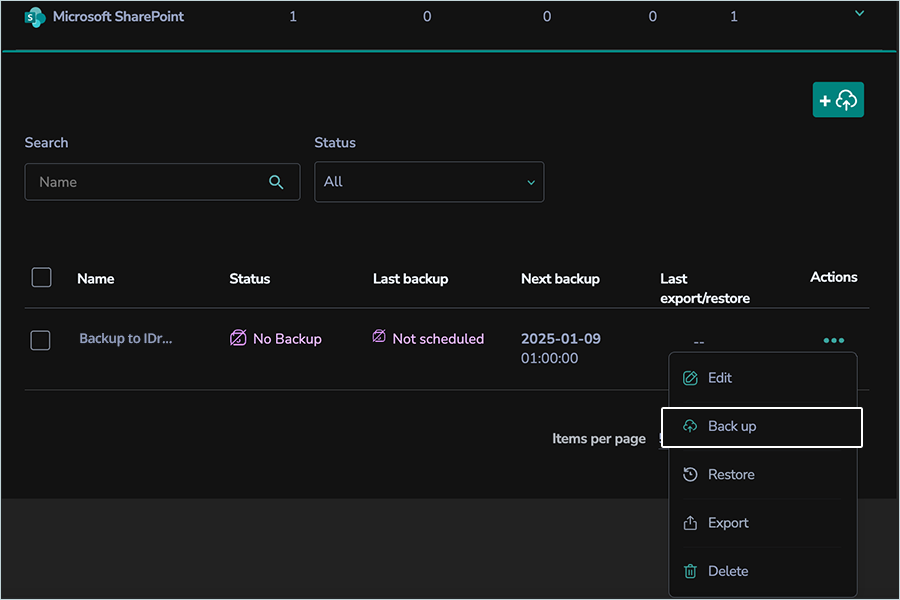
- Select the backup job that you added, click the
 and click Backup.
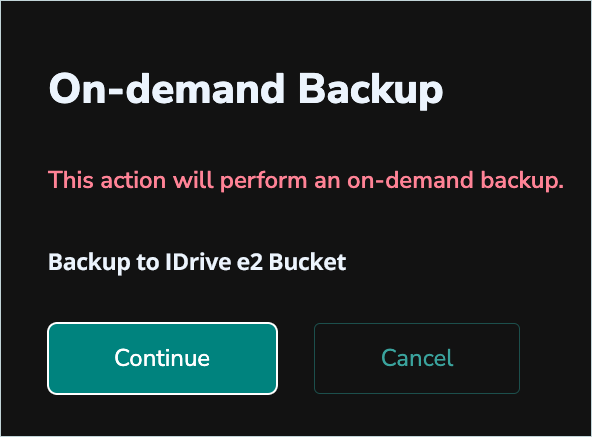
- Click Continue to start backup on demand in the confirmation popup.
- Backup will start, and you can observe the progress of the job.
Note: Data restoration is handled by your specific backup solution provider and is affected by multiple variables that are unique to your environment. For application-related enquiries/support, it is strongly recommended you seek guidance from the technical team of your backup solution provider.