Integrate Acronis Backup Gateway with IDrive® e2
Acronis Backup Gateway extends Acronis Storage with public cloud storage capabilities, simplifying backup management across hybrid environments. By integrating with IDrive® e2, service providers can leverage scalable, secure, and high-performance cloud object storage to enhance the reliability, flexibility, and global availability of their Acronis backup infrastructure.
Prerequisites
Before you begin, ensure the following:
- An active IDrive® e2 account. Sign up here if you do not have one.
- A bucket in IDrive® e2. See how to create a bucket.
- Valid Access Key ID and Secret Access Key. Learn how to create an access key.
- A valid Acronis Backup Gateway account.
Here are the steps that can assist you in effectively integrating Acronis Backup Gateway with IDrive® e2.
Download and Install Acronis Backup Gateway
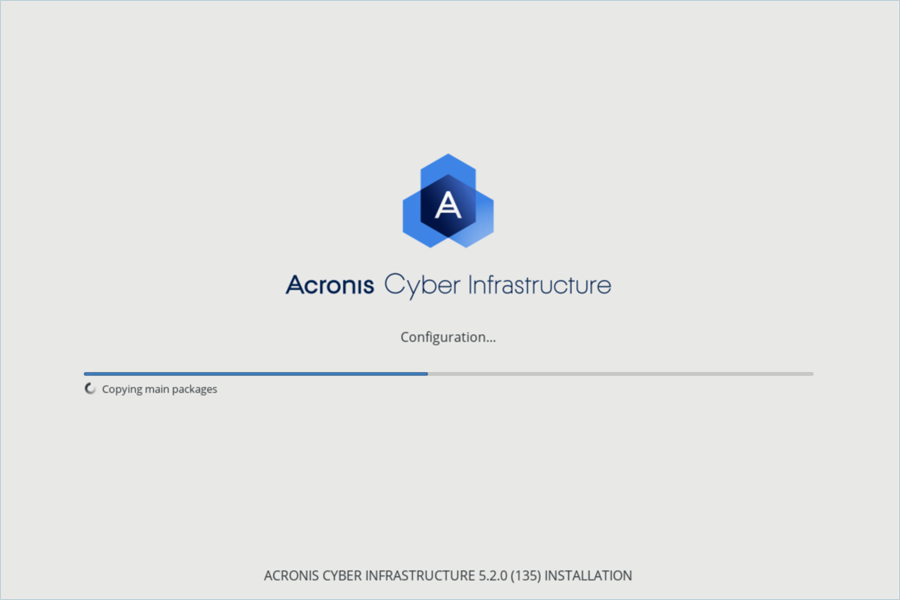
- Download the Acronis Backup Gateway ISO file.
- Boot a VM or Bare Metal Server from Acronis Cyber Infrastructure ISO.
- Create a Linux VM using this ISO as the boot file and install.
- Get the Admin Panel Address. Once installation completes, the machine will reboot.
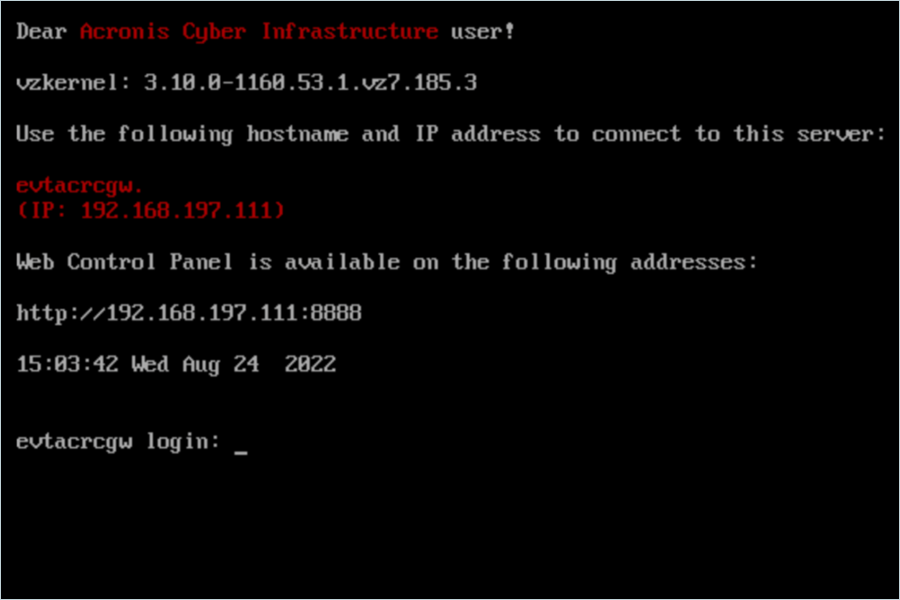
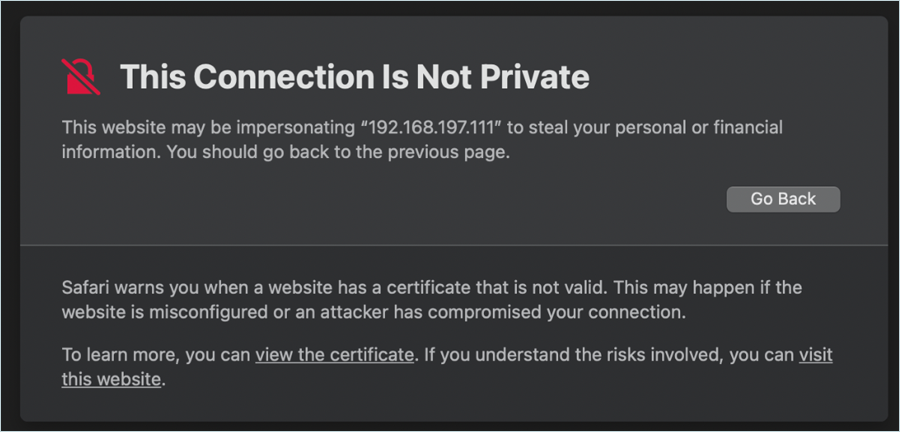
- Using the Admin Panel address, visit the web console panel and accept the self-signed certificate.
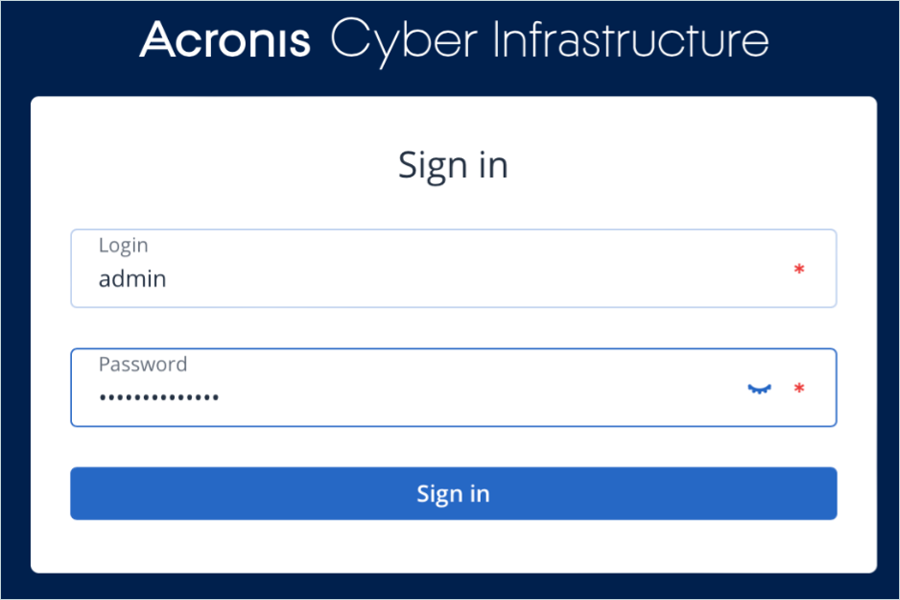
- Log in with username admin. The password is the same as that you created during installation.
Create Storage Cluster
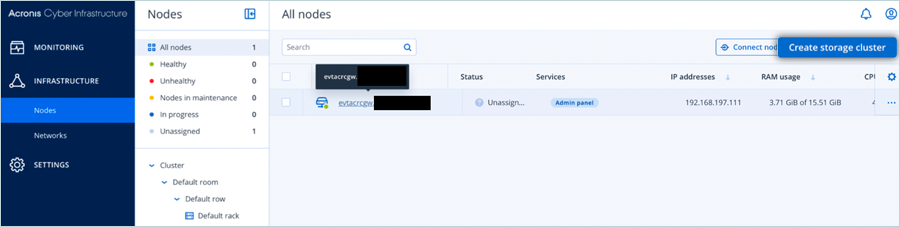
- Click Infrastructure in the left-side menu and select Nodes.
- Click Create Storage Cluster.
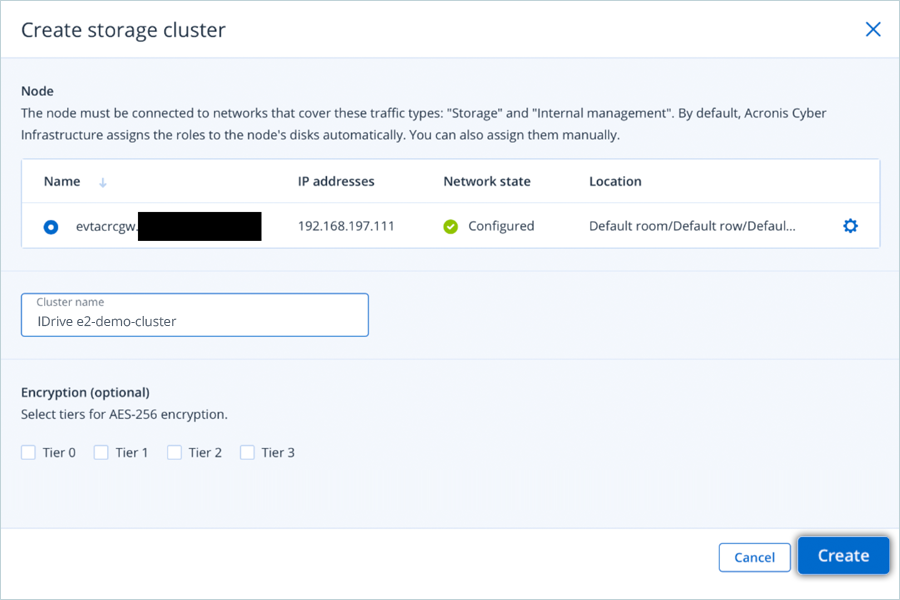
- Enter the Name for the cluster and click on Create.
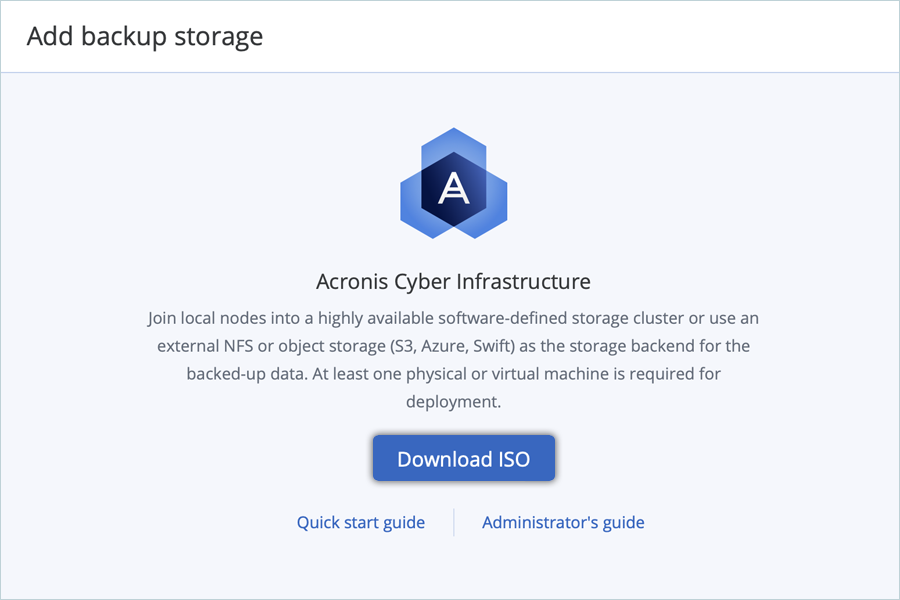
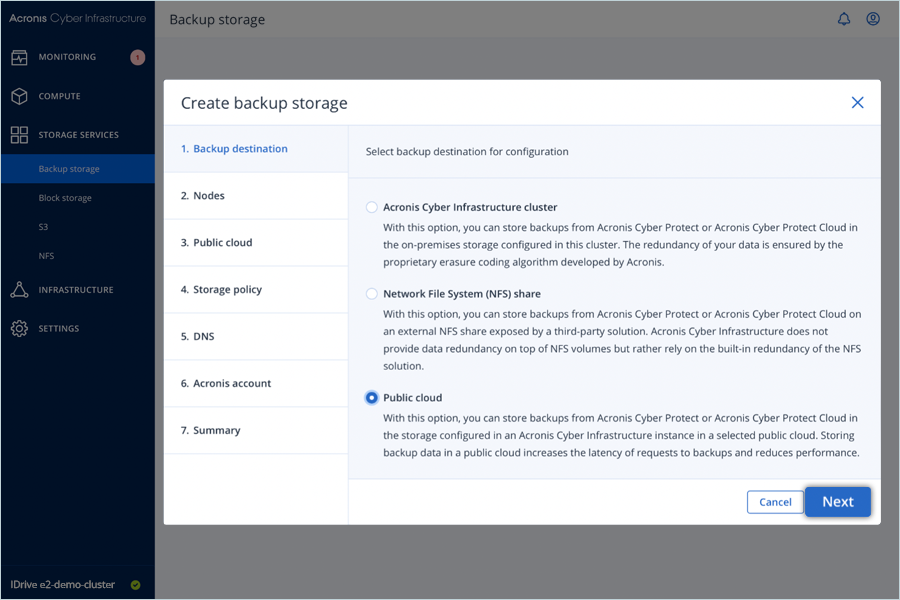
Create Backup Storage
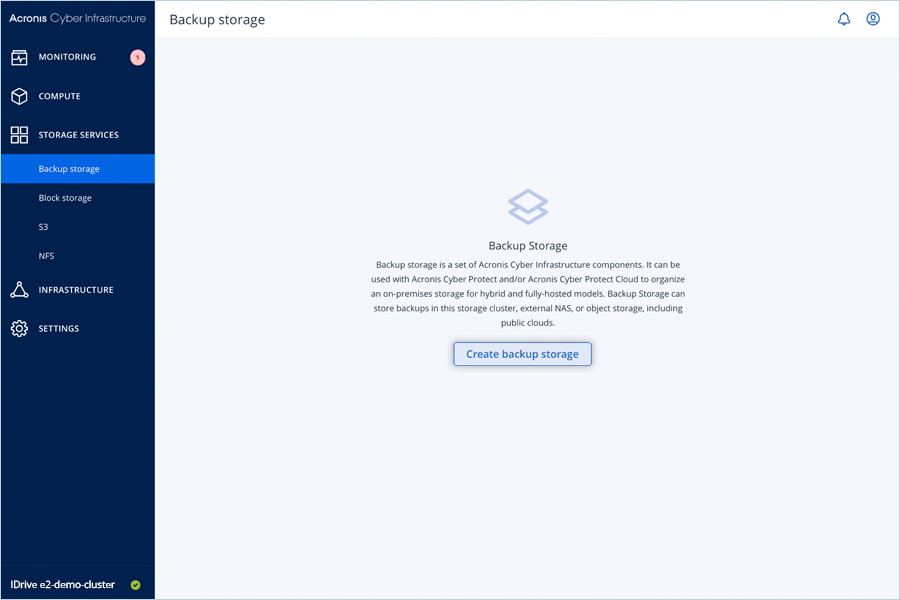
- Click Storage Services in the left-side menu and select Backup Storage.
- Click on Create Backup Storage.
- Choose Public Cloud and click Next.
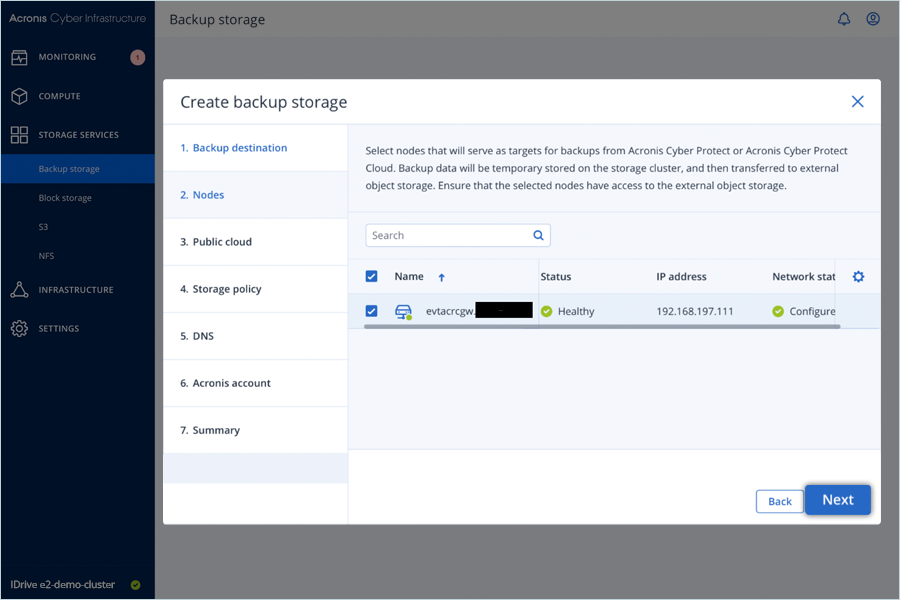
- Select the check box for your storage node and click Next.
- Select S3 Compatible Storage and click Next.
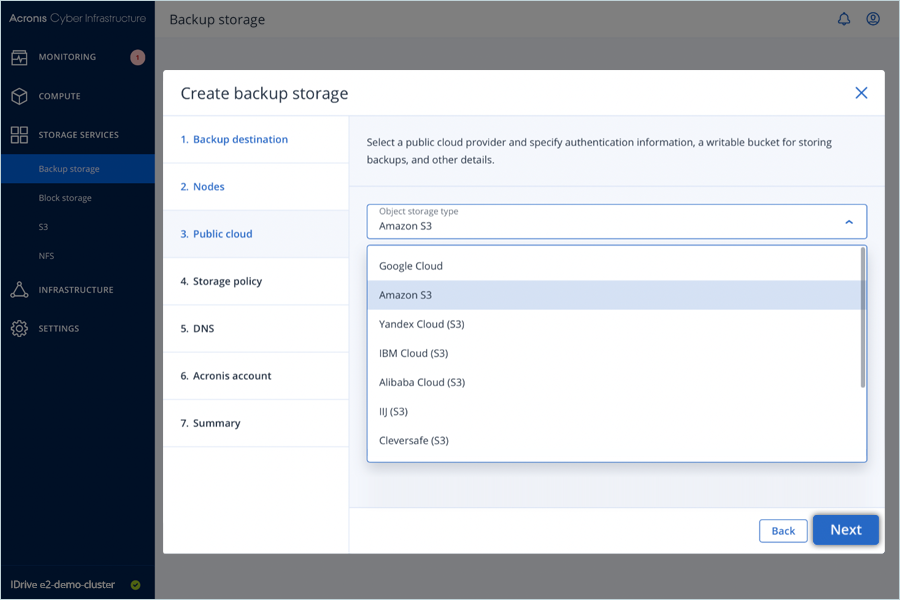
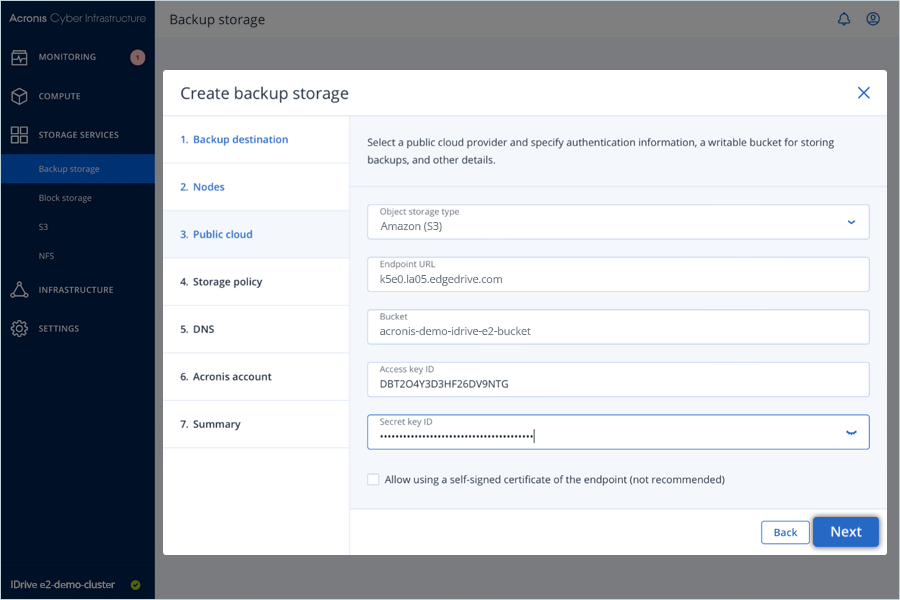
- Enter the following details to continue,
- Enter your IDrive® e2 endpoint as Endpoint URL
- Enter your bucket name as Bucket
- Enter your IDrive® e2 Access Key as Access Key ID
- Enter your IDrive® e2 Secret Key as Secret Key ID
- Click Next
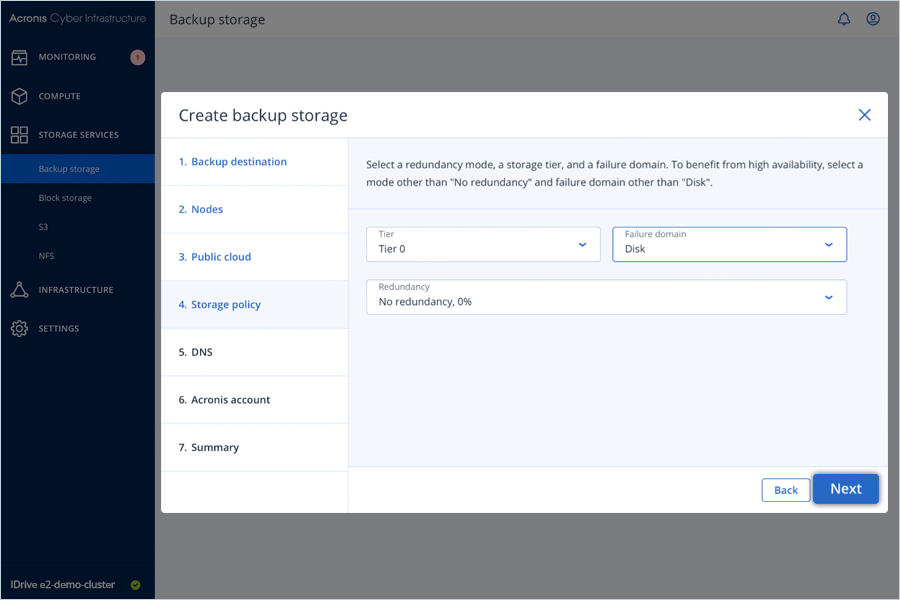
- Choose an appropriate Redundancy Settings as per your organization's policies and click Next.
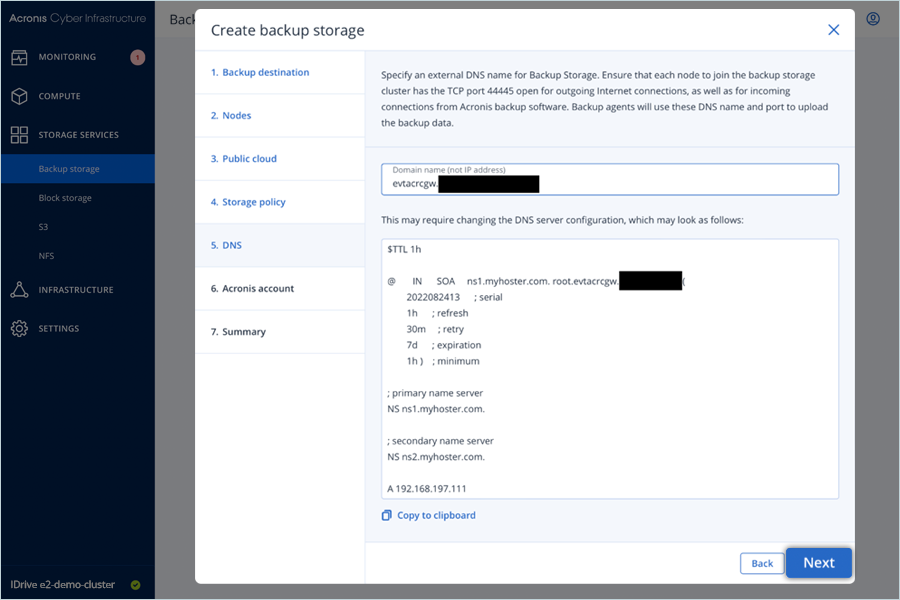
- Enter Domain Name for the Backup Server and click Next (This should be a real DNS address).
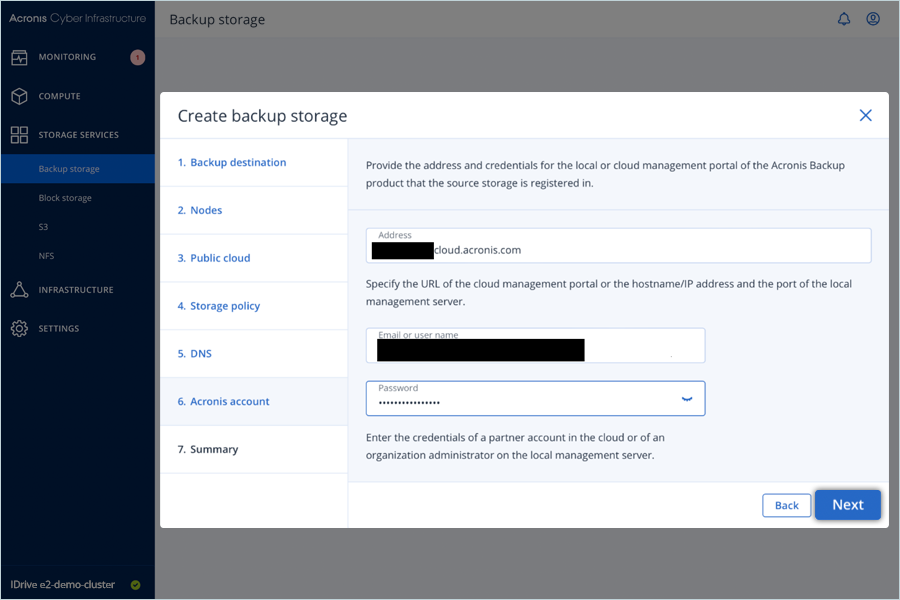
- Enter your Acronis Account credentials to register your Cyber Protect Infrastructure and click Next.
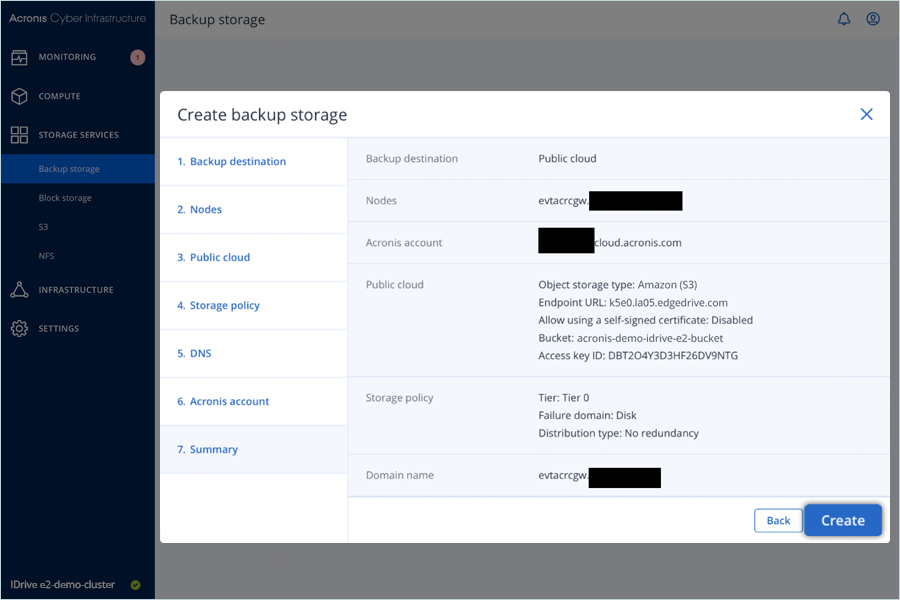
- Review the Summary and click Create.
- You land on the Backup Storage Overview Page.

- Click on the Registration tab to confirm the registration.

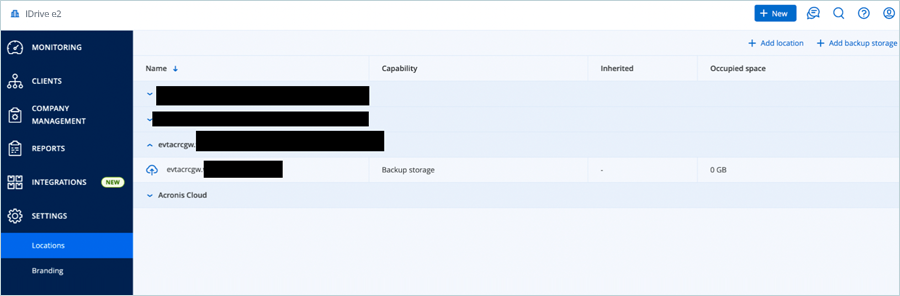
- Log in to your Acronis Cyber Protect Cloud Partner account and confirm that the location is available by clicking Settings > Locations.
Create Acronis Client Cloud Account
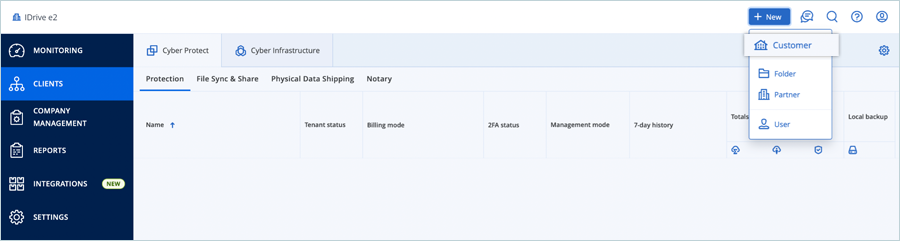
- In the Acronis Cloud Partner Portal, Click on Clients
- Click on New and Select Customer in the list.
- Enter Customer Details.
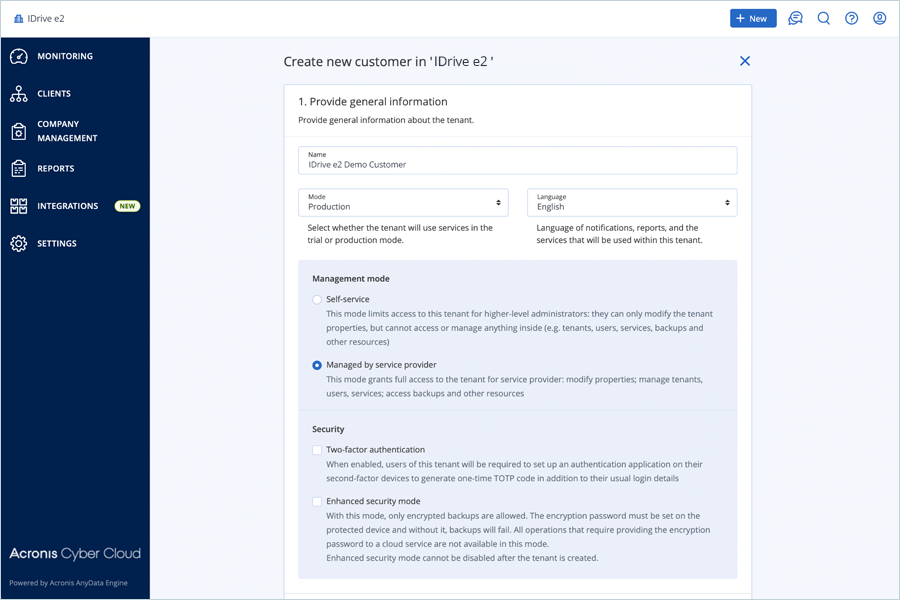
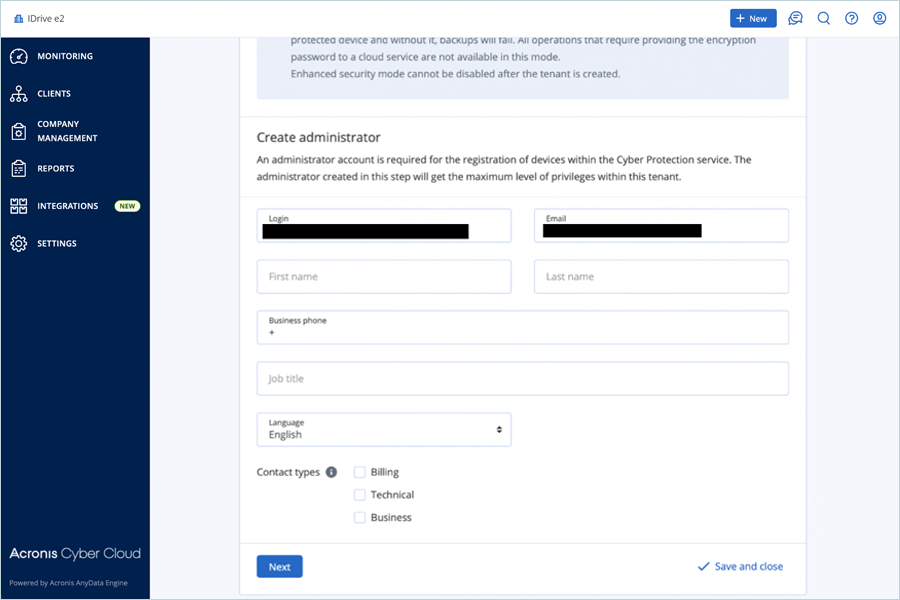
- Create an Administrator and provide a username and an email address.
- Select Services and click Next (Used Backup Protection Service).
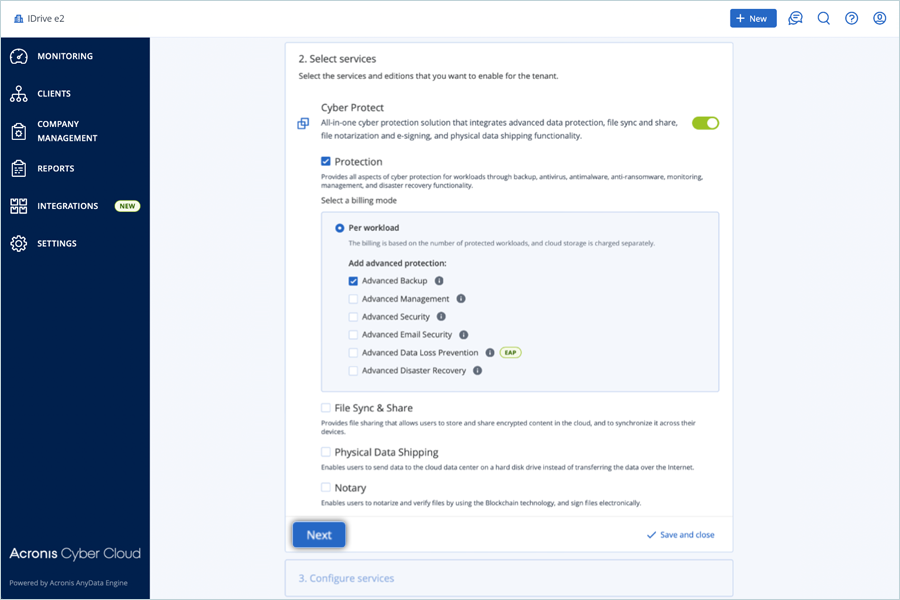
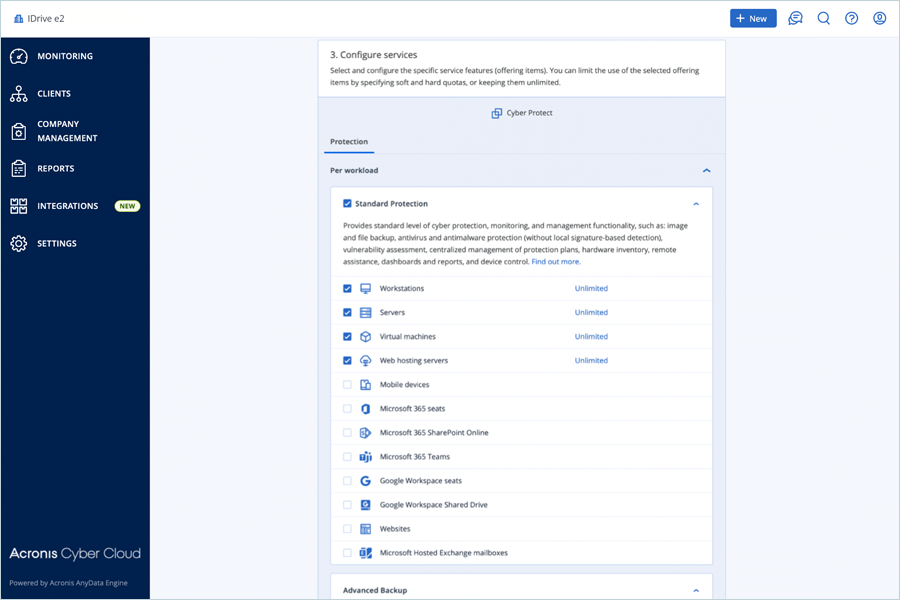
- Configure Services as per the requirement.
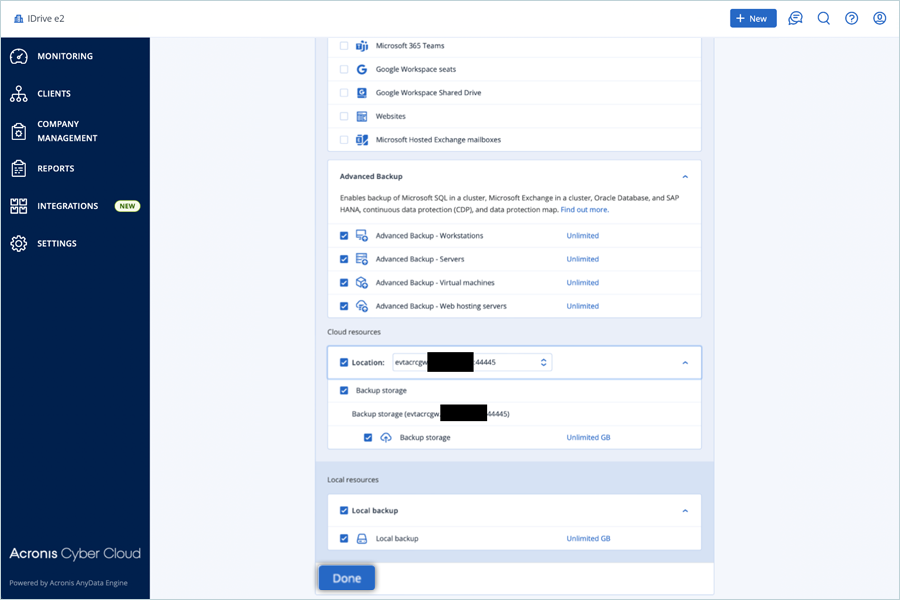
- Select an appropriate cloud resource location (the DNS address provided in the Create Backup Storage section) and click Done.
Add and Run a Backup on The Machine
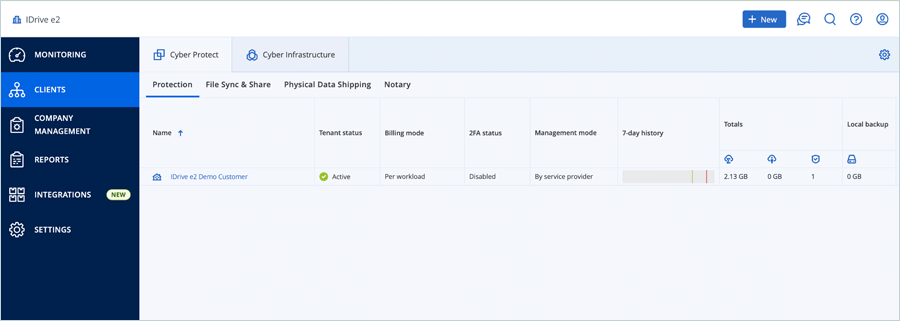
- Click Clients in the left-side menu. Select the name of the client that you need to manage.
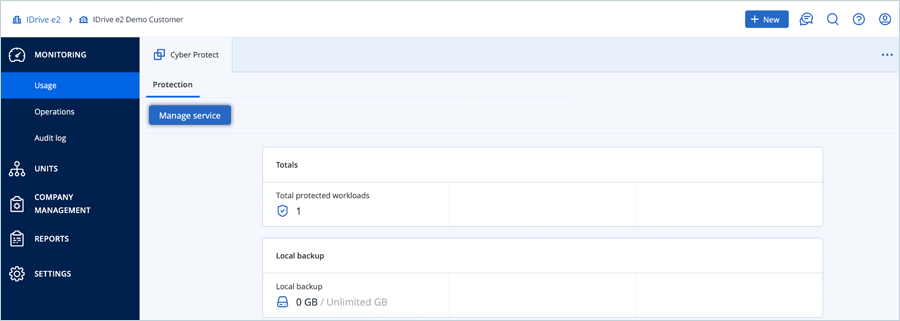
- Click Manage Services.
- Click Devices in the left-side menu, and select All Devices.
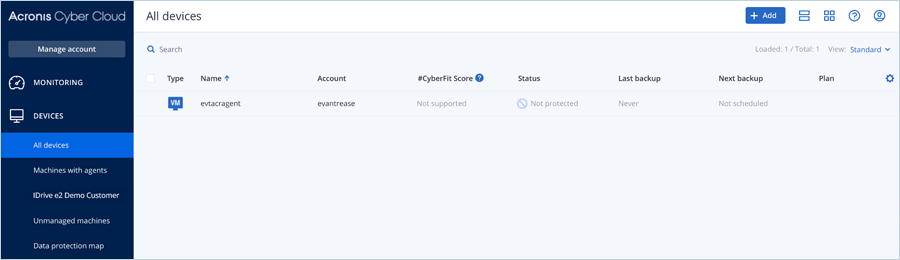
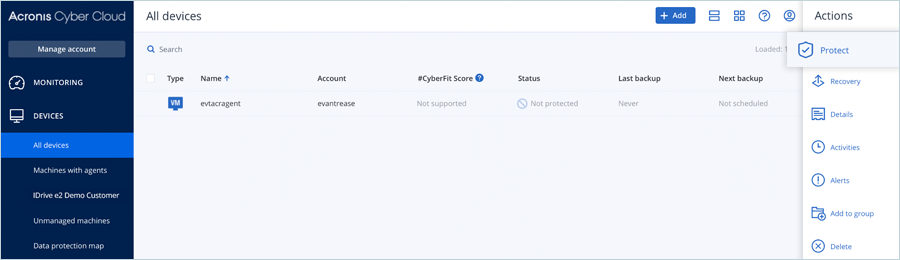
- Select the name of the Device and click Protect in Actions.
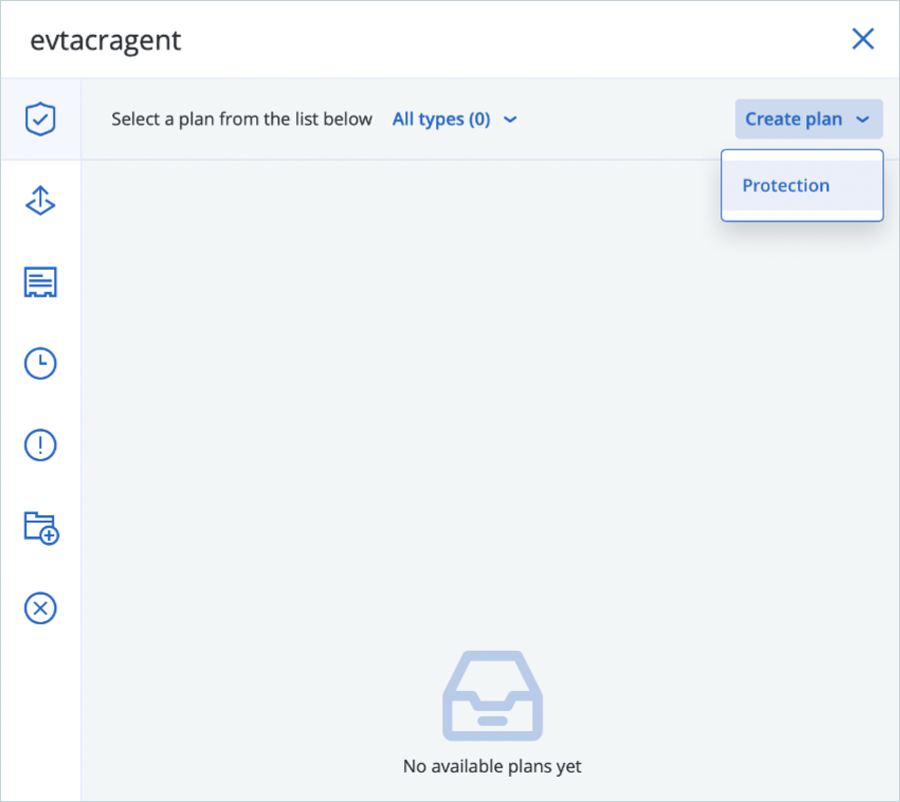
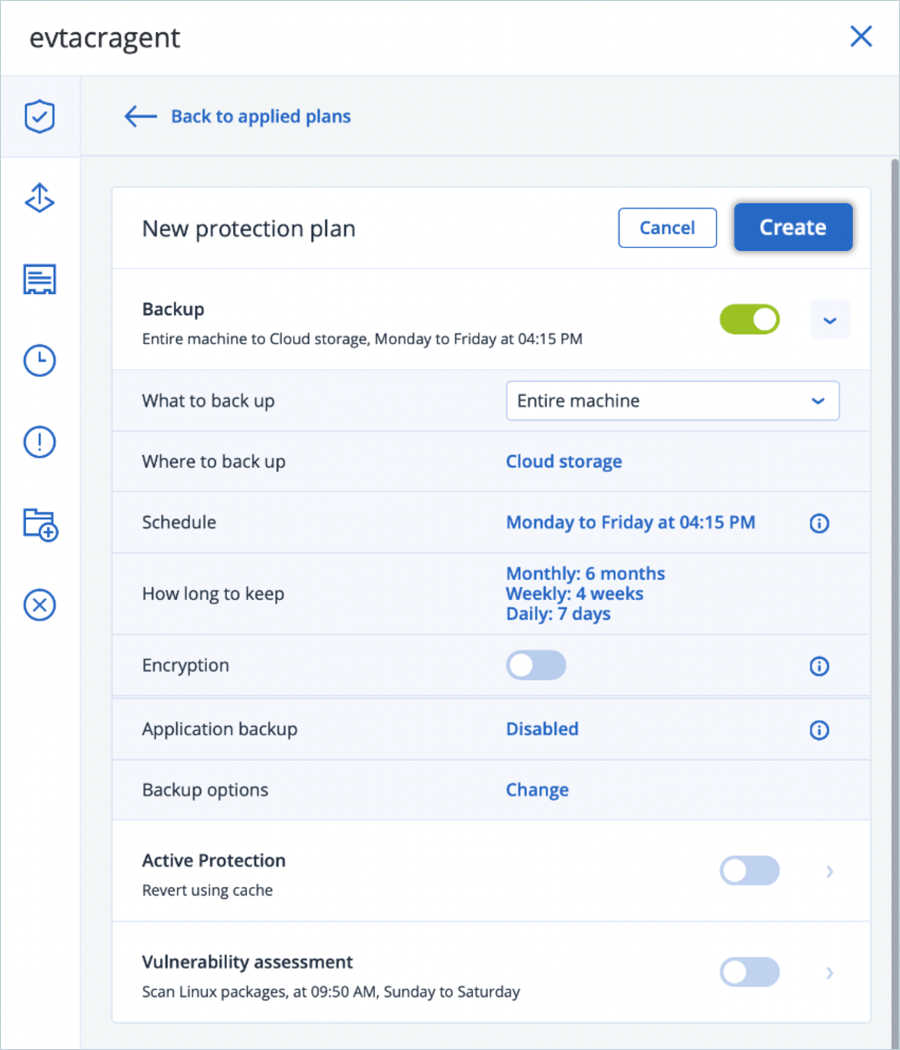
- Click Create Plan and select Protection to create a protection plan.
- While creating a backup plan by targeting Cloud Storage, update the following settings.
- Enter Name for Plan
- Select your Cloud Storage by clicking on Where to backup
- Schedule your backup as per the requirement
- Change other settings as per the requirement
- Click Create.
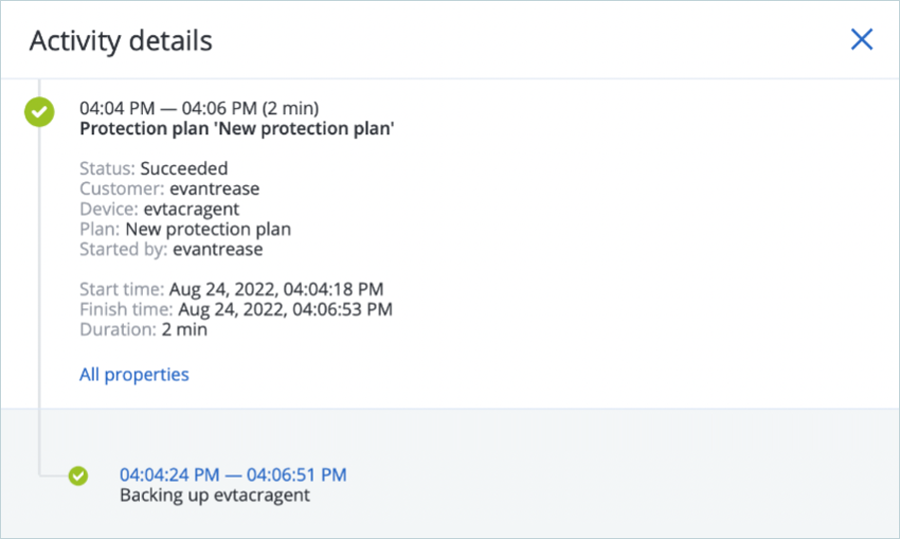
- Click Run Now to start the backup.
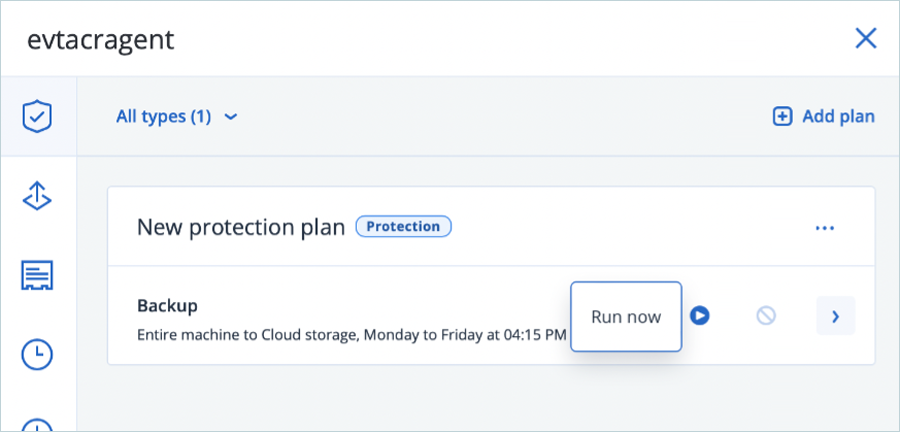
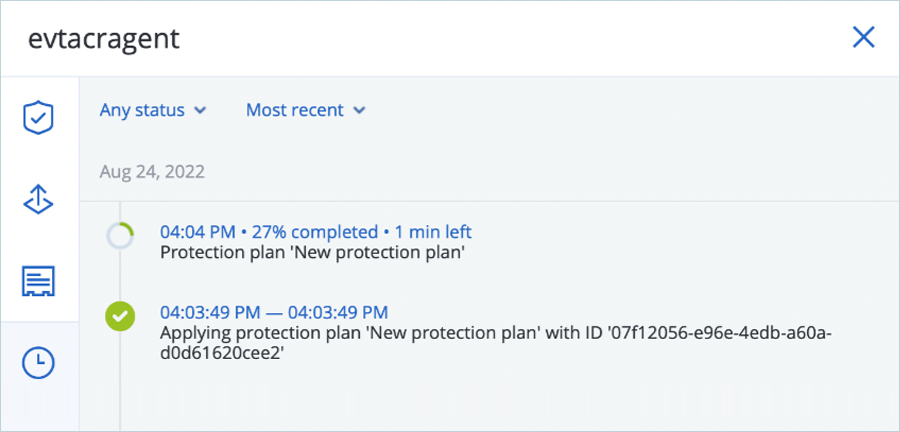
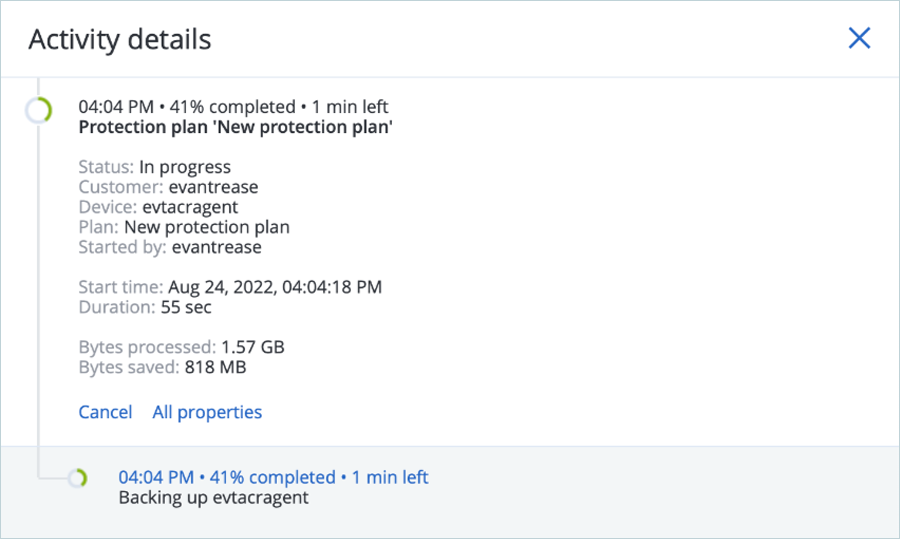
- Click on the Activities tab to verify the status of the job.
Restore and Verify Backed-up Data
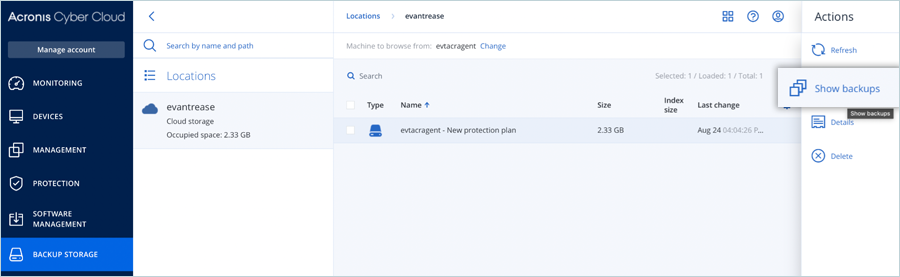
- Click Backup Storage in the left-side menu bar.
- Select Show Backups in Actions.
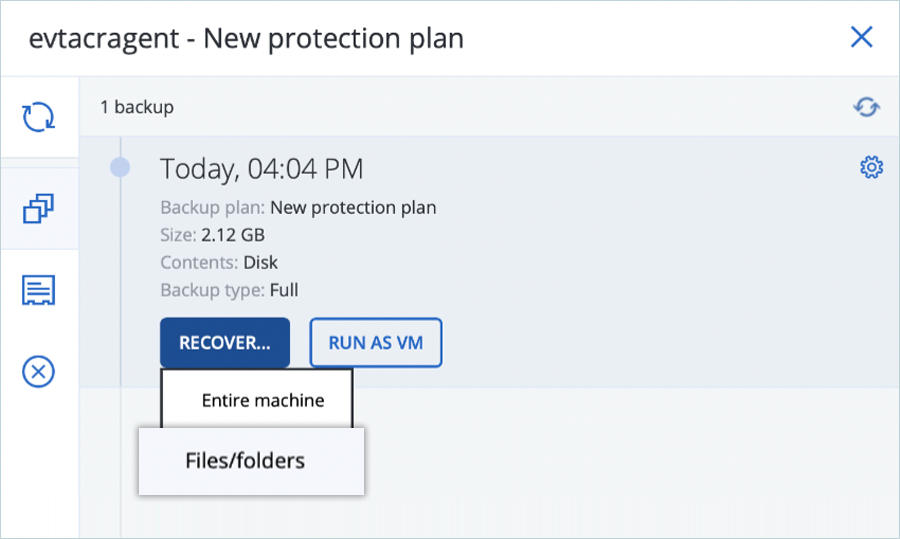
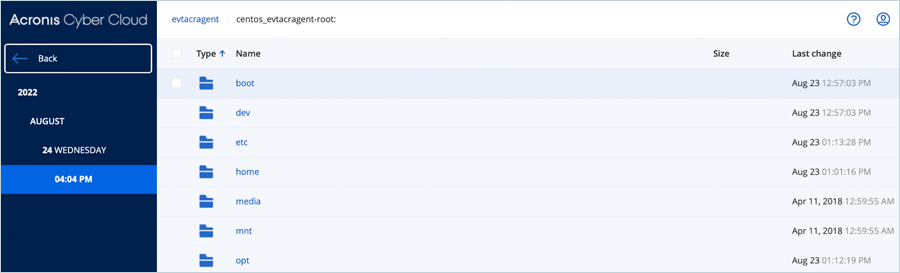
- Select backup and click RECOVER, and select Files/Folders.
- Click the partition you need to view.
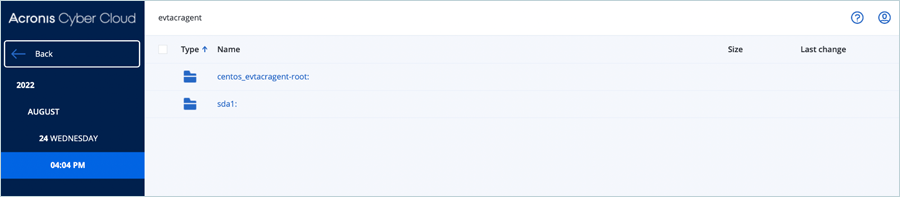
- Browse the directory structure and retrieve or download the desired files.
Note: Data restoration is handled by your specific backup solution provider and is affected by multiple variables that are unique to your environment. For application-related enquiries/support, it is strongly recommended you seek guidance from the technical team of your backup solution provider.