
IDrive gets even better with unlimited backups of your Google, Microsoft cloud
Mark Hachman, PCWorld, May 3, 2023
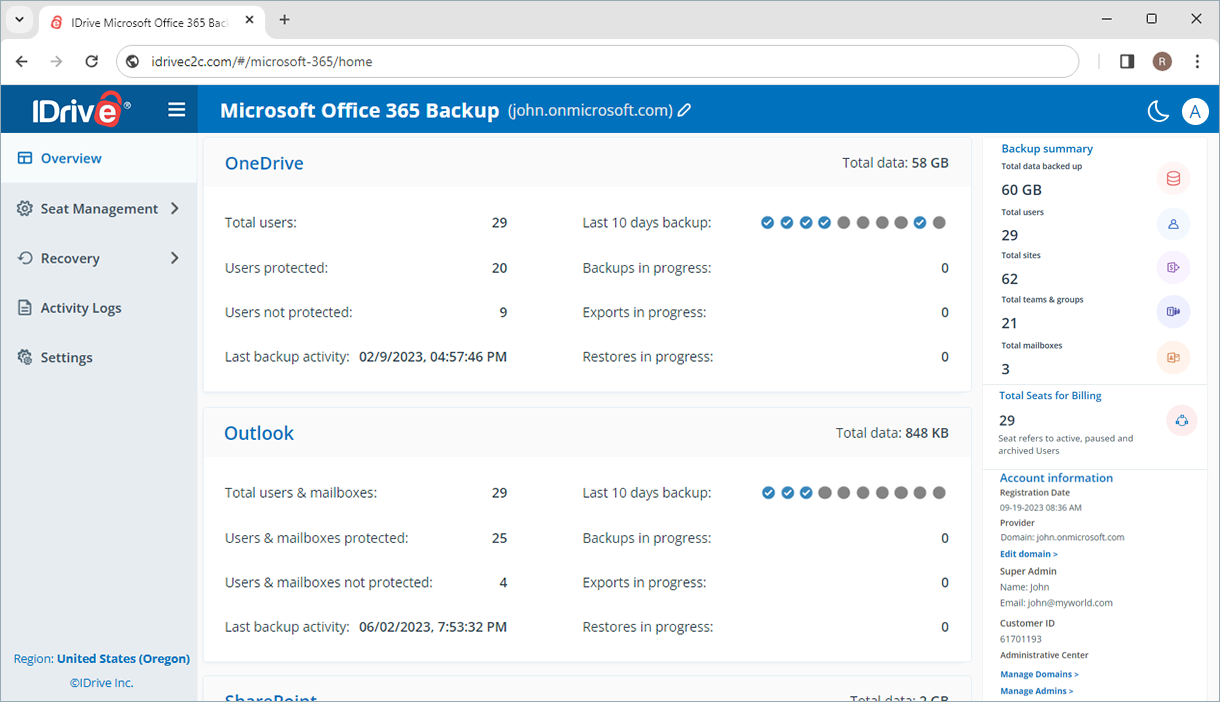
Keep your Microsoft Office 365 data secure, recoverable, and accessible
Ransomware isn’t just evolving—it’s surging. According to the Microsoft Digital Defense Report 2024, human-operated ransomware attacks have increased by 2.75x, underscoring a threat landscape more dangerous than ever. While many backup solutions offer only partial protection for Microsoft Office 365 data, IDrive goes further by securing your entire Microsoft Office Suite, including OneDrive, Outlook, Exchange, SharePoint, and Teams & Groups.
Comprehensive backup for your valuable Microsoft Office 365 data
Automated backups
Protects data from accidental deletion and malware or ransomware attacks with 3x automatic backups. Recover quickly from app outages and failed third-party integrations.
Seamless retention
Ensure 24x7 data protection with multiple intuitive snapshot schedules for all files and email attachments of your employees.
Granular recovery
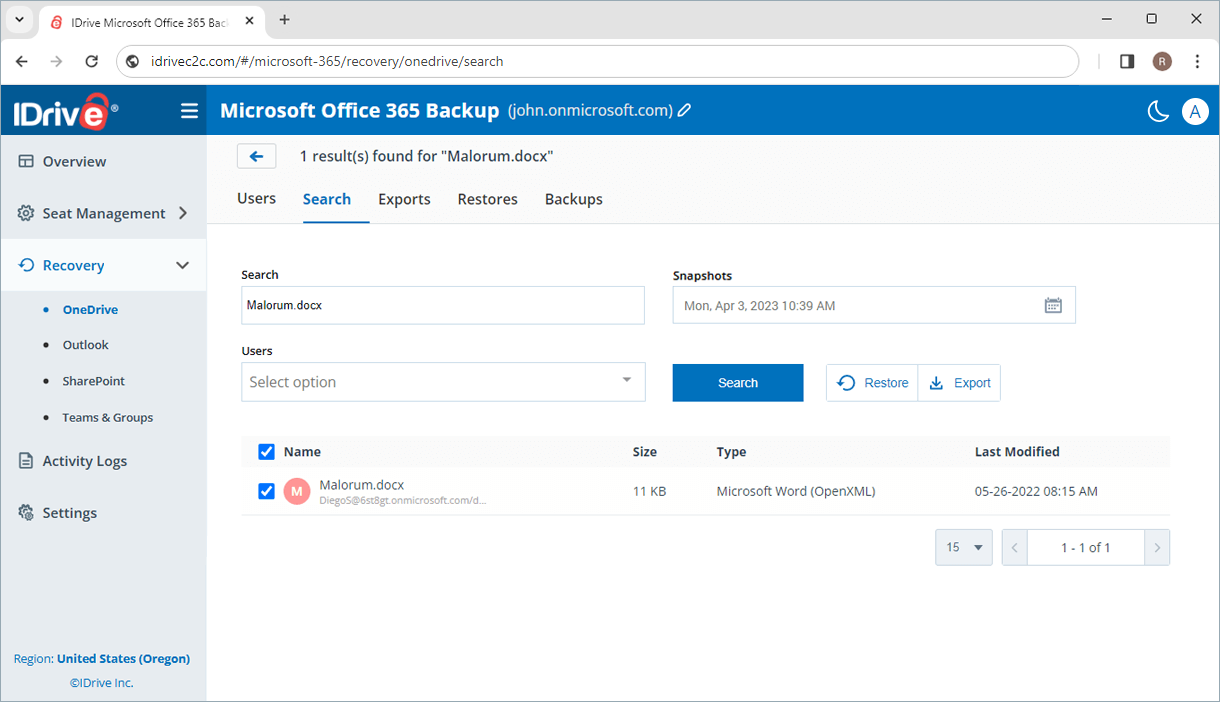
Search and recover specific files, entire folders, images, videos, emails, even contacts, and calendars at a granular level.
Company-wide search and restore
For audit or compliance, easily search and restore information from a single platform. Monitor and control your data with organization-wide visibility.
Three-fold data protection
Automated backup 3x times a day, AES 256-bit encrypted transfer and storage, and data controls that comply with industry standards.
Backup multiple domains
Configure multiple domains from your Microsoft Office 365 account. Invite users with admin privileges and assign them domains to manage backup and recovery.
12 storage regions across the US, Canada, Europe, Asia, Africa and Australia
Store your Microsoft Office 365 backups in a region closer to you for faster access.

Why is Microsoft Office 365 backup critical for your business?
Direct backup and recovery
Recover your backed-up data directly without having any dependency on your Microsoft Office 365 account.
Snapshots-based point-in-time recovery
Capture snapshots of each user’s account data for version restore as a precaution against ransomware.
Deleted data restore
Restore deleted or corrupted files and folders directly to the user account or download them on your device.
Backup for personal Microsoft Office 365 accounts
IDrive now allows you to configure your personal Microsoft Office 365 accounts for backup. You can now securely back up your OneDrive, Outlook, Word, Excel, PowerPoint, and OneNote data in the cloud. Keep your and your family’s data safer with up to three daily automated backups and snapshot-based restore.
[ Know more ]
Getting Started
-
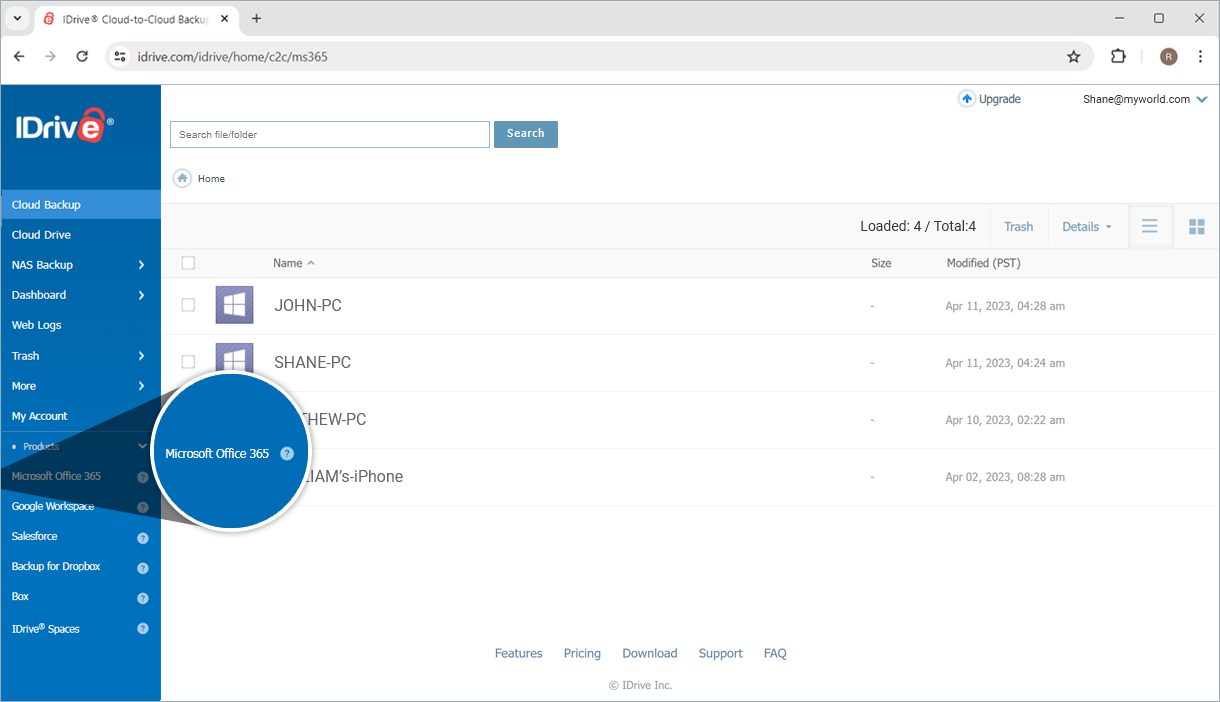
Enable backup for Microsoft Office 365 users
-
Your OneDrive, Outlook, Exchange, SharePoint, and Teams & Groups data will be backed up
-
Restore backed-up Microsoft Office 365 data from a single web console
$20/Seat/Year with Unlimited Storage
Monthly plans available at $2/Seat
Note:
- A seat refers to a Microsoft Office 365 user. Each seat added to the account will be charged $20/Year.
- Any third-party logo used on this site is the property of its respective provider or its licensor.
- For paid subscriptions, at least one active seat is required to back up SharePoint sites or Teams & Groups data.
- Dropbox is a registered trademark of Dropbox, Inc. IDrive is a third-party service and is not affiliated with, sponsored by, or endorsed by Dropbox.