Integrate Zmanda Pro with IDrive® e2
Zmanda Pro delivers enterprise backup and recovery solutions built on open-source technology, providing centralized control, robust security, and broad platform support across physical, virtual, and cloud workloads. It simplifies data protection with policy automation, hybrid cloud flexibility, ransomware defense, and fast recovery. Integrating Zmanda Pro with IDrive® e2 gives you a capable, scalable cloud object storage solution that supports automated integration for resilient, efficient, and cost-aware data protection.
Prerequisites:
Before you begin, ensure the following:
- An active IDrive® e2 account. Sign up here if you do not have one.
- A bucket in IDrive® e2. Learn how to create a bucket.
- Valid Access Key ID and Secret Access Key. Learn how to create an access key.
- The Zmanda Pro application installed, and a valid user account.
Configure Zmanda Pro with IDrive® e2
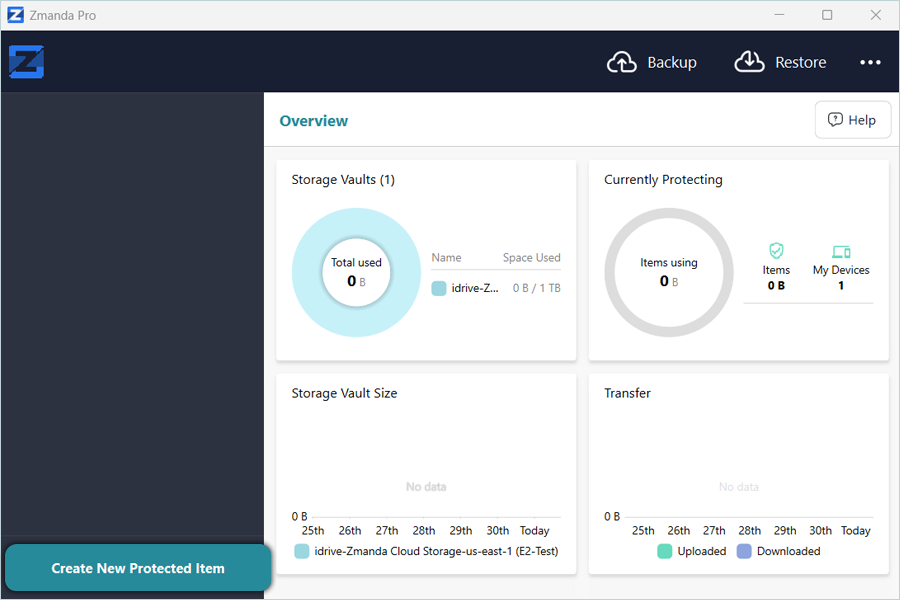
- Install and launch Zmanda Backup Client.
- Click Create New Protected Item.
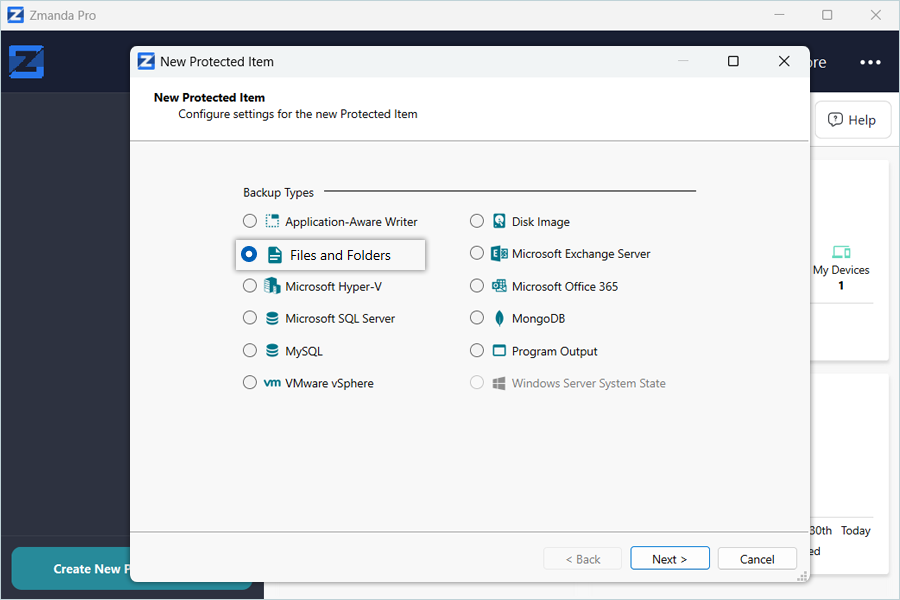
- Select Backup Types from the list in the New Protected Item window, then click Next.
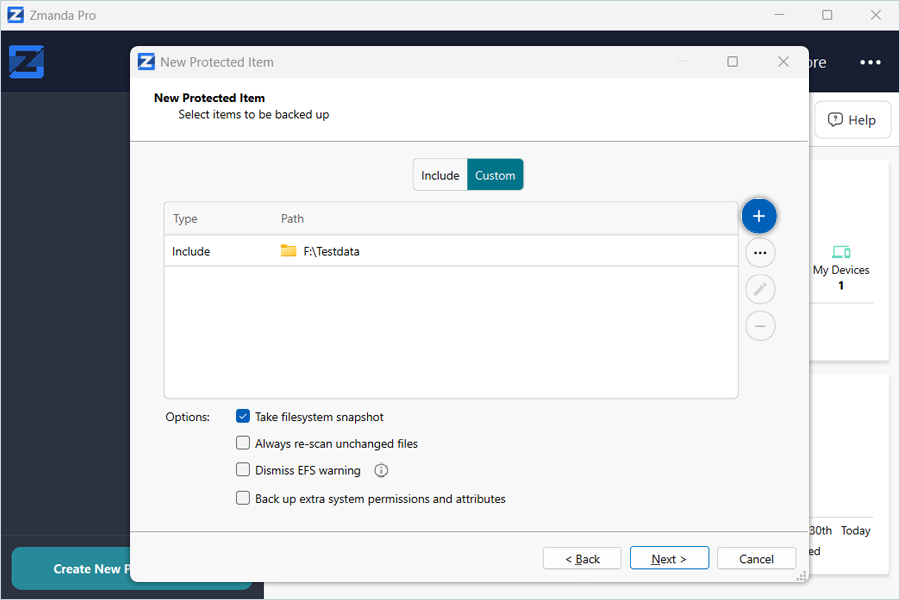
- Navigate to Custom and click

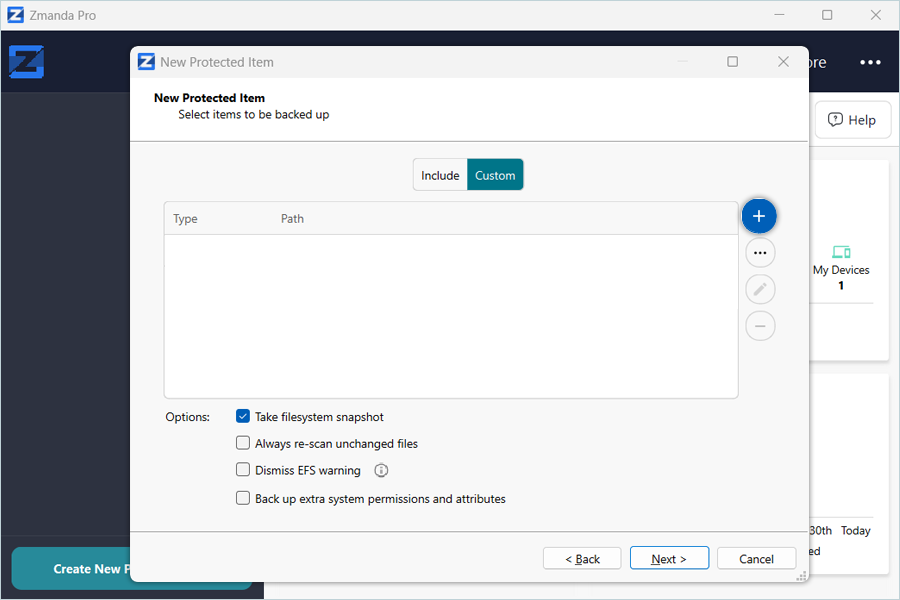
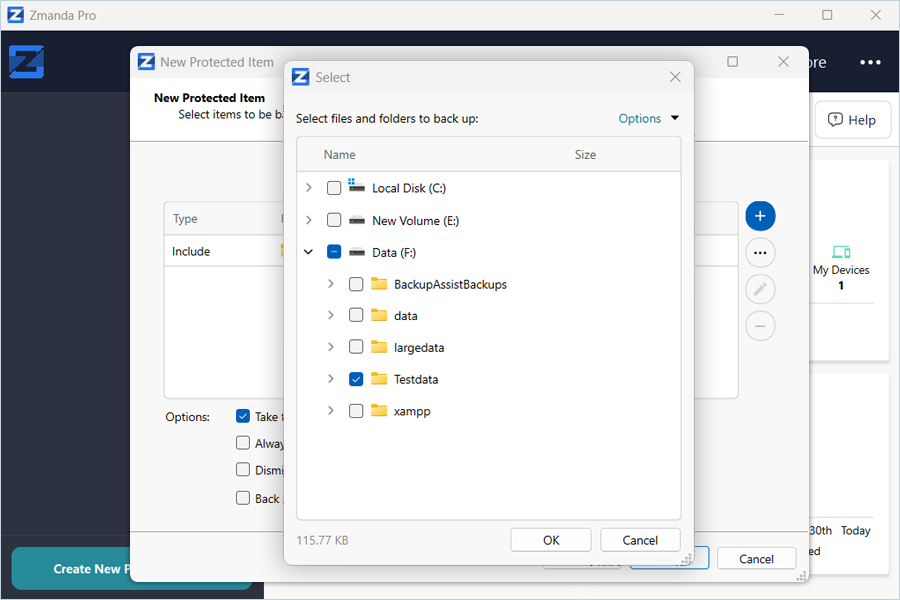
- Select a folder from local storage to use as a Backup source. Click OK and then click Next.
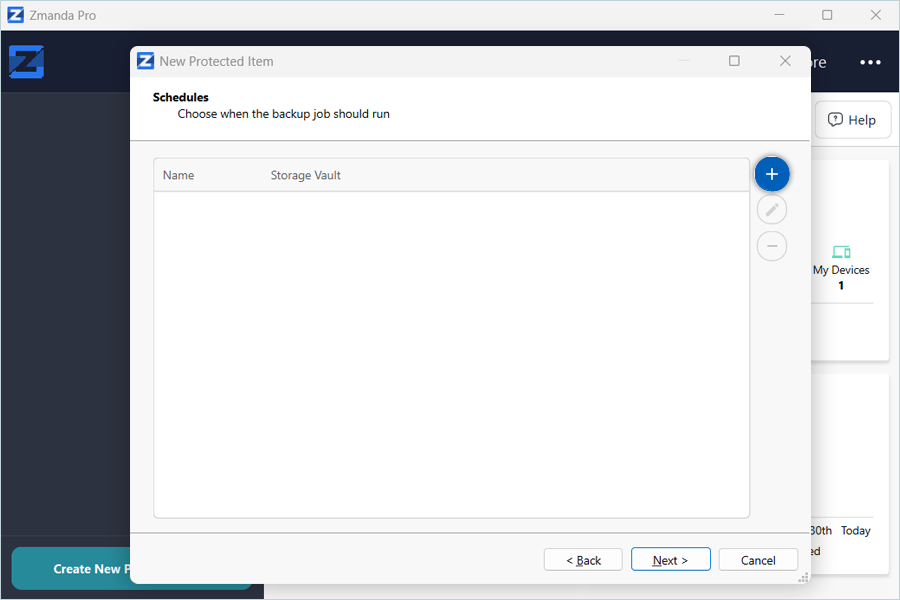
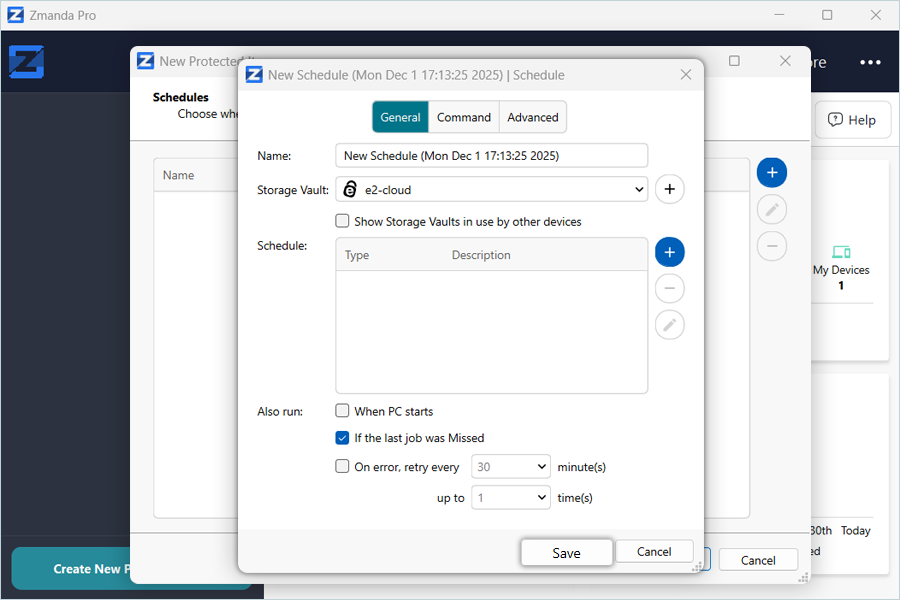
- In the Schedule tab, click to select the Storage vault and schedule backup.
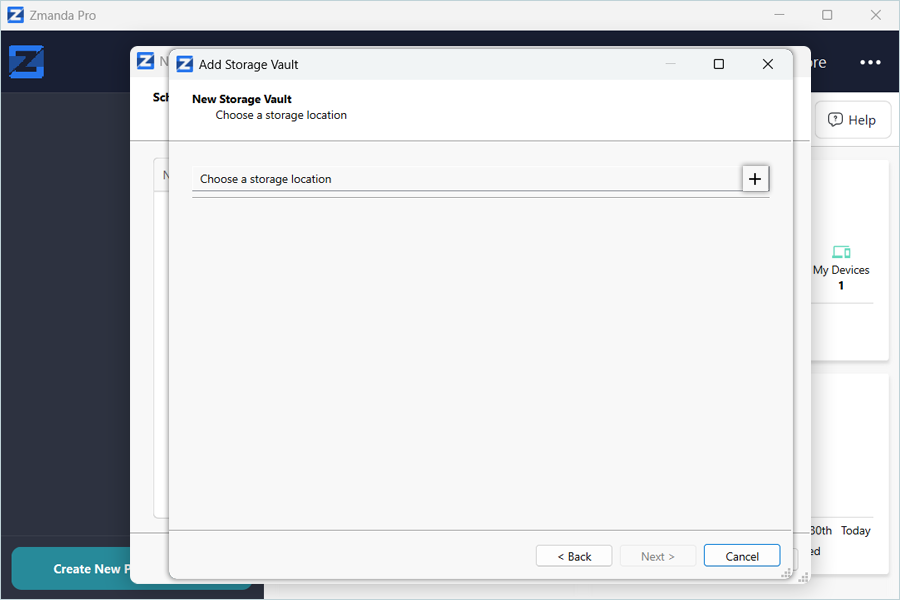
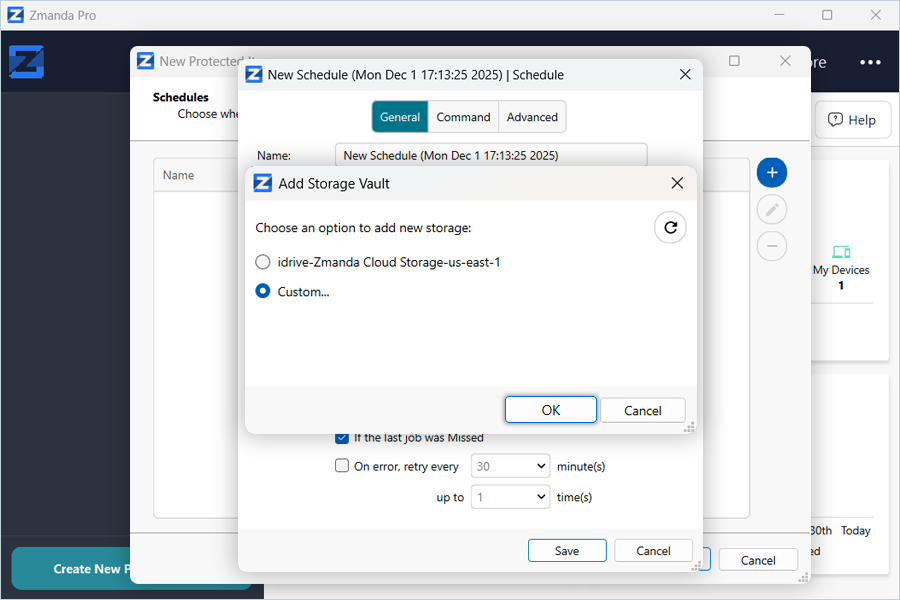
- Click to add the storage vault.
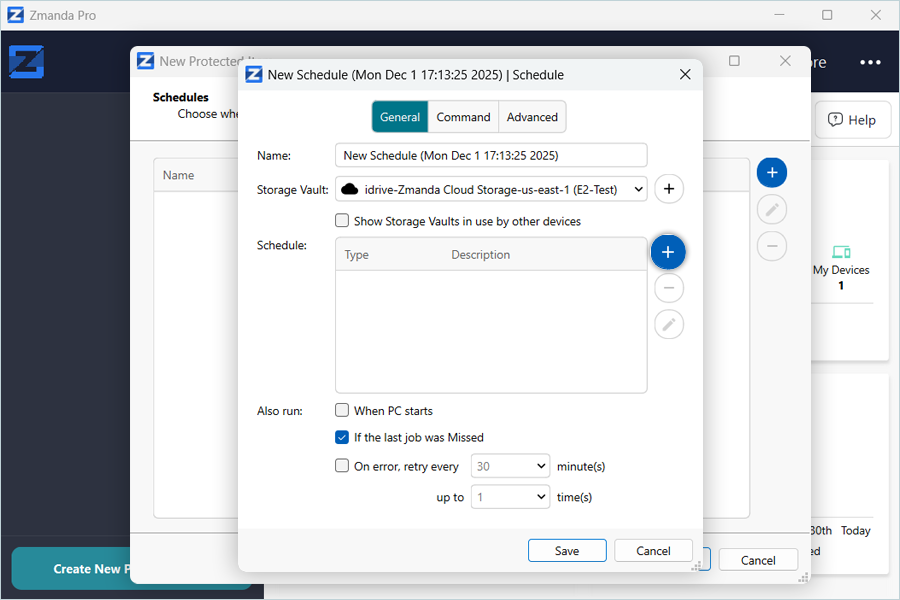
- Enter the Name for the storage vault and click Next.
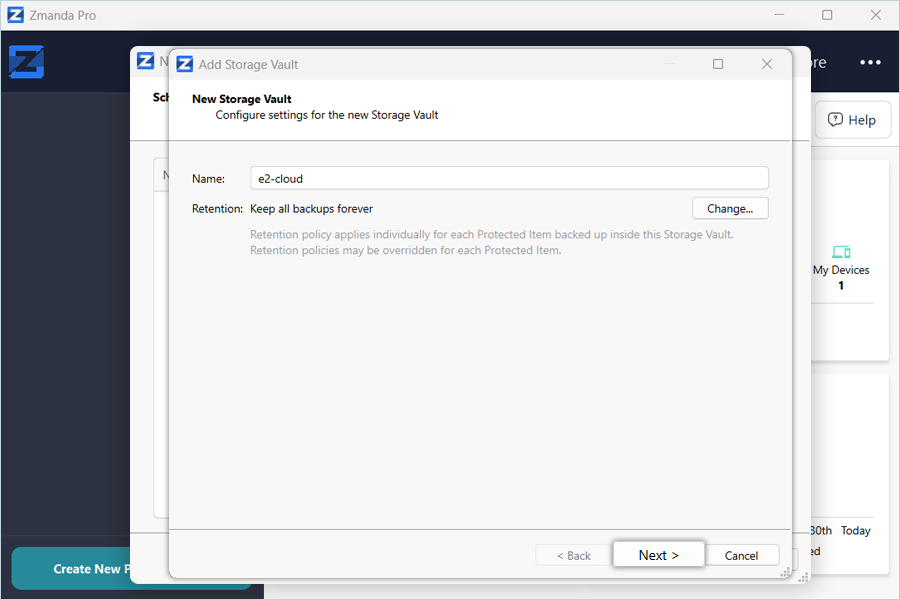
- Click to choose a storage location for the new storage vault.
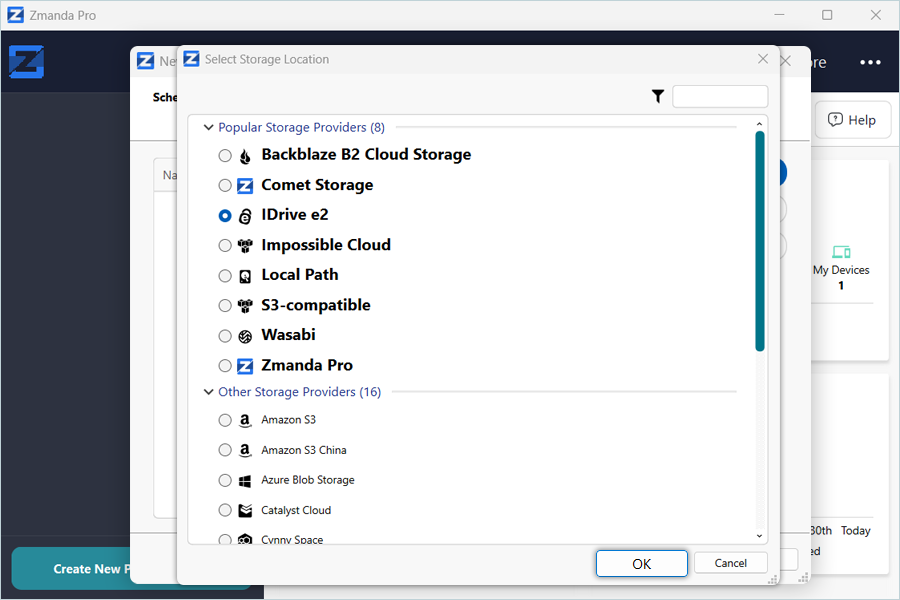
- Select IDrive® e2 as the Storage Provider, then click OK.
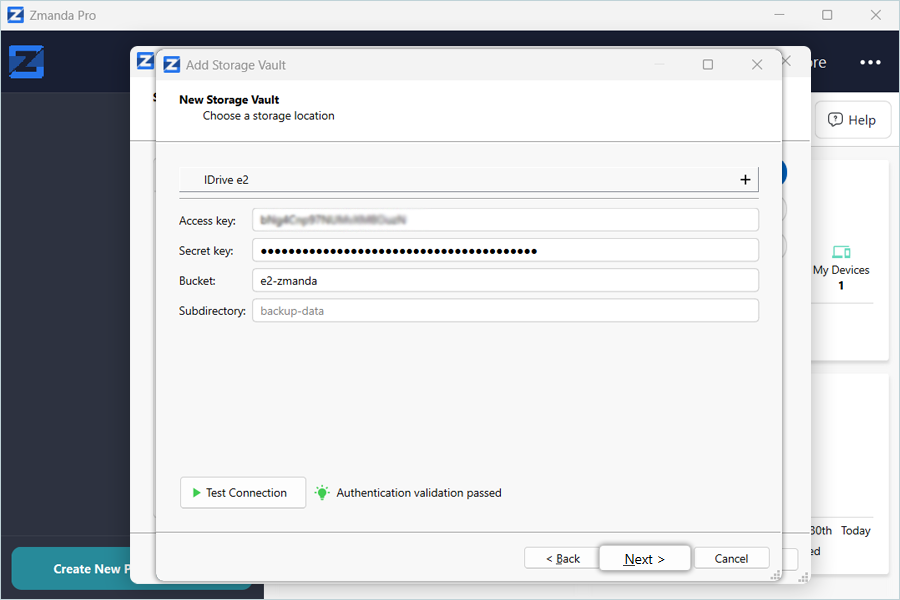
- Enter your IDrive® e2 details as mentioned below.
- Enter your IDrive® e2 Access Key as Access Key.
- Enter your IDrive® e2 Secret Key as Secret Key.
- Enter your IDrive® e2 bucket as Bucket.
- Click Test Connection.
- Click Next after the connection is successfully tested.
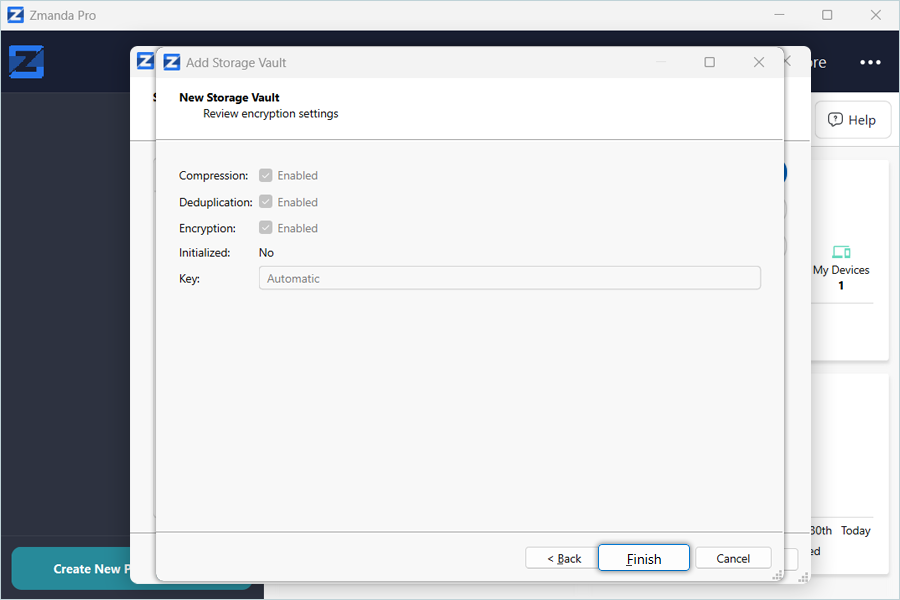
- Click Finish.
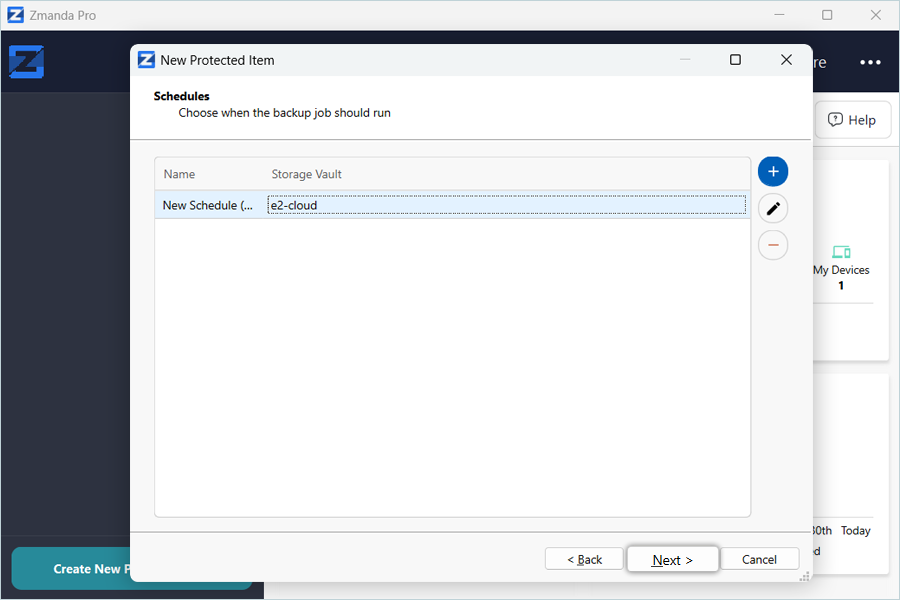
- In the Schedules tab, add the storage vault.
- Click Save
- Select the added schedule and click Next.
- Select and add retention as required, then click Next.

- Enter a Name for the Protected Item, and click Next.
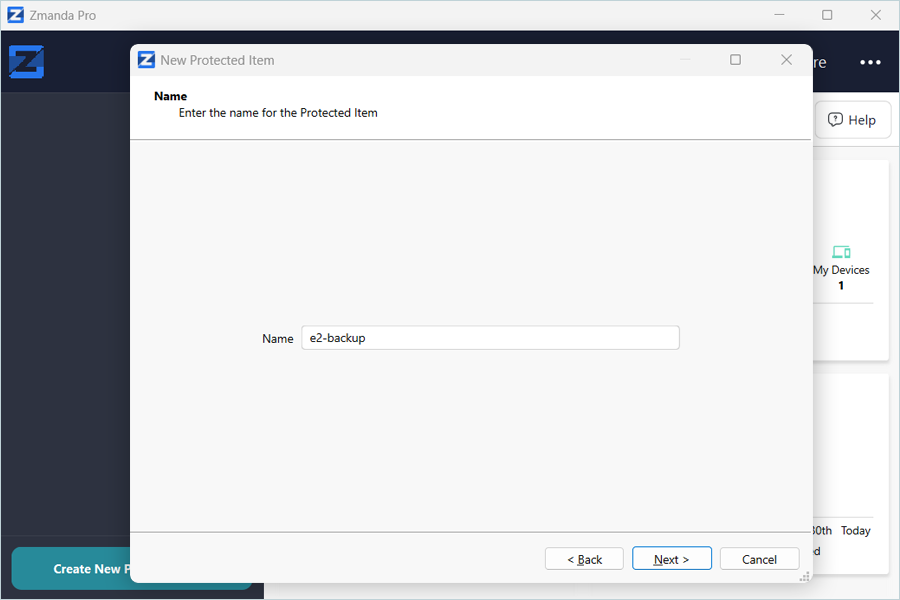
- Click Finish.
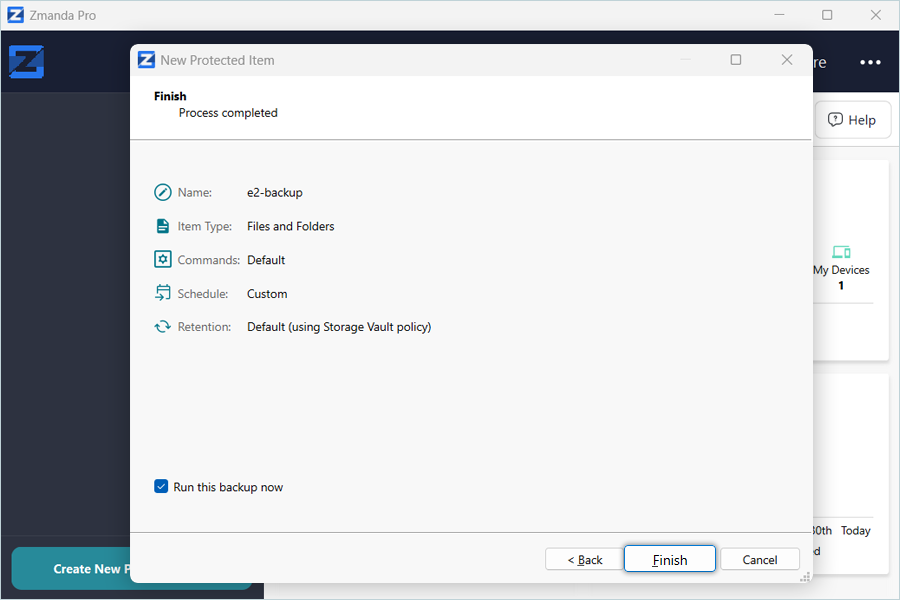
Note: Select the Run this backup now checkbox to run the backup immediately.
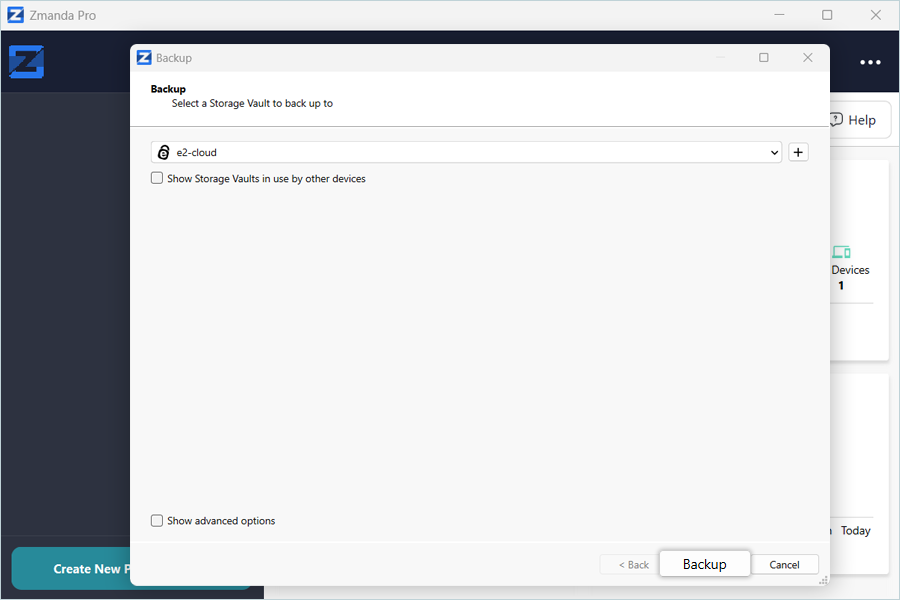
- Click Backup.
Once the backup is completed, verify the backed-up data in your IDrive® e2 bucket.
Note: The data restoration process is managed by your backup software, which helps recover lost or compromised data. Each computing environment is unique, and factors such as data type, software settings, and system performance can impact the restoration process. If you encounter issues or have application-specific questions, please contact the technical support team for your backup software for expert assistance.