Related Links
Veeam Standalone Windows Agent Backups to IDrive® e2
Use IDrive® e2 as a target location for your Veeam Agent operating in standalone mode.
Integrate IDrive® e2 with Veeam Standalone Windows Agent
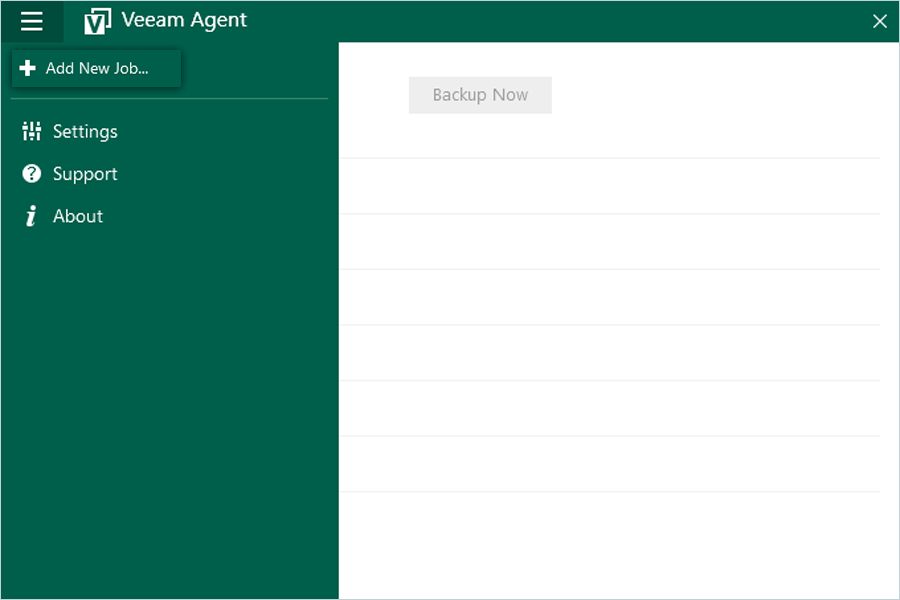
- Launch Veeam Standalone Windows Agent.
- Click Add New Backup.
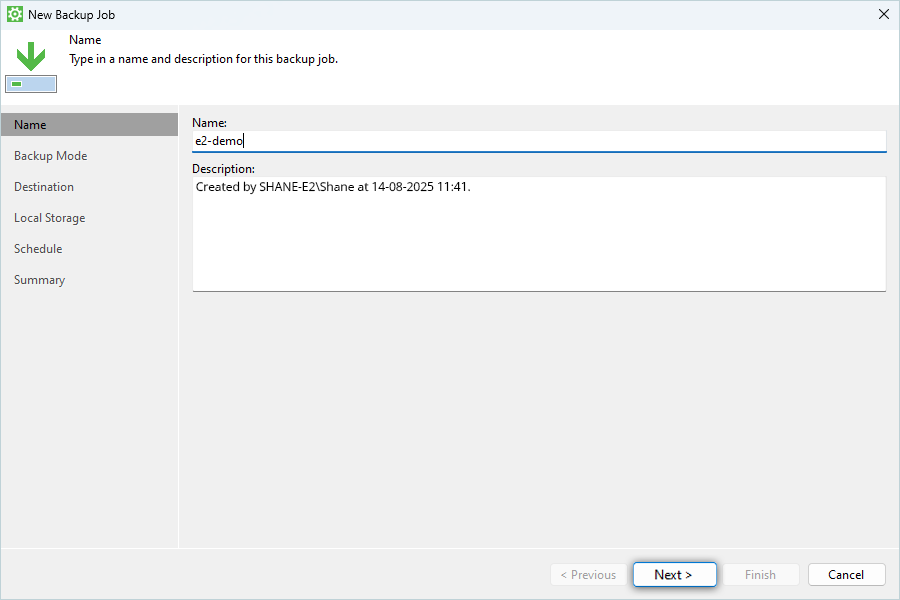
- Enter a name for the backup, add description, and click Next.
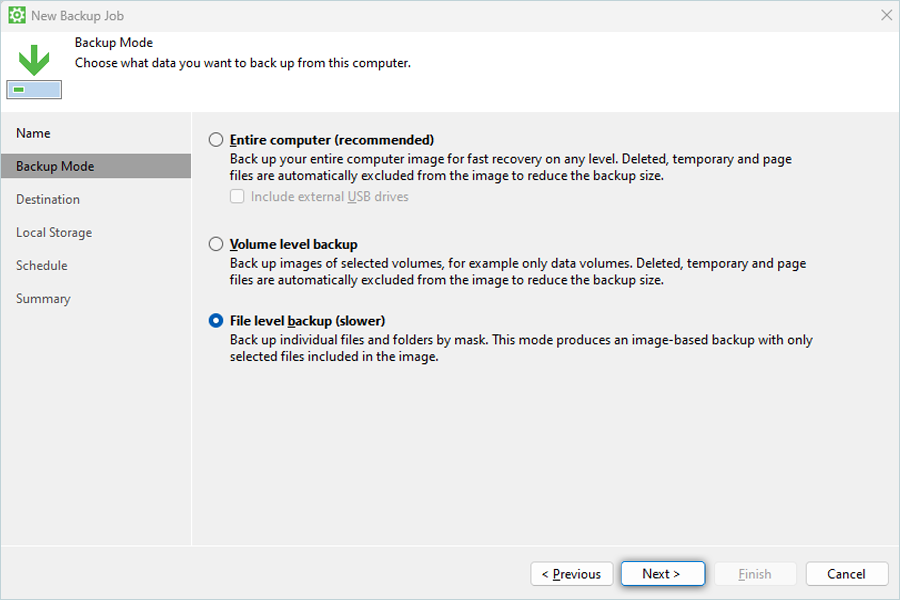
- Select File Level Backup (You can also select Full computer or Volume Level Backup) and click Next.
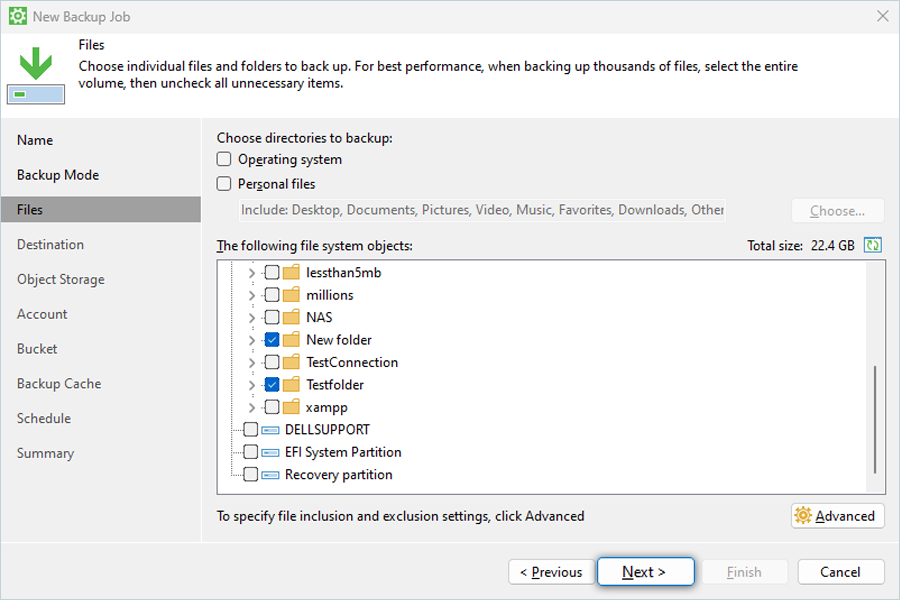
- Select Folder/File to do backup as Source and click Next.
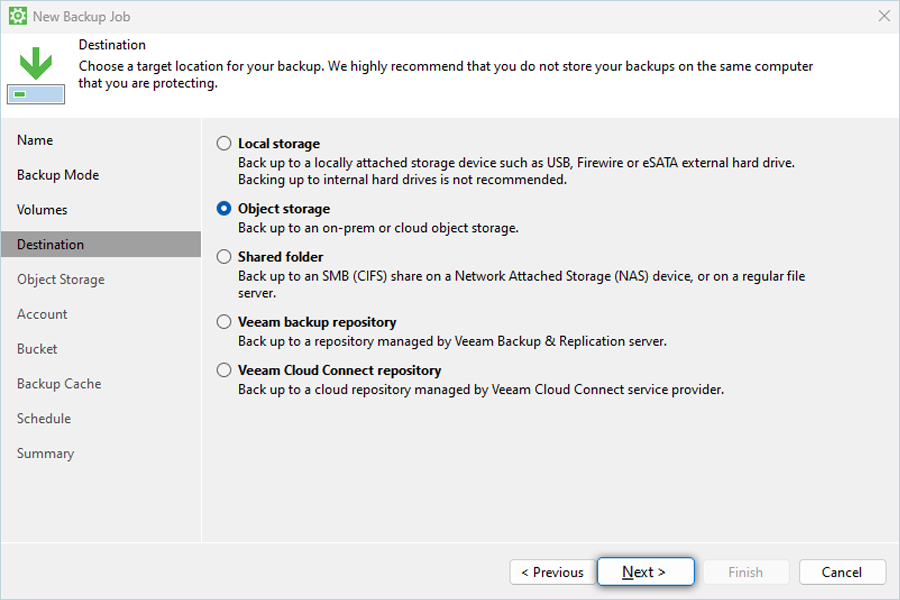
- Select Object Storage as Destination and click Next.
- Select S3 Compatible Storage as Object Storage and click Next.

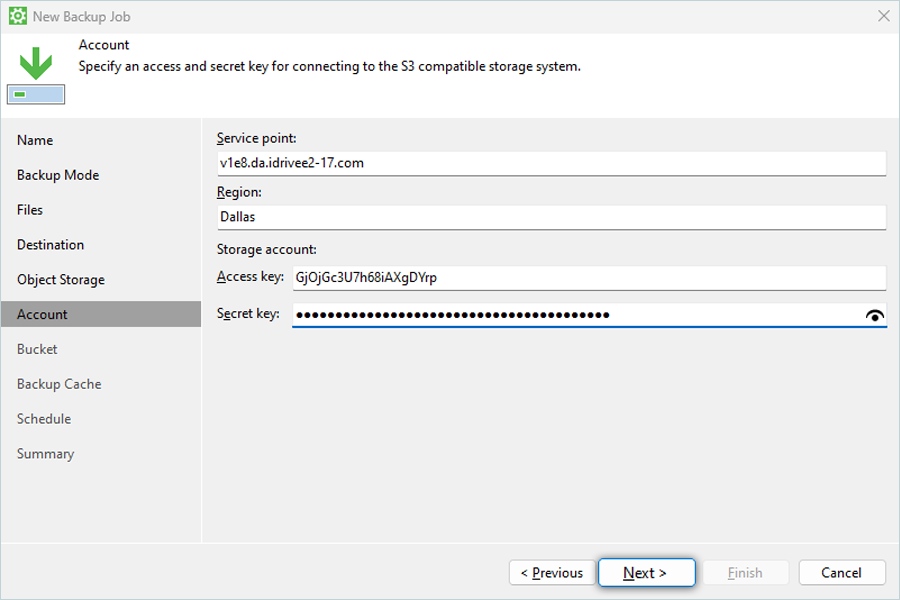
- Enter your IDrive® e2 credentials:
- Enter your IDrive® e2 end-point as Service Point
- Enter your IDrive® e2 Region
- Enter your IDrive® e2 Access Key as Access Key
- Enter your IDrive® e2 Secret Access Key as Secret Key
- Click Next
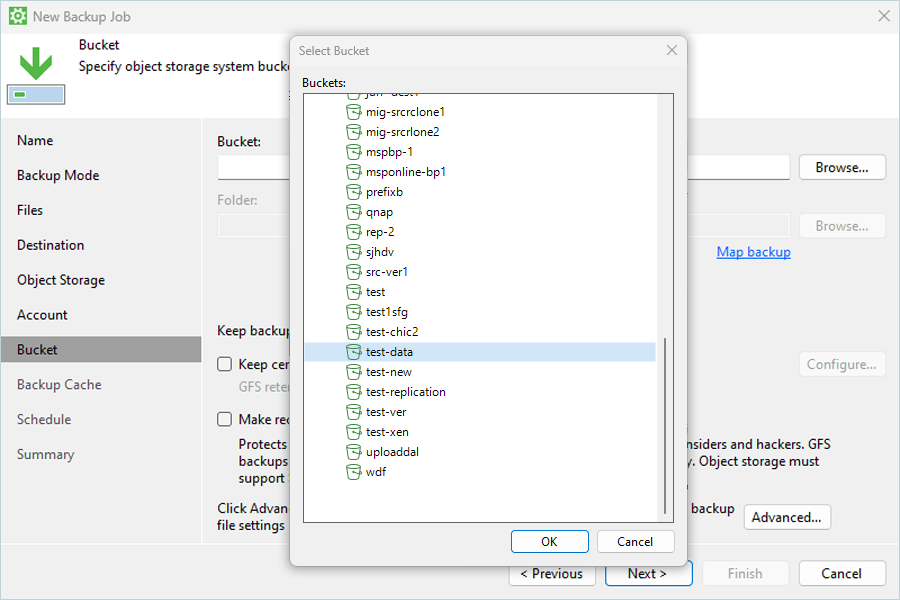
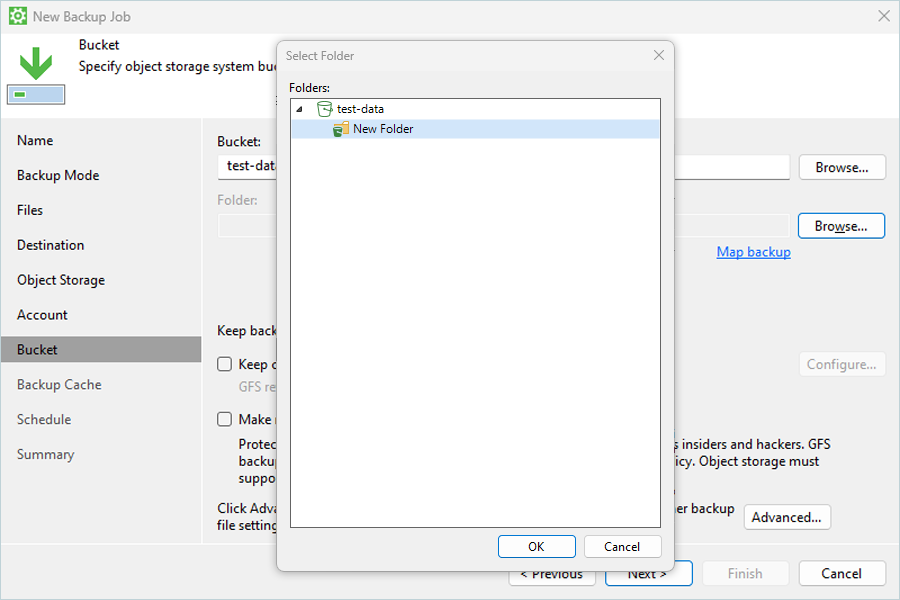
- Click Browse to select your destination IDrive® e2 Bucket and select Bucket from list.
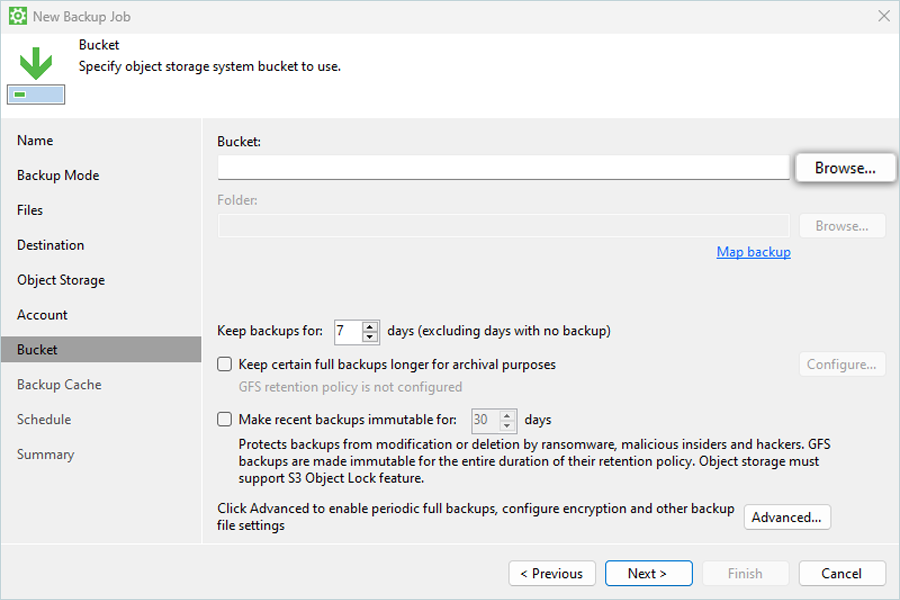
- Click Browse to select Folder from your IDrive® e2 bucket and click Next.
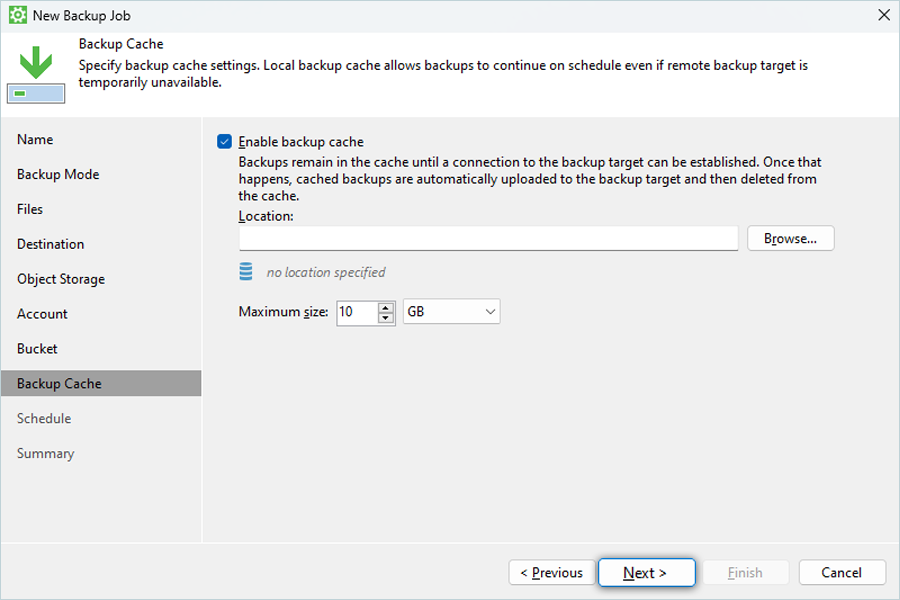
- Disable Enable backup cache (For Full Computer or Volume Level Backup keep this enabled) and click Next.
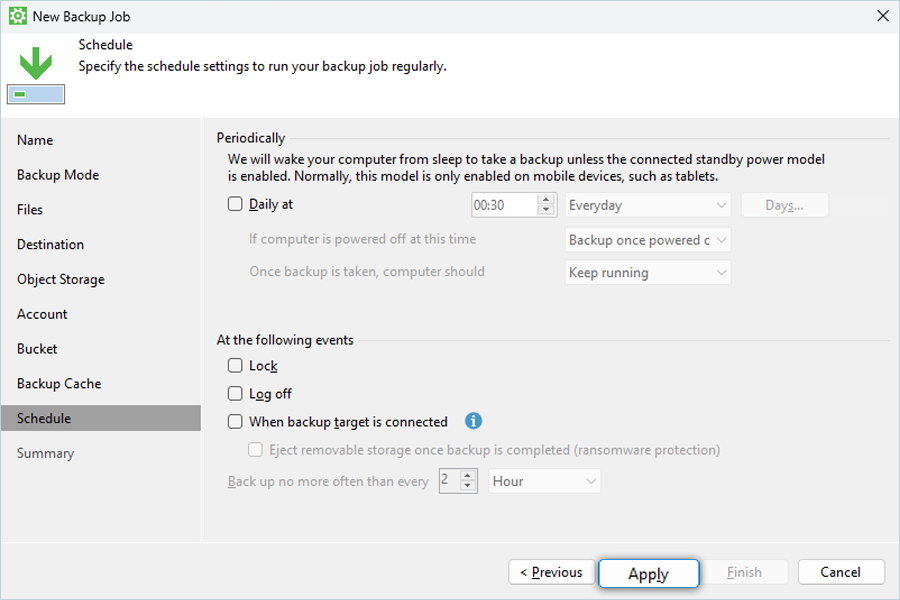
- Schedule backup based on requirement and click Apply.
- Review the summary and click Finish.

- To start the job immediately, select Run the job when I click on Finish.
- You can view progress for the job.
Restore the backup from IDrive® e2 to Local System
To perform file restore,
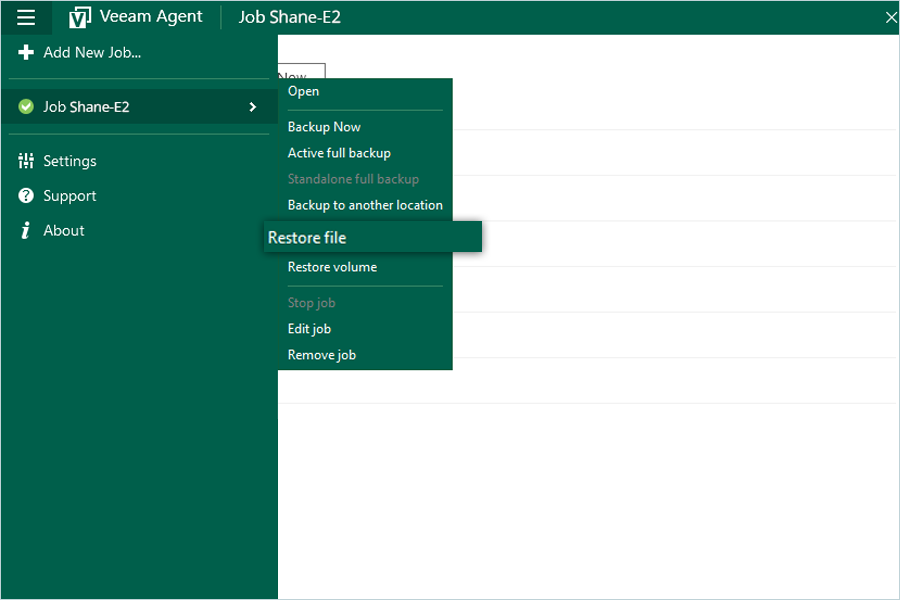
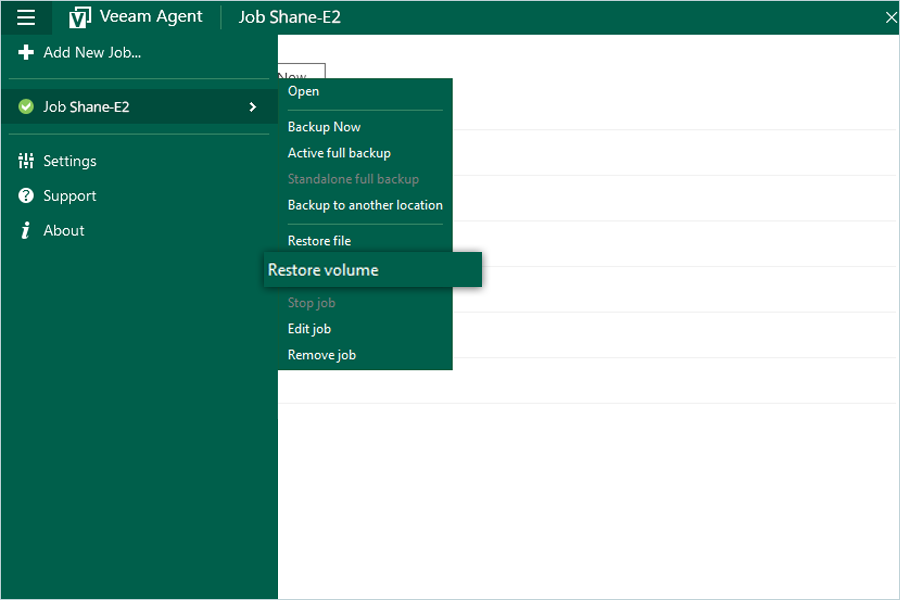
- Select the required Backup job and click Restore File.
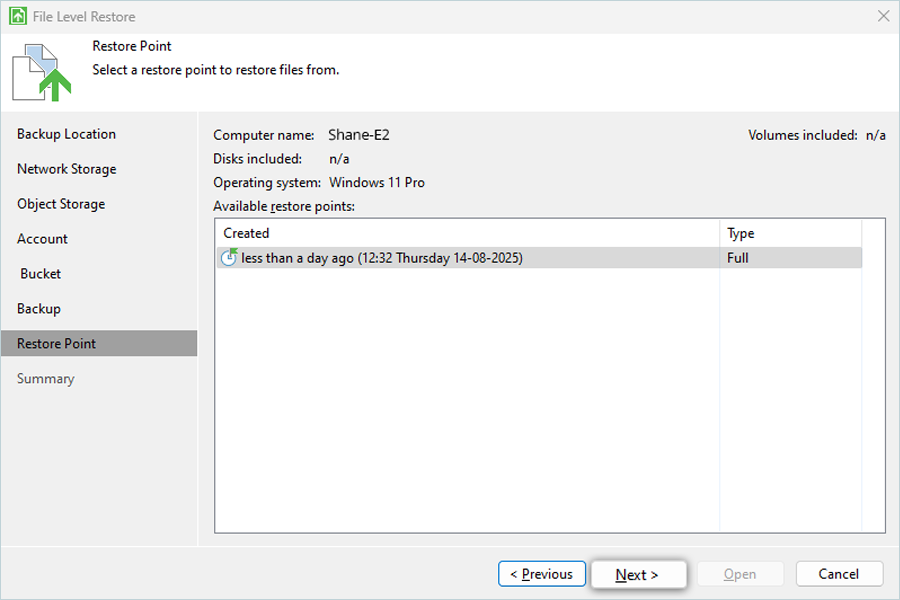
- Select the job you want to restore and click Next.
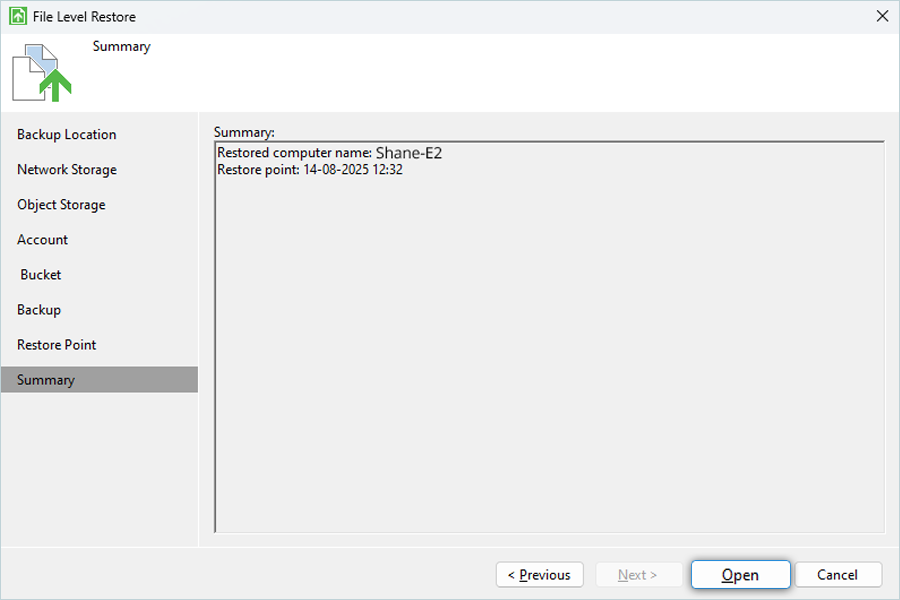
- Click Open to select folders which are used for backup.
- Right-click on required folder to start restore.
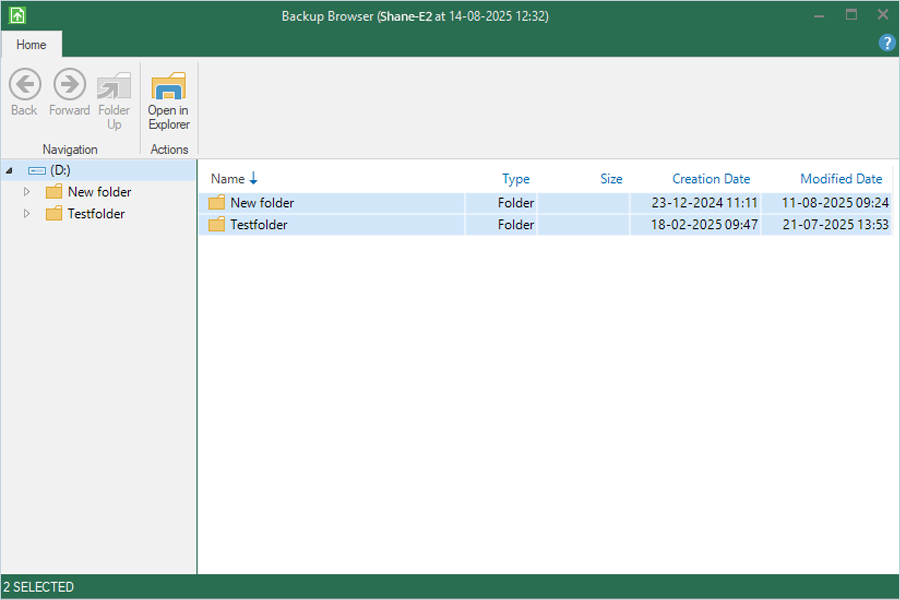
- Click Restore to start the restore.
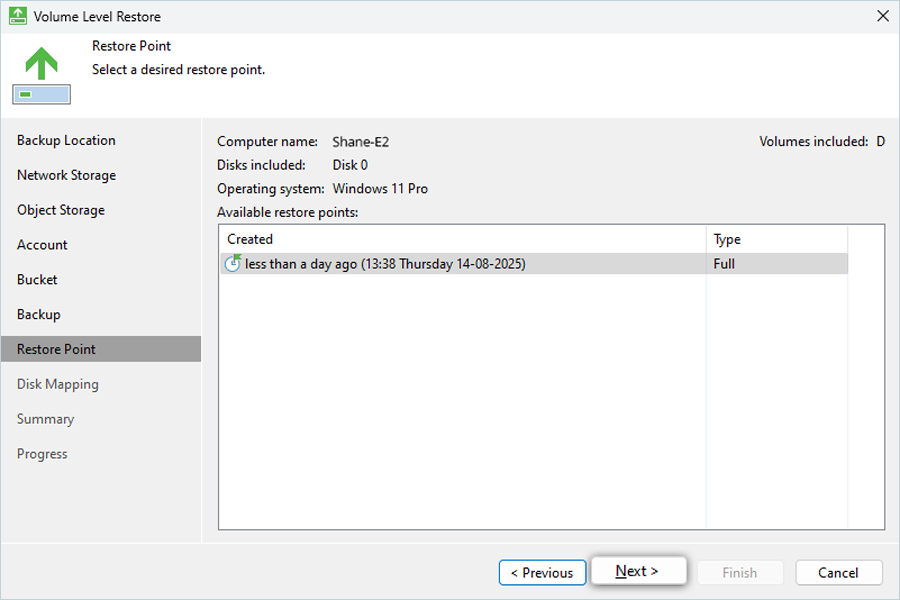
To perform volume restore,
- Select the required Backup job and click Restore Volume.
- Select the job you want to restore and click Next.
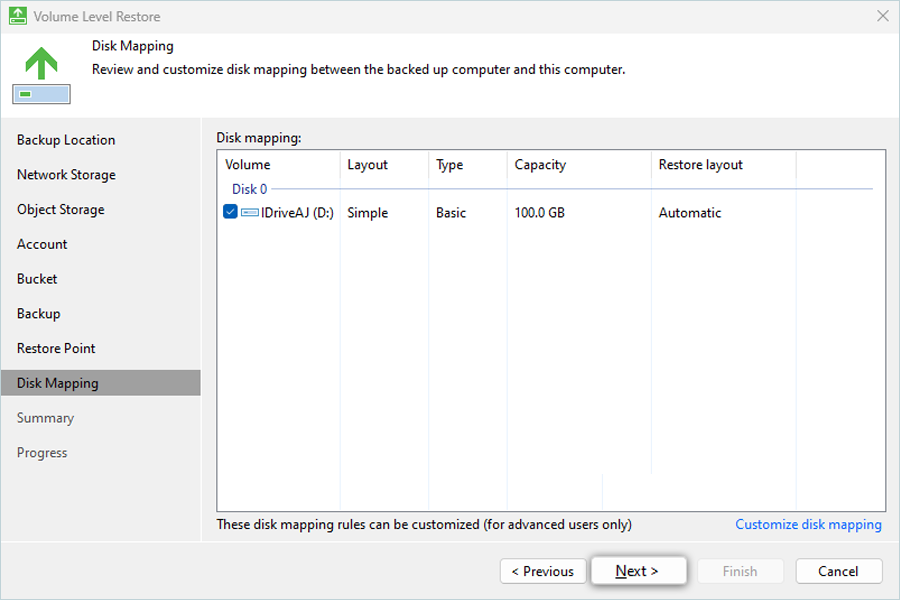
- Select the required volume for restore and click Next.
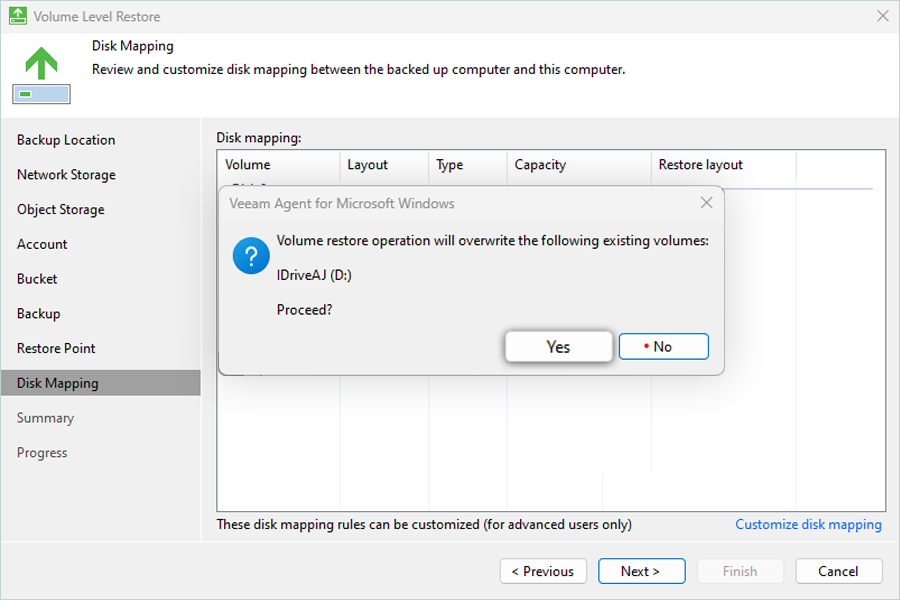
- Click Yes to provide confirmation for Volume Restore.
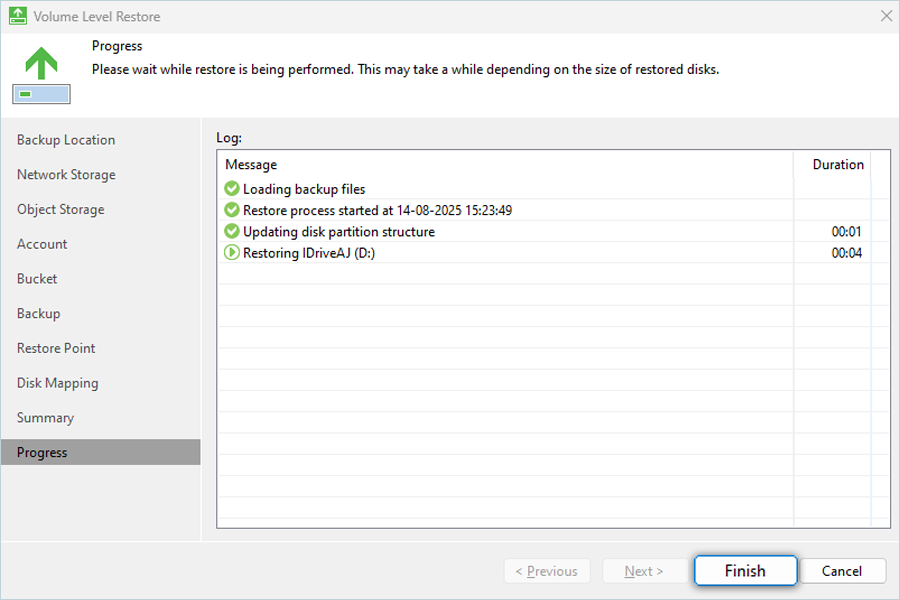
- Click Restore to start the restore.

- View restore status in Summary.
- Click Finish.
Enable immutability
Veeam Agent for Windows v6 adds the ability to create immutable backup jobs.
To create immutable backups for your Windows computer,
- Configure Object Lock on your IDrive® e2 bucket.
- When setting up the backup job, enable immutability by selecting the
Make recent backups immutable checkbox and specifying the number of days
to retain immutability. Click Next.
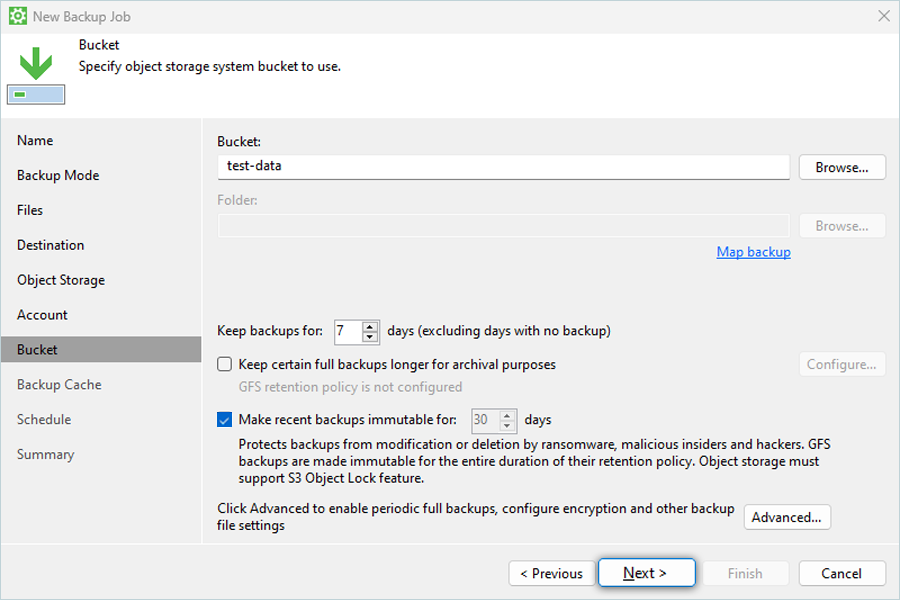
- A confirmation message will appear, informing you about the increased cost due to immutability. Click OK to proceed.
- Proceed with the remaining steps to finalize the backup job configuration.
Note: IDrive® e2 does not allow creating public buckets. Only public buckets created before 21st July, 2026 are available.