Veeam® Standalone Linux Backups to IDrive® e2
Use IDrive® e2 as a target location for your Veeam Agent for Linux running in standalone mode.
To configure a new backup job in Veeam Agent for Linux,
- Open Veeam Agent for Linux
Type veeam in the terminal to launch the application (GUI-like interface). - Create a new backup job
Enter C to configure a new backup job.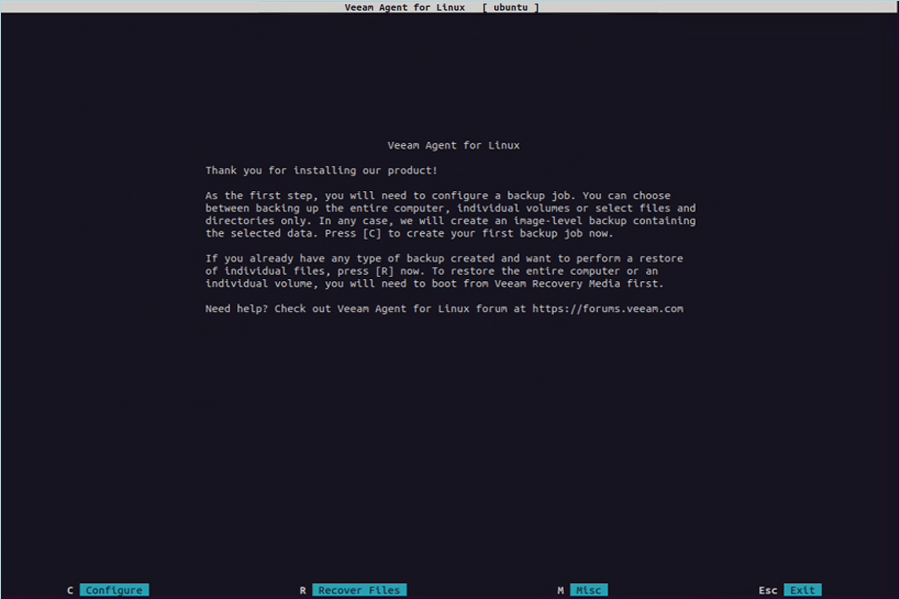
- Name the backup job
Enter a name for your backup and press Return key after selecting Next using the Tab key.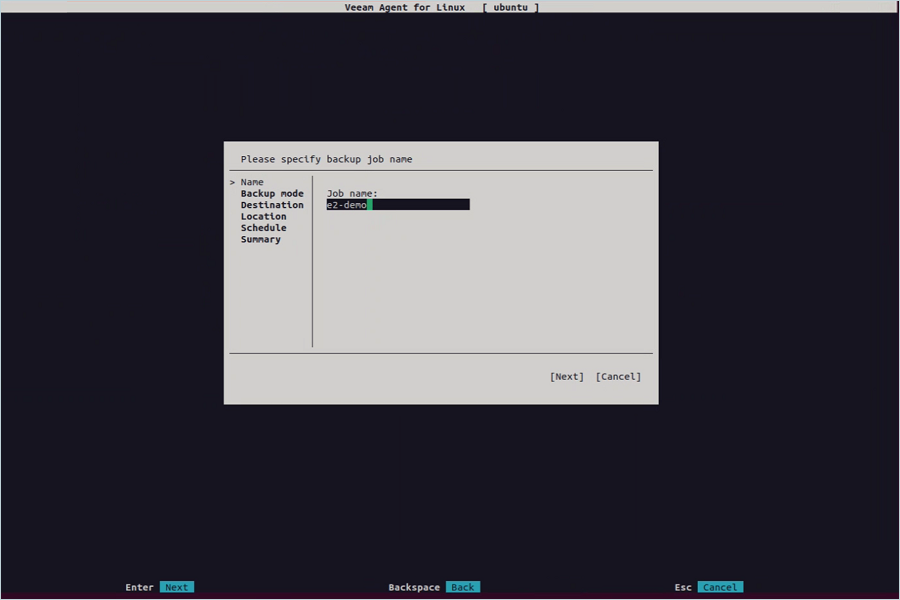
- Select the backup mode
Choose File Level Backup (you can also select Entire Computer or Volume Level Backup if required). Press Return key after selecting Next.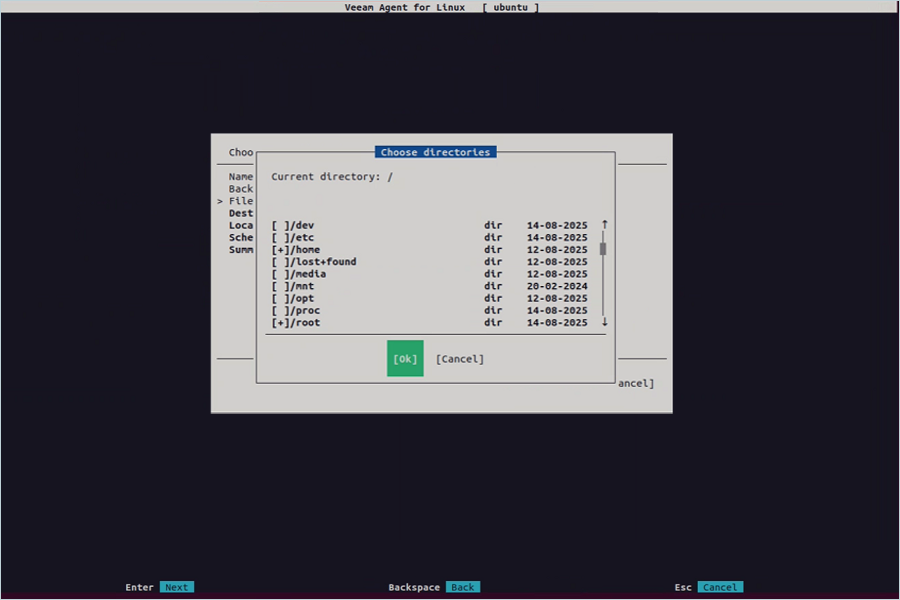
- Select source files/folders
Choose the folders or files you want to back up as the source, then press Return key after selecting Next.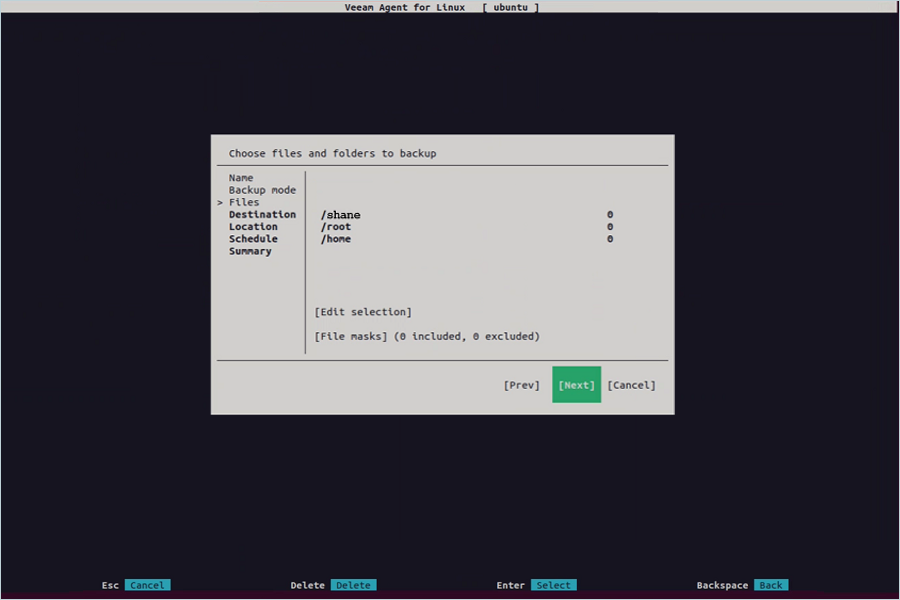
- Select backup destination
Choose Object Storage as the destination and press Return key after selecting Next.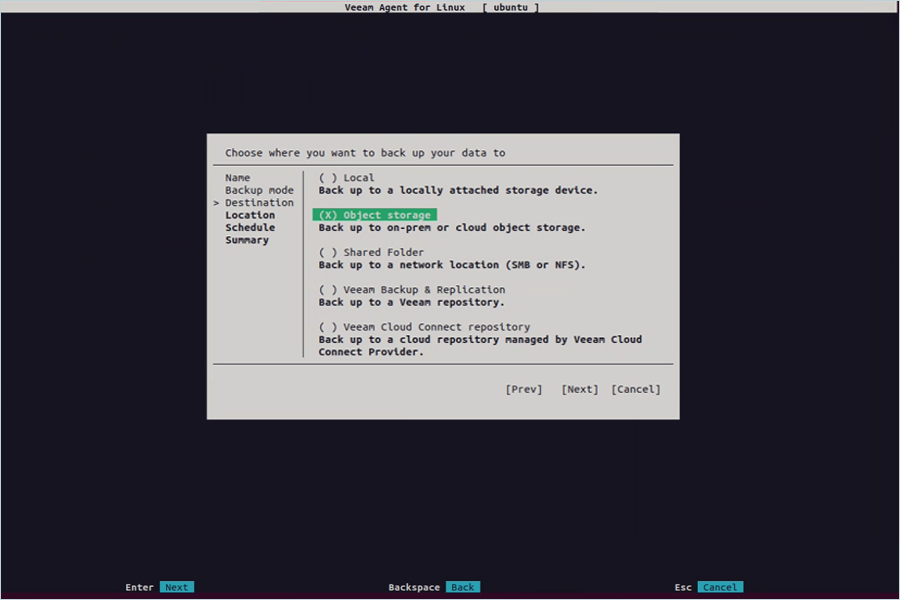
- Choose object storage type
Select S3 Compatible Storage as the object storage type, then press Return key after selecting Next.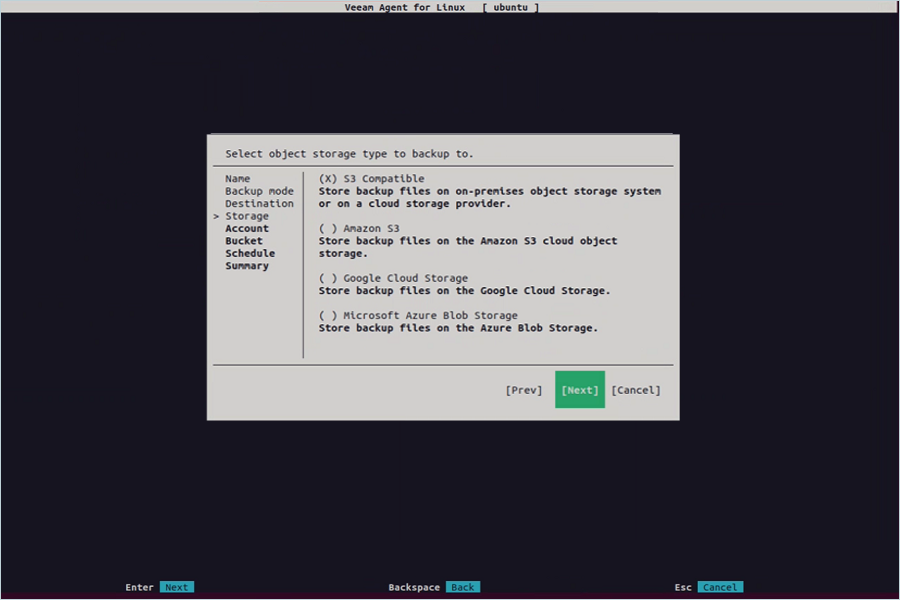
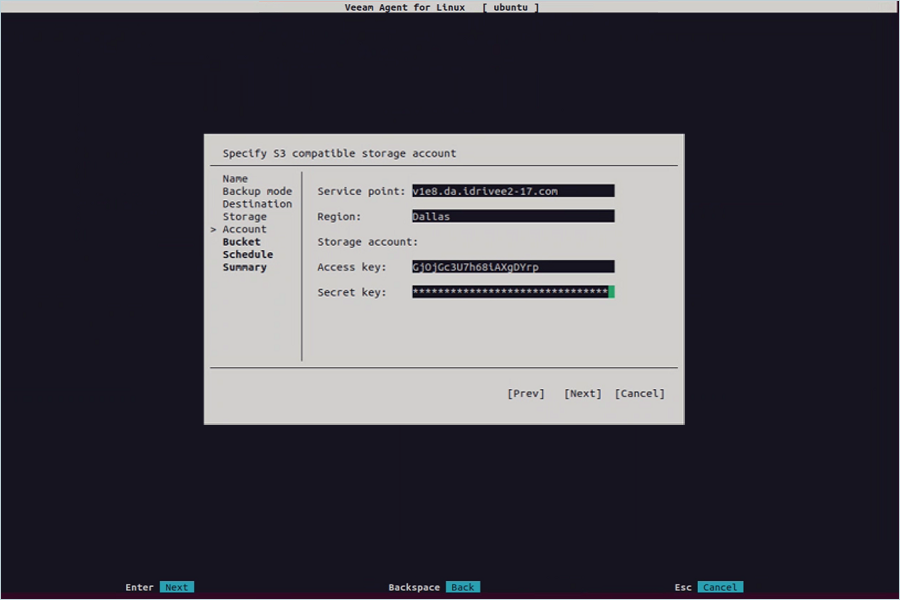
-
Enter IDrive® e2 credentials
- Enter your IDrive® e2 endpoint as the Service Point.
- Enter your IDrive® e2 region.
- Enter your IDrive® e2 Access Key.
- Enter your IDrive® e2 Secret Access Key.
- Press Return key after selecting Next.
- Select destination bucket
Press Return key on Browse, choose your e2 bucket from the list, and confirm.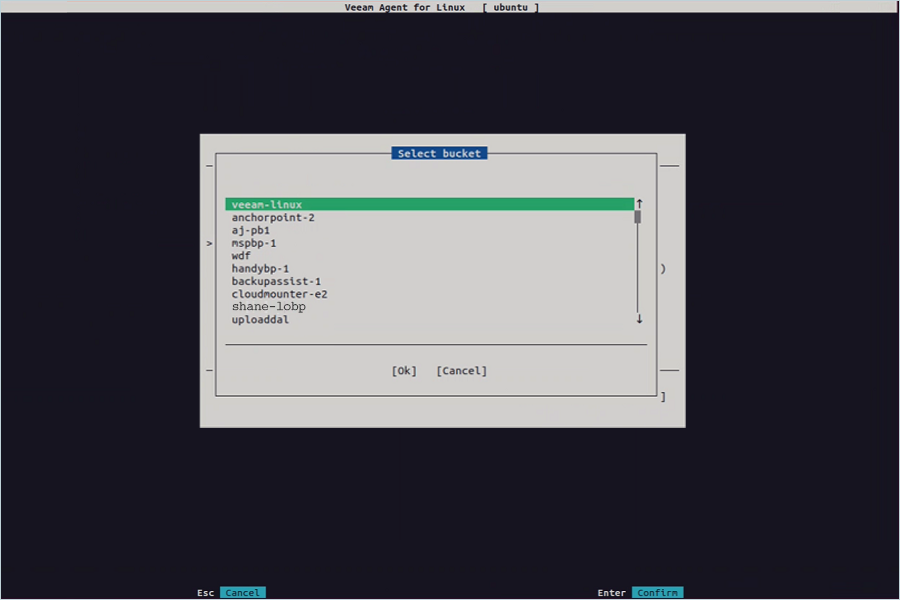
- Select destination folder
Press Return key on Browse, choose a folder within your e2 bucket, then press Return key after selecting Next.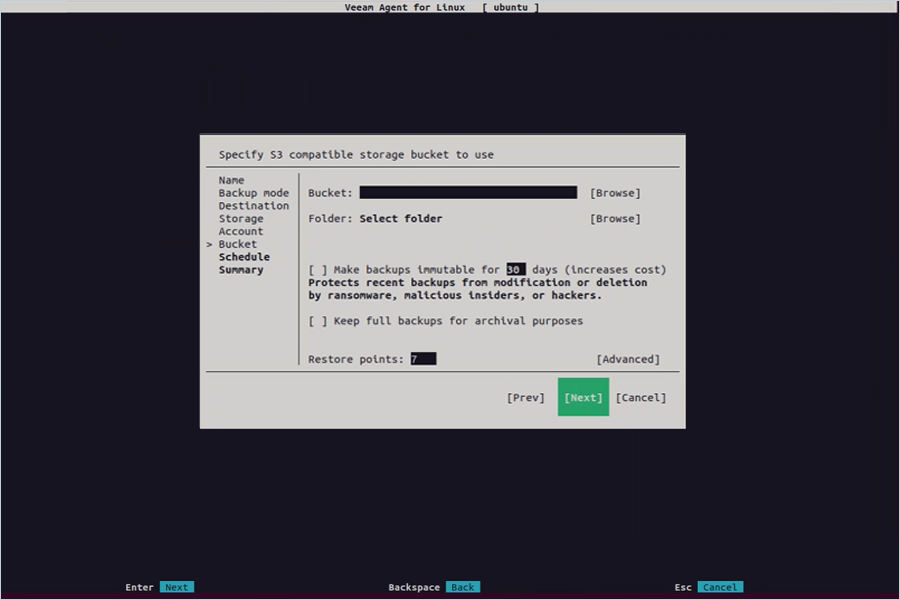
- Schedule the backup
Configure the backup schedule as needed, then press Return key after selecting Next.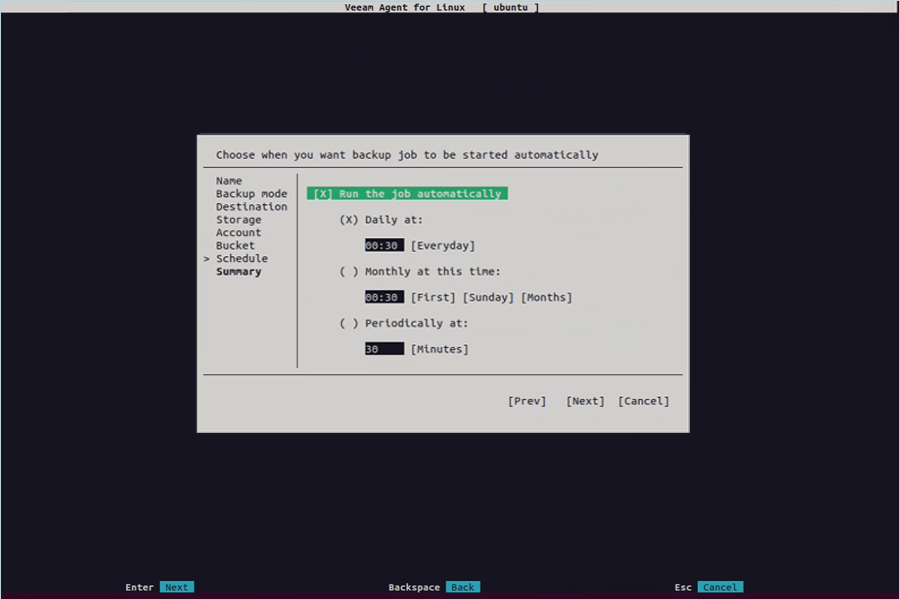
- Review and finish
Review the summary, enable Run the job when I click on Finish if you want to start immediately, then press Return key after selecting Finish.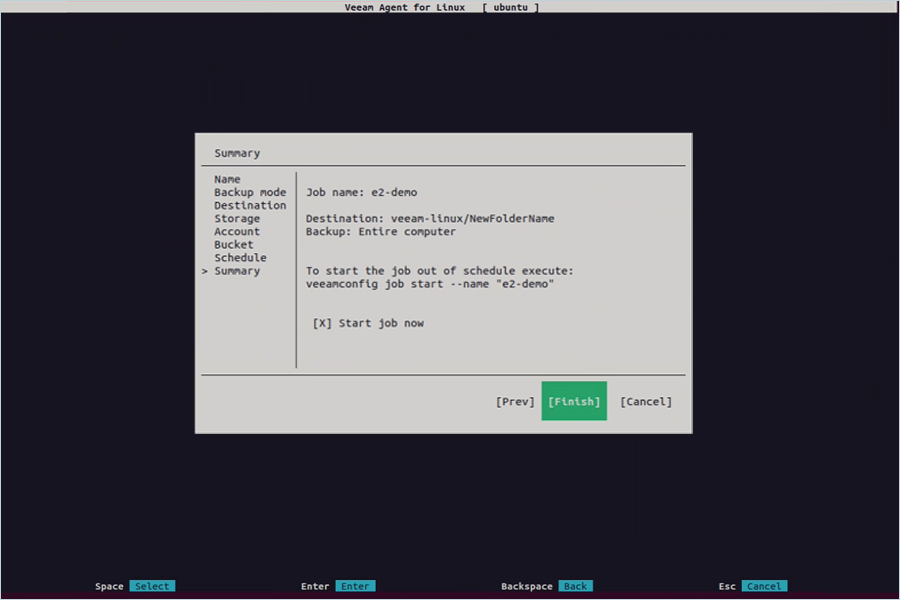
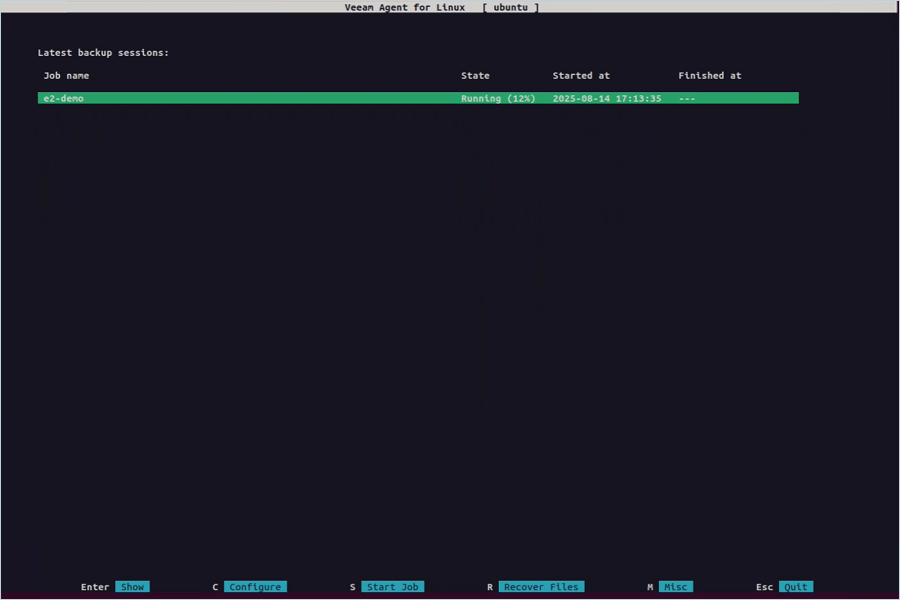
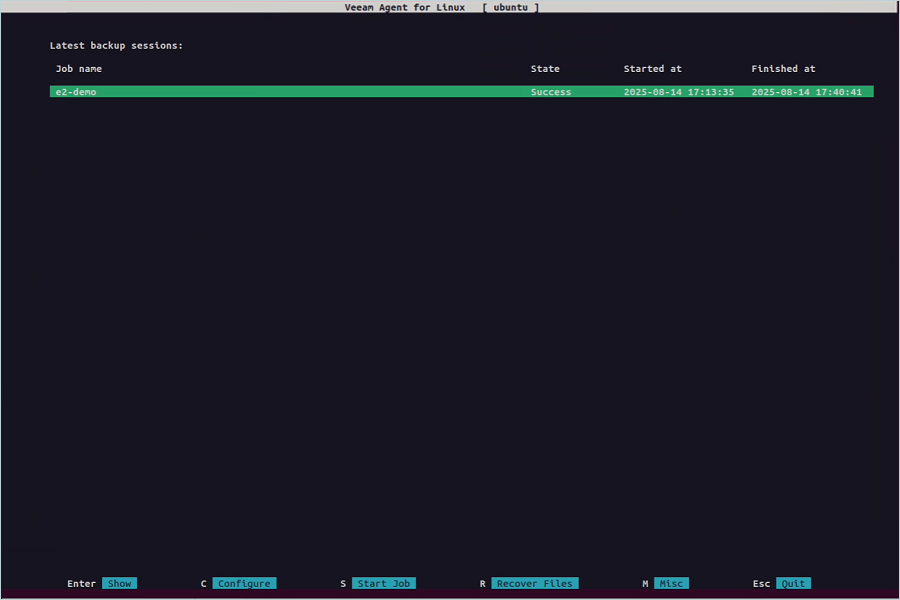
Once the job starts successfully, you can monitor its progress.
The control panel can be navigated using the keys below:
Tab - To switch between controls and buttons in the Backup Job wizard.
Up and Down - To switch between items in a scrollable list.
Space - To select the necessary item in a list. The selected item's mark may vary in different steps of the wizard.
Enter - To proceed to the next step of a wizard or to view details of the backup job session selected in the list of sessions.
Backspace - To return to the previous step of a wizard (you cannot use this button to change wizard steps when a text field is selected).
Esc - To exit the wizard currently used or close the Veeam Agent for Linux control panel.
Restore the backup from IDrive® e2 to Local System
1. Using Command Line
You can restore one or more computer volumes from a volume-level backup using the command line interface (CLI), as this feature is not available in the Veeam Agent for Linux control panel. By default, Veeam Agent restores from the latest restore point, but you can also choose a specific restore point to recover data to a desired point in time.
- To see a list of backups created by Veeam Agent, use the command below.
veeamconfig backup list --all
- To view detailed information about a specific backup, use the command provided below.
veeamconfig backup show --id (Where -id of backup which you want view)
- To view information about restore points in the backup, use the command below.
veeamconfig point list --backupid
-
To initiate the process of restoring the volume level from a backup, use the command provided below.
veeamconfig backup restore --id --targetdev --backupdev
- To start the volume-level restore from a specific restore point, use the following command.
veeamconfig point restore --id --targetdev --backupdev <>
- ID of the backup.
- ID of the restore point.
- Path to a block device that represents a volume on your computer in which to recover. This parameter is optional.
- Path to a block device that represents a volume in the backup.
Note:
- To monitor and view the session log of a Veeam Agent for Linux, use the following command.
veeamconfig session log --id (Where -ID of restore session)
2. Recovering Files and Folders Using Veeam Recovery Wizard
To recover files and folders,
- Launch the Veeam Agent control panel.
Type the following command in the terminal:
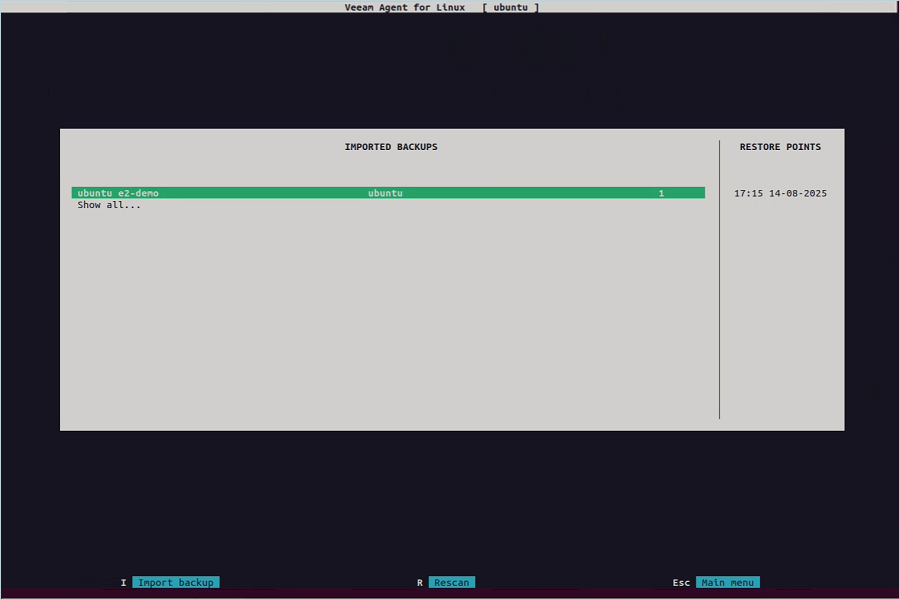
veeam - Press the R key to proceed to the File Level Restore wizard.
- Select the Backup from which to restore. Press the Enter key.
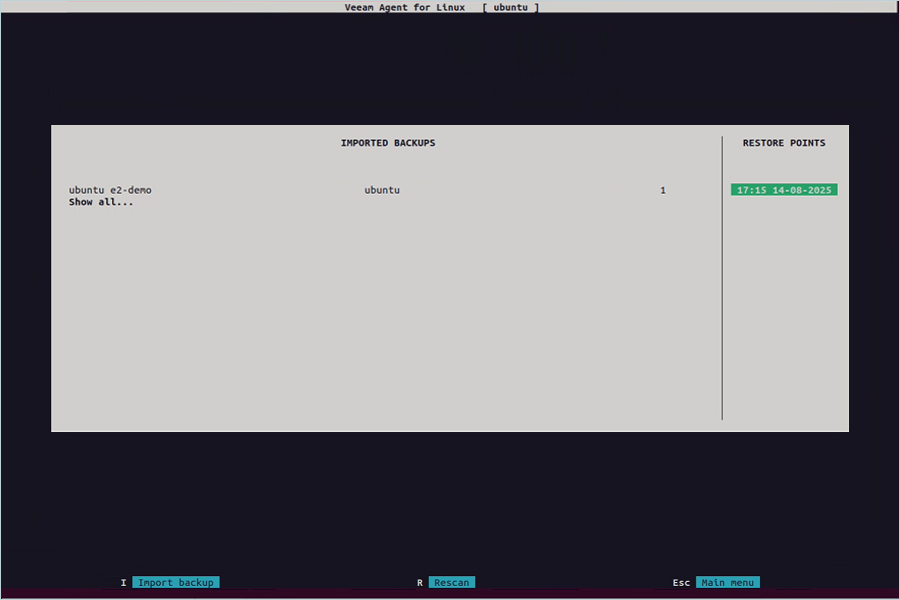
- Select the restore point to use. Press the Enter key.
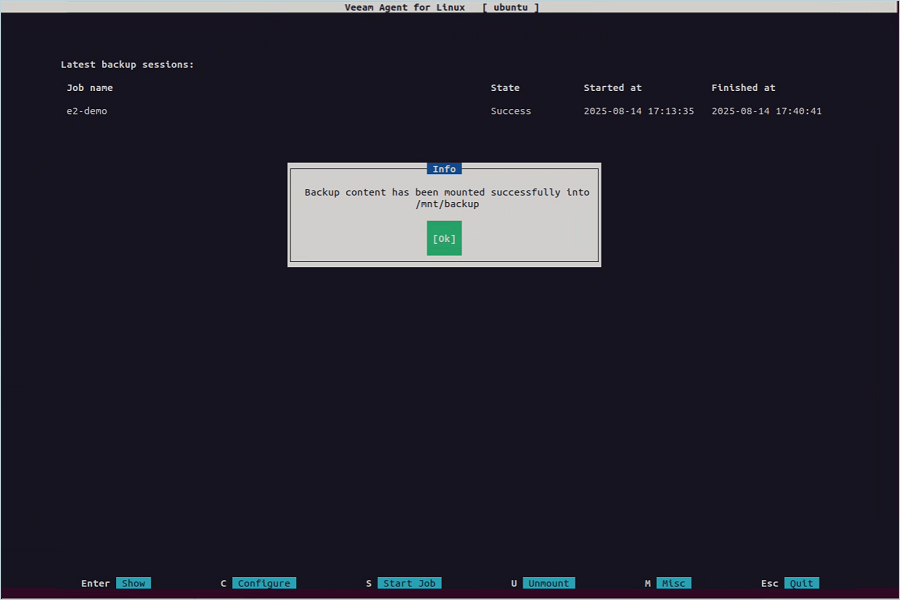
- The Veeam agent mounts the backup files to the "/mnt/backup" directory. Press the Return key on OK to continue.
Enable immutability
Veeam Agent for Linux v6 adds the ability to create immutable backup jobs.
To create immutable backups for your Linux computer,
- Configure Object Lock on your IDrive® e2 bucket.
- When setting up the backup job, enable immutability by selecting the Make recent backups immutable checkbox and specifying the number of days to retain immutability. Click Next.
- A confirmation message will appear, informing you about the increased cost due to immutability. Click OK to proceed.
- Proceed with the remaining steps to finalize the backup job configuration.