Integrate Tintri IntelliFlash with IDrive® e2
Tintri IntelliFlash is an intelligent storage platform that delivers all-flash and hybrid arrays with unified block and file support, built on a flash-optimized ZFS architecture for consistent, low-latency performance across virtualized and database workloads. It combines advanced data services, optimum protection, and hybrid cloud capabilities through its S3 Cloud Connector and analytics-driven management. Integrating Tintri IntelliFlash with IDrive® e2 provides a capable, scalable cloud object storage solution that enables seamless hybrid storage workflows for backup, archiving, and replication.
Prerequisites
Before you begin, ensure the following:
- An active IDrive® e2 account. Sign up here if you do not have one.
- A bucket in IDrive® e2. See how to create a bucket.
- Valid Access Key ID and Secret Access Key. Learn how to create an access key.
- A valid Tintri IntelliFlash account.
Configure Tintri IntelliFlash with IDrive® e2
The following steps can help you successfully configure and integrate Tintri IntelliFlash with IDrive® e2.
- Log in to the IntellifFlash portal.
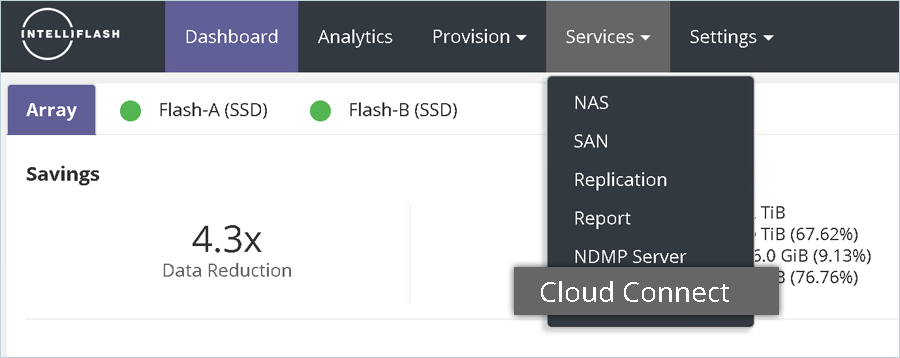
- Navigate to Services, then click Cloud Connect.
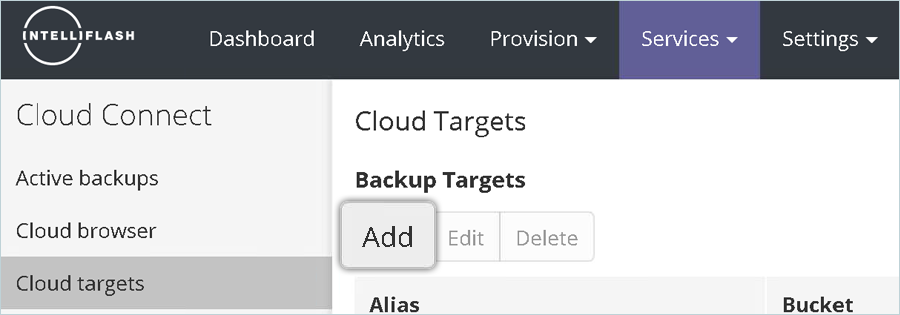
- Click Cloud targets.

- Click Add.
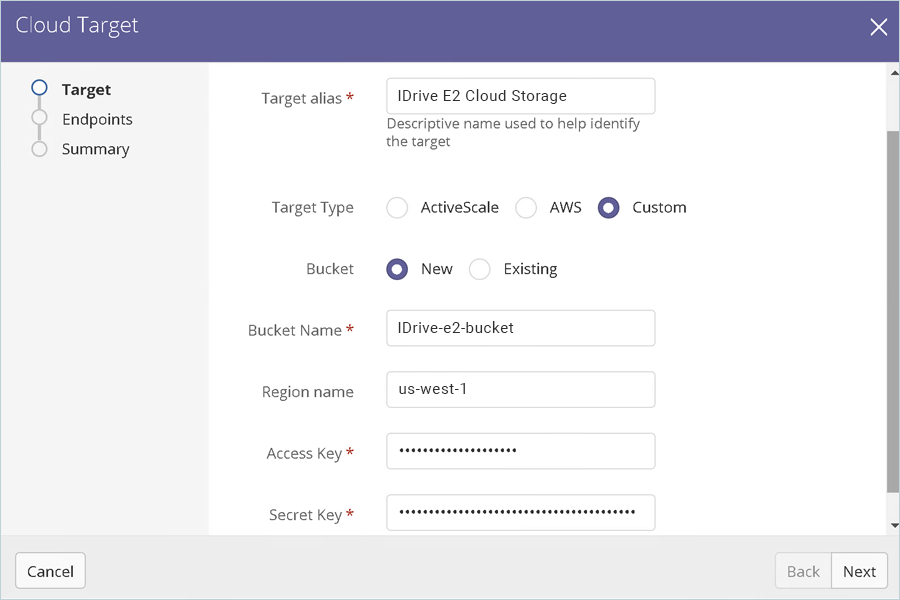
- Provide the following details.
- Enter IDrive® e2 Cloud Storage as the Target alias.
- Select Custom as the Target Type.
- Enter your IDrive® e2 bucket as the Bucket Name.
- Enter your IDrive® e2 Endpoint as the Region name.
- Enter your IDrive® e2 Access Key as the Access Key
- Enter your IDrive® e2 Secret Key as the Secret Key
- Click Next
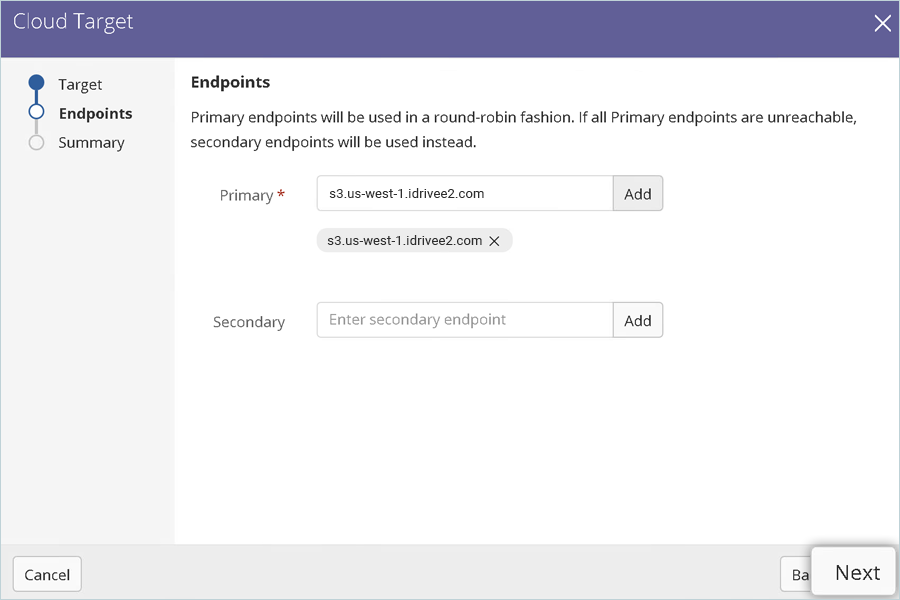
- Add s3.us-west-1.idrivee2.com as the Primary endpoint, then click Add. Click Next.
Note: This config example uses the IDrive® e2 us-west-1 storage region. To use other IDrive® e2 storage regions, please use the appropriate IDrive® e2 service URL as described in this article.
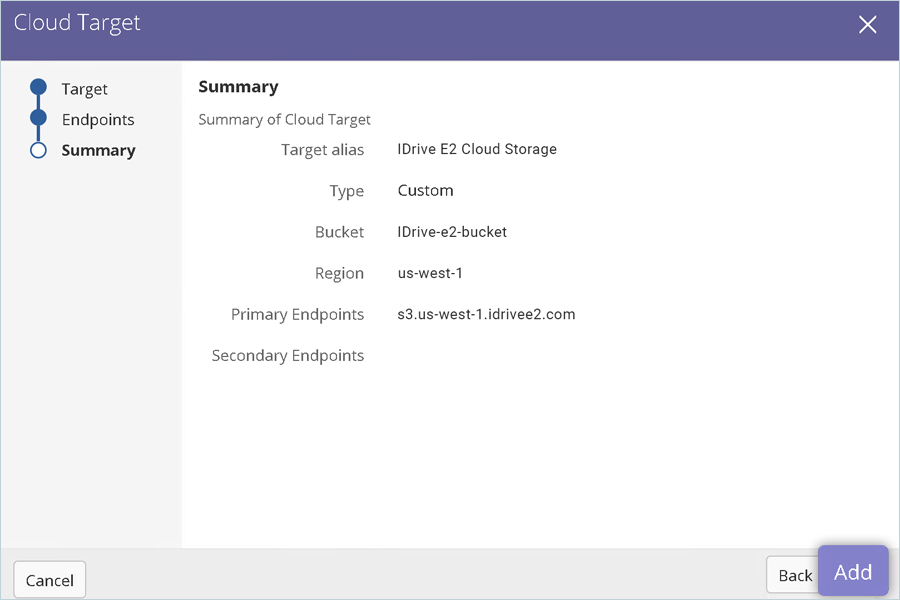
- Review the Summary and click Add.
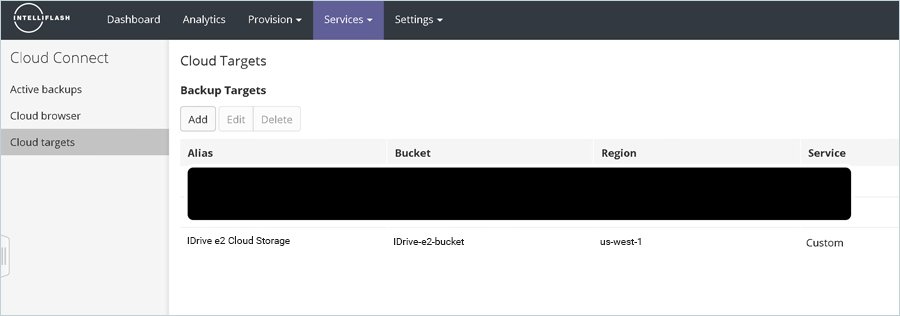
- IDrive® e2 Cloud Storage is listed as a cloud target.
IDrive® e2 storage account has now been added as a Cloud Target. Steps 9-15 provide information on allocating IDrive® e2 Cloud Storage as a backup target for an existing Intelliflash project.
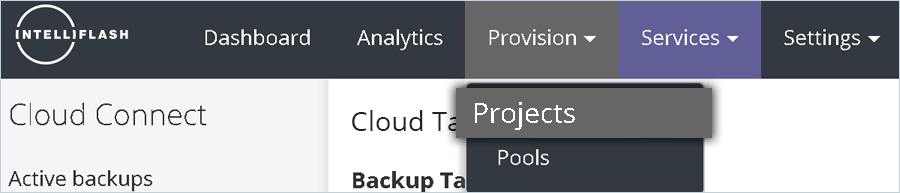
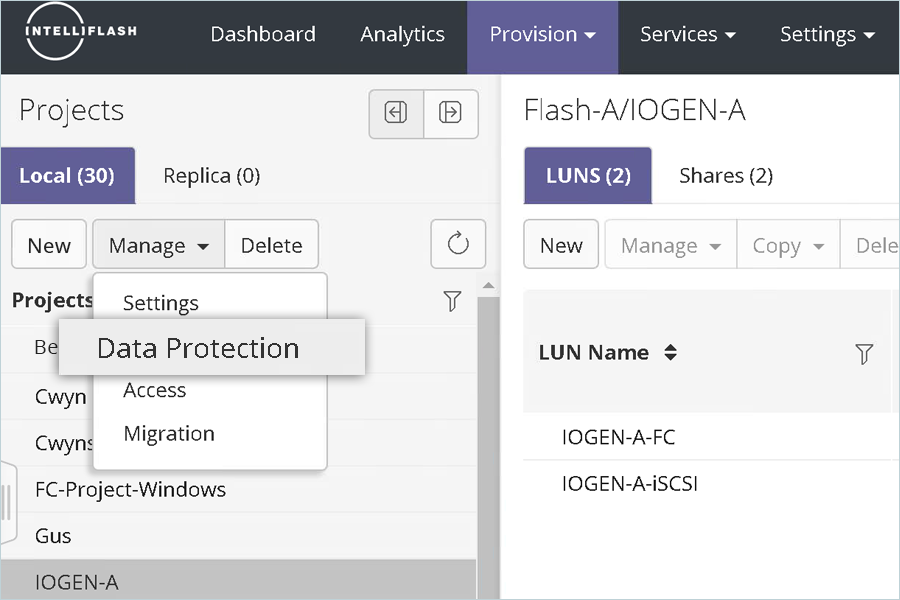
- Navigate to Provision > Projects.
- Select your project, click Manage, and then click Data Protection.
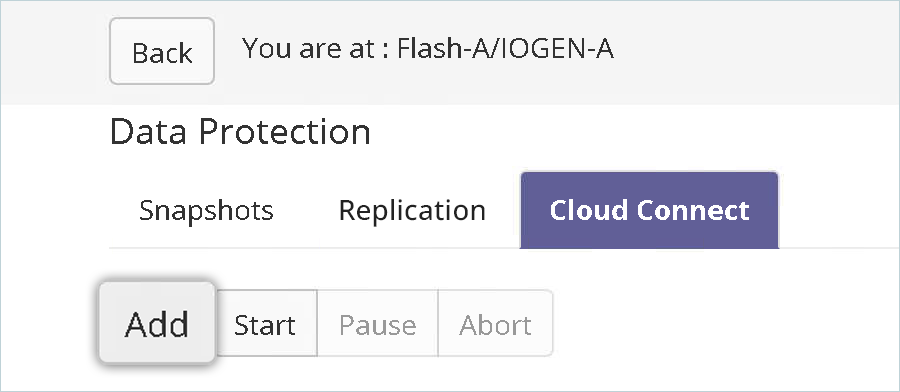
- Navigate to Cloud Connect and click Add.
- Choose IDrive® e2 Cloud Storage from the dropdown and click Next.
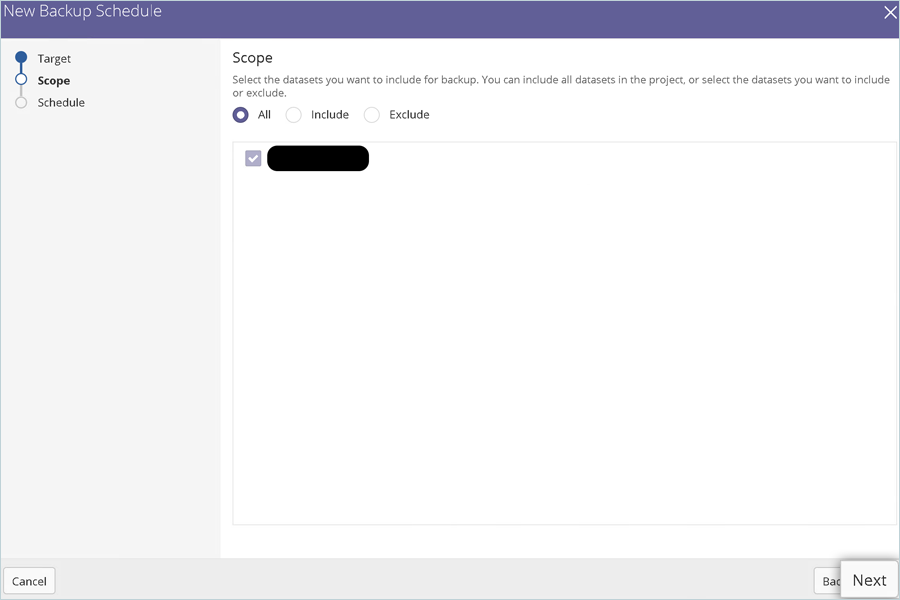
- Select the All radio button to choose the default settings for the Scope, then click Next.
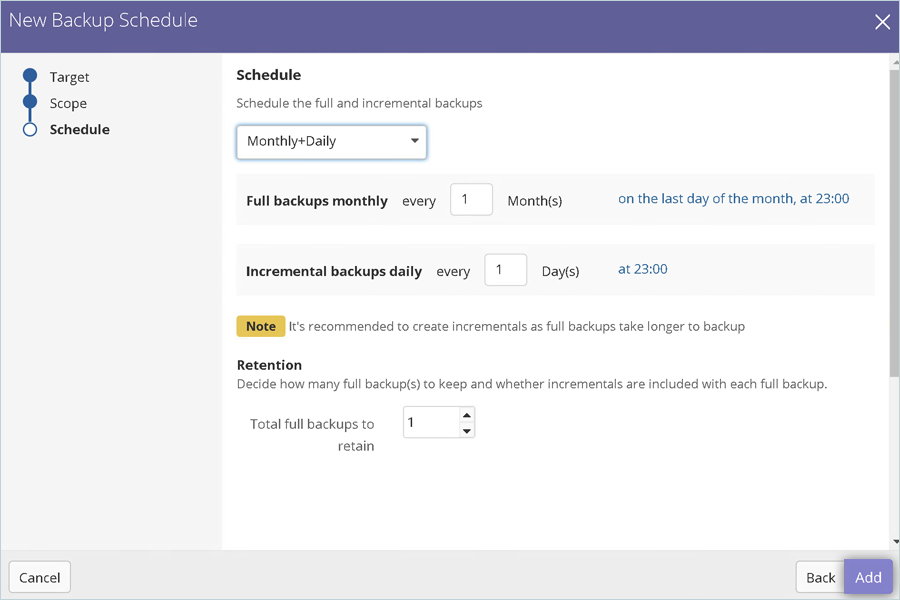
- On the Schedule page, from the dropdown, select Monthly + Daily, then click Add.
- Once you complete step 14 successfully, under the Cloud Connect tab, IDrive® e2 Cloud Storage will be listed as a Cloud Target.
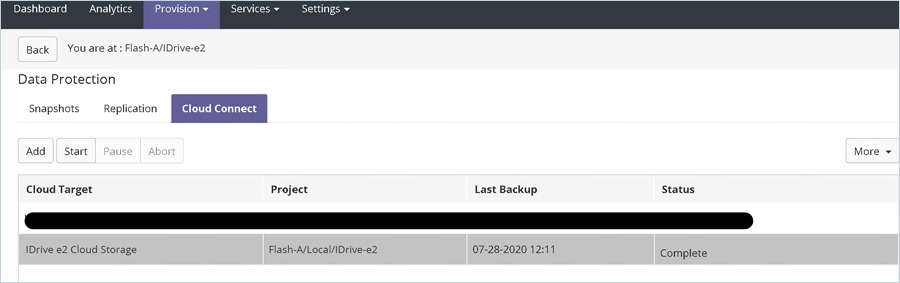
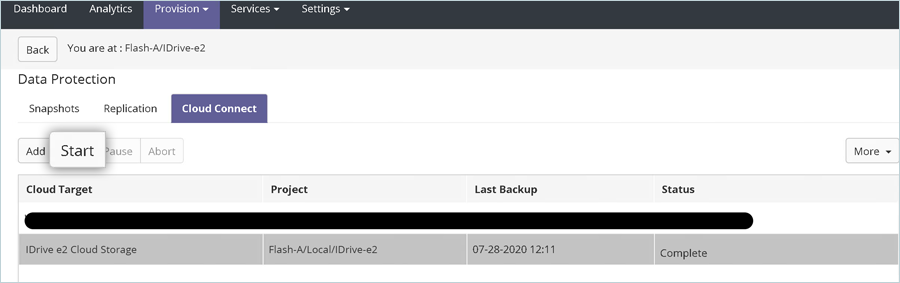
- To manually begin a backup job to IDrive e2, click IDrive® e2 Cloud Storage and click Start.
- Choose the Backup type as Full and click Backup.
- The backup job starts immediately. To review the additional details, click on IDrive® e2 Cloud Storage.
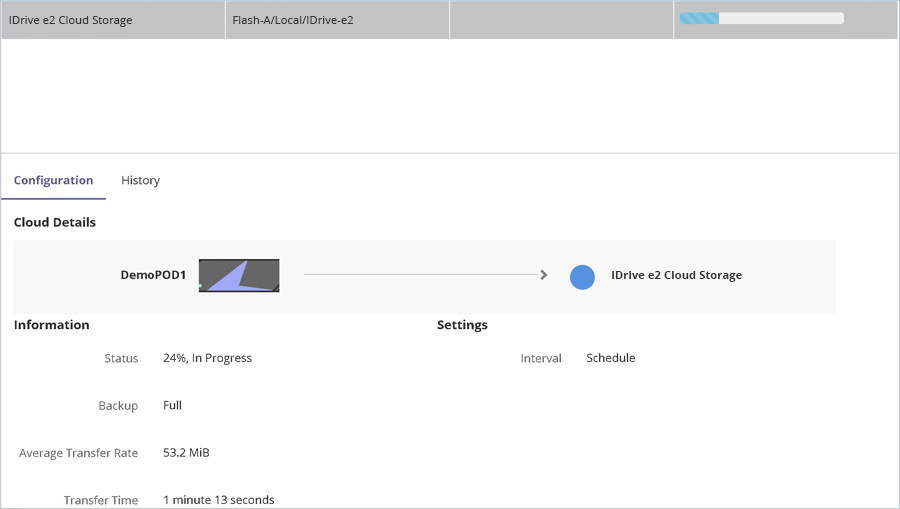
- Once the backup completes, via IDrive® e2 console, navigate to the bucket tintri-IDrivee2-storage to find all the backup data stored on IDrive® e2 storage.
Note: The data restoration process is managed by your backup software, which helps recover lost or compromised data. Each computing environment is unique, and factors such as data type, software settings, and system performance can impact the restoration process. If you encounter issues or have application-specific questions, please contact the technical support team for your backup software for expert assistance.