Integrate Pterodactyl with IDrive® e2
Pterodactyl Panel is an open-source game server management platform built with PHP, React, and Go, offering secure and scalable hosting through Docker containerization. It enables the easy deployment and management of popular game servers, such as Minecraft, Rust, and CS:GO, through an intuitive web interface. Integrating Pterodactyl Panel with IDrive® e2 adds a capable and scalable cloud object storage solution that facilitates systematic integration for secure and efficient game server data management.
Prerequisites
Before you begin, ensure the following:
- An active IDrive® e2 account. Sign up here if you do not have one.
- A bucket in IDrive® e2. Learn how to create a bucket.
- Valid Access Key ID and Secret Access Key. Learn how to create an access key.
- A valid Pteradactyl Panel Admin account.
The following steps can help you successfully integrate Pterodactyl Panel with IDrive® e2 cloud object storage.
Configure Pterodactyl with IDrive® e2
- Install and configure the proper environment variables.
Edit your .env file which is in "/var/www/pterodactyl"# Set your panel to use s3 for backups APP_BACKUP_DRIVER=s3 # Info to actually use s3 AWS_DEFAULT_REGION=Oregon AWS_ACCESS_KEY_ID=SDF23452NFSGBWB7FBSDFG8D AWS_SECRET_ACCESS_KEY=************************ AWS_BACKUPS_BUCKET=my-pterodactyl-backups AWS_ENDPOINT=https://r4a6.or5.idrivee2-75.comNote: If your backups are taking longer than 1 hour and you are encountering errors, you may need to add the following config entry to your .env file, then adjust the time accordingly. Pterodactyl uses a default expiration of 60 minutes for pre-signed URLs. Try upping the value to something larger, which can accommodate the time it takes you to upload your backups.
BACKUP_PRESIGNED_URL_LIFESPAN=60
-
Restart the Pterodactyl Queue Worker
#sudo systemctl restart pteroq.service
Add and Run Backup
- Log in to your Pterodactyl Panel Admin.
- Click Servers on the left-hand side.
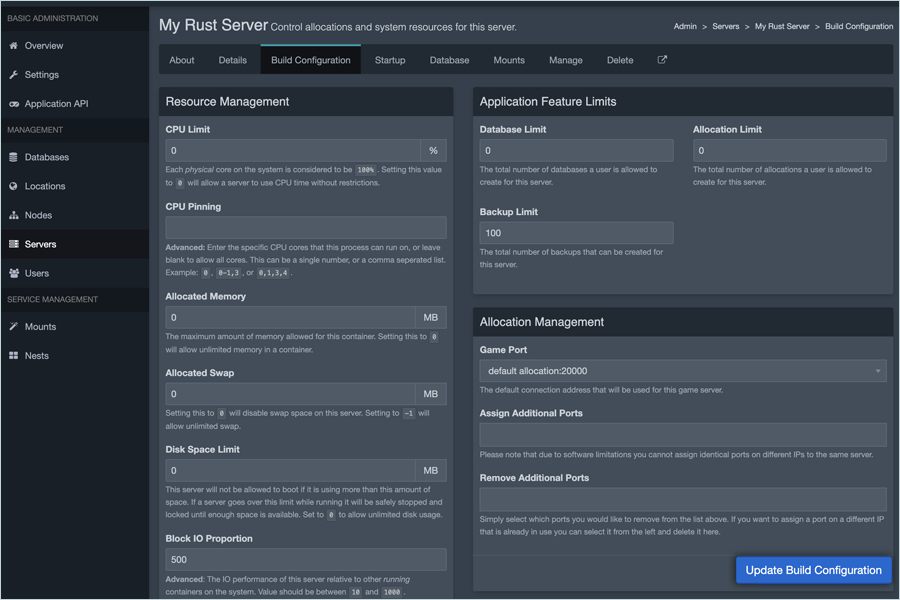
- Select the Server on which you wish to enable backups.
- Under Application Feature Limits, edit the Backup Limit field to the desired number of backups.
- Click Update Build Configuration.
- Exit the Admin Panel, and load the Standard Panel.
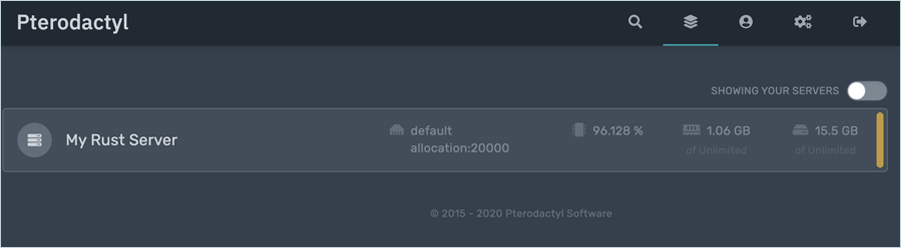
- Select the Server you wish to back up.

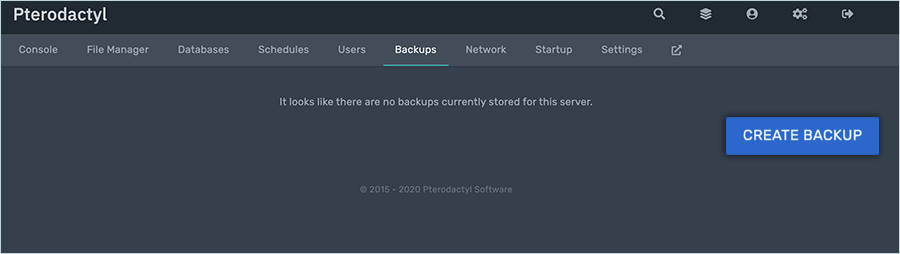
- Click Backups and then click Create Backup.
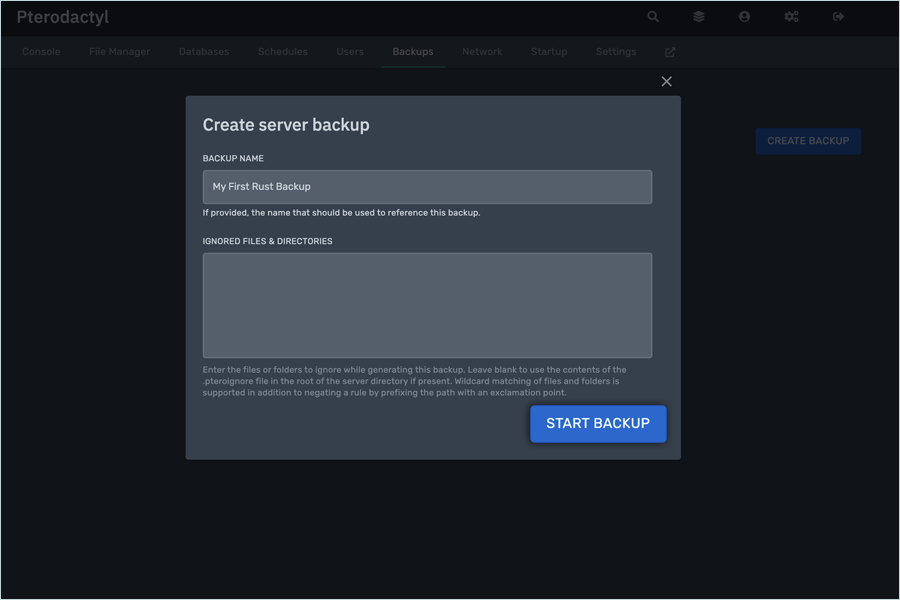
- Enter a BACKUP NAME, select any ignored files, and then click START BACKUP (In this example, we are not ignoring any files).
- Your backup will run in the background until it is complete.
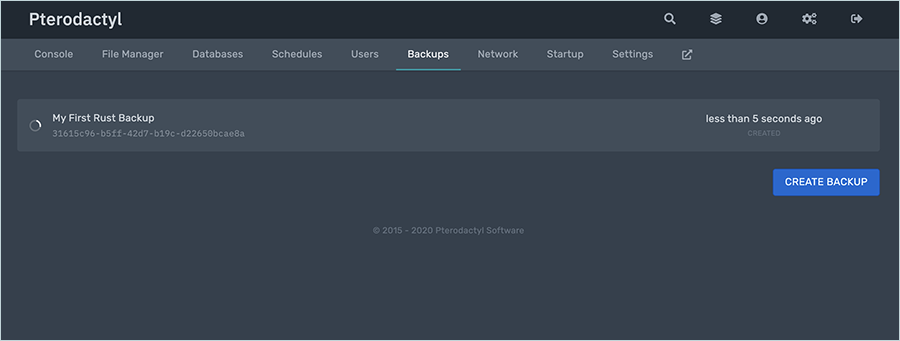
- Verify the backup is running without any issues.
- You can log in to your node and run a tail on the log files to verify that the backup is being created.

Note: The data restoration process is managed by your backup software, which helps recover lost or compromised data. Each computing environment is unique, and factors such as data type, software settings, and system performance can impact the restoration process. If you encounter issues or have application-specific questions, please contact the technical support team for your backup software for expert assistance.