Related Links
Integrate MSP360 CloudBerry Drive with IDrive® e2
MSP360 CloudBerry Drive enables you to mount cloud storage to your Windows workstation or Windows Server as a network drive. You can configure CloudBerry Drive with IDrive® e2 hot cloud storage. Learn more about MSP360 CloudBerry Drive.
Prerequisites:
Before uploading files using MSP360 CloudBerry Drive, you require:
- An active IDrive® e2 account. Sign up here if you do not have one.
- A bucket in IDrive® e2. See how to create a bucket.
- A valid Access Key ID and Secret Access Key. Learn how to create an access key.
- A valid license for MSP360 CloudBerry Drive Application.
Configure MSP360 CloudBerry Drive with IDrive® e2
- Install and launch the MSP360 CloudBerry Drive Application.
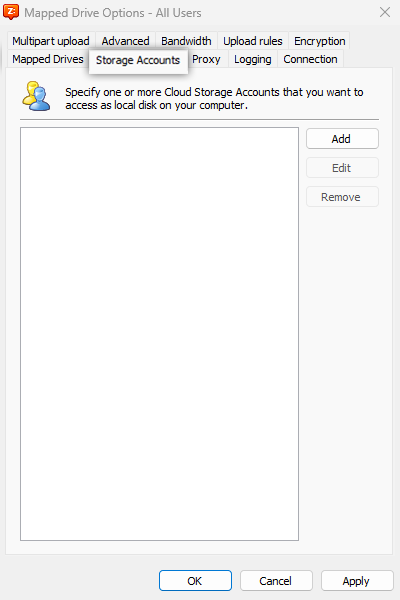
- Navigate to Storage Accounts and click add.
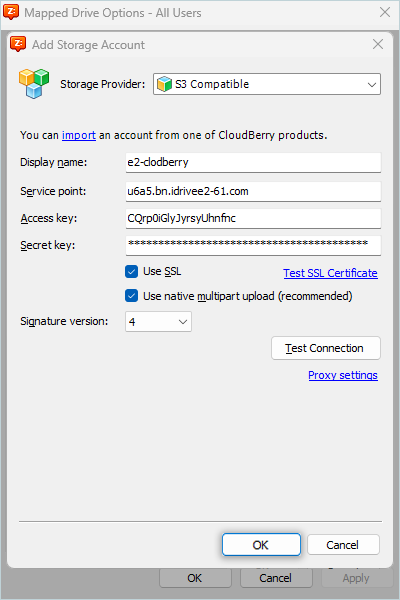
- Select Storage Provider as S3 Compatible from the drop-down.
- Enter a Display name.
- Enter IDrive® e2 storage end-point as a Service point.
- Enter the IDrive® e2 Access key as the Access key.
- Enter the IDrive® e2 Secret Access Key as the Secret key.
- Select Signature version.
- Click Test Connection.
- Click OK.
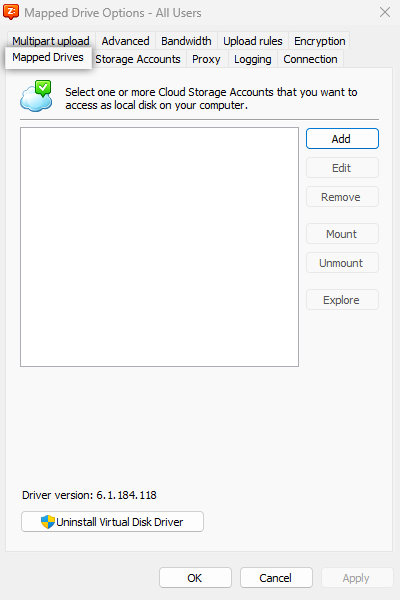
- Select Mapped Drives from the options.
- Click Add.
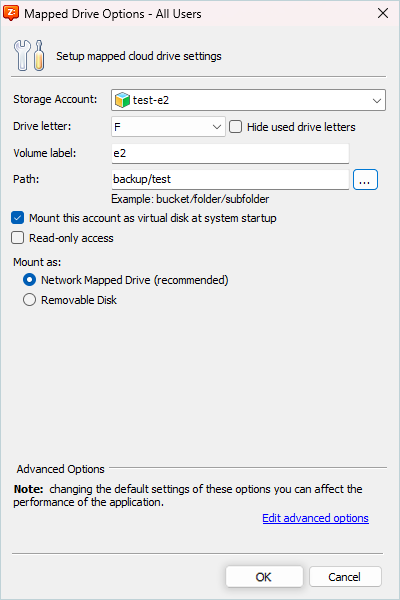
- Select the added IDrive® e2 storage account as Storage Account.
- Select the Drive letter from the list.
- Mention the Volume label.
- Select the path for the IDrive® e2 bucket.
- Click OK and confirm to mount the Drive.
Result: After mapping the drive, that will display in Windows file explorer (Ex: e2/F).