Integrate MicroFocus Data Protector with IDrive® e2
MicroFocus Data Protector is an enterprise-grade backup and disaster recovery solution designed to safeguard physical, virtual, and cloud environments with application-consistent backups, advanced VM protection, and centralized management. It ensures business continuity through automated disaster recovery, granular restores, and predictive analytics for optimized performance. Integrating MicroFocus Data Protector with IDrive® e2 adds a capable and scalable cloud object storage solution that facilitates systematic integration for secure, efficient, and cost-effective data protection.
Prerequisites
Before you begin, ensure the following:
- An active IDrive® e2 account. Sign up here if you do not have one.
- A bucket in IDrive® e2. See how to create a bucket.
- Valid Access Key ID and Secret Access Key. Learn how to create an access key.
- Micro Focus Data Protector Software v11.03 installed.
The following steps can help you successfully integrate MicroFocus Data Protector with IDrive® e2 cloud object storage.
Configure MicroFocus Data Protector with IDrive® e2
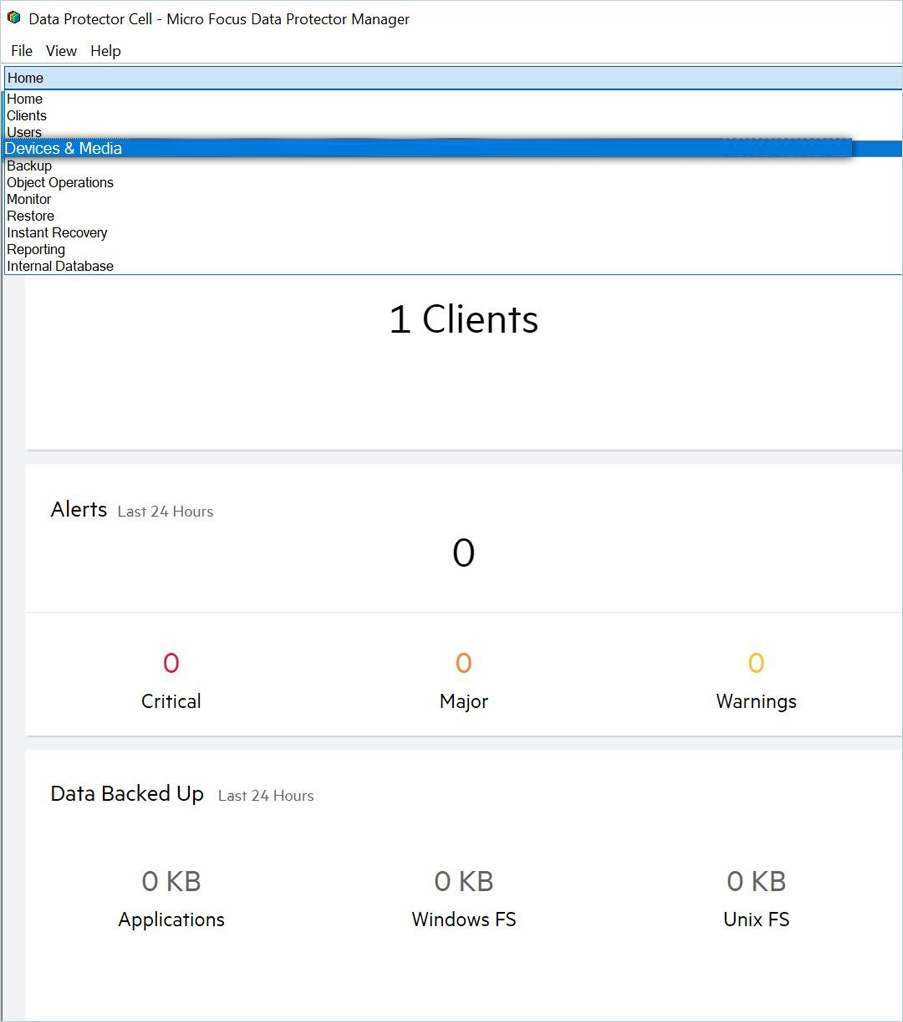
- Install and open Data Protector.
- In Cell Manager, select Devices & Media by clicking the dropdown.
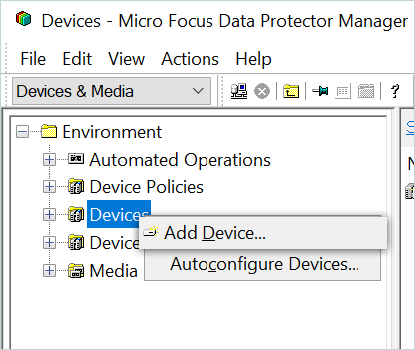
- Right-click Devices and then select Add Device.
- Enter the Device settings as mentioned below.
- Enter a Device name.
- Enter a Description for the Device.
- Select Backup to Disk as the Device Type.
- Select Cloud (Amazon S3 compatible target) as the Interface Type.
- Enter IDrive® e2 Console URL as the Management Console URL
(https://console.idrivee2.com). - Click Next

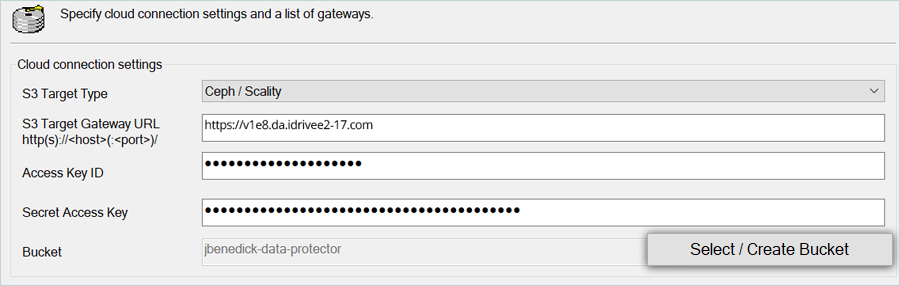
- To specify the Cloud Connection settings, enter your IDrive® e2 details as mentioned below.
- Select Ceph/Scality as S3 Target Type.
- Enter your IDrive® e2 S3 end-point as S3 Target Gateway URL
(e.g., https://v1e8.da.idrivee2-17.com). - Enter your IDrive® e2 Access Key as Access Key ID.
- Enter your IDrive® e2 Secret Key as Secret Access Key.
- Click Select / Create Bucket.
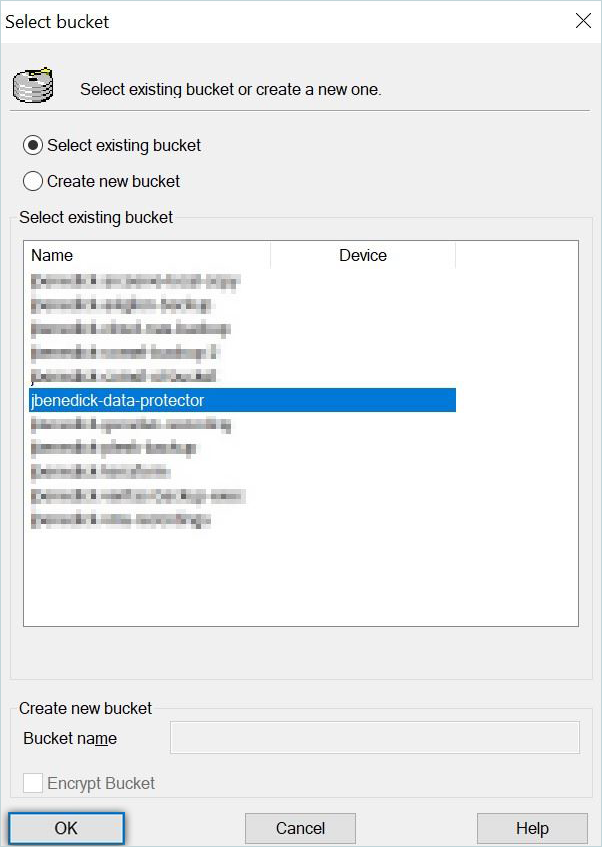
- Select a bucket from the list or Select/Create new bucket, then click OK.
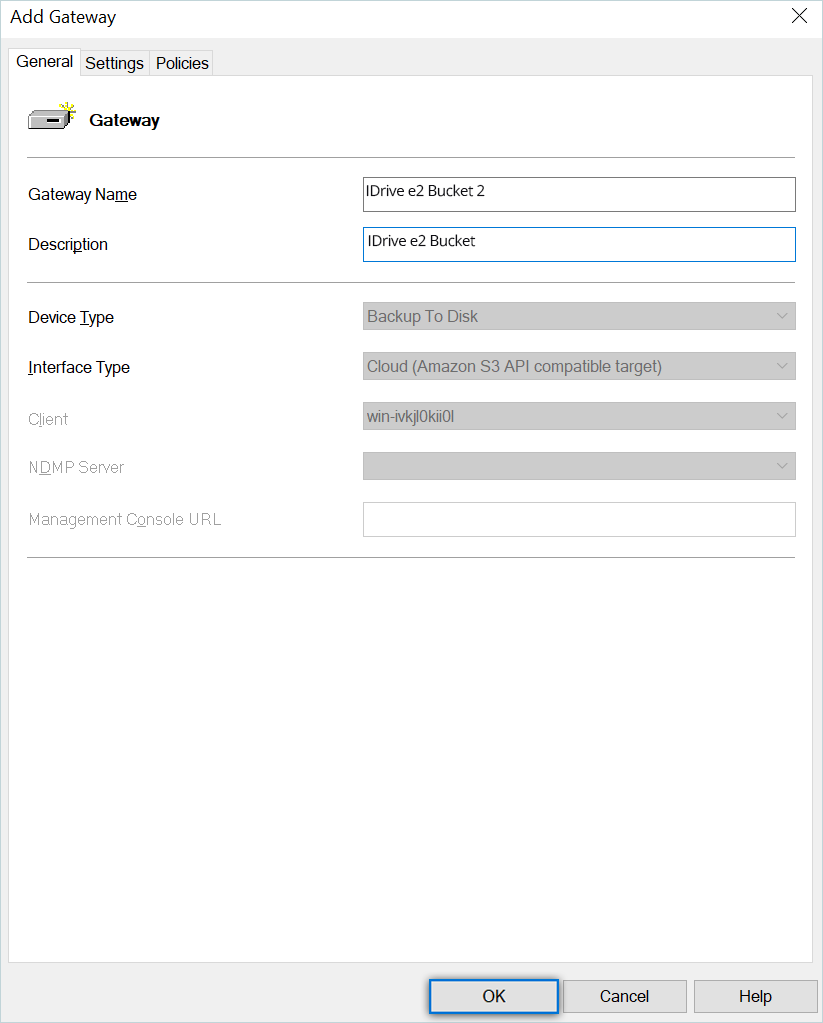
- Click Add under the Gateways Section to add a Gateway.

- Enter a Gateway name.
- Enter Description and click OK.
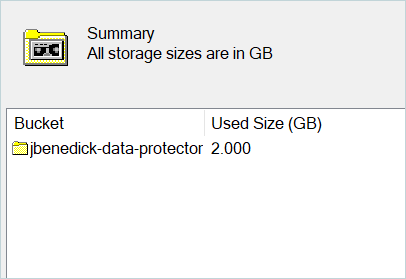
- Click Next and then click on Finish at the bottom of the screen. You can now see a summary of the bucket you created.
Configure Backup
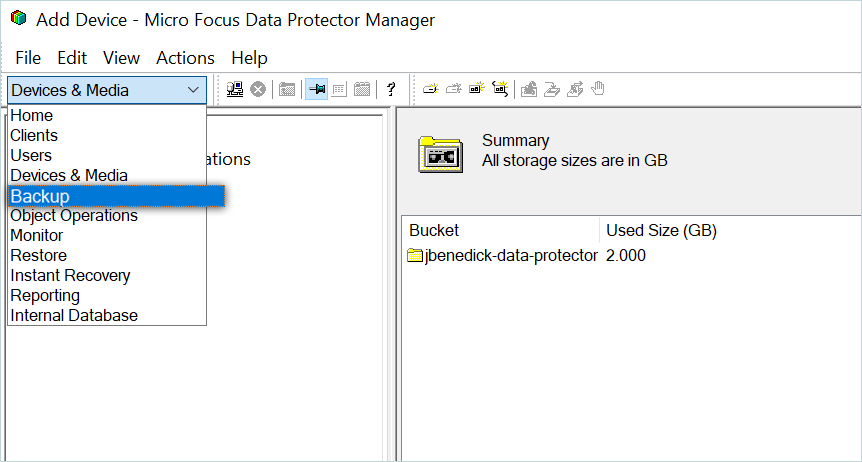
- In Cell Manager, select Backup from the list.
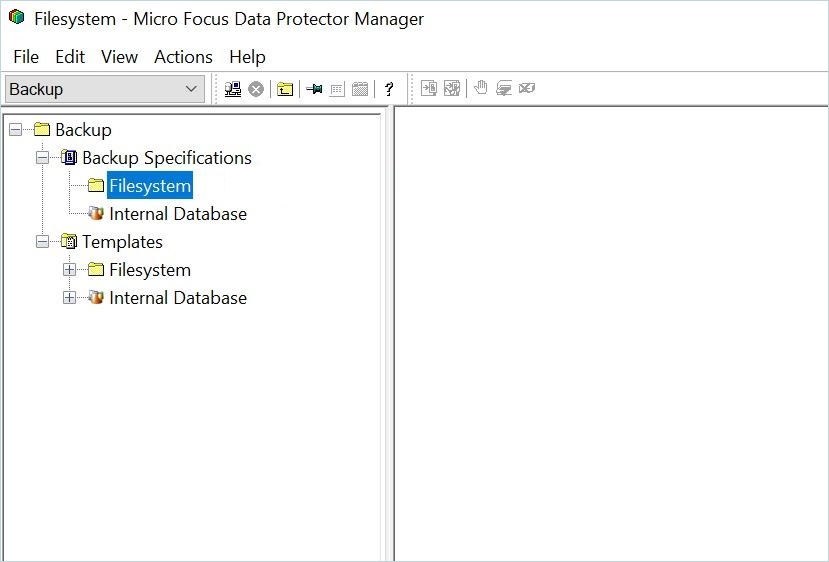
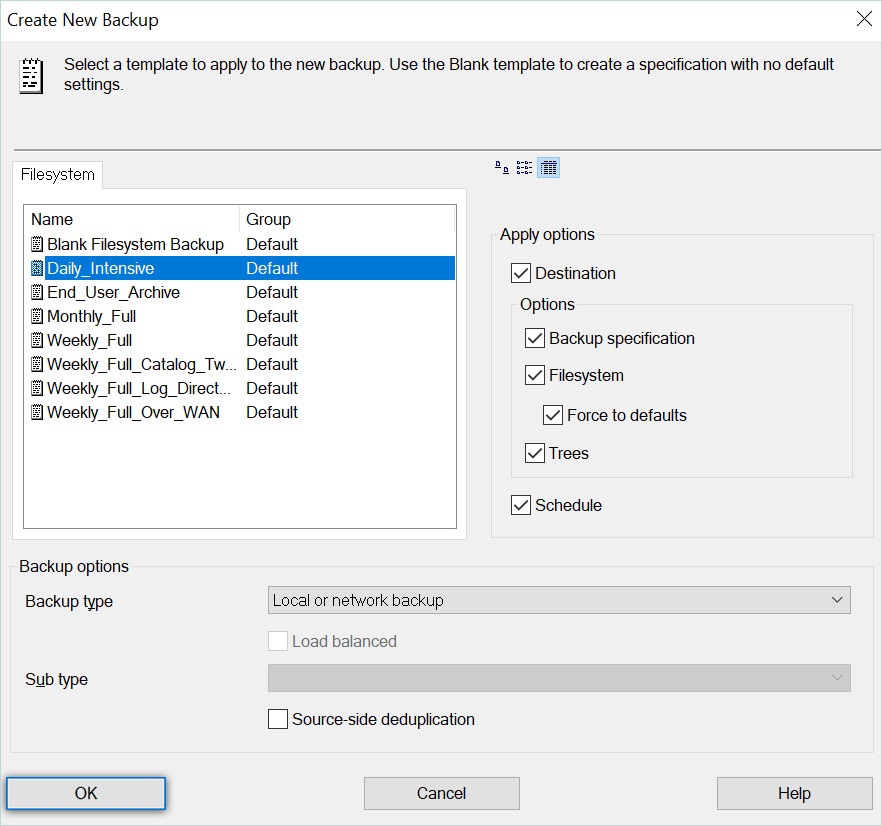
- Under Backup, select and right-click Filesystem, then click Add Backup.
- Select the backup type according to your requirements and click OK.
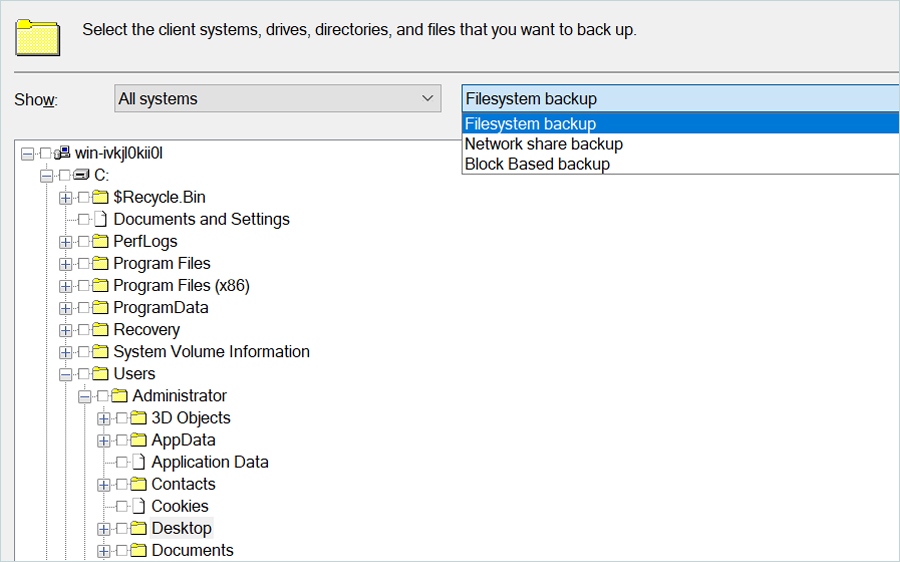
- Select which system you want to back up. Click Next (e.g., Filesystem Backup) at the bottom of the screen.
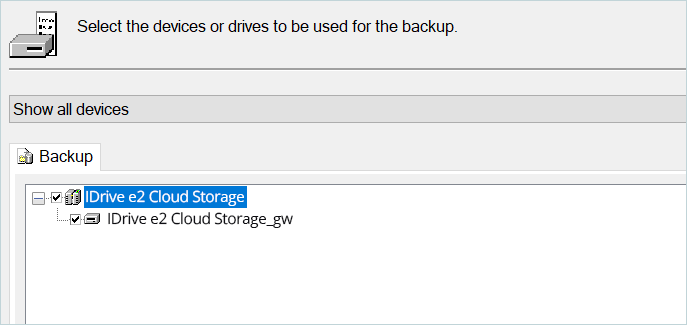
- Select the backup device you want to use for storage, and then click Next at the bottom of the screen.
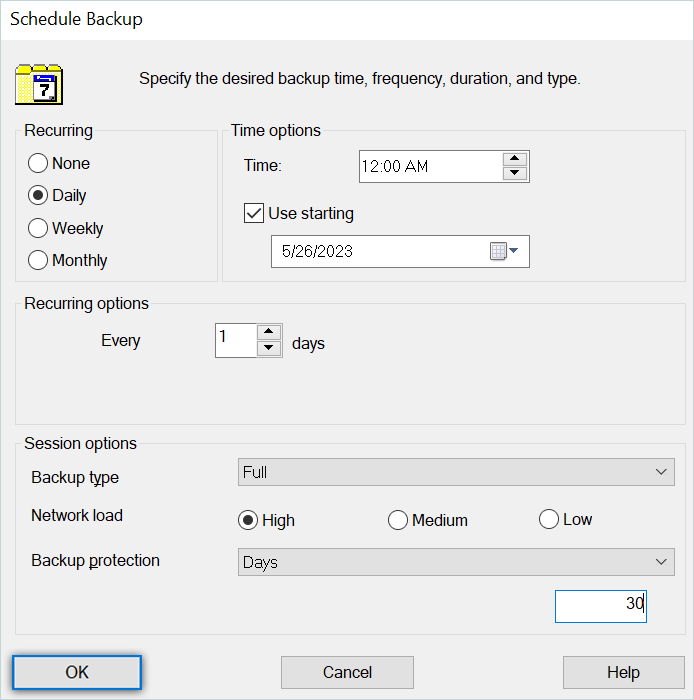
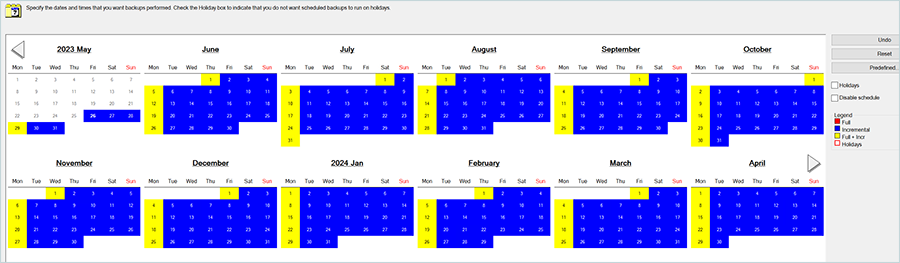
- Schedule a backup according to the requirements and click Add.
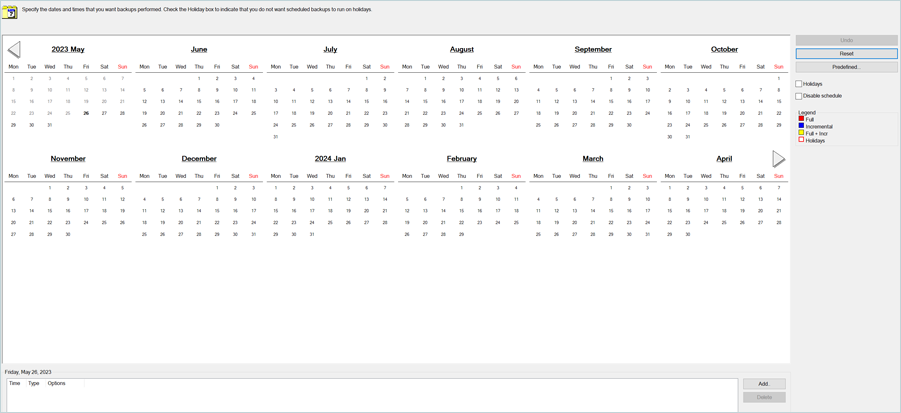
- In the Schedule Backup window, set backup settings.
- Click OK
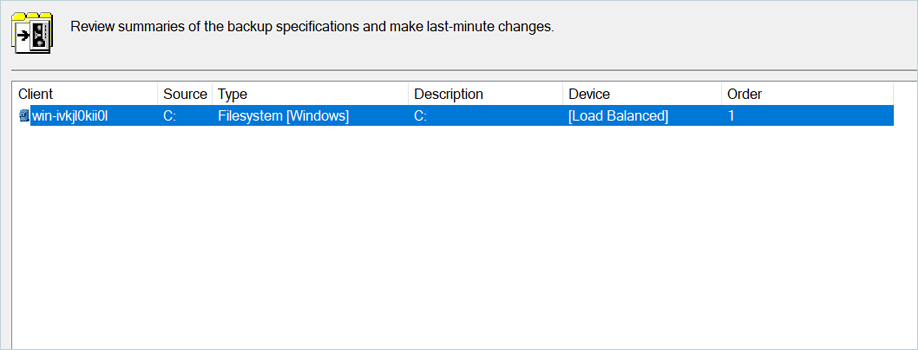
- Review the backup Summary and click Next.
- Finally, you will be prompted to Save, Schedule, Start, or Preview the backup job you created..
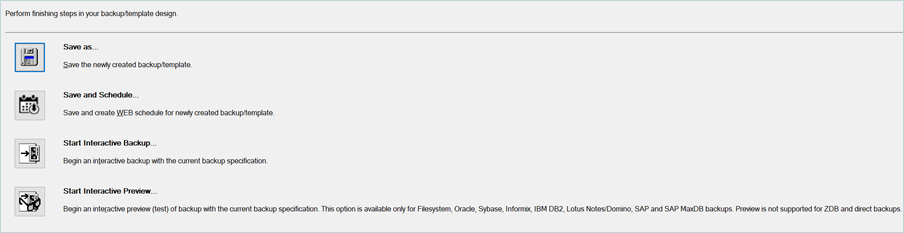
- Choosing Save As will allow you to name the backup and assign it to a specific group.
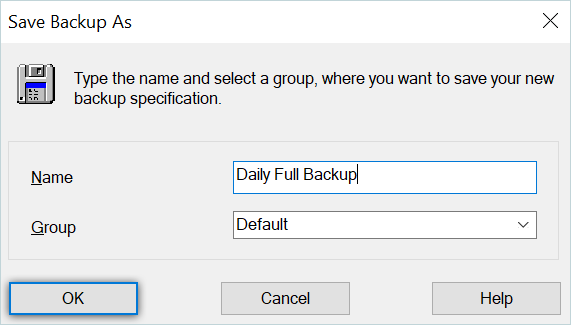
- Choosing Save As will allow you to name the backup and assign it to a specific group.
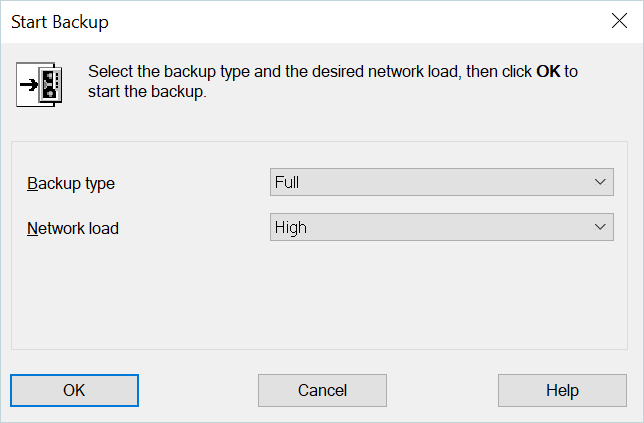
- If you wish to perform Start Interactive Backup. you will be prompted to choose your backup type and Network load.
Upon starting the interactive backup, you can watch and monitor the status of the running job below.
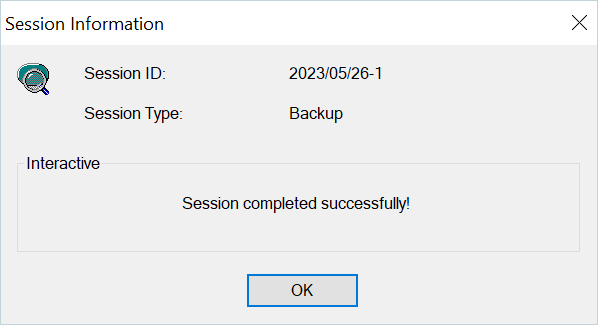
 Once complete, you will receive a confirmation message.
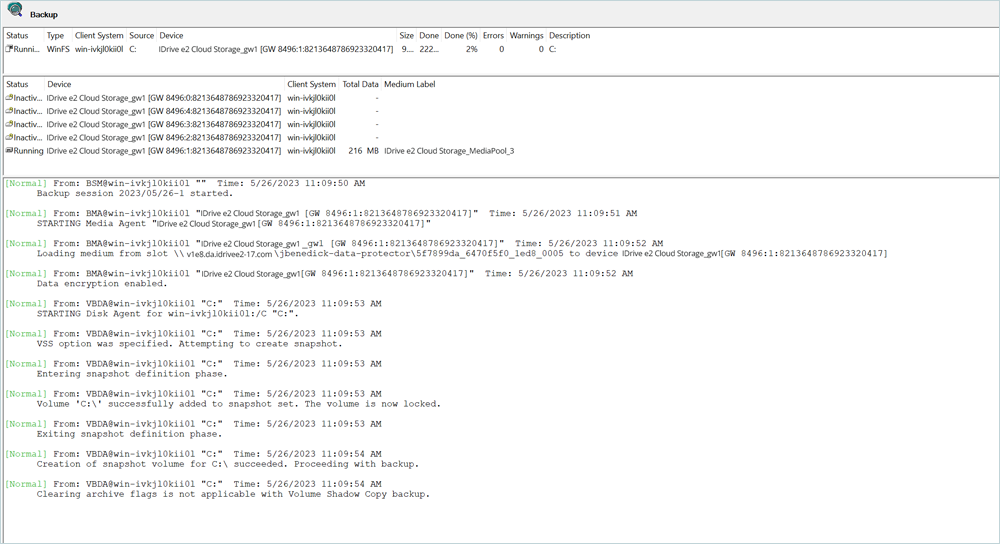
Restore Backup
- In Cell Manager, select Restore from the list.
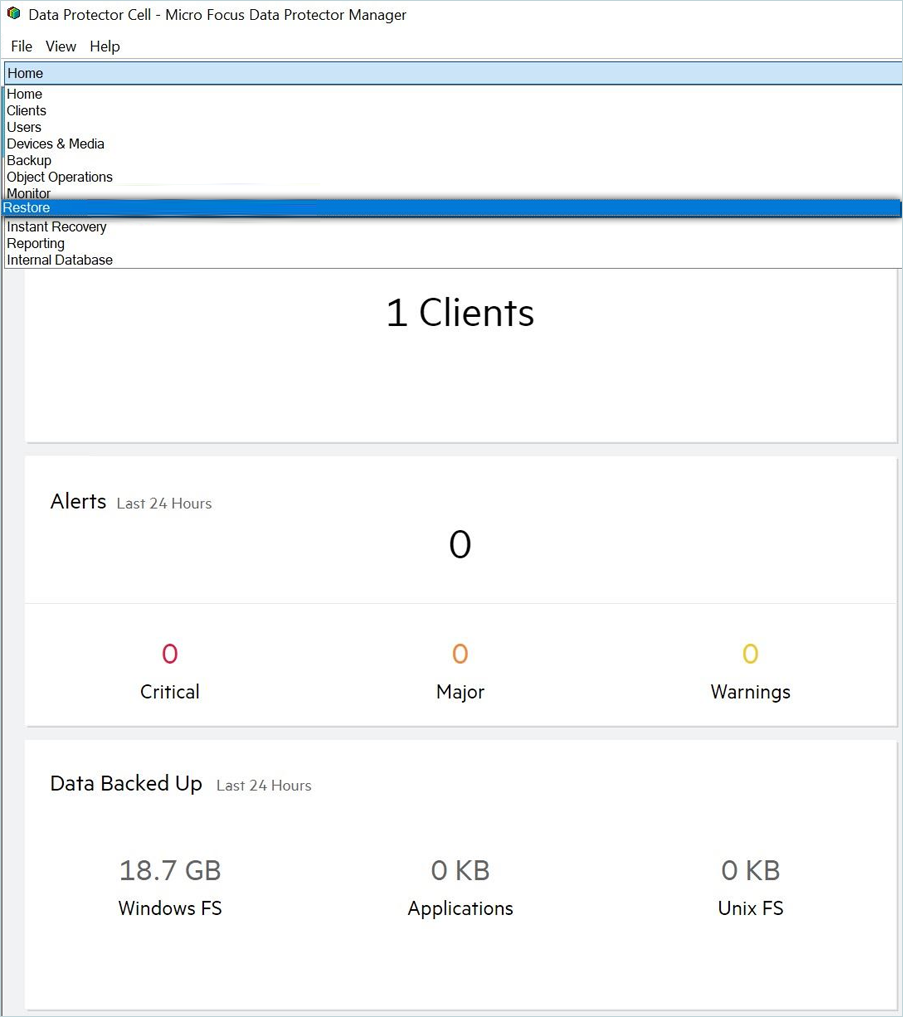
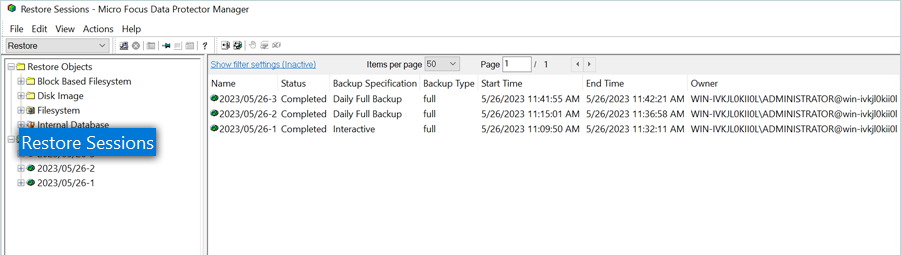
- Click Restore Sessions. This will show you all of your backups to select from.
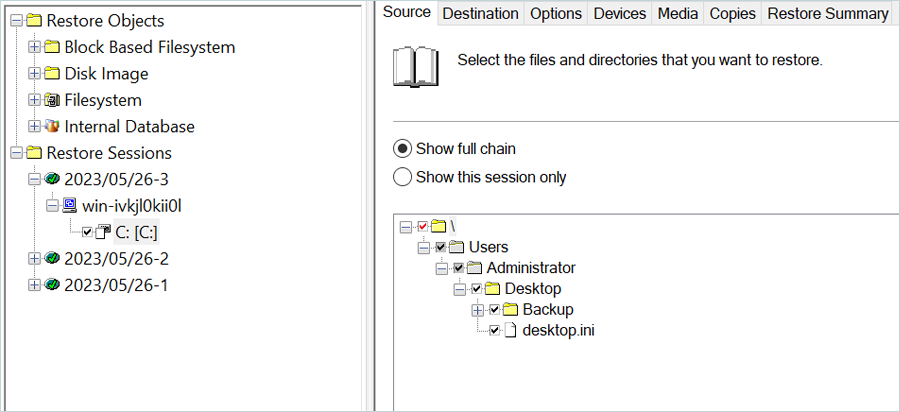
- Select the folders or files you wish to restore, and then click Restore in the bottom right corner
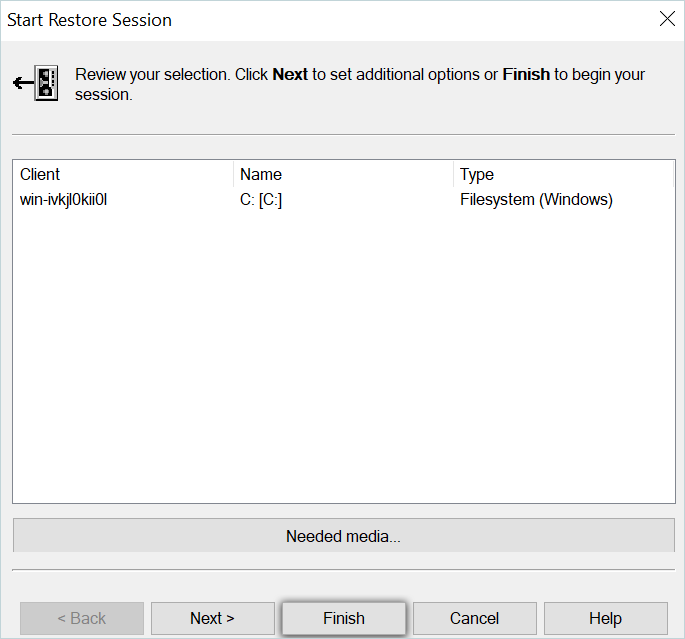
- Next, a Restore Session review summary will appear, and you can click Finish to initiate the process.
Here you will see the restore job run and be able to monitor the progress. Upon successful completion, you will be notified.
 Check your file system to see if the folders and files have been restored, and you should now see them listed again.
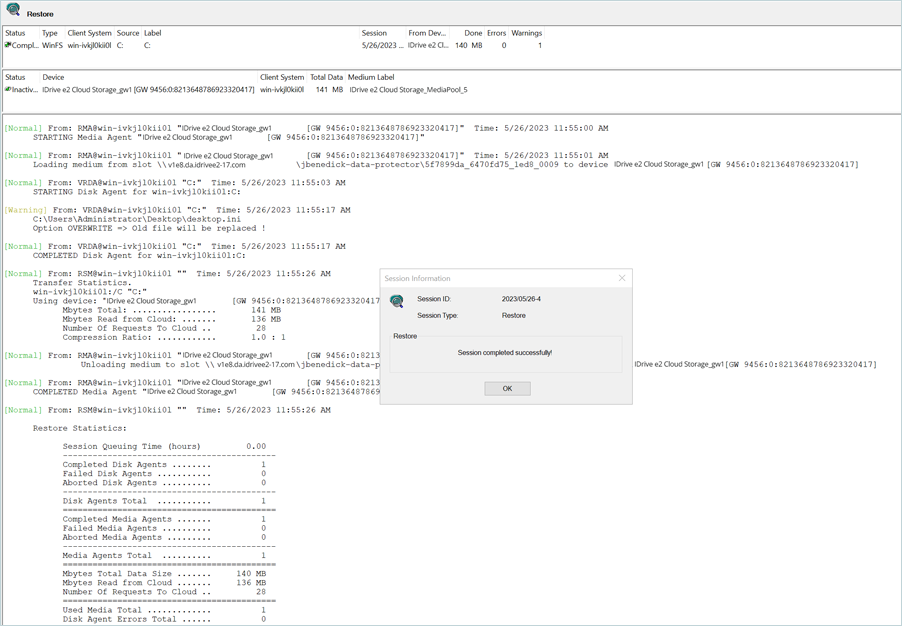
Note: Data restoration is handled by your specific backup solution provider and is affected by multiple variables that are unique to your environment. For application-related inquiries/support, it is strongly recommended that you seek guidance from the technical team of your backup solution provider.