Integrate DobiProtect with IDrive® e2
DobiProtect is a software solution that creates and maintains an air-gapped golden copy of mission-critical unstructured data to protect against ransomware, cyberattacks, or other disruptions. It supports automated, multi-vendor protection with granular recovery, versioning, and monitoring across NAS and cloud platforms. Integrating DobiProtect with IDrive® e2 extends these capabilities with a scalable, secure, and cost-effective cloud object storage solution, enabling systematic protection and recovery for complex enterprise environments.
Prerequisites:
Before you begin, ensure the following:
- An active IDrive® e2 account. Sign up here if you do not have one.
- A bucket in IDrive® e2. Learn how to create a bucket.
- Valid Access Key ID and Secret Access Key. Learn how to create an access key.
- DobiProtect software is installed with a valid account.
The integration of DobiProtect with IDrive® e2 can be performed following the below 3 steps.
Configure DobiProtect with IDrive® e2
- Log in to DobiProtect.
- Click the Configuration tab from the header menu and select Object Storage.

- Click Add in the bottom right corner to configure e2 storage.

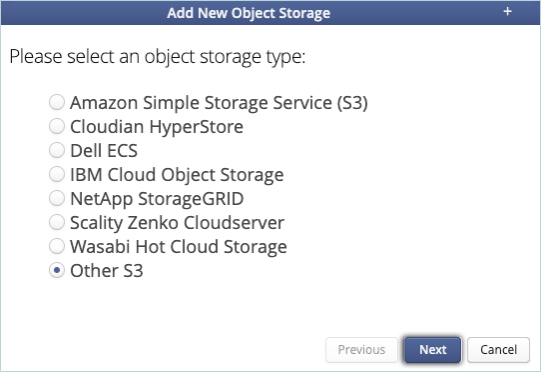
- Select Other S3 as the Object Storage type and click Next.
- Provide the details mentioned below.
- Enter your IDrive® e2 S3 endpoint as Endpoint and keep https:// as Protocol.
- Enter your IDrive® e2 Access Key as Access key.
- Enter your IDrive® e2 Secret Key as Secret key.
- Click Next.

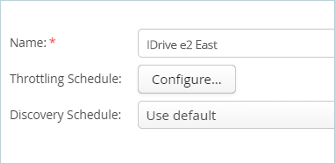
- Enter the name for your Object storage (Connection) and click Next.
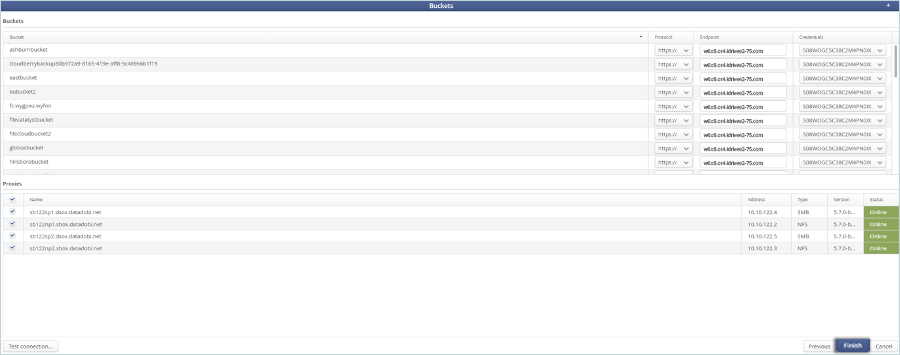
- You should now see your IDrive® e2 buckets along with the available proxies that can be used for transfers to and from IDrive®. Select all available proxies and click Finish to complete the configuration.
Protect NAS File Data on IDrive® e2
- Click on Migrations in the Dashboard.
- Click New Sync in the bottom right corner to create a new sync job.


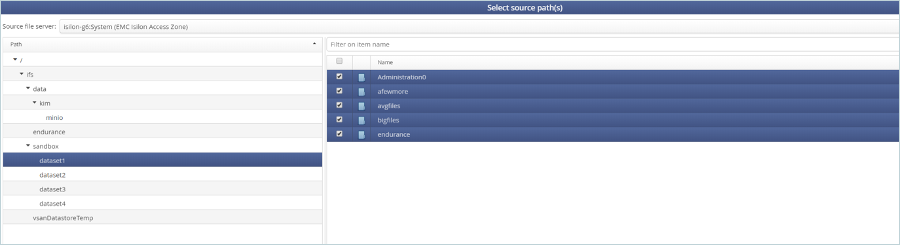
- Select the appropriate source path and click Next.
- Select the e2 object store and the appropriate bucket as the sync destination, and then click Next (The Bucket should be an empty bucket).

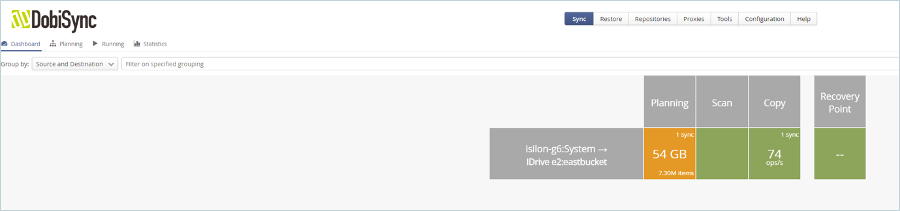
- Click Next and Finish on the next 2 windows to confirm the selections and schedule the sync job. At this point, you should see activity on the DobiSync dashboard between the DobiSync platform and your IDrive® e2 bucket.
- Your NAS data is now being protected in your IDrive® e2 bucket. Check the Datadobi documentation for advanced configuration options and for instructions on how to restore data from IDrive® e2 to your NAS systems.
Replicate Data From Other S3 to IDrive® e2 Bucket
- Navigate to the Dashboard and click Replications.

- Click New Replication on the bottom right corner to add a new S3 object replication job.

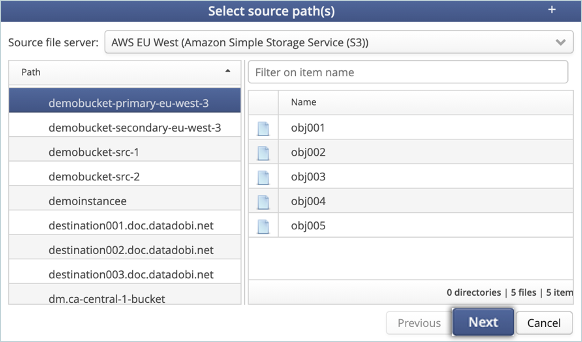
- Select an appropriate source bucket under Source file server (e.g., AWS S3).
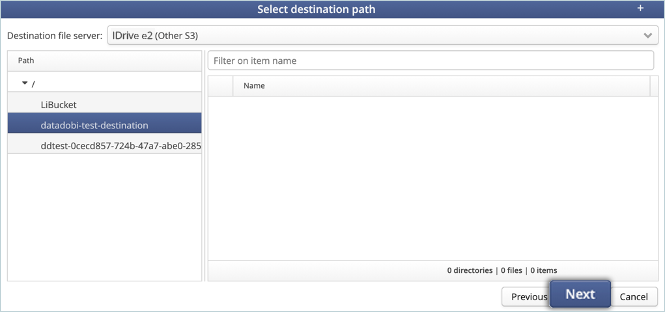
- Select the destination bucket on IDrive® e2 from the Destination file server (This bucket should be an empty bucket). Click Next.
- Click Next to confirm the selections.
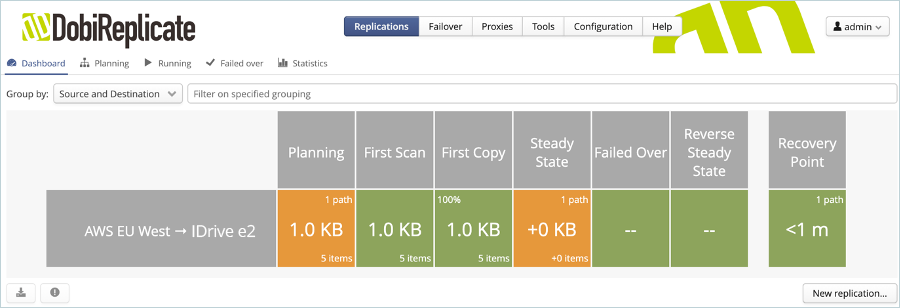
- Click Finish to schedule the Replication job. At this point, the dashboard should show the replication job.
Your object data is now securely stored and protected in your IDrive® e2 bucket.
Note: Data restoration is handled by your specific backup solution provider and is affected by multiple variables that are unique to your environment. For application-related enquiries/support, it is strongly recommended you seek guidance from the technical team of your backup solution provider.