Integrate Catalogic DPX vPlus with IDrive® e2
Catalogic DPX vPlus is an agentless backup and data protection solution from Catalogic Software for virtualized environments and Microsoft 365, using Changed Block Tracking and Changed Region Tracking for fast, space-efficient recovery of VMs, files, and full instances. It supports multi-tenant operations, API-driven automation, and exports to local, hardened, and S3-compatible targets for ransomware protection and retention control. Integrating Catalogic DPX vPlus with IDrive® e2 delivers a scalable cloud object storage solution that integrates effortlessly for secure backups, long-term retention, and dependable recovery.
Prerequisites
Before you begin, ensure the following:
- An active IDrive® e2 account. Sign up here if you do not have one.
- A bucket in IDrive® e2. Learn how to create a bucket.
- Valid Access Key ID and Secret Access Key. Learn how to create an access key.
- Catalogic DPX vPlus version 5.0 or higher with a valid Catalogic DPX vPlus user account.
Configure Catalogic DPX vPlus with IDrive® e2
- Log in to the DPX vPlus Web UI.

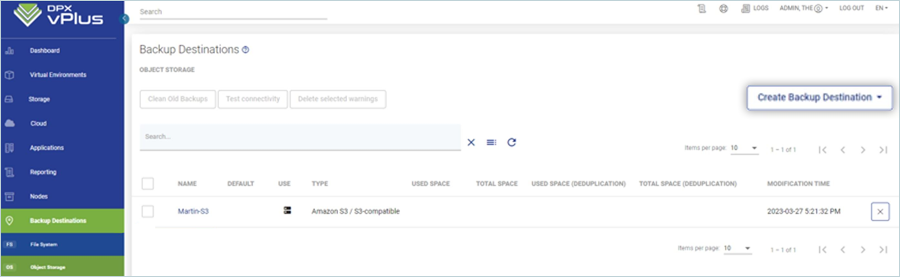
- Navigate to the Backup Destination tab, then click Object Storage.
- Click Create Backup Destination and select Amazon S3/S3-compatible as TYPE.
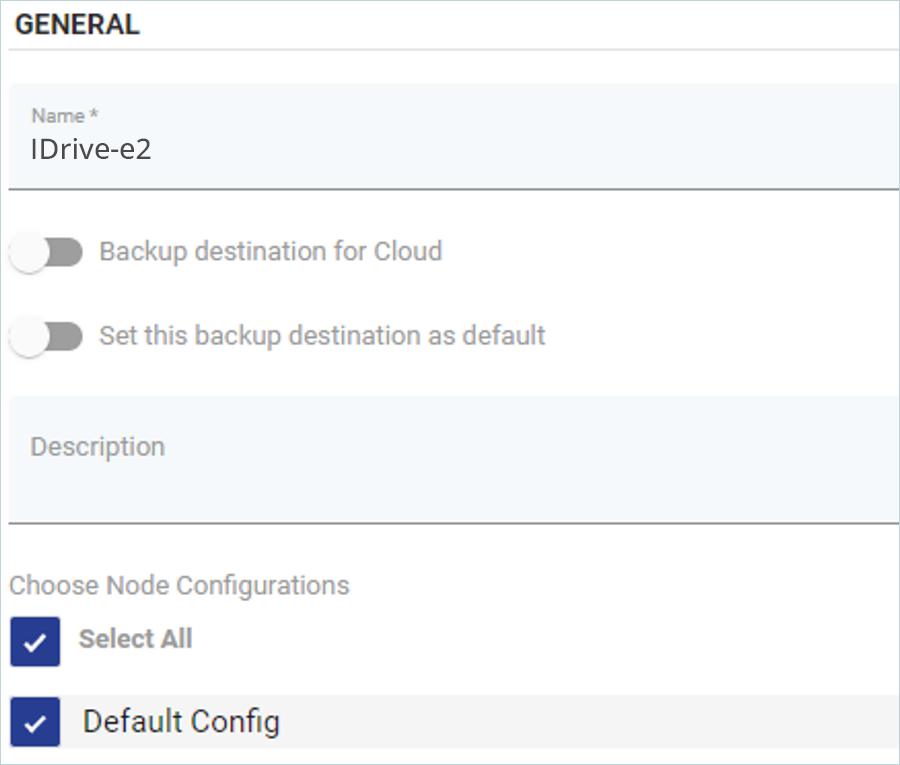
- In the Create Backup Destination tab, enter the Name for your backup destination and then select the Node Configuration checkboxes as needed.
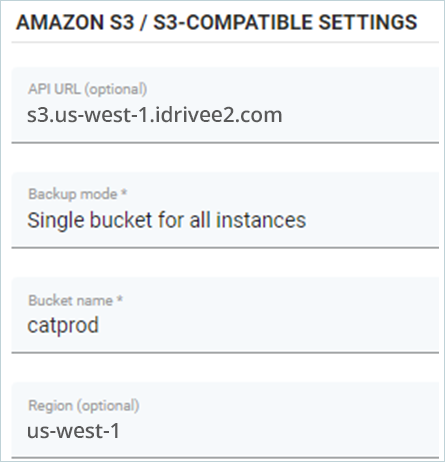
- In Amazon S3/S3-Compatible Settings, provide your IDrive® e2 details as mentioned below.
- Enter your IDrive® e2 S3 endpoint as the API URL.
- Select Backup mode as required.
- Enter your IDrive® e2 bucket name as Bucket name.
- Enter your e2 region code as Region.
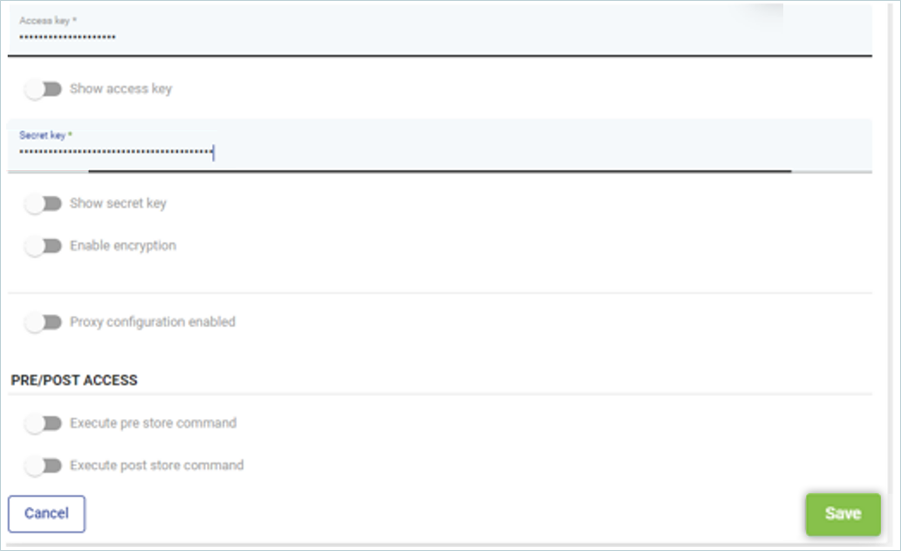
- Enter your IDrive® e2 Access Key as Access Key.
- Enter your IDrive® e2 Secret Key as Secret Key.
- Click Save.
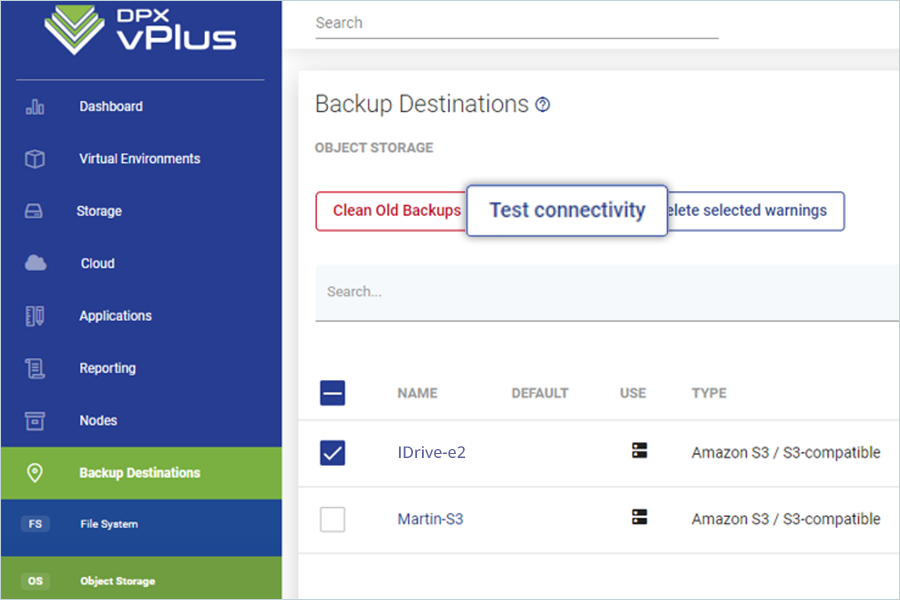
- Test the connectivity by selecting the IDrive e2 Destination. Click Test Connectivity.
The results can be viewed in the Task Console.

Note:
Record backup time after store – This will record backup time after the store is completed. This may be required for third-party S3 API implementations that record the modification time of objects after they are stored.
Path-style access enabled – Enables path-style access. This means you can specify the endpoint hostname as an FQDN, the S3 proxy IP, or the load balancer.
Resolve hostname to IP before connecting - This will use virtual-hosting access to use the hostname to differentiate between sites.
Parallel download enabled – Allows downloading files from S3 in parallel, which generally increases download speeds.
Enable encryption – This will use S3 protocols for server-side encryption.
Create a Backup SLA
The following steps can help you configure a Backup SLA to protect your environment.
- Click Virtual Environments and then click Backup SLAs.
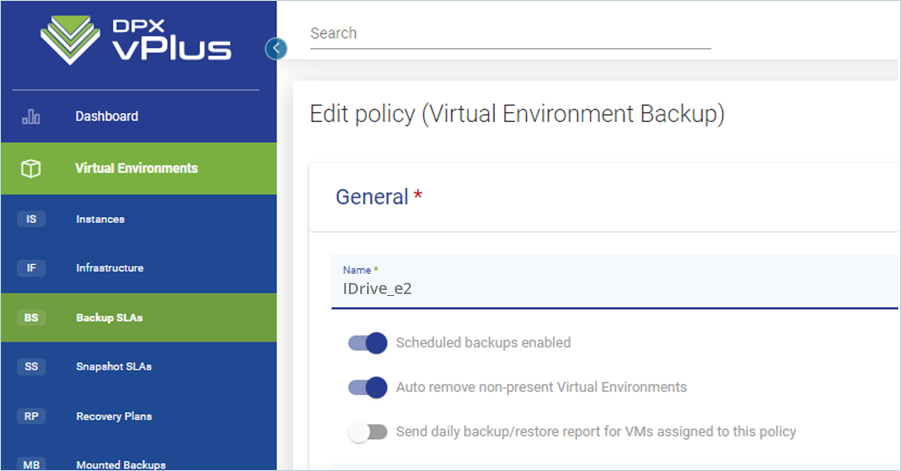
- Configure the settings under the General tab.
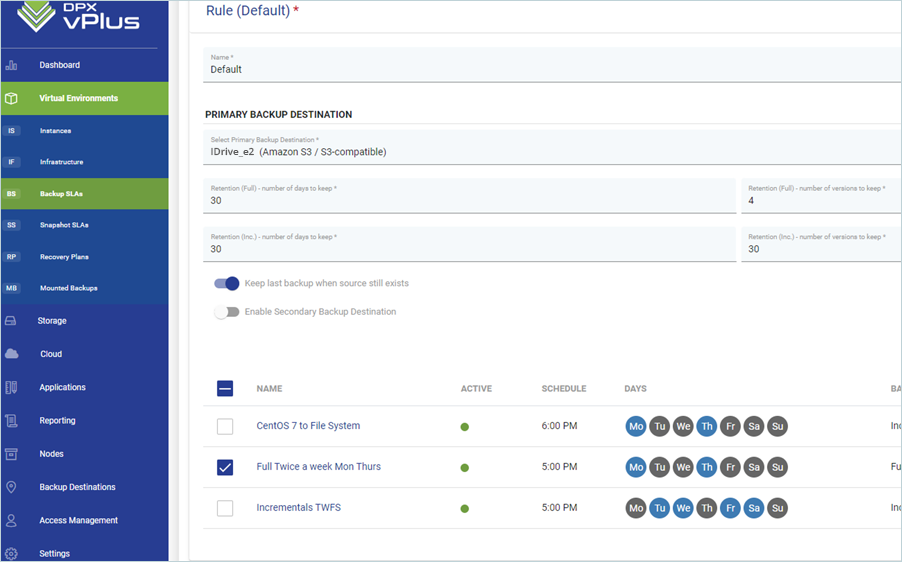
- Configure the settings under the Rule tab.
- Enter a Name for the policy.
- Select Primary Backup Destination as IDrive® e2 Cloud Storage.
- Retention (Days/Version) — Full or Incremental.
- Schedule — Assign the policy to a schedule.
If you do not assign the policy to Virtual Machines during creation or want to assign new VMs to an existing Backup Policy, you can do so by performing the following:
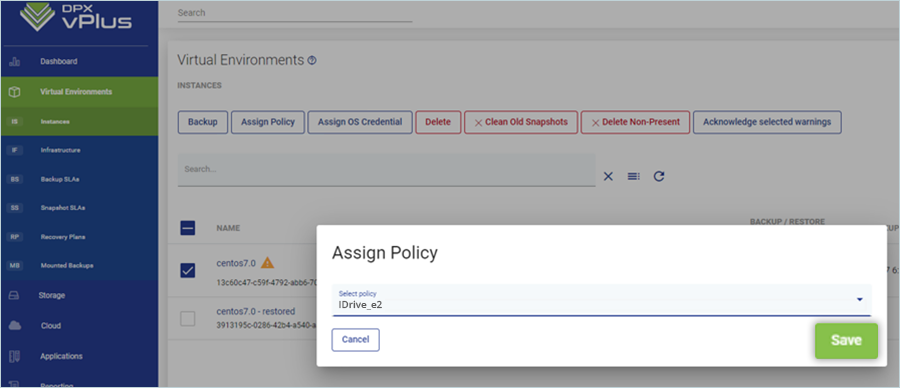
- Click Virtual Environments and then Instances.
- Select the instance and click Assign policy.
- Then select the policy created above.
- Click Save to save the policy assignment.
- Start a backup by selecting the instance and clicking
 .
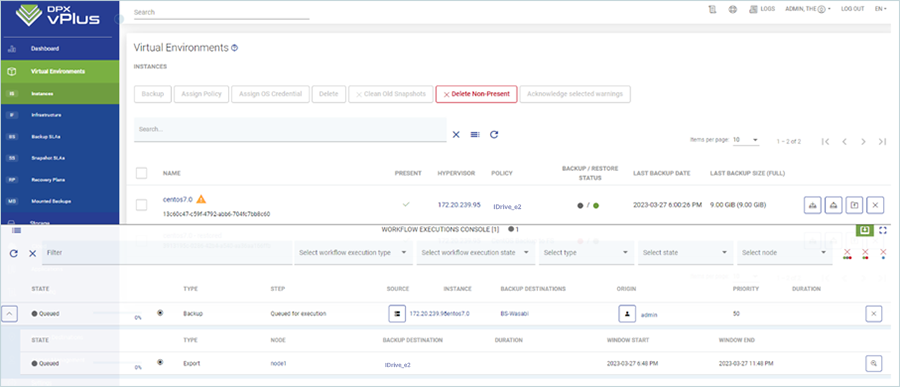
The progress of the backup can be viewed on the task console.
.
The progress of the backup can be viewed on the task console.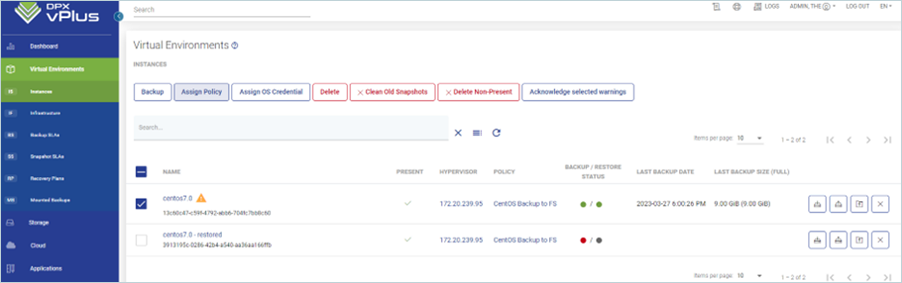
Note: The data restoration process is managed by your backup software, which helps recover lost or compromised data. Each computing environment is unique, and factors such as data type, software settings, and system performance can impact the restoration process. If you encounter issues or have application-specific questions, please contact the technical support team for your backup software for expert assistance.