Integrate BackupAssist ER with IDrive® e2
BackupAssist ER is a backup and recovery software for Windows servers that combines fast local backups with secure cloud replication to defend against ransomware and cyber threats. It delivers flexible recovery options, from full system restores to item-level file recovery, ensuring business continuity for small and medium businesses. Integrating BackupAssist ER with IDrive® e2 allows you to extend this disk-to-disk-to-cloud protection with scalable, affordable, and reliable cloud object storage.
Prerequisites
Before you begin, ensure the following:
- An active IDrive® e2 account. Sign up here if you do not have one.
- A bucket in IDrive® e2. See how to create a bucket.
- Valid Access Key ID and Secret Access Key. Learn how to create an access key.
- BackupAssist ER v1.4.2 or higher.
Configure IDrive® e2 with BackupAssist ER
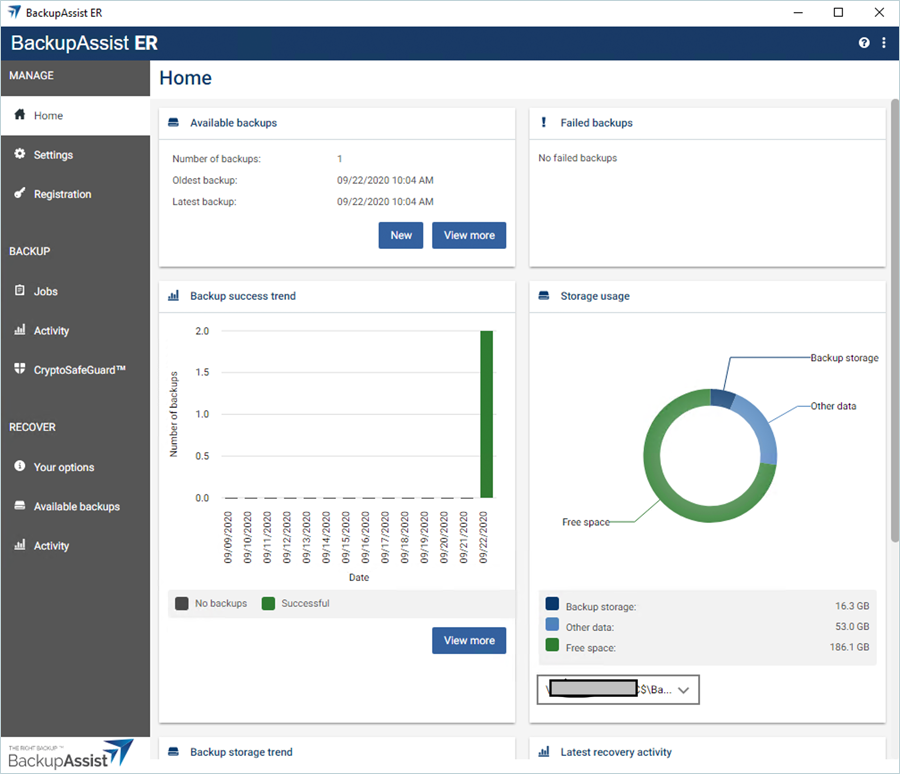
- Launch BackupAssist ER
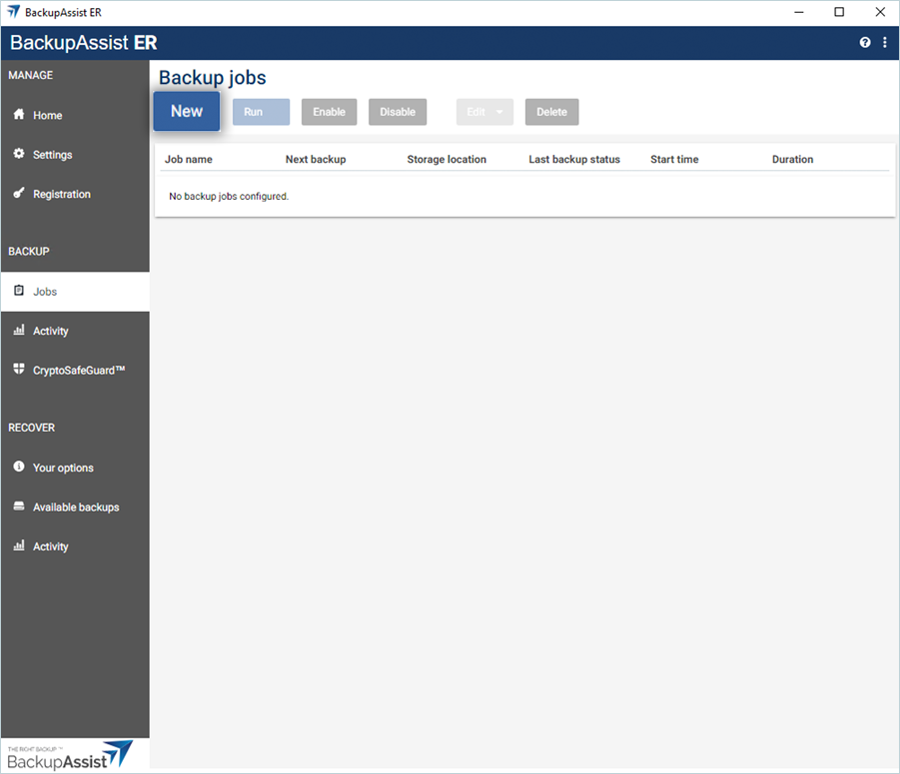
- Click Jobs under the Backup section in the left-side pane.
- Click New.
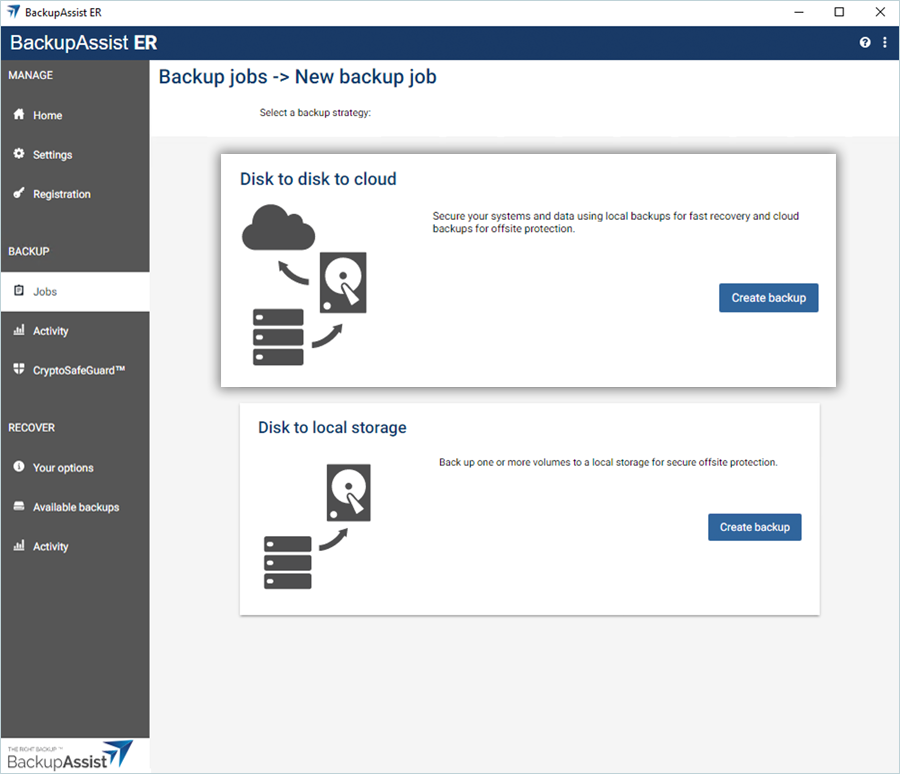
- Click Create Backup under the Disk to disk to cloud section as your Backup Strategy.
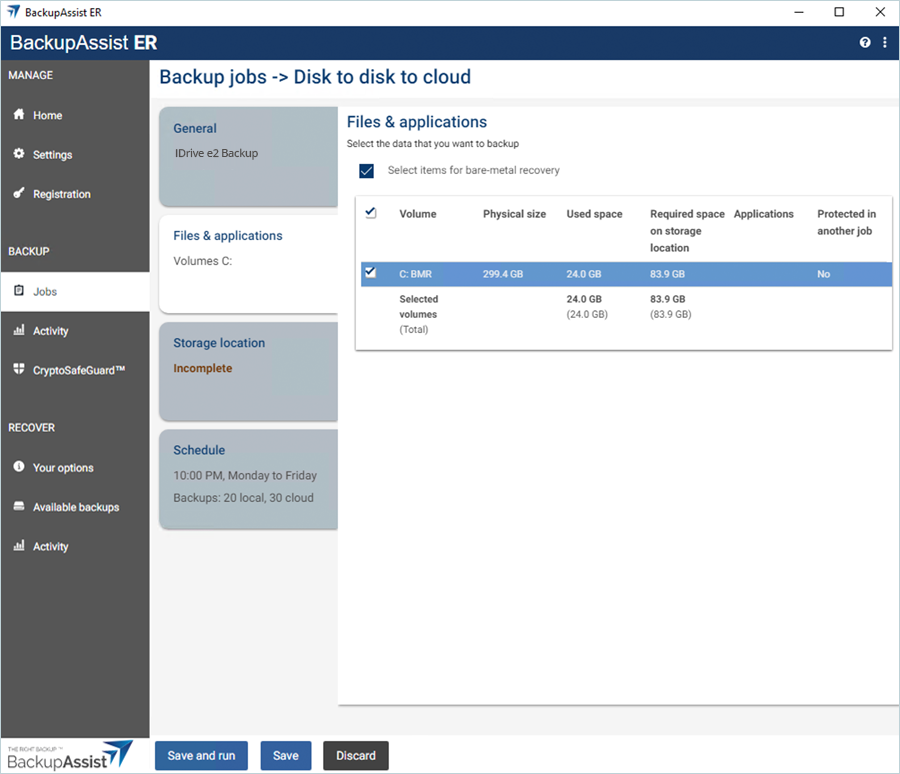
- Select the General tab, under the General section, provide a name and description for the backup job.

- Select the Files & applications title and select the Files/Folders that you want to back up as the Source.
- Click Storage location, provide a destination for both local and cloud storage.
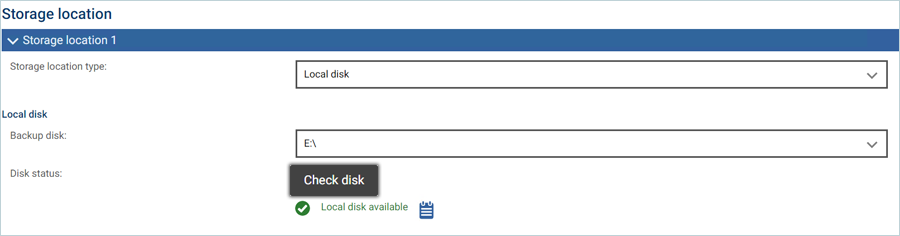
- Under the Storage Location 1 section, select Local disk as the Storage Location type.
- Select Local Disk as the Backup disk and click Check Disk to verify the status of the disk.
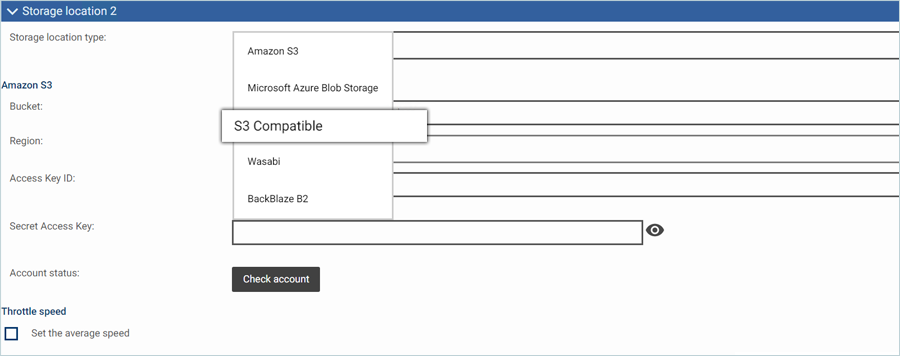
- Under Storage Location 2,
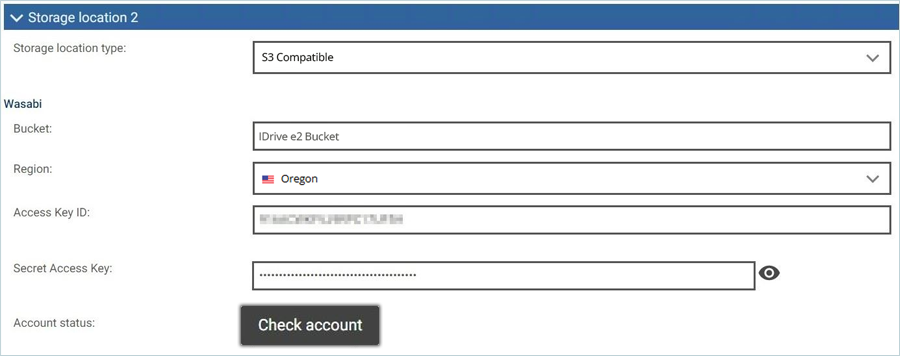
- Select S3 Compatible as the Storage location type.
- Enter your IDrive® e2 Bucket as Bucket.
- Enter your IDrive® e2 S3 end-point as URL (Ex: https://v1e8.da.idrivee2-17.com).
- Enter your IDrive® e2 Access Key as Access Key ID.
- Enter your IDrive® e2 Secret Key as Secret Access Key.
- Click Check Account to verify whether the cloud account is available or not.
- Select S3 Compatible as the Storage location type.
- Select the Schedule tab and set the backup job schedule as per your requirement.
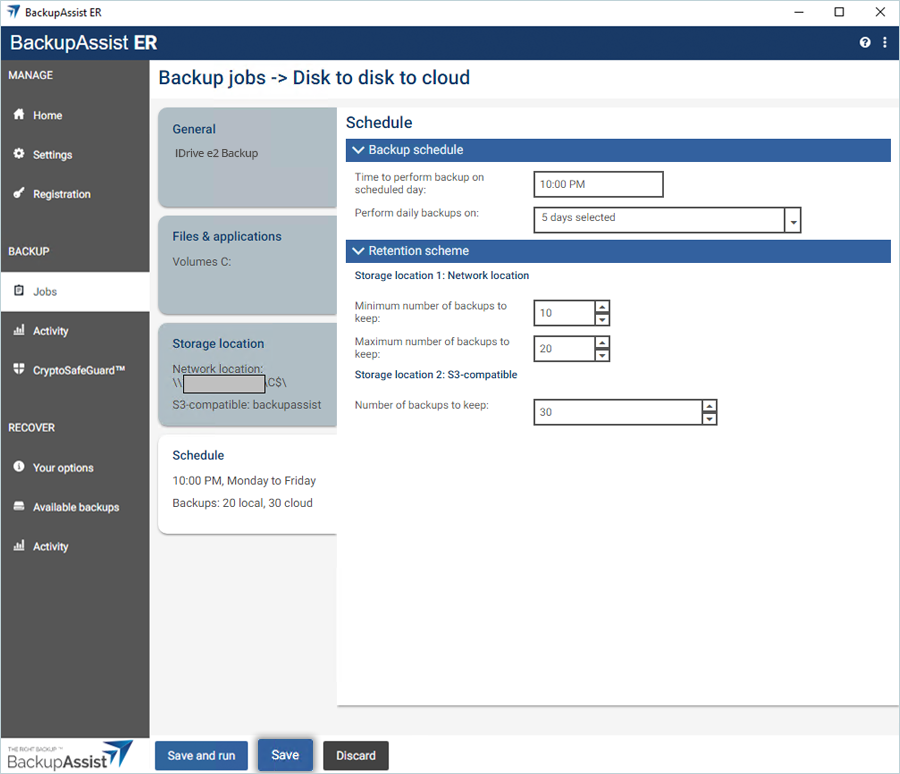
- Click Save. The backup job is now configured successfully and listed in the Backup jobs section.
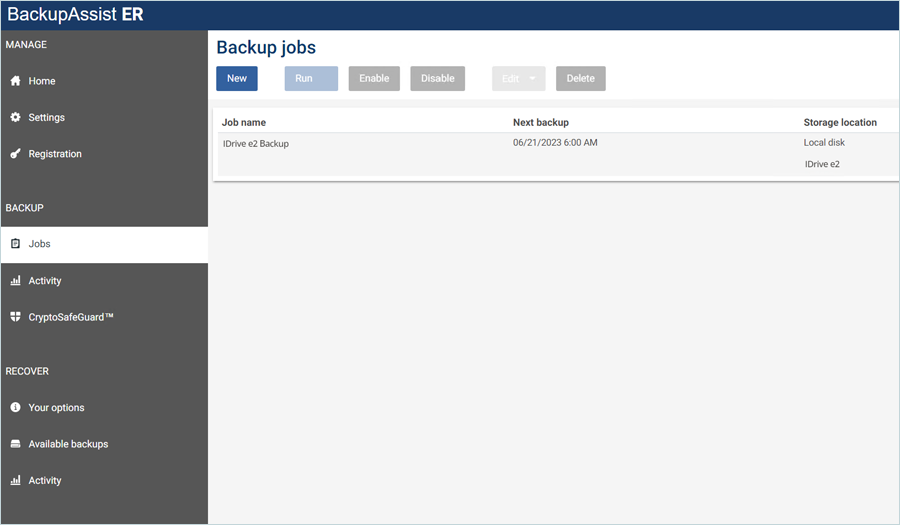
Run a Backup Job
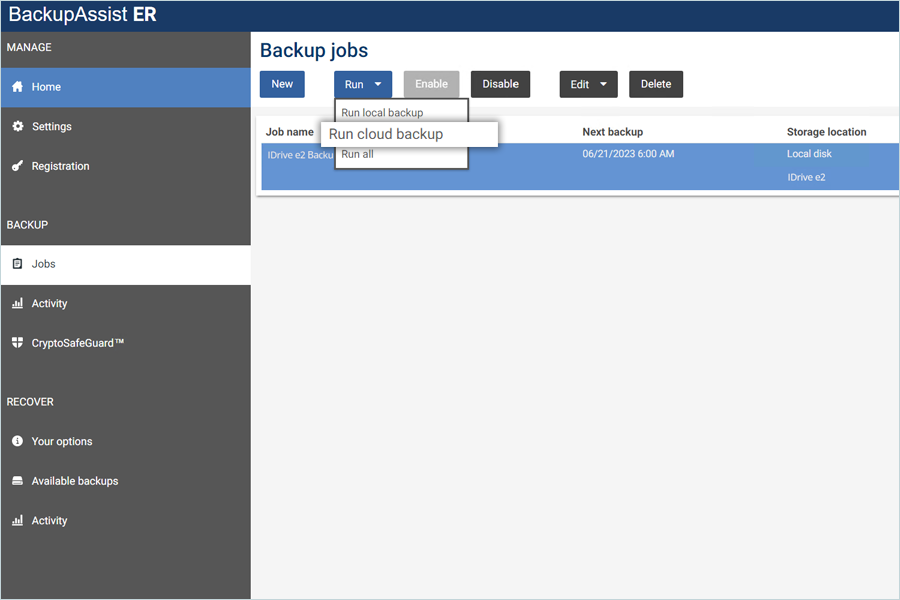
- Select the backup job and click Run.
- The backup will start once you select Run Cloud Backup.
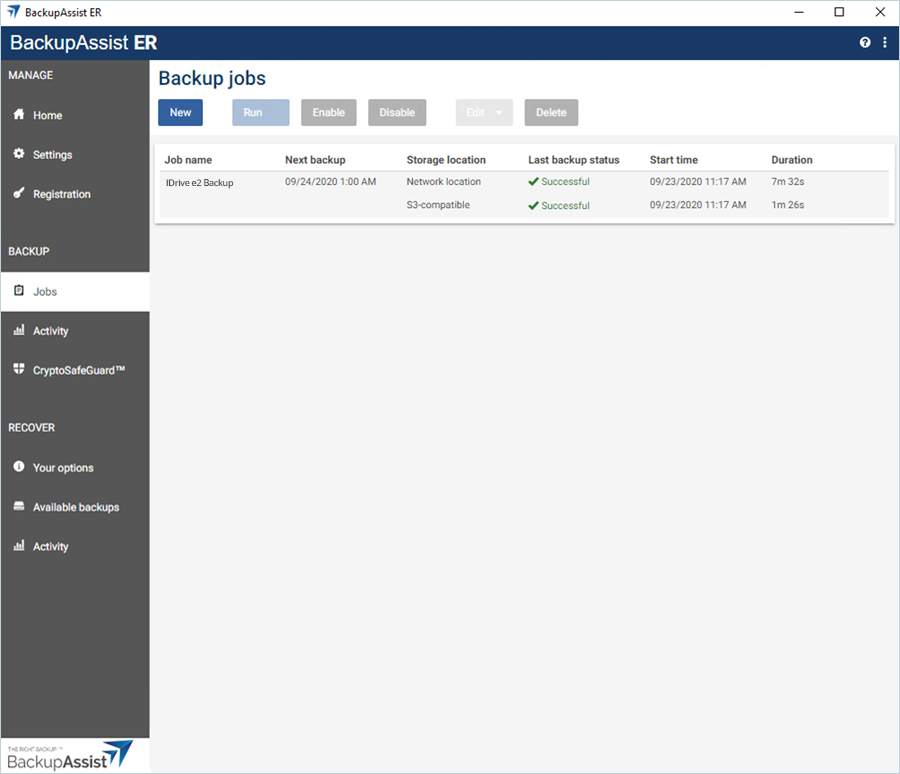
- Once the job completes, the status will show a success message.
Note: Data restoration is handled by your specific backup solution provider and is affected by multiple variables that are unique to your environment. For application-related enquiries/support, it is strongly recommended you seek guidance from the technical team of your backup solution provider.