Hyper-V Backup
Hyper-V Backup
Backup your Hyper-V virtual machines in a few clicks and secure your virtualized system, without interrupting operations and creating downtime.
To backup your Hyper-V virtual machines,
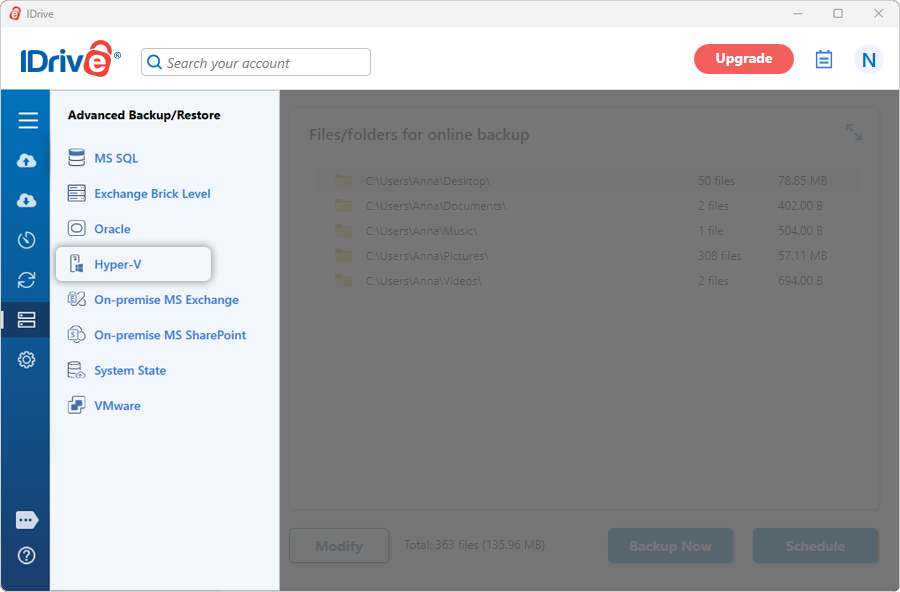
- Sign in to the IDrive application and click 'Server Backup'. A slider menu will appear.
- Under the Hyper-V Backup section, click 'Backup'.
- Click 'Hyper-V'. The Hyper-V backup/restore console appears. By default, 'Hyper-V backup' is selected.
- Select 'Online Backup', or 'Local Backup', or 'IDrive Express™ Backup'.
Note: On selecting 'Online Backup', the data will be stored on the IDrive cloud whereas on selecting 'Local Backup' or 'IDrive Express™ Backup' the data will be stored in the local drive.
- Select the virtual machine(s) from the list which appears and specify the temporary path for local backup.
Note: Once the local backup is initiated, '.ServerBackup' folder is auto-created.
- Click 'Schedule Now'.
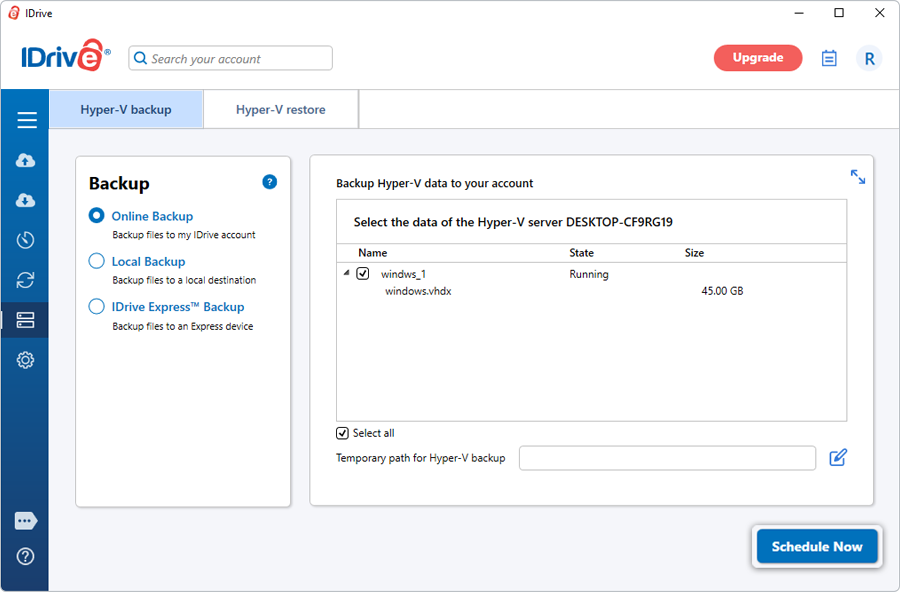
- The 'Scheduler' is displayed. Either schedule the backup for any future day and time or perform an immediate backup of the selected virtual machine(s).
View steps to restore Hyper-V. - Select 'Online Backup', or 'Local Backup', or 'IDrive Express™ Backup'.