Related Links
Integrate Yarkon S3 with IDrive® e2
Yarkon S3 is a web-based S3 browser that provides an Explorer-style interface for managing files across Amazon S3 and other S3-compatible storage services. It supports uploads, downloads, folder organization, sharing, audit trails, and AI summaries while keeping AWS credentials hidden and enforcing IAM rules. Integrating Yarkon S3 with IDrive® e2 provides a capable, scalable cloud object storage foundation that enables systematic integration for secure, efficient, and cost-aware file operations.
Prerequisites
Before you begin, ensure the following:
- An active IDrive® e2 account. Sign up here if you do not have one.
- A bucket in IDrive® e2. Learn how to create a bucket.
- Valid Access Key ID and Secret Access Key. Learn how to create an access key.
- Yarkon S3 web console and a valid Yarkon S3 user account.
Configure Yarkon S3 with IDrive® e2
- Log in to the Yarkon S3 Admin Console.
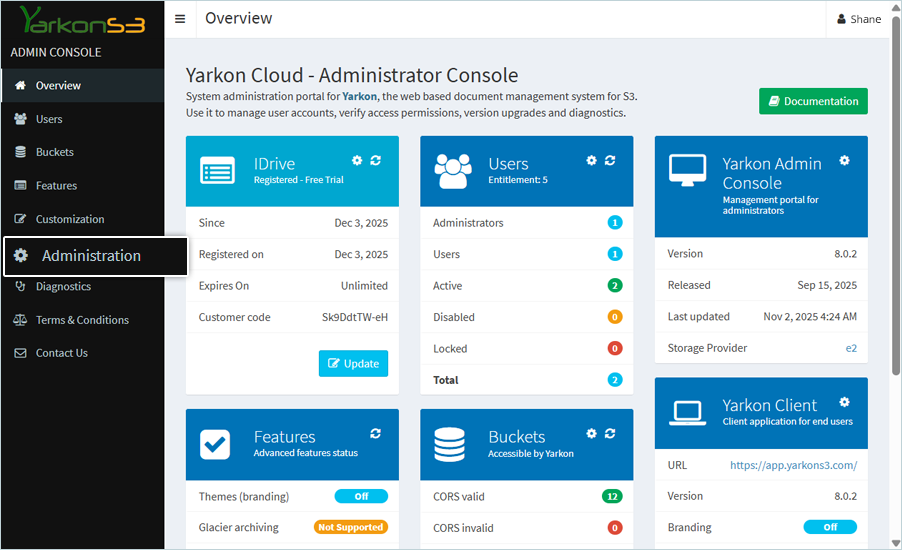
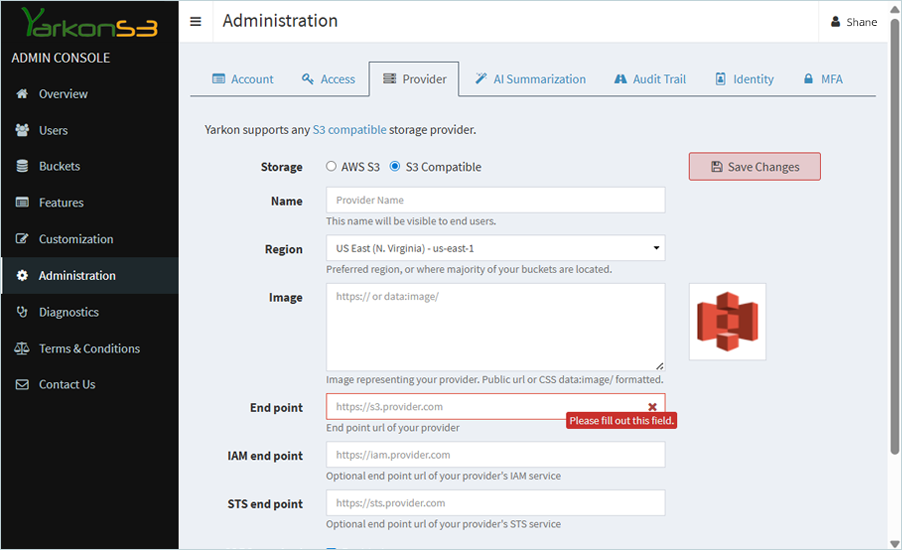
- Click Administration in the left-side panel and click the Provider tab in the header menu.
- Select the S3 Compatible radio button for Storage type, then enter the details below:
- Enter the Name of the provider.
- Select your IDrive® e2 region code from the Region dropdown.
- Enter your IDrive® e2 Endpoint as the Endpoint
(e.g., https://l2d3.va.idrivee2-32.com). - Click Save Changes.
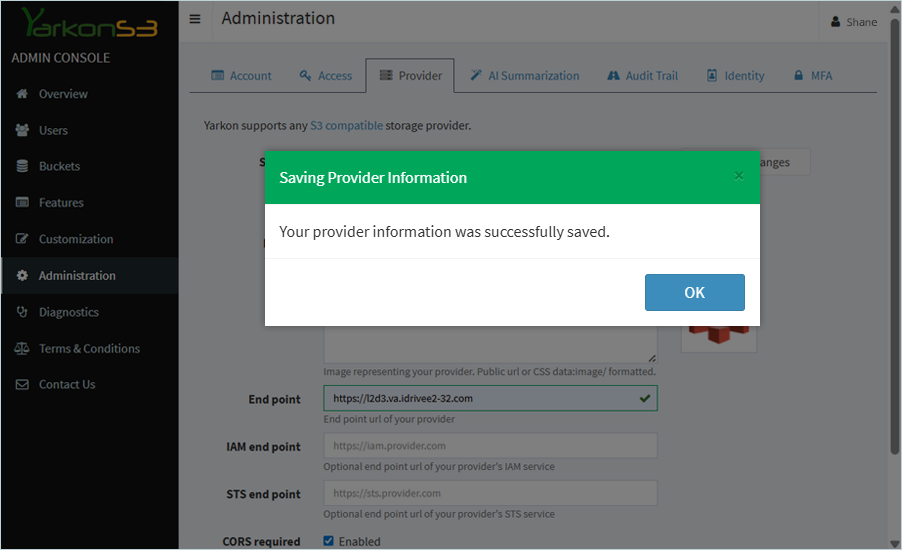
- Navigate to the Access tab in the header menu, and enter credentials as mentioned below:
- Enter your IDrive® e2 Access Key as Access key ID.
- Enter your IDrive® e2 Secret Key as Secret Access Key.
- Click Save Changes.
- Click OK in the confirmation window.
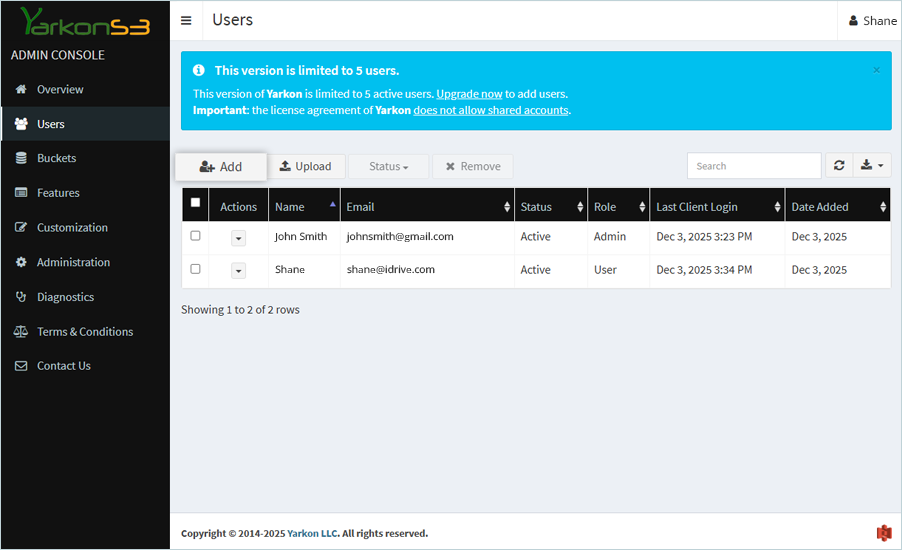
Now, add the user and give access.
- Click the Users tab in the left-side panel and click Add.
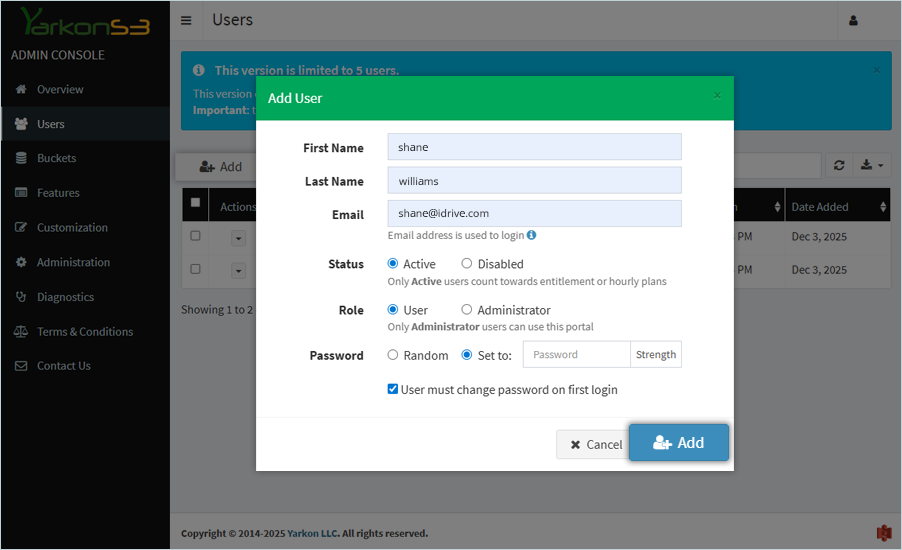
- In the Add User popup, enter details as mentioned below:
- Enter the First Name and Last Name for the user.
- Enter a valid Email for the user.
- Select the Active radio button to set the Status as active. Select the User radio button to select the Role as user.
- Select the Set to radio button and enter the password.
- Click Add.
The user has been added successfully and will receive an email with a login link.
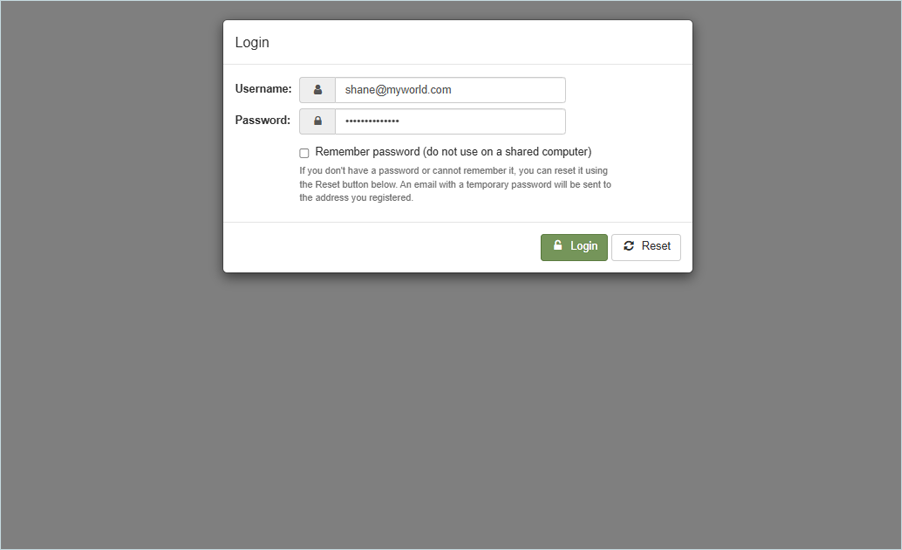
- As a user, click app.yarkons3.com, and click Login with valid credentials.
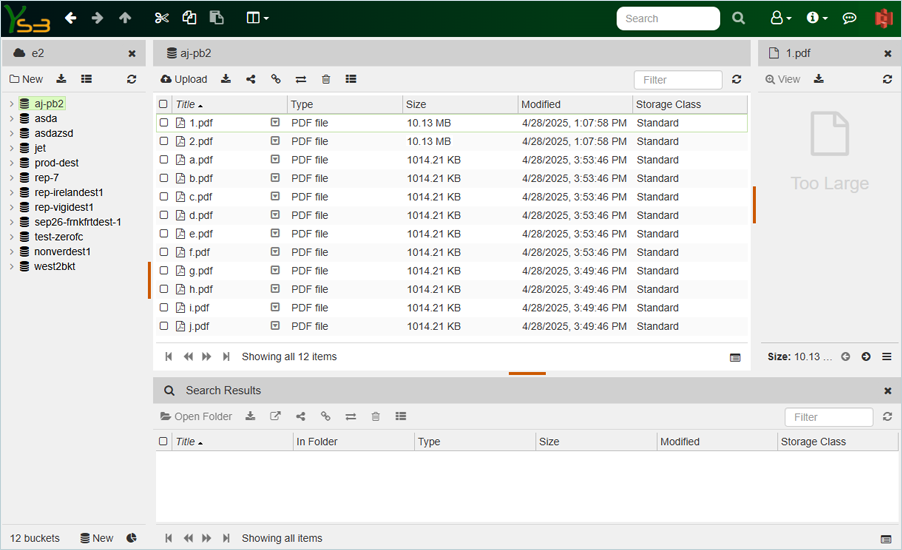
Once logged in, the user will have access to all IDrive® e2 buckets and can perform operations such as uploading and downloading objects.