Integrate VAST Data with IDrive® e2
VAST Data is a technology company founded in 2016 that delivers a high-performance, all-flash data platform optimized for AI workloads and large-scale unstructured data. The platform unifies file and object services using protocols such as S3, NFS, and SMB, supporting GPU-driven analytics across on-premises and hybrid environments. Integrating VAST Data with IDrive® e2 provides a capable, scalable cloud object storage solution that integrates smoothly to extend capacity and support cost-efficient object storage at scale.
Prerequisites:
Before you begin, ensure the following:
- An active IDrive® e2 account. Sign up here if you do not have one.
- A bucket in IDrive® e2. Learn how to create a bucket
- Valid Access Key ID and Secret Access Key. Learn how to create an access key.
- VAST Data v3.4.0 and later.
The following steps can help you configure and integrate VAST Data with IDrive® e2
Configure VAST Data for S3
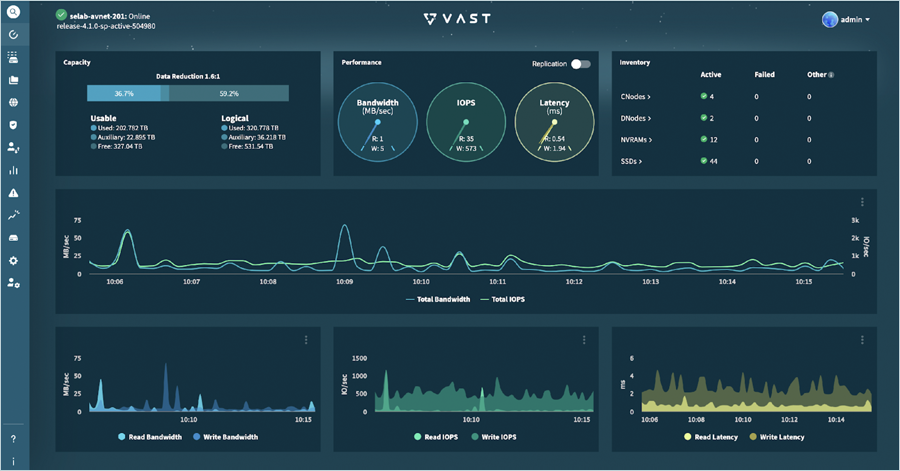
- Log in to your VAST Data cluster management interface (VAST Data Web UI).
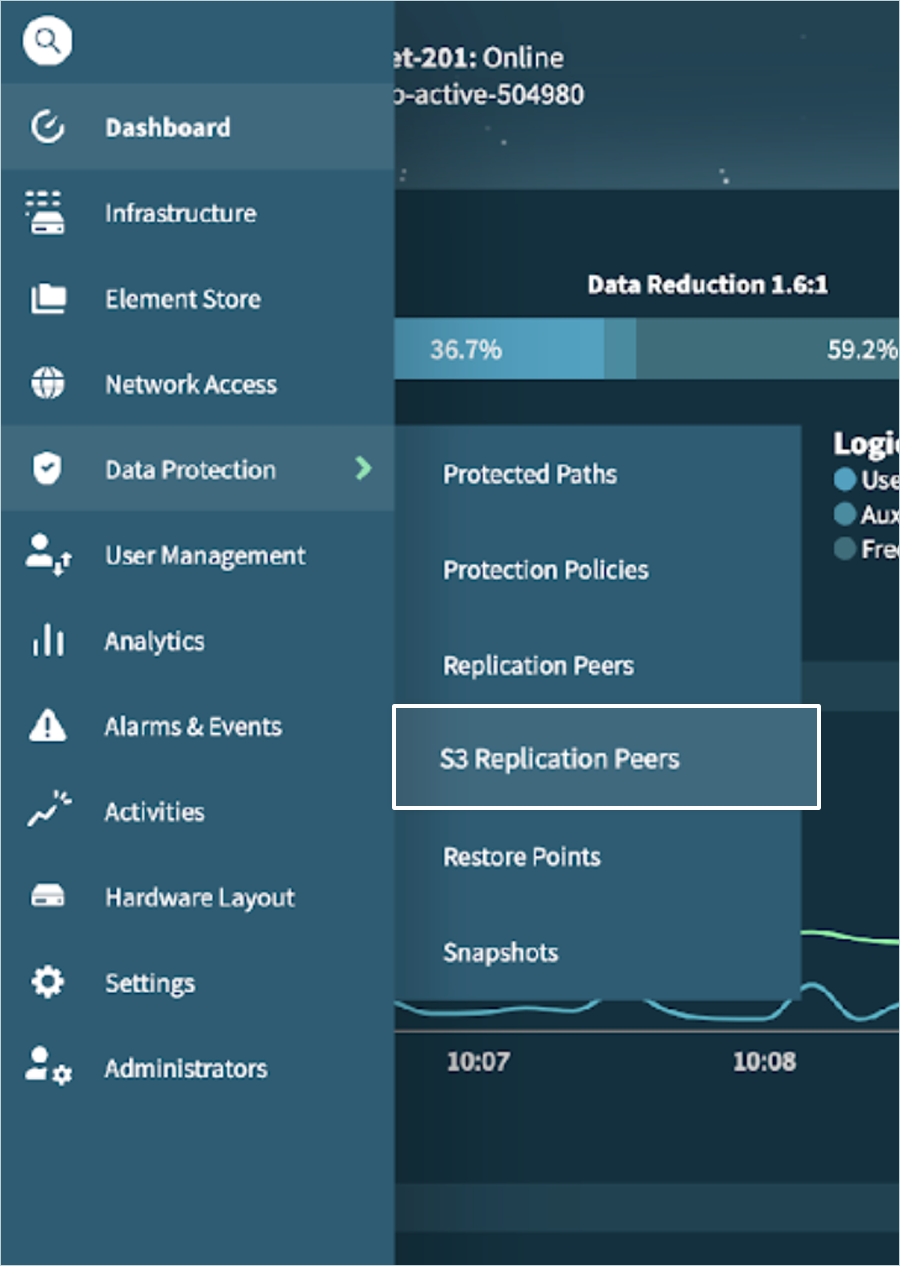
- Navigate to Data Protection > S3 Replication Peers.
- In the top-right-hand corner, click + Create S3 Replication Peer.

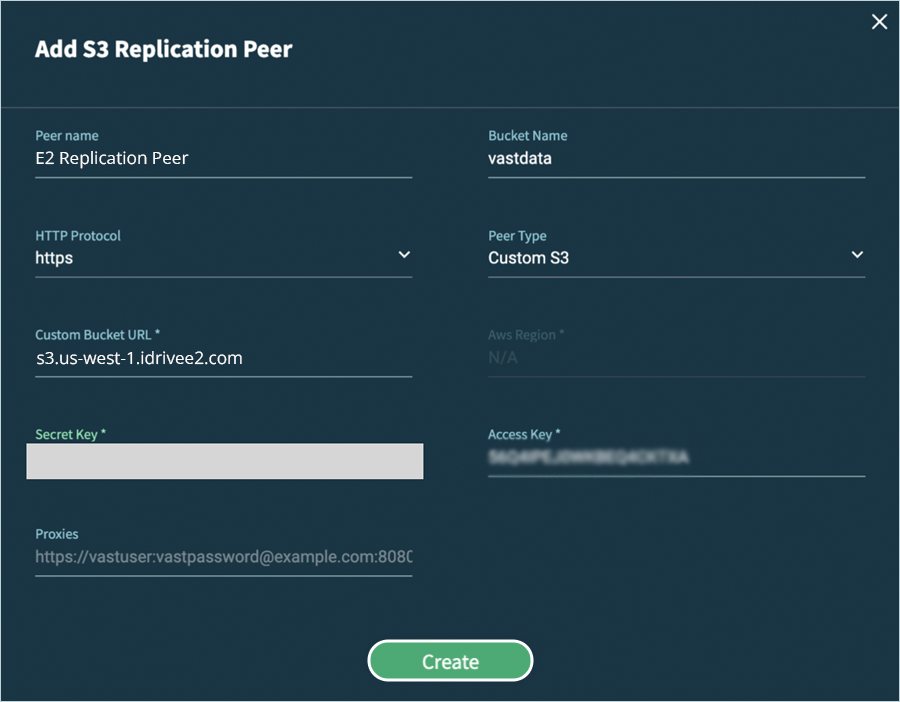
- In the Add S3 Replication Peer window, select Custom S3 as the Peer Type and provide the following details. Click Create.
- Peer name - provide an appropriate name for the replication peer
- Bucket name - name of the bucket
- HTTP protocol - https
- Custom Bucket URL - S3 endpoint URL of the bucket
- Secret Key - Enter the secret key
- Access Key - Enter the access key
- Proxies - Type in the proxies through which replication traffic is routed, if any
- Click Create.
- The replication peer is created and is displayed on the S3 Replication Peers page. When the cluster can successfully connect to the target, its status will display as Active.

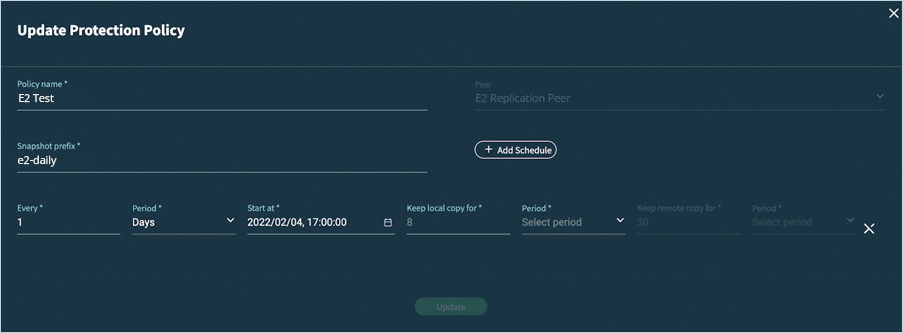
Create a protection policy
- Navigate to Protection Policies and click + Create Protection Policy.

- In the Add Protection Policy window, provide a Policy name and select the S3 replication peer created in Step 4 from the Peer dropdown menu.
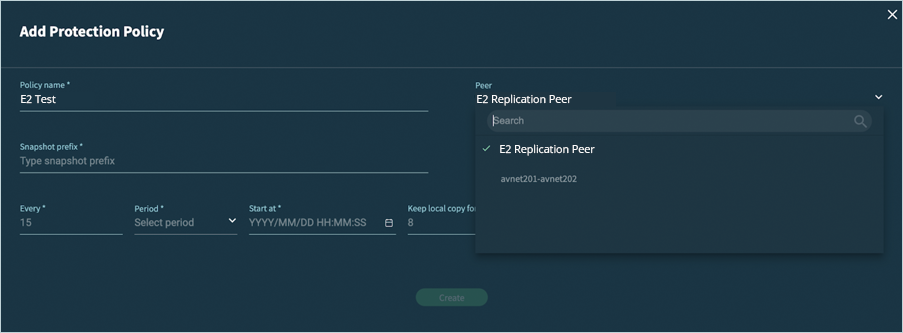
- Provide an appropriate Snapshot Prefix and configure the desired replication schedule, and click Create.
Create a Protected Path
- In this example, we will be using an existing path in the Element store to create a protected path. To view your existing paths, navigate to Element Store > Views.
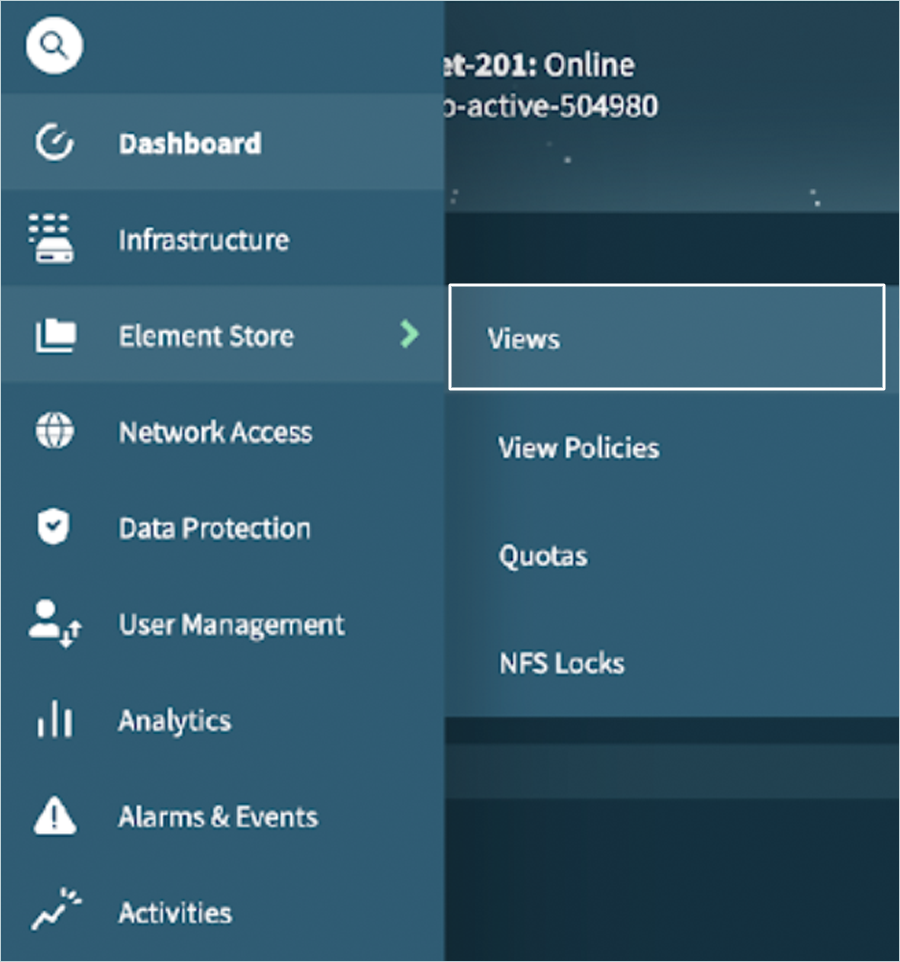
- All the existing paths are listed under Views. We will use the path: /idrivee2-export-test to create a protected path.

- Navigate to Data Protection > Protected Paths. Click + Create Protected Path.

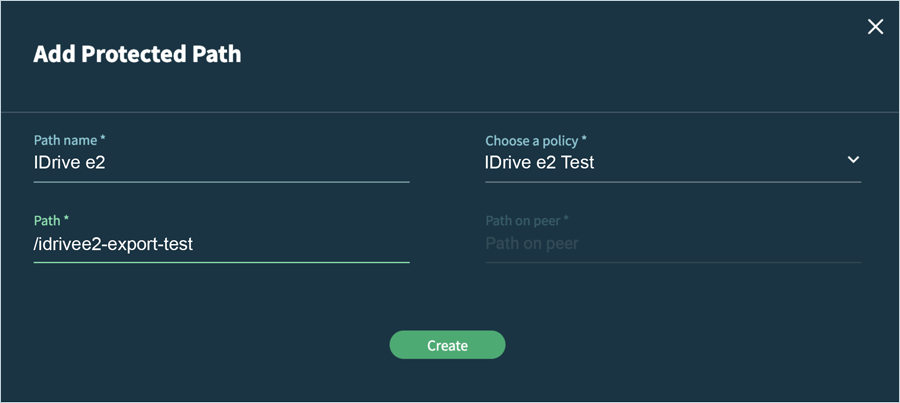
- In the Add Protected Path window, provide the following details and click Create.
- Path name - enter a name for the protected path.
- Choose a policy - select the policy created in Steps 6 - 8 (IDrive® e2 Test in our example)
- Path - enter the path from the Element store
- The newly created path is listed under Protected Paths. It goes through Initializing, Initial Sync, and finally into the Active state.


When a protected path is active, it performs an initial data sync to the replication peer or the S3 replication peer (if applicable) immediately after it is created. The initial sync creates the first restore point. Therefore, the restore point created on the start date configured in the Protection Policy is, in fact, the second restore point.