Related Links
Integrate GB Labs Unify with IDrive® e2
GB Labs Unify is a software platform and appliance that presents on-premise and cloud storage as a single unified namespace for media and post-production workflows. It uses intelligent caching and bandwidth-aware data movement to provide on-site and remote teams with fast access to significant media assets via consistent file paths for tools such as Avid and Adobe. Integrating Unify with IDrive® e2 delivers a capable, scalable cloud object storage solution that integrates effortlessly for centralized management and high-performance hybrid workflows.
Prerequisites:
Before you begin, ensure the following:
- An active IDrive® e2 account. Sign up here if you do not have one.
- A bucket in IDrive® e2. Learn how to create a bucket.
- Valid Access Key ID and Secret Access Key. Learn how to create an access key.
- GB Labs Core OS v.4.3 and higher, as well as the Unify Hub Appliance
Configure GB Labs Unify with IDrive® e2
- Log in to GB Labs Storage and click Tools.
- Click Unify Hub in the Cloud Services Overview page.

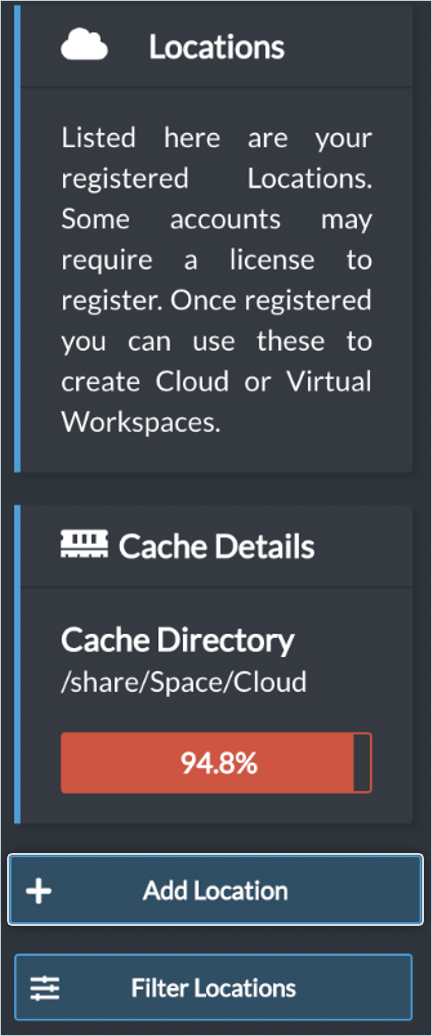
- Click Locations, and then click Add Location to add IDrive® e2 Storage as a location.
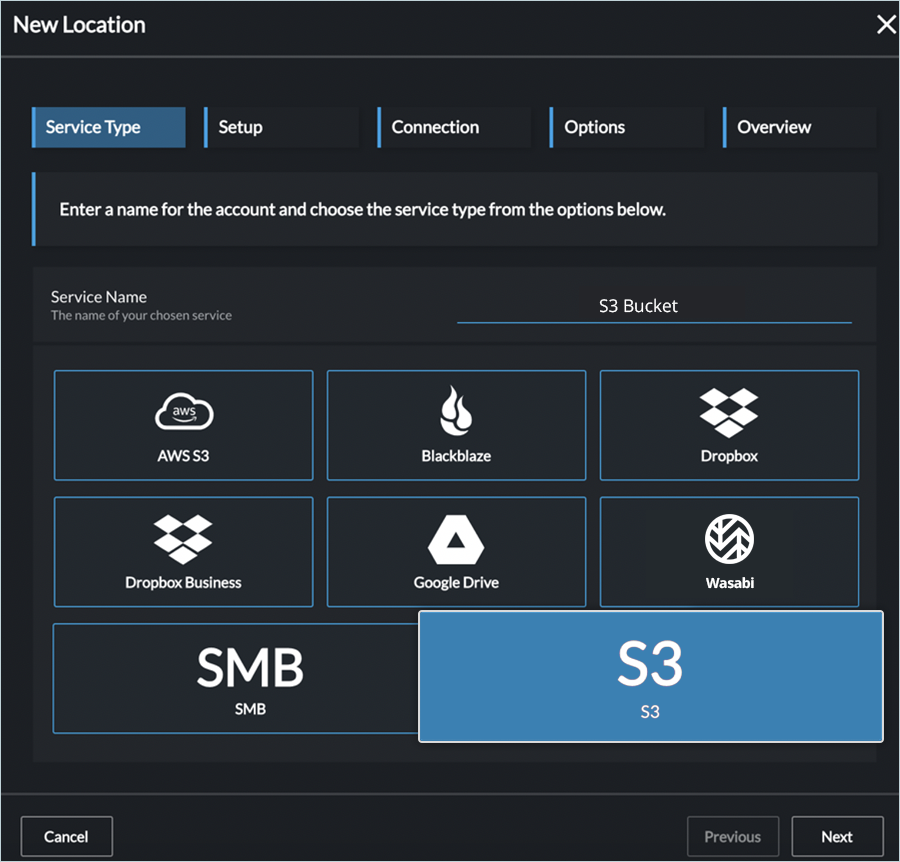
- Select S3 as the Service Type and enter a Service Name.
- Enter the following configuration details
- Enter your IDrive® e2 S3 endpoint as the Service URL.
- Enter your IDrive® e2 Access Key as the Access Key.
- Enter your IDrive® e2 Secret Key as the Secret Key.
- Enter the region and click
 to select the Bucket.
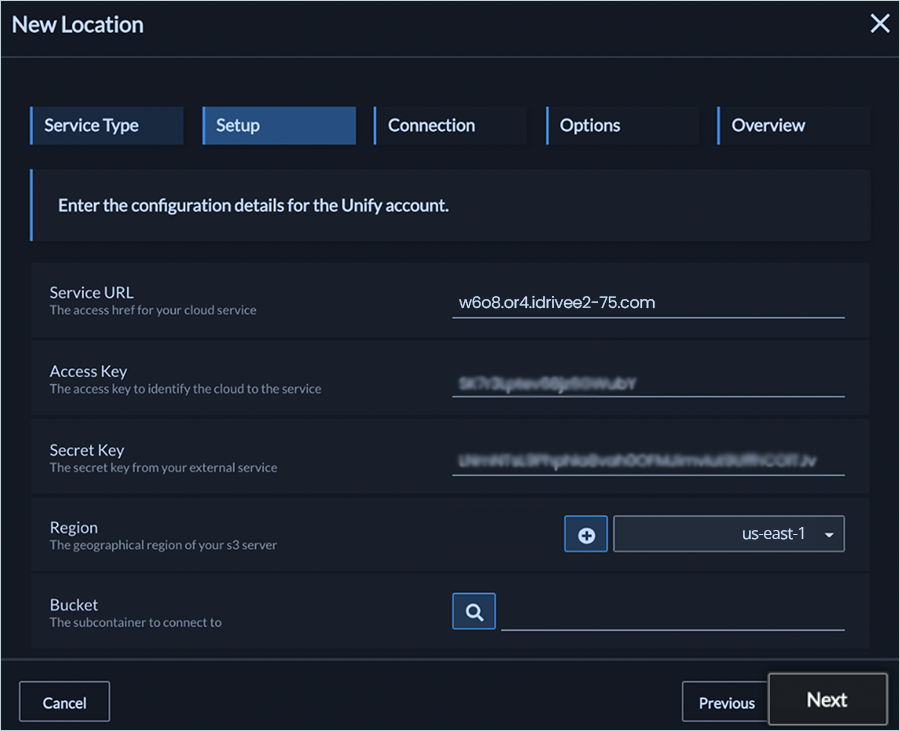
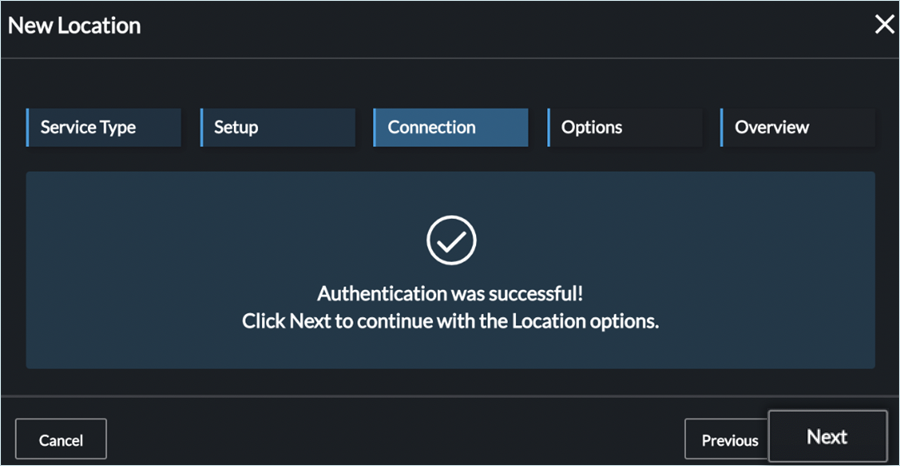
- Click Next. The authentication process begins, and once complete, it displays a success message.
- Configure your linked Cloud Workspace on your GB Labs system. Set cache mode to Full. Click Next.

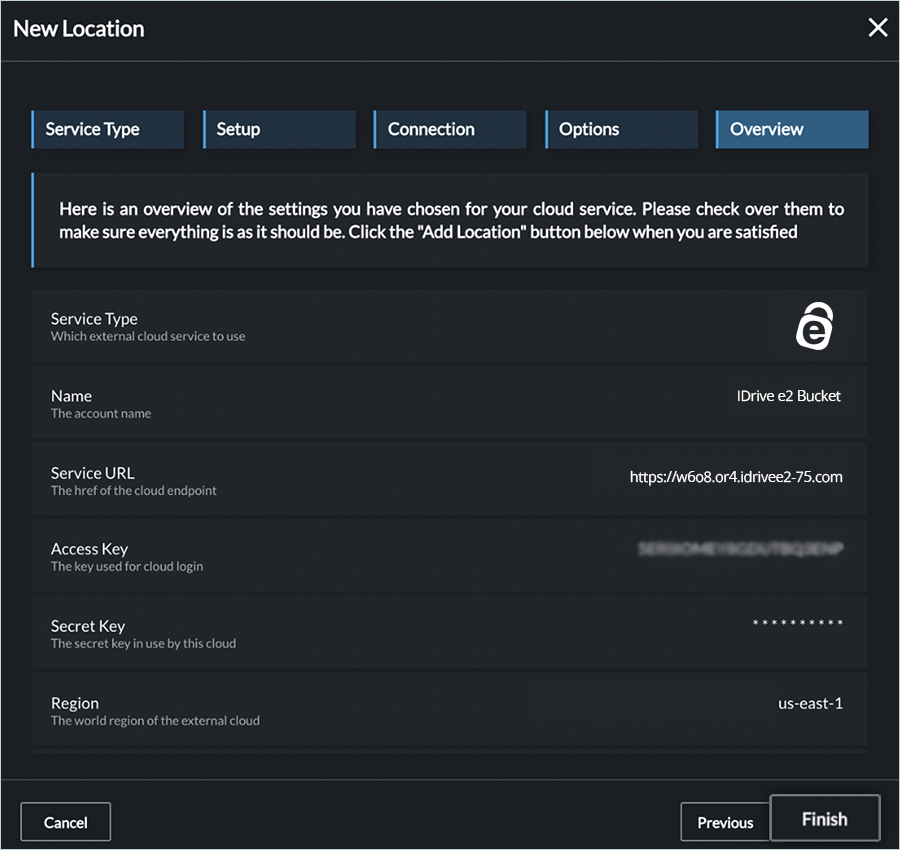
- Review the configuration and click Finish.
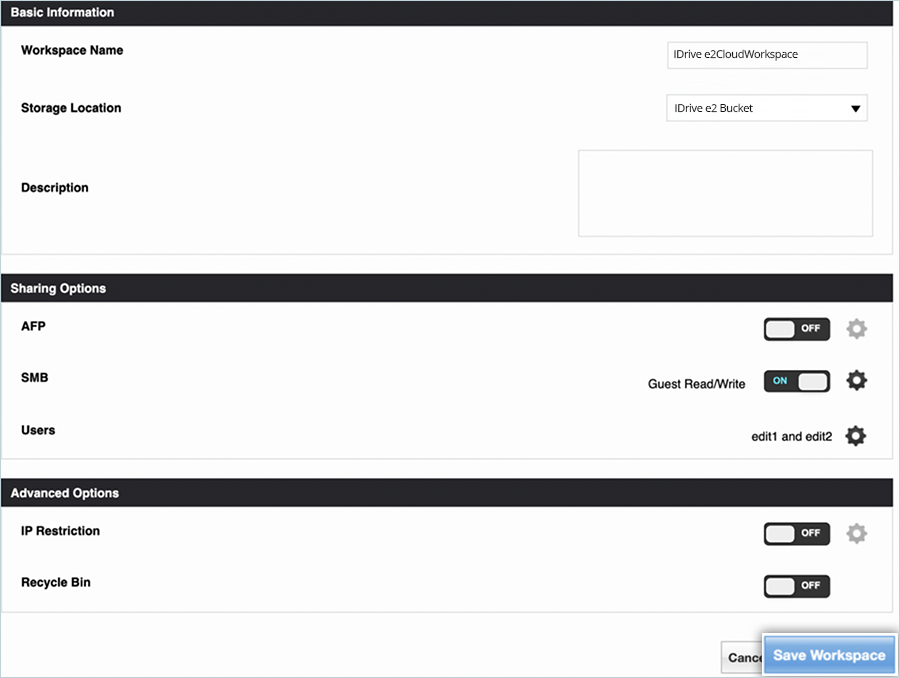
Add New Workspace
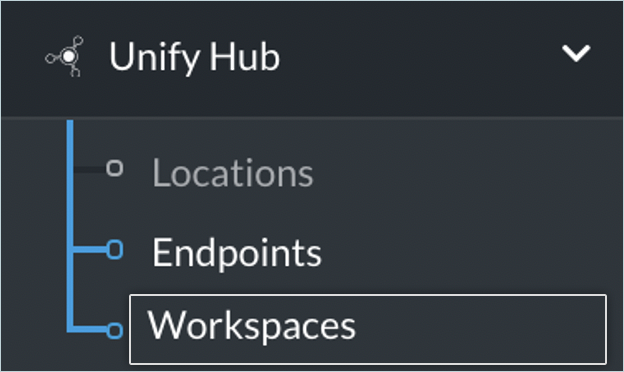
- Click Workspaces under Unify Hub.
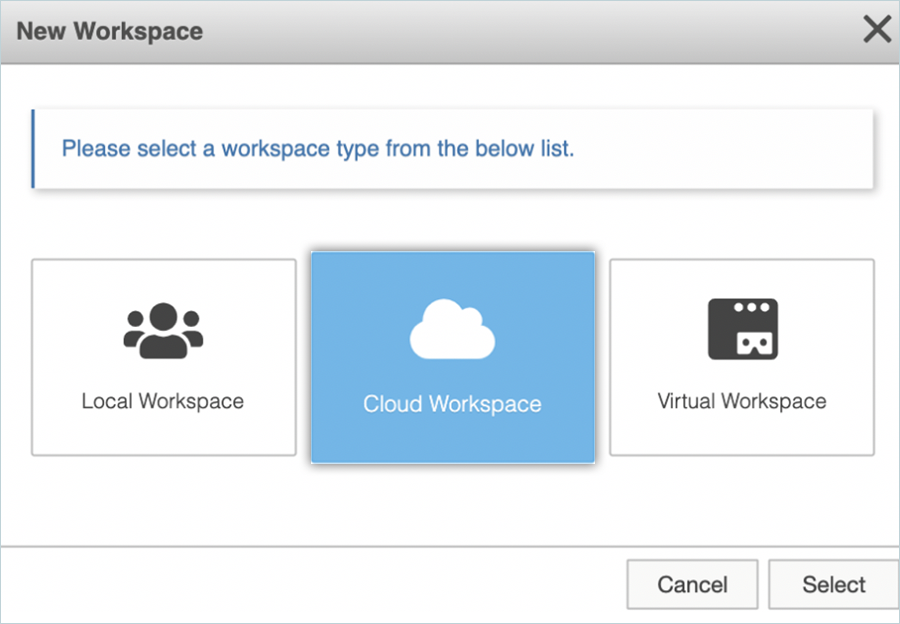
- Click Add New Workspace and select Cloud Workspace as the type.
- Configure the workspace, as mentioned below.
- Enter the name for the Workspace.
- Select Storage Location from the list (Previously added your e2 storage).
- Click Save Workspace.