Setting up SSO
Admin of the IDrive® e2 account can enable their users to access e2 by signing in to a central identity provider. To set up SSO with IDrive® e2 , the admin needs to:
Configure identity provider
In order to configure SSO between IDrive® e2 and IdP, Standard Assertion Markup Language (SAML) is one of the standards used. For implementing SAML authentication, SAML URLs and Certificate are needed, which can be obtained from any supported IdP.
Once an admin registers with an IdP of his choice, he will receive the following:
- Issuer URL: This URL uniquely identifies the application for which single sign-on is being configured.
- Single Sign-On URL / SSO Endpoint: This URL processes an authentication request from the user's browser and returns an authentication response to verify the user.
- X.509 certificate (Base64): An X.509 certificate is a security certificate that you receive from your identity provider to verify your identity. It comes in different formats, but IDrive® e2 only accepts .pem, .txt, .cer, and .cert format.
Configure your IDrive® e2 account
Before users can proceed to login with single sign-on in IDrive® e2 , an admin needs to provide the received SAML URLs and Certificate in the SSO section of IDrive® e2.
To configure your IDrive® e2 account,
- Sign in to IDrive® e2 with your email address and password.
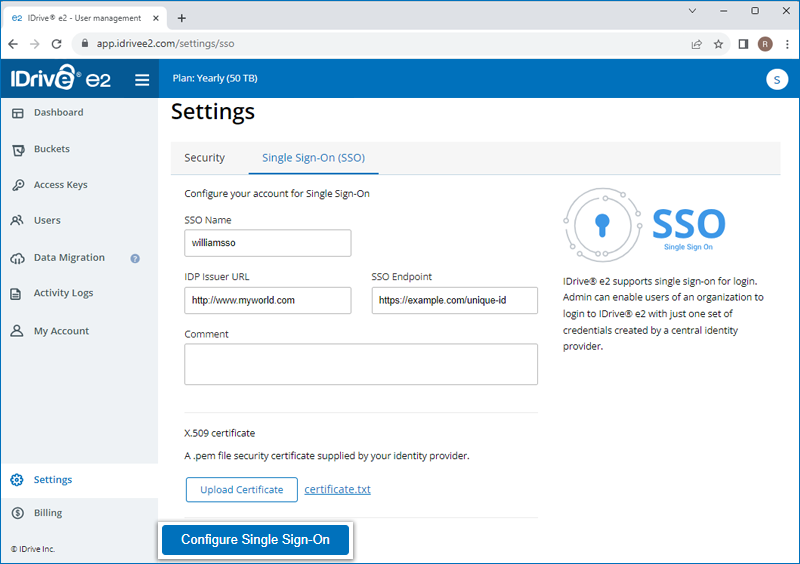
- Navigate to the 'Dashboard' > 'Settings' > 'Single Sign-On (SSO)'.
- Enter a name for your SSO profile.
- Enter the Issuer URL and SSO Endpoint.
- Upload the X.509 certificate received from your IDP.
Note: X.509 certificate should only be in X.509 certificate should only be in .pem, .txt, .cer, and .cert format. - Click Configure Single Sign-On.
Learn How To: Set up SSO Enable SSO Access SSO Create your own IDP